· Todd Martin · Home Improvement · 20 min read
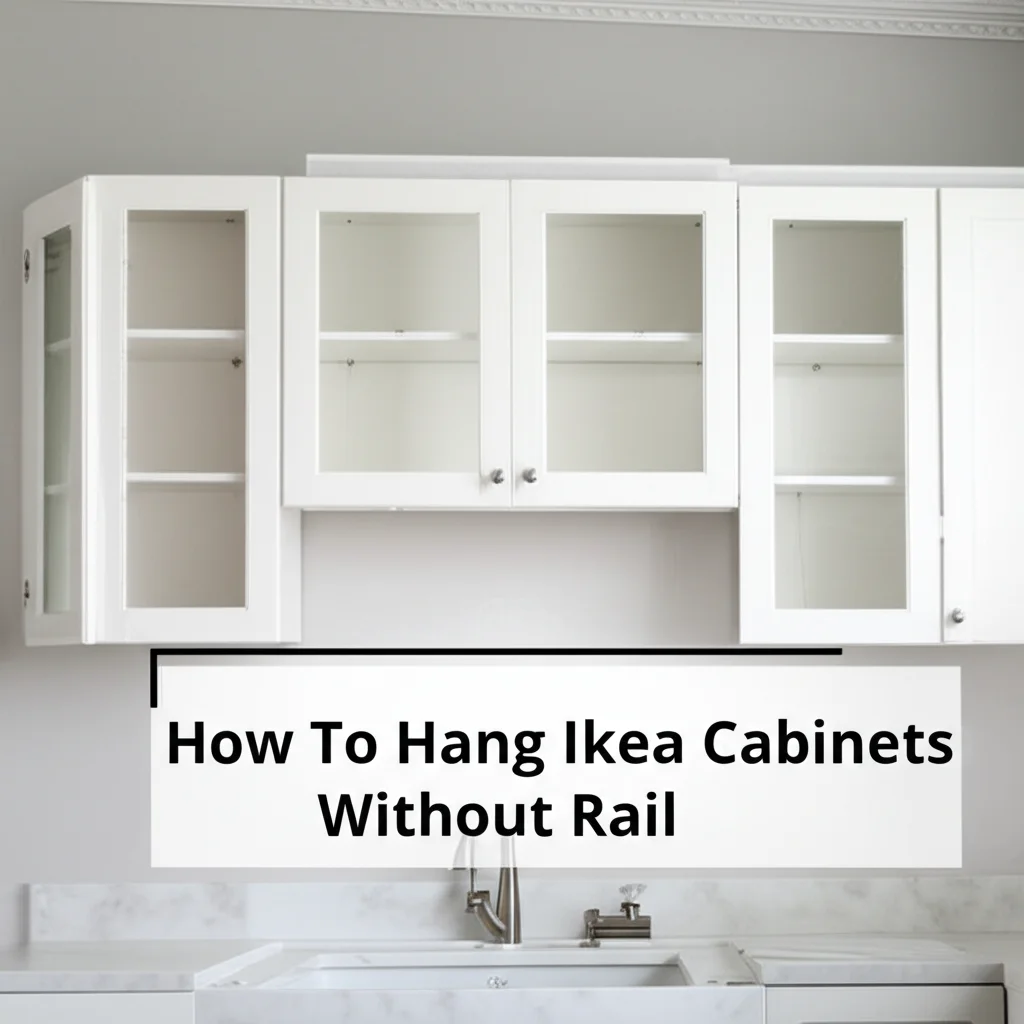
How To Attach Cabinet End Panels

Attach Cabinet End Panels: Your Complete DIY Guide
Have you ever looked at the side of a cabinet run and wished it had a more polished look? The raw, unfinished side of a cabinet can stand out, especially in visible areas. This is where cabinet end panels come in. They are crucial for creating a custom, high-end appearance in your kitchen or any room with cabinetry. Knowing how to attach cabinet end panels is a skill that enhances your home’s aesthetics and protects your cabinet boxes.
End panels provide a finished surface, covering the exposed plywood or particle board of your cabinet boxes. They match your cabinet doors, making the entire assembly look cohesive. This guide will walk you through the entire process. We will cover choosing the right panels, gathering necessary tools, precise measurement, and step-by-step attachment methods. I will share tips for both flush and decorative panels. You will achieve a professional finish on your cabinet project.
Takeaway:
- Gather all necessary tools and materials before starting.
- Measure and cut your end panels with high precision.
- Always perform a dry fit to confirm panel size and fit.
- Use both adhesive and mechanical fasteners for strong attachment.
- Apply finishing touches like caulk or touch-up paint for a seamless look.
Attaching cabinet end panels involves preparing the surface, precise measurement, and securing the panel with appropriate fasteners. Use wood glue and small finish nails or screws from inside the cabinet for a flush look. Decorative panels often attach from the outside using matching screws or nails, later concealed with putty.
Understanding Cabinet End Panels and Their Purpose
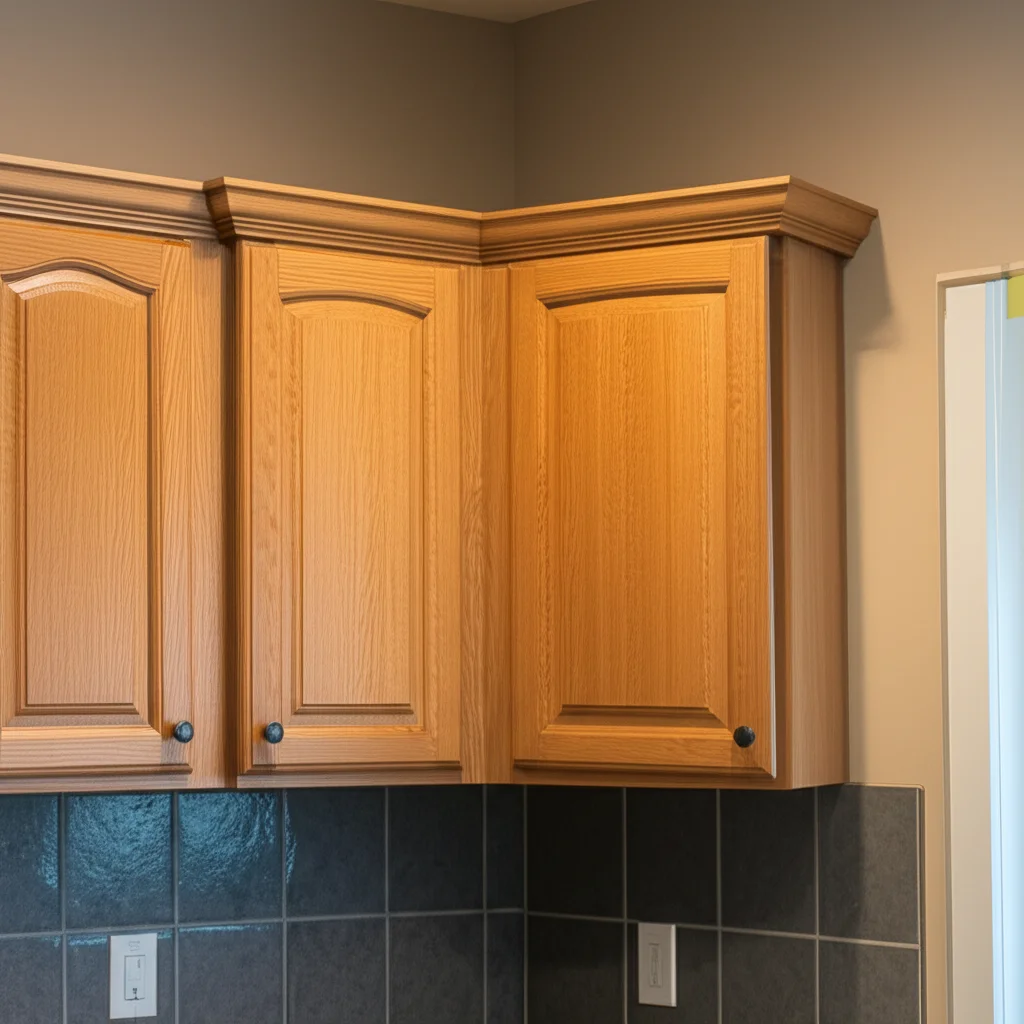
Cabinet end panels are more than just decorative pieces. They serve several important functions in cabinet installation. The primary role of an end panel is to conceal the unfinished side of a cabinet. Most cabinet boxes are made from plywood or particle board. These materials have visible edges that do not match the finished face of the cabinets. An end panel covers these raw edges, giving your cabinetry a complete and finished appearance.
End panels contribute significantly to the overall aesthetic of your space. They extend the look of your cabinet doors to the sides, creating a seamless design. This is particularly important for exposed cabinet runs, such as the ends of a kitchen island or the visible sides of a wall cabinet. Without end panels, your cabinets might look incomplete or cheaply installed. They make your cabinets look like a custom, built-in feature rather than individual boxes.
There are different types of cabinet end panels. Flush end panels sit flat with the cabinet box. They provide a smooth, continuous surface. Decorative or overlaid end panels might be thicker. They can have a recessed center, raised trim, or even replicate the look of a cabinet door. These decorative options add depth and character to your cabinet design. They can elevate the style of your entire kitchen or room. Choose the type that best suits your cabinet style and desired finish. They are a small detail that makes a big impact.
End panels also offer a layer of protection. They guard the cabinet box from dings, scratches, and general wear. This is especially true for base cabinets in high-traffic areas. The added layer of wood or engineered material reinforces the cabinet side. It helps extend the lifespan of your cabinetry. Understanding these functions helps you appreciate their value in any cabinet project. They are an essential part of achieving a polished, durable cabinet installation. Knowing how to clean your cabinets regularly will also help maintain the pristine look of your newly attached end panels.
Essential Tools and Materials You Will Need
Before you begin to attach cabinet end panels, gathering all your tools and materials is important. This preparation step saves time and ensures a smooth installation process. Having everything at hand reduces interruptions and makes the job more efficient. I always make a checklist before starting any home improvement project.
Let us start with the essential tools. A reliable tape measure is critical for accurate measurements. You will need a level to ensure your panels are straight and plumb. A pencil is useful for marking cut lines and fastener locations. For cutting the panels, a circular saw or a table saw provides clean, straight cuts. If you need to make precise trim cuts, a miter saw can be very helpful. A drill and appropriate drill bits are necessary for pre-drilling holes and driving screws. Clamps are indispensable for holding the panels in place while the adhesive sets or you secure fasteners. A rubber mallet might be useful for gentle adjustments.
Next, consider the materials you will require. Of course, you need the cabinet end panels themselves. Make sure they match your existing cabinetry in color, style, and material. Wood glue is essential for a strong bond between the end panel and the cabinet box. Choose a good quality wood adhesive for long-lasting results. Fasteners will vary depending on the panel type. For flush panels, small finish nails or trim screws are common. For decorative panels, you might use screws that match your cabinet hardware or specialty attachment clips. Make sure your screws are short enough not to penetrate through the cabinet interior.
You will also need shims. These are thin pieces of wood or plastic. They help in leveling and squaring the panel, especially if your walls or floors are not perfectly straight. Sandpaper is good for smoothing any rough edges after cutting. Wood putty or spackle will be needed to fill any nail holes or imperfections. Matching paint or stain is crucial for touching up any visible fasteners or cut edges. Consider how to attach wood countertop to cabinet to understand various attachment methods within cabinet work. Finally, a clean rag and mineral spirits can help with any excess glue cleanup.
Preparing Your Cabinets and End Panels for Attachment
Proper preparation is the foundation for a successful cabinet end panel installation. I always emphasize this step because it directly impacts the final appearance and durability of your work. Rushing through preparation can lead to frustrating issues later on. Your goal is to create a stable, clean, and accurately measured base for the end panels.
First, inspect your existing cabinets. Ensure they are properly installed, level, and plumb. If your cabinets wobble or are uneven, fix these issues before adding end panels. Use shims under the cabinet base or behind the cabinet if necessary. A stable cabinet provides a solid foundation for the end panel. If you are starting a new cabinet project, ensure the cabinet boxes are securely fastened to the wall studs and to each other. Understanding how to build a simple wall cabinet box can give you insights into the cabinet structure.
Next, focus on the end panels themselves. Measure the area where each end panel will attach. Measure the height from the floor (or cabinet base) to the top of the cabinet box. Measure the depth from the front of the cabinet face frame to the wall. Double-check these measurements at multiple points to account for any variations. Transfer these measurements accurately to your end panel material. When cutting, always cut slightly oversized and trim down if needed. Remember the adage: “measure twice, cut once.”
Use a high-quality saw for cutting. A sharp blade minimizes splintering, especially on finished surfaces. After cutting, lightly sand the cut edges. This removes any rough spots and prepares the surface for finishing. If your panels are unfinished, this is the time to apply stain or paint. It is much easier to finish the panels before they are installed. This avoids drips on existing cabinets and ensures full coverage. Allow ample drying time for any finishes.
Finally, clean the surfaces where the end panels will attach. Remove any dust, debris, or old adhesive. A clean surface ensures proper adhesion for the wood glue. If the surface is greasy, wipe it down with a degreaser. Make sure the area is completely dry before proceeding. A dry fit of each panel is also a good practice. Hold the panel in place without glue or fasteners. Check for proper fit, alignment, and any gaps. This dry fit helps you identify and correct issues before permanent attachment. This preparation ensures a smooth, professional installation of your cabinet end panels.
Step-by-Step Guide to Attaching Flush End Panels
Attaching flush cabinet end panels creates a smooth, integrated look. These panels sit even with the cabinet’s face frame. The goal is to make them appear as if they are part of the original cabinet box. I find this method creates a very clean and contemporary aesthetic. Let’s walk through the steps to achieve this seamless finish.
1. Prepare the Surfaces: Ensure the cabinet side where the panel will attach is clean and smooth. Any dust or debris can compromise the glue bond. If you have already pre-finished your panels, make sure they are dry and ready for installation.
2. Apply Adhesive: Run a continuous bead of high-quality wood glue along the entire perimeter of the cabinet’s exposed side. Add a few zig-zag lines of glue across the center for extra adhesion. Do not apply too much glue, as excess will squeeze out and be harder to clean.
3. Position the Panel: Carefully position the end panel onto the glued surface of the cabinet. Align the top edge and the front edge precisely with the cabinet’s face frame. Take your time with this step. Proper alignment is crucial for a flush finish. You want the panel to be perfectly flush with the front of the cabinet.
4. Secure with Clamps: Use several clamps to hold the end panel firmly in place. Apply even pressure along the length of the panel. This ensures good contact between the panel and the cabinet side, allowing the glue to cure properly. If your cabinet is against a wall, you might only be able to clamp from the front. Wipe away any excess glue that squeezes out with a damp cloth immediately. Dried glue is much harder to remove.
5. Add Mechanical Fasteners (from inside): While the clamps hold the panel, drive screws from inside the cabinet box into the end panel. This is the key to a truly flush installation, as no fasteners are visible from the outside. Use screws that are long enough to penetrate well into the end panel without going through the outer surface. Pre-drill pilot holes to prevent splitting the panel, especially if it’s made of solid wood. Space the screws evenly, about 6-8 inches apart, running vertically. For very thin panels or MDF, a brad nailer with small finish nails can also be used, driven from the inside.
6. Allow Glue to Cure: Leave the clamps in place for the amount of time recommended by the glue manufacturer. This is usually at least a few hours, or even overnight. Removing clamps too early can compromise the bond.
Once the glue is fully cured, remove the clamps. Inspect the panel for any gaps or imperfections. Fill any tiny gaps with wood putty or caulk that matches your cabinet color. This step ensures a truly seamless and professional look. This method creates a strong, invisible attachment for your cabinet end panels. For similar attachment techniques in different applications, you might look at how to attach a table top to base.
Installing Decorative or Overlaid End Panels
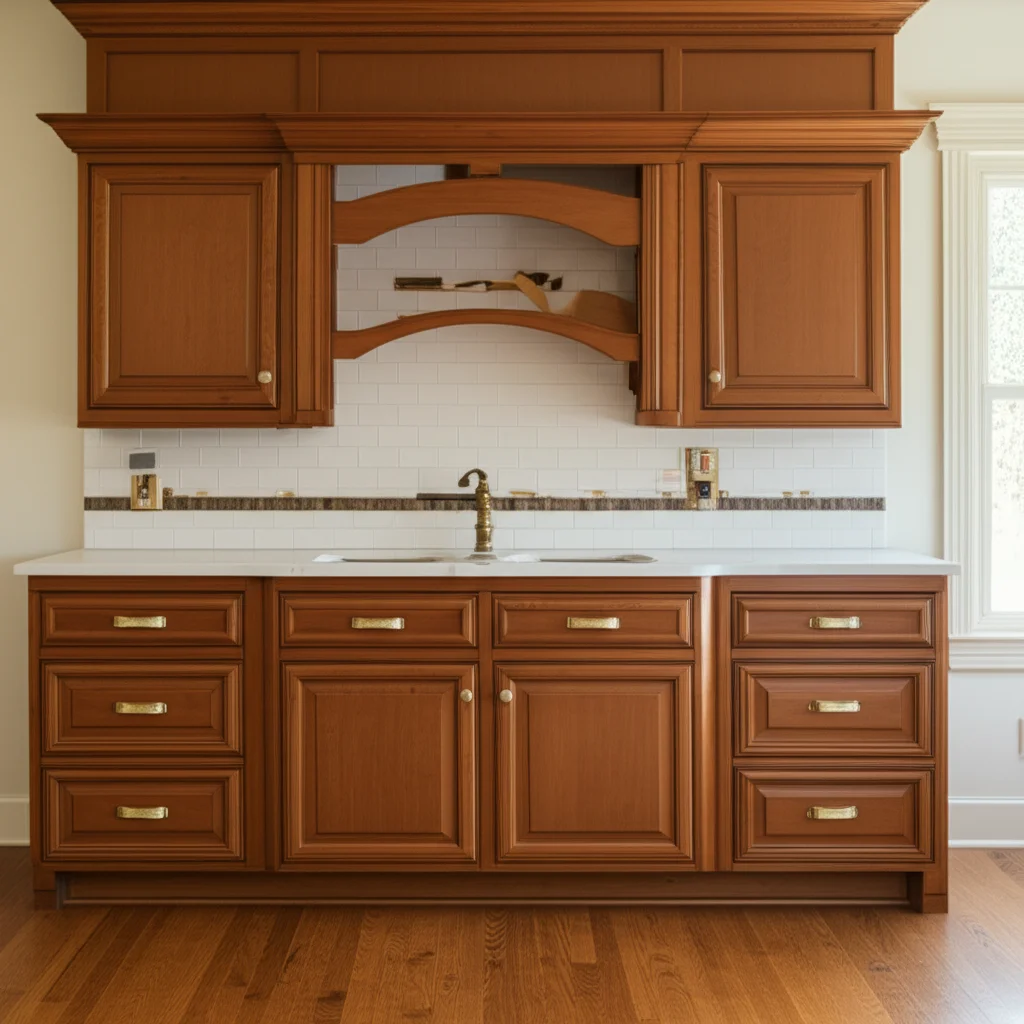
Installing decorative or overlaid cabinet end panels adds a layer of design and sophistication to your cabinetry. These panels are typically thicker than flush panels. They often feature profiles, raised panels, or beadboard patterns that mimic the style of your cabinet doors. Unlike flush panels, their edges might be visible, and their attachment methods can differ. I find these panels create a custom, furniture-like appearance.
1. Prepare and Position: As with flush panels, ensure the cabinet side is clean and free of debris. Apply a continuous bead of wood glue to the cabinet side. Carefully position the decorative end panel onto the glued surface. Align the panel so its front edge is flush with or slightly proud of the cabinet’s face frame, depending on the panel’s design. Some decorative panels are designed to extend slightly past the face frame to create a framed look.
2. Secure with Clamps: Use clamps to hold the panel firmly in place while the glue sets. This ensures good contact across the entire surface. If the panel is heavier or larger, use more clamps for even pressure. Wipe away any excess glue immediately with a damp cloth. This prevents dried glue from interfering with the finish.
3. Attach with Visible Fasteners: Decorative panels are often attached using fasteners that are visible from the outside. This is because their thickness or design prevents easy attachment from the inside. Use finish nails or trim screws that match your cabinet’s finish. For a more discreet look, choose nails or screws with small heads. Pre-drill pilot holes for screws to prevent wood splitting, especially in harder woods or engineered materials. Drive the fasteners along the edges of the panel or in discreet areas where they will be less noticeable. Space them evenly for structural integrity.
4. Concealing Fasteners: After securing the panel, you will need to conceal the fastener heads. Use wood putty or spackle that matches the color of your panel. Apply a small amount over each nail or screw head. Allow it to dry completely. Once dry, lightly sand the patched areas smooth. Be careful not to sand through the panel’s finish.
5. Finishing Touches: Apply touch-up paint or stain over the patched areas to blend them seamlessly with the panel. If your panel has a unique finish or sheen, you may need to experiment with touch-up techniques. This step is critical for a professional appearance. Ensure the touch-up matches the existing finish as closely as possible.
Some decorative panels may come with specific hardware or clips for attachment. Always consult the manufacturer’s instructions for any specialized installation methods. Installing these panels adds significant character to your cabinetry. It turns a functional element into a design statement. Consider how how to put trim on cabinet doors helps achieve a uniform look if you are adding new trim elements.
Finishing Touches and Cleanup
After attaching your cabinet end panels, the job is not quite done. The finishing touches are what elevate your work from a DIY project to a professional-looking installation. This stage ensures a seamless appearance and protects your newly installed panels. I always tell people that the details make the difference.
1. Fill Nail Holes and Imperfections: If you used finish nails or screws that are visible, the first step is to fill the holes. Use wood putty or spackle that matches the color of your cabinet panels. Apply a small amount to each hole. Use a putty knife to smooth it flush with the surface. For larger gaps or seams, a color-matched caulk can be very effective. Allow the filler to dry completely according to the manufacturer’s instructions.
2. Sand Smooth: Once the filler is dry, gently sand the patched areas. Use fine-grit sandpaper (around 180-220 grit) to smooth the surface. Be careful not to sand through the finish of your panel. The goal is to make the patched areas imperceptible to the touch. This prepares the surface for touch-up paint or stain.
3. Touch-Up Paint or Stain: This is a crucial step for blending the filled areas. Use the exact matching paint or stain for your cabinet panels. Apply it carefully with a small brush or a fine-tipped artist’s brush. Apply thin coats, building up the color gradually if needed. For stained panels, wiping away excess immediately helps blend the touch-up. Allow the touch-up to dry completely. Sometimes, multiple thin coats work better than one thick coat.
4. Caulk Gaps (if necessary): Inspect the edges where the end panel meets the wall or the floor. If there are any noticeable gaps, apply a bead of paintable caulk. Choose a caulk color that matches your cabinet or wall. Smooth the caulk line with a wet finger or a caulking tool for a clean, professional seam. Caulk helps seal the joint and gives a very finished appearance. It also prevents dust and debris from collecting in the gaps.
5. Final Cleaning: Once all the finishing work is done and dry, give your cabinets a thorough cleaning. Wipe away any sanding dust, caulk residue, or fingerprints. Use a soft, damp cloth. For stubborn marks, a mild cleaner designed for cabinets is appropriate. A clean finish showcases your hard work. Knowing how to clean old cabinet hardware can also contribute to the overall sparkle of your refreshed cabinets.
These finishing touches might seem minor, but they significantly impact the overall quality and aesthetic of your cabinet installation. They transform your project from good to truly excellent.
Common Challenges and Troubleshooting Tips
Even with careful planning, challenges can arise when attaching cabinet end panels. Knowing how to troubleshoot these common issues can save you time and frustration. I have encountered many of these problems myself, and I’ve learned effective solutions.
1. Gaps Between the Panel and Cabinet:
- Problem: You installed the panel, but there is a noticeable gap between the end panel and the cabinet box.
- Solution: This usually means uneven pressure during clamping or an uneven cabinet surface. If the glue has not fully dried, try reapplying clamps with more even pressure. If the glue is dry, you might need to carefully remove the panel, clean the surfaces, and reattach. For minor gaps, apply a bead of wood putty or color-matched caulk. Smooth it with a wet finger or a putty knife. Ensuring the cabinet box is perfectly level and plumb before starting helps prevent this. For broader context on gap issues, consider how to fix gap between cabinet doors.
2. Panel is Not Flush with the Face Frame:
- Problem: The end panel sticks out or is recessed too much from the front of the cabinet’s face frame.
- Solution: This is a common measurement or alignment error. If the panel sticks out, you might need to trim a small amount off the back edge. If it’s recessed, you can add thin shims or strips of wood behind the panel along the cabinet side to push it forward. Use wood glue to secure the shims. Always double-check your front-to-back alignment during the dry fit.
3. Splitting Wood When Driving Fasteners:
- Problem: When driving screws or nails, the wood of the panel or cabinet splits.
- Solution: This happens when fasteners are too large, or pilot holes are not drilled. Always pre-drill pilot holes for every screw. The pilot hole should be slightly smaller than the screw shank. For nails, consider using a brad nailer with appropriate nail gauge for your material. If splitting occurs, remove the fastener, fill the split with wood glue and clamp it until dry. Then, re-drill and re-fasten in a slightly different spot. Knowing how to fix a stripped screw hole in wood cabinet can be useful for screw-related issues.
4. Misaligned or Uneven Panels:
- Problem: The end panel appears crooked or not truly vertical/horizontal.
- Solution: Use your level frequently during installation. Before applying glue, dry-fit the panel and use a level to ensure it’s plumb and level. If it’s slightly off, shims can be used behind the panel to correct the alignment. Clamping can also help hold it straight while the glue sets. If the panel is badly misaligned after curing, you might have to remove it and start over. This is why a dry run is so important.
5. Visible Fasteners (for flush panels):
- Problem: You used screws or nails, and they are visible from the outside of your flush panel.
- Solution: For flush panels, fasteners should always be driven from inside the cabinet. If you accidentally put them from the outside, you will need to remove them, fill the holes with wood putty, sand, and touch up. Remember, the goal of a flush panel is a clean, fastener-free exterior.
By understanding these common challenges and their solutions, you can approach your cabinet end panel project with confidence.
Frequently Asked Questions
Q1: Do I need end panels for all cabinets?
You do not need end panels for every cabinet. End panels are typically installed on cabinets where the side is exposed and visible. For example, the ends of a kitchen island, the sides of a wall cabinet run that ends abruptly, or the visible side of a pantry cabinet. Cabinets that are completely enclosed between other cabinets or walls do not require an end panel because their sides are not seen.
Q2: What types of fasteners are best for end panels?
The best fasteners depend on the type of end panel. For flush end panels, small finish nails or trim screws driven from inside the cabinet are ideal. This keeps the exterior surface smooth. For thicker, decorative, or overlaid panels, you might use finish nails or screws driven from the outside, which are later concealed with wood putty and touch-up paint/stain. Wood glue is almost always used in conjunction with mechanical fasteners for a strong, lasting bond.
Q3: Can I paint or stain end panels before installation?
Yes, absolutely. In fact, it is highly recommended to paint or stain end panels before installation. Finishing them beforehand allows for complete coverage without worrying about drips or overspray on adjacent cabinets or walls. It also makes the process much easier, as you can work on a flat surface. Just ensure the finish is completely dry and cured before handling and installing the panels.
Q4: How do I handle uneven walls when installing end panels?
Uneven walls are a common issue. You can handle them by using shims. During your dry fit, hold the panel against the uneven wall. Identify any gaps. Insert thin shims behind the panel at the points where it gaps. These shims will help create a flat and plumb surface for the panel to attach to. Secure the panel and shims together, then trim any excess shim material. A level is essential for this process.
Q5: What is the difference between flush and overlaid end panels?
Flush end panels sit completely flat with the front of the cabinet face frame, creating a smooth, uninterrupted surface. They are usually thinner. Overlaid (or decorative) end panels are typically thicker and may extend slightly proud of the face frame. They often feature decorative details like a raised center, recessed areas, or moldings that mimic the cabinet doors. The choice depends on your desired aesthetic and cabinet style.
Q6: Can end panels be removed or replaced later?
Yes, end panels can be removed or replaced. The process involves carefully prying them off, usually by breaking the glue bond and removing any fasteners. This can be destructive to the old panel, especially if it was glued well. If you plan for future changes, using fewer mechanical fasteners or specialized clips can make removal easier. However, it is generally intended to be a long-term installation.
Conclusion
Attaching cabinet end panels might seem like a small detail in a larger home renovation, but it makes a significant impact. By following the steps outlined in this guide, you can transform your cabinets from ordinary to extraordinary. You have learned how to select the right panels, prepare your workspace, and execute the installation with precision. We covered everything from accurate measurements and proper adhesion to the nuances of attaching both flush and decorative end panels.
The pride you will feel looking at your finished cabinetry is immense. These panels not only enhance the aesthetic appeal of your home but also provide a protective layer for your valuable cabinets. Remember, patience and attention to detail are your best tools in this process. Take your time, double-check your work, and do not hesitate to troubleshoot any challenges. You now have the knowledge to confidently attach cabinet end panels. Go ahead, give your cabinets the finished look they deserve. Your home will thank you for it!
- cabinet installation
- end panels
- kitchen cabinets
- cabinet finishing
- DIY cabinets

Todd Martin
Senior Writer
With over 15 years of experience in home renovation and design, I started HEG to share what I’ve learned with homeowners who want to create spaces that are both beautiful and functional. I’ve always believed in a hands-on approach, and over the years, I’ve picked up practical solutions that actually work. Through HEG, I aim to make home improvement more approachable, sharing real tips that help you create a home you truly love.