· Todd Martin · Home Improvement · 17 min read
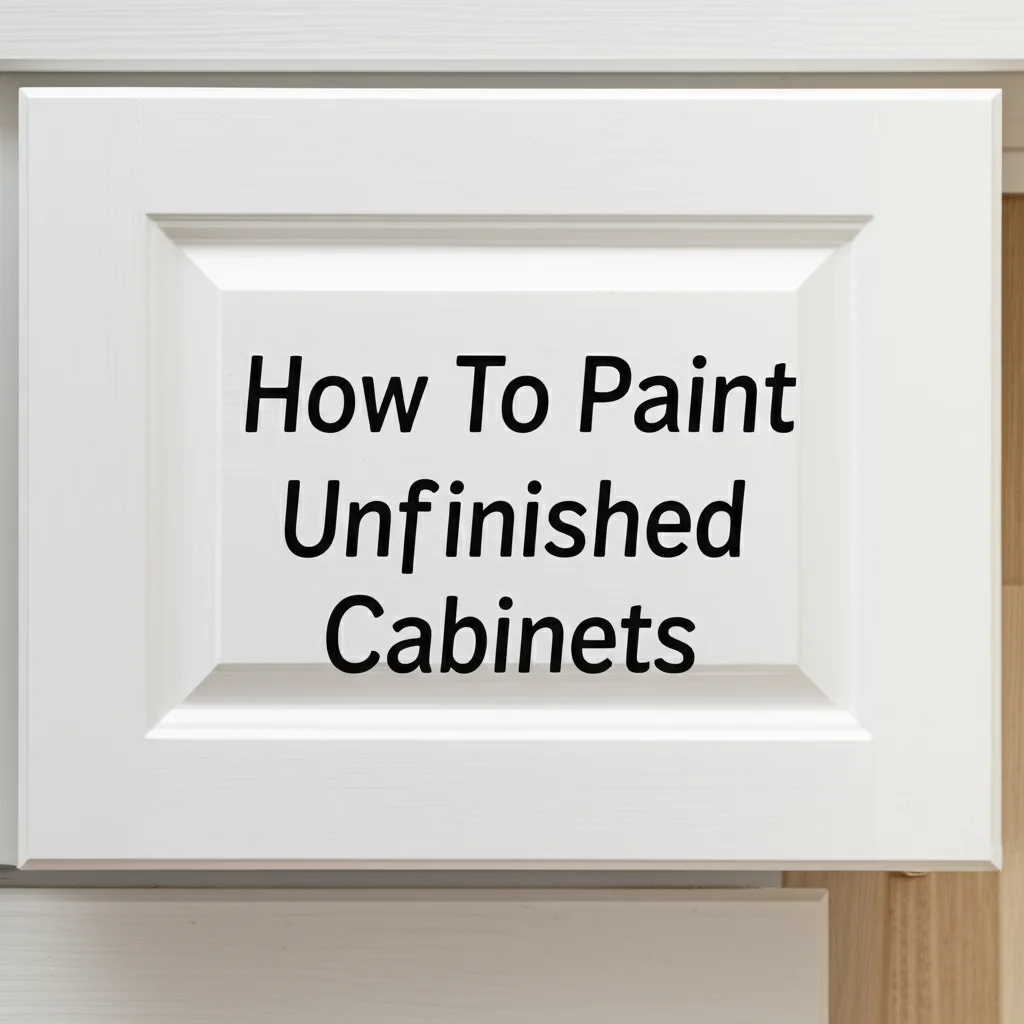
How To Finish Unfinished Cabinets
How To Finish Unfinished Cabinets: A Complete Guide
Unfinished cabinets offer a wonderful chance to personalize your living space. They arrive as a blank slate, ready for your creative touch. Knowing how to finish unfinished cabinets correctly transforms plain wood into a durable, beautiful surface. This process protects the wood and adds significant visual appeal to your kitchen, bathroom, or other areas. You get to choose the exact color or natural look you desire.
This guide will walk you through every step. We cover proper surface preparation, which is key for good results. You will learn about different finish options like stains, paints, and clear coats. We also provide clear instructions for applying these finishes. By the end, you will understand how to achieve a professional, long-lasting finish on your unfinished cabinets.
Takeaway
Finishing unfinished cabinets creates a custom, protected surface. Proper preparation, careful finish selection, and precise application lead to beautiful, lasting results.
Clear Answer
To finish unfinished cabinets, begin by thoroughly cleaning and sanding the wood. Then, apply your chosen finish—whether stain, paint, or clear coat—in thin, even layers. Allow proper drying and curing time between coats and before reassembling the cabinets for a durable and attractive result.
Understanding Unfinished Cabinets: Your Blank Canvas
Unfinished cabinets provide a unique opportunity for homeowners. They offer a cost-effective way to get new cabinetry. You gain full control over the final appearance. This includes the color, sheen, and type of protective layer. This flexibility allows for a truly custom look that matches your home’s style.
Choosing unfinished cabinets means you get to decide on the aesthetic. You can match existing decor or create a completely new theme. It also ensures the finish is applied correctly from the start. This can lead to a more durable and long-lasting surface than pre-finished options.
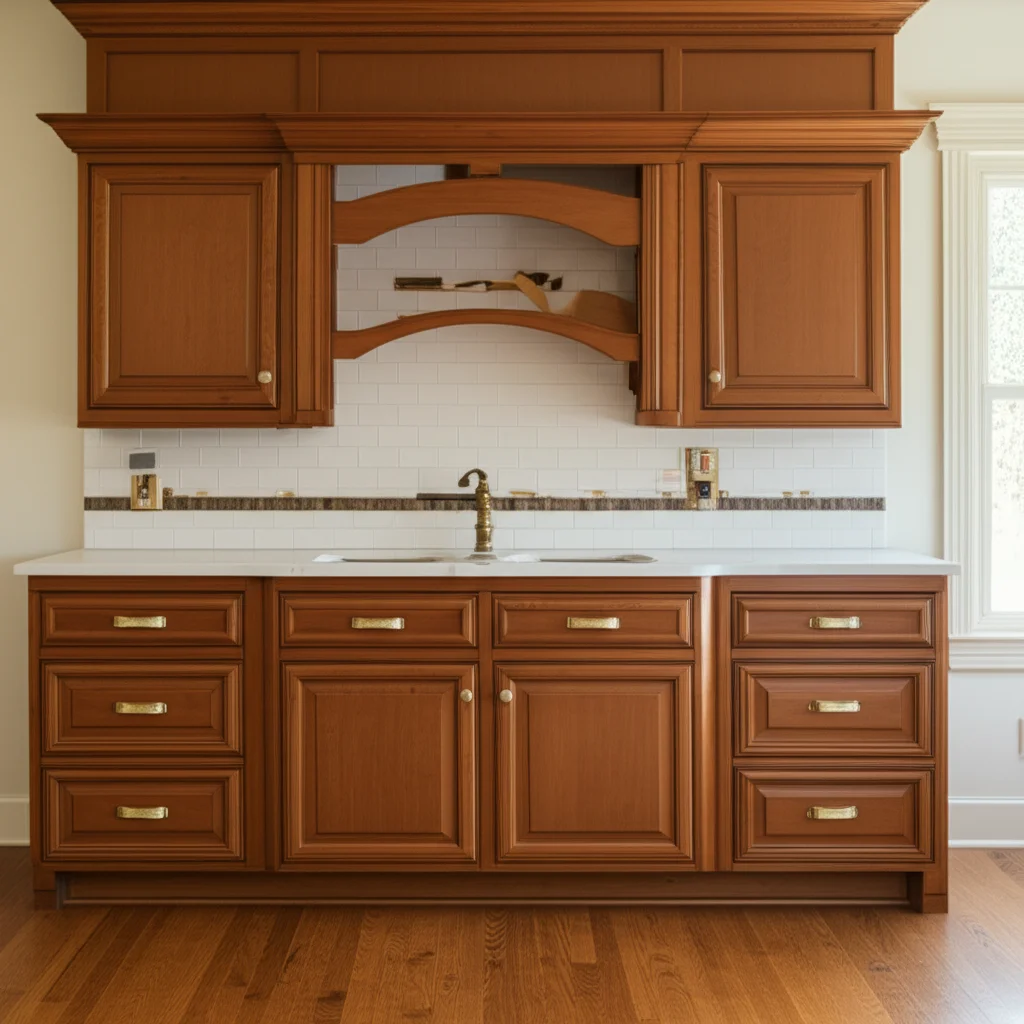
Types of Wood Commonly Used
Unfinished cabinets come in various wood species. Common choices include oak, maple, cherry, birch, and pine. Each wood type has distinct characteristics. Oak has a prominent grain pattern. Maple offers a smoother, more subtle grain. Cherry darkens beautifully over time. Pine is softer and more affordable, often showing knots.
The type of wood impacts how it accepts finish. Porous woods like oak absorb stain more readily. Denser woods like maple might require wood conditioner for even stain absorption. Understanding your wood type helps you choose the best finishing approach.
Why Finishing is Crucial
Finishing unfinished cabinets is not just about looks. It is vital for protecting the wood. Raw wood is vulnerable to moisture, dirt, grease, and impacts. These elements can cause warping, staining, or other damage. A proper finish creates a barrier.
This barrier shields the wood from daily wear and tear. It makes the surface easy to clean. Without a finish, your cabinets would quickly show signs of age and use. Finishing ensures your investment lasts for many years.
Essential Preparation Steps for a Flawless Finish
Proper preparation is the most important step in finishing unfinished cabinets. It sets the foundation for how well the finish adheres and looks. Skipping these steps can lead to poor results, like peeling paint or uneven stain. Invest time here to save effort later. I always emphasize this to anyone working with wood.
Your goal is a clean, smooth, and dry surface. This ensures the finish bonds properly with the wood fibers. Any dust, grease, or roughness will show through the final coat. A well-prepped surface makes all the difference in achieving a professional look.
Disassembling and Cleaning
First, remove all cabinet doors and drawers. Take off any hardware like hinges, pulls, and knobs. Keep these parts organized so you can easily reassemble them later. Numbering each door and its corresponding cabinet opening helps avoid confusion. This step allows you to work on all surfaces evenly.
Next, thoroughly clean every part. Even new, unfinished cabinets can have dust or oils from manufacturing. Use a degreaser or a mild soap and water solution. Wipe down all surfaces with a clean cloth. After cleaning, rinse with a damp cloth and let everything dry completely. For a deeper clean on wood surfaces, consider how to clean wood cabinets properly before any finishing steps.
Proper Sanding Techniques
Sanding is crucial for a smooth finish and proper adhesion. Start with a medium-grit sandpaper, like 120-grit. Sand all surfaces, including edges, in the direction of the wood grain. This removes any mill marks or minor imperfections. After sanding with 120-grit, move to a finer grit, like 180-grit or 220-grit. This finer sanding creates a smoother surface.
Always sand in the direction of the wood grain. This prevents unsightly swirl marks or scratches. Pay extra attention to corners and detailed areas. For detailed advice, you can learn more about how to sand cabinets by hand. After sanding, remove all dust using a vacuum, a tack cloth, or a damp cloth. A dust-free surface is essential for good finish adhesion.
Choosing Your Cabinet Finish: Stain, Paint, or Clear Coat?
Deciding on the right finish is a big part of the process. Your choice depends on the look you want and the level of protection needed. Each type of finish offers different benefits and challenges. Consider how the cabinets will be used. Kitchen cabinets, for example, need a more durable finish than those in a laundry room.
Think about your personal style. Do you love the natural beauty of wood? Or do you prefer a bold splash of color? Your decision here shapes the entire room’s aesthetic.
Stains: Revealing Wood’s Beauty
Wood stain enhances the natural grain of the wood. It adds color while allowing the wood’s character to show through. Stains come in oil-based, water-based, and gel formulations. Oil-based stains penetrate deeply and offer rich color. Water-based stains dry faster and are easier to clean up. Gel stains are thicker and can be good for woods that stain unevenly.
When applying stain, always test it on an inconspicuous area first. This ensures you achieve the desired color. Stains provide color, but they do not offer much protection on their own. They require a clear topcoat for durability. Choosing a stain means celebrating the natural variations in your wood.
Paints: A World of Color
Painting unfinished cabinets offers endless color possibilities. You can achieve any look, from crisp white to vibrant blue. Paint provides an opaque finish, completely covering the wood grain. This is a good choice if you want to update your kitchen with a new color trend. It also hides any imperfections in the wood.
For painting, you will need a primer first. Primer helps the paint adhere better and provides a uniform base. Then, you will apply several coats of paint. Paint provides both color and some protection. However, a topcoat is still recommended for maximum durability, especially in high-use areas. Remember to learn about how to get a smooth finish on cabinets for the best painting results.
Clear Coats: Natural Protection
A clear coat preserves the natural look of the unfinished wood. It provides protection without changing the wood’s color significantly. Clear coats include lacquer, polyurethane, varnish, and shellac. Polyurethane is popular for its durability and resistance to water and chemicals. It comes in oil-based and water-based formulas.
Oil-based polyurethane is very durable but can yellow over time. Water-based polyurethane stays clear and dries faster. Lacquer provides a hard, durable finish but requires proper ventilation for application. Varnish is also durable and offers good protection against moisture. Choose a clear coat if you love the raw wood color and want to protect it from daily wear.
Applying Your Chosen Finish: Step-by-Step Guides
Applying the finish is where your careful preparation pays off. This stage requires patience and attention to detail. Rushing the process can lead to drips, uneven coverage, or a less durable finish. Work in a clean, well-ventilated area to ensure good results. Always read the manufacturer’s instructions for your specific product.
Applying multiple thin coats is always better than one thick coat. Thin coats dry more evenly and create a stronger bond. This also reduces the chance of drips and runs.
Priming for Paint Adhesion
If you decide to paint your cabinets, priming is an essential first step. Primer creates a barrier between the raw wood and the paint. It helps the paint adhere better and covers any wood tannins that might bleed through the paint. This is especially important for woods like oak or pine, which can have resins.
Apply a thin, even coat of primer. Use a high-quality brush or roller designed for smooth finishes. Allow the primer to dry completely according to the manufacturer’s instructions. Lightly sand with 220-grit sandpaper after the first coat of primer. This creates a very smooth base for the paint. Remove all dust after sanding.
Mastering Stain Application
Applying wood stain requires an even hand. Stir the stain thoroughly before and during use. Apply the stain with a brush, rag, or foam applicator. Work in small sections, applying in the direction of the wood grain. Do not let the stain pool in any areas. Wipe off excess stain within a few minutes, according to the product’s directions. This ensures even color absorption.
The longer the stain sits, the darker the color will be. Test on a scrap piece of wood first to get the desired depth of color. Allow each coat to dry completely before applying another, if needed. Remember, staining enhances the wood grain. If you are working with a specific wood, such as oak, you might find it helpful to review how to stain oak cabinets for best practices.
Achieving a Smooth Paint Finish
For a smooth paint finish, apply multiple thin coats. Use a high-quality brush or a small foam roller. Apply paint in long, even strokes, following the wood grain. Avoid overloading your brush or roller to prevent drips and runs. Allow each coat to dry fully before applying the next. This typically takes a few hours, but check your product’s specific dry times.
Lightly sand between coats with 220-grit or 320-grit sandpaper. This creates a smoother surface and helps the next coat adhere better. Remove all sanding dust before applying the next coat. For areas like cabinet interiors, make sure to consider specific techniques for how to paint inside of cabinets to ensure complete coverage.
Applying Protective Topcoats
A topcoat provides the final layer of protection and durability. This is true whether you stained or painted your cabinets. Clear topcoats shield the finish from scratches, moisture, and daily wear. Apply topcoats in thin, even layers. Follow the grain of the wood. Use a clean brush or sprayer for the smoothest application.
Allow each topcoat to dry completely before applying the next. Lightly sand with very fine grit sandpaper (like 320-grit or 400-grit) between coats. This removes any dust nibs and ensures excellent adhesion. Aim for at least two to three coats of topcoat for maximum durability. Proper application of a topcoat is key to how to protect painted cabinets from wear.
Achieving a Durable and Professional Cabinet Finish
The key to a durable and professional cabinet finish lies in meticulous application and proper curing. Many DIY projects fall short because these critical final steps are overlooked. A durable finish means your cabinets will withstand the rigors of daily use for years. A professional finish ensures they look great every day.
This section focuses on the techniques that elevate your work. It also addresses crucial environmental factors. These factors directly impact the quality and lifespan of your finish. Taking extra care here will prevent future headaches.
Ensuring Uniform Coverage
Uniform coverage is vital for a consistent appearance. When applying any finish, maintain a wet edge. This means overlapping your strokes slightly. Always work from one end of a surface to the other without stopping in the middle. This technique prevents lap marks or noticeable lines where you stopped and started. For specific parts like the underside of upper cabinets, ensure you apply finish evenly. This includes learning how to finish bottom of upper cabinets properly for a seamless look.
Pay close attention to edges and corners. These areas tend to gather more finish or get missed. Use a smaller brush for detailed areas. Check for drips or runs as you go. Wipe them immediately with your brush or a clean rag before they dry. Good lighting helps you spot these imperfections early.
Essential Drying and Curing
Drying time is how long it takes for a finish to feel dry to the touch. Curing time is how long it takes for the finish to fully harden and reach maximum durability. These are two different things. Always allow the full drying time between coats. This prevents sticky finishes and ensures proper adhesion.
For curing, follow the manufacturer’s recommendations precisely. This often takes several days or even weeks. During the curing period, handle the cabinets gently. Avoid putting heavy objects on them or exposing them to high moisture. Rushing the curing process can lead to scratches, dents, or a finish that never truly hardens. Good ventilation during drying and curing is also important.
Troubleshooting Common Finishing Problems
Even with careful planning, issues can arise when finishing cabinets. Knowing how to fix these problems can save your project. Most issues are fixable if you catch them early. Do not get discouraged if something goes wrong. Understanding common pitfalls helps you react quickly and effectively.
Having the right tools and materials on hand for minor corrections is helpful. This includes extra fine-grit sandpaper, tack cloths, and a small brush. Always refer to the specific product instructions for the best advice.
Dust Nibs and Drips
Dust nibs are tiny specks of dust or debris trapped in the wet finish. They create bumps on the surface. Drips are excess finish that runs down the vertical surface. Both issues occur when the finish is still wet.
To fix dust nibs, allow the finish to dry completely. Then, lightly sand the area with very fine-grit sandpaper (400-grit or higher). Wipe away dust and apply another thin coat of finish. For drips, try to smooth them out immediately while the finish is wet. If dry, carefully sand the drip level with the rest of the surface. Then, reapply a thin coat.
Uneven Color and Sticky Finish
Uneven color often happens with stain application. This can be due to inconsistent wiping or uneven wood absorption. If you have uneven stain, you might need to sand down the affected area. Then, reapply the stain more carefully, or use a wood conditioner first on raw wood.
A sticky finish means the finish has not cured properly. This can happen from applying too thick coats, insufficient drying time between coats, or high humidity. For a sticky finish, you can try wiping it with mineral spirits or denatured alcohol, depending on the finish type. Sometimes, the only solution is to remove the sticky layer. This can involve gentle scraping or sanding, followed by reapplying the finish correctly. For a comprehensive guide on resolving stickiness, consider reviewing how to fix a sticky table finish, as many principles apply.
Maintaining Your Finished Cabinets for Long-Term Beauty
Once your cabinets are beautifully finished, proper maintenance ensures their long-term beauty. Regular care protects the finish from wear and tear. It also keeps your cabinets looking fresh and clean. Simple habits can extend the life of your cabinet finish for many years.
Neglecting cabinet care can lead to dullness, scratches, or even damage to the wood underneath. Establishing a routine cleaning and protection plan is a smart investment of your time. This keeps your home looking its best.
Gentle Cleaning Practices
For everyday cleaning, use a soft, damp cloth. Wipe down cabinet surfaces to remove dust and light grime. For tougher spots, use a mild soap and water solution. Always wipe off excess moisture immediately with a dry cloth. Do not let water sit on the cabinet surface, as it can damage the finish over time.
Avoid harsh abrasive cleaners, ammonia-based products, or silicone polishes. These can strip the finish or leave a residue that attracts dust. For general tips on keeping your cabinets pristine, explore how to clean kitchen cabinets without removing finish. This helps preserve the protective layer you worked hard to apply.
Protecting Against Damage
Protect your finished cabinets from common household damage. Use soft coasters or mats under items that might scratch the surface. Avoid direct heat sources or prolonged exposure to sunlight, which can fade or crack the finish. In kitchens, wipe up spills immediately, especially acidic liquids like vinegar or citrus juice.
Consider adding felt pads to the inside of cabinet doors and drawers where they might hit the cabinet frame. This reduces impact and wear. Periodically inspect your cabinets for any minor scratches or dings. Addressing small issues quickly prevents them from becoming larger problems.
Frequently Asked Questions
Q1: How long does it take to finish unfinished cabinets?
The entire process of finishing unfinished cabinets can take several days to a week. This includes disassembly, cleaning, sanding, applying multiple coats of primer (if painting), stain or paint, and topcoat. Each coat needs adequate drying time. The final curing process for the finish can take even longer, often several weeks, though cabinets are typically usable before full cure.
Q2: Do I need to sand new unfinished cabinets?
Yes, you should always sand new unfinished cabinets. Even if they appear smooth, new wood often has mill marks or raised grain. A light sanding with 180-grit or 220-grit sandpaper ensures a perfectly smooth surface. This also opens the wood grain slightly, allowing the primer, stain, or paint to adhere much better for a durable finish.
Q3: Can I stain over previously finished cabinets?
No, you cannot stain over previously finished cabinets. Stains need to penetrate bare wood to change its color. A previously finished cabinet has a protective layer that prevents stain from absorbing. To change the color of already finished cabinets with stain, you must first completely strip the old finish down to bare wood.
Q4: What’s the best finish for kitchen cabinets?
The best finish for kitchen cabinets is typically a durable one, such as polyurethane, conversion varnish, or lacquer. These finishes offer excellent protection against moisture, grease, and daily wear and tear. Water-based polyurethane is a popular choice for DIYers due to its low odor, quick drying time, and clear finish that resists yellowing.
Q5: How do I choose the right color or stain for my cabinets?
Choose your cabinet color or stain by considering your room’s existing elements. Look at flooring, countertops, and wall colors. Collect samples and test them on a hidden area of your cabinet wood. Observe the samples in different lighting conditions throughout the day. This helps you visualize the final look and make a confident decision.
Q6: Is it better to spray or brush cabinet finish?
Both spraying and brushing cabinet finish have pros and cons. Spraying often provides the smoothest, most professional-looking finish with no brush marks. However, it requires special equipment, good ventilation, and practice. Brushing is more accessible for DIYers and offers good control. High-quality brushes and thin coats can achieve excellent results with brushing.
Conclusion
Finishing unfinished cabinets is a rewarding project that significantly improves your home. We have covered every step, from careful preparation to the final protective layers. You now understand the importance of cleaning, sanding, and choosing the right finish for your needs. Whether you opt for a rich stain, a vibrant paint, or a natural clear coat, patience and attention to detail are your best tools.
Taking the time to properly finish unfinished cabinets ensures a durable, beautiful result. This effort protects your investment and enhances your living space for years to come. Do not hesitate to start your own cabinet finishing journey. Enjoy the satisfaction of transforming your cabinets into a custom masterpiece.
- cabinet finishing
- unfinished wood
- wood staining
- cabinet painting
- DIY cabinets
- kitchen renovation

Todd Martin
Senior Writer
With over 15 years of experience in home renovation and design, I started HEG to share what I’ve learned with homeowners who want to create spaces that are both beautiful and functional. I’ve always believed in a hands-on approach, and over the years, I’ve picked up practical solutions that actually work. Through HEG, I aim to make home improvement more approachable, sharing real tips that help you create a home you truly love.