· Katria Melrose · Home Improvement · 13 min read
How To Build A Storage Shelf For Basement
Maximize Your Space: How to Build Custom Basement Storage Shelves
My basement used to be a jumbled mess. Boxes stacked precariously, tools scattered, and holiday decorations lost in the abyss. If your basement looks like mine did, you know the frustration. Building a storage shelf for a basement transforms this chaos into calm. It creates a dedicated spot for everything. This project is a simple way to add order and use every inch of your space.
I will guide you through the process of building sturdy and useful storage shelves. We will cover planning, choosing materials, and putting everything together. You will learn how to make shelves that fit your specific needs. Get ready to turn your basement into an organized area you can enjoy. This guide helps you achieve a tidy home.
Takeaway
- Plan Carefully: Measure your space and item sizes before you build.
- Choose Right Materials: Use strong, moisture-resistant wood like pressure-treated lumber or plywood for durability.
- Build Sturdy Frames: Use 2x4s for the frame. Make sure the structure is level and plumb.
- Assemble Sections: Put together individual shelf sections first. Then join them.
- Secure to Walls: Anchor shelves to wall studs for safety and stability.
How do you build a storage shelf for a basement?
To build a storage shelf for a basement, first measure your space and decide on the shelf design. Gather materials like lumber (2x4s, plywood), screws, and tools. Construct strong frames, attach shelving surfaces, and ensure the unit is stable. Secure the finished shelves to basement walls for safety and long-term use.
Plan Your Basement Storage Shelf Design
Starting a DIY project always begins with a good plan. Before you pick up any tools, you need to think about what you want your basement storage shelf to do. Consider the items you need to store. Are they heavy boxes of books, light holiday decorations, or bulky seasonal items? This helps determine the size and strength your shelves need.
First, measure your basement space. Use a tape measure to get the exact height, width, and depth where you want to put the shelves. Look for obstacles like pipes, windows, or electrical outlets. You might need to build shelves around these features. Think about how much weight each shelf will hold. Heavy items need stronger support. I always draw a simple sketch of my basement. Then I draw where the shelves will go. This helps me visualize the finished project.
Next, decide on the shelf layout. Will it be one long unit, or multiple smaller units? Adjustable shelves give you flexibility. Fixed shelves offer more strength. Consider the space between shelves. Taller items need more room. Shorter items can fit on closer shelves. This planning stage saves time and prevents problems later. A well-planned shelf system makes your basement more organized.
Finally, think about future needs. Will your storage needs change over time? Building modular sections allows for easy expansion. Waterproofing or sealing the wood protects against moisture, a common basement issue. Taking time to plan ensures your storage solution works well for many years. It makes the building process smoother.
Essential Materials and Tools for Basement Shelving
Choosing the correct materials is important for building a durable storage shelf for your basement. The basement environment can be damp. This means you need materials that can stand up to moisture. I always recommend using pressure-treated lumber for the frame. It resists rot and insects. This makes your shelves last longer in a basement setting.
For the shelves themselves, consider plywood. Three-quarter inch (3/4”) plywood is strong and holds heavy items well. You can use half-inch (1/2”) plywood for lighter loads. Make sure the plywood is rated for structural use. This ensures it will not sag under weight. I usually buy the largest sheets possible to cut down on waste. This also means fewer seams on your shelves.
You will need specific tools for this project. A miter saw or circular saw makes cutting lumber easy and accurate. A drill is essential for pre-drilling holes and driving screws. Use long screws, at least 2.5 inches, to connect the frame pieces. They offer a strong hold. A level, tape measure, and pencil are also must-haves. Safety gear like safety glasses and gloves protects you while you work.
Consider additional materials for extra durability or finish. Moisture-resistant paint or sealer helps protect the wood further. This is especially good if your basement has high humidity. Leg levelers can help if your basement floor is uneven. These small additions make a big difference in the shelf’s lifespan and stability. Using the right materials and tools sets you up for success.
Step-by-Step Guide to Building the Shelf Frame
Building the frame is the first main construction step for your basement storage shelf. The frame provides the core strength for your unit. I start by cutting all the vertical and horizontal supports from 2x4 lumber. Measure twice, cut once. This old saying is very true here. Make sure all your cuts are straight and accurate.
First, cut your vertical posts to the desired height of your shelf unit. These will be the main uprights. For a standard unit, you might need four posts. If you are building a very long unit, add more posts for support. Next, cut the horizontal pieces. These pieces form the front and back of each shelf level. They also form the short side supports. These supports will run between the vertical posts.
Now, assemble the side frames. Lay two vertical posts on a flat surface. Attach the horizontal shelf supports between them. Use a drill to pre-drill holes. Then drive two screws into each joint. Make sure the corners are square. A speed square helps check this. Repeat this for the other side frame. These are the two ladder-like structures that form the sides of your shelf unit.
Finally, connect the side frames with front and back horizontal pieces. Stand your two side frames upright. Place a long horizontal piece across the front at the top. Attach it to both side frames. Do the same for the back. Then, repeat this for each shelf level. This forms a strong box-like structure. Check for squareness and levelness as you go. This ensures your entire shelf unit stands straight and strong.
Attaching Shelf Surfaces and Reinforcements
Once your frame is complete, the next step is to attach the shelf surfaces. This is where your shelves start to look like actual storage. I typically use plywood for the shelves. It offers a flat, strong surface. First, measure each shelf opening in your newly built frame. Cut the plywood pieces to fit snugly inside these openings. Make sure your cuts are straight.
Place each plywood piece onto its designated shelf level within the frame. It should rest on the horizontal 2x4 supports. Secure the plywood to the frame using screws. Drive screws every 12 to 18 inches around the perimeter of the plywood. This keeps the shelves from shifting or lifting. Make sure the screw heads are flush with or slightly below the surface of the plywood. This creates a smooth surface for your items.
For heavy-duty storage, consider adding extra reinforcement. You can add a middle support beam underneath longer shelves. This prevents sagging over time. Cut a 2x4 to fit across the middle of the shelf. Attach it vertically to the front and back horizontal supports. This simple addition greatly increases the weight capacity of your shelves. This is especially useful for storing items like heavy tools or bulk supplies.
If you are planning to store very heavy items, you can also use thicker plywood. Three-quarter inch plywood is a good choice for this. Alternatively, you can double up on your plywood layers for extreme weight. Make sure all connections are tight and secure. Your finished shelves should feel solid and stable. This step makes your shelf ready for storage.
Ensuring Stability and Securing Your Shelves
A stable shelf is a safe shelf, especially in a busy basement. After assembling your shelf unit, the next critical step is to ensure it is stable and secure. This prevents tipping and damage. I always start by checking if the shelf stands level. Use a level on the top and sides of the unit. If the floor is uneven, you can use shims under the shelf’s feet. Small wood shims work well for this.
Next, you must secure the shelf to the basement wall. This is a very important safety step. Locate the wall studs behind your shelf. Use a stud finder to find them. Mark their locations on the wall and on your shelf’s vertical posts. Use long lag screws or heavy-duty anchors to attach the shelf. Drive at least two screws through the shelf’s top back horizontal piece into each wall stud. This makes the shelf a fixed part of your basement.
Consider the type of wall in your basement. If you have concrete walls, you will need special concrete anchors and a hammer drill. For standard wood stud walls, regular lag screws are fine. Always make sure the connection is strong. Push on the shelf after it is anchored. It should not wobble or move. This step gives me peace of mind.
For added stability, especially with tall or free-standing units, you can add cross-bracing. This means attaching diagonal pieces of wood to the back of the shelf. They form an “X” shape. This prevents the shelf from swaying side-to-side. This is crucial if your shelf is not completely against a wall. A secure shelf keeps your family and your stored items safe.
Protecting Your Basement Storage from Moisture and Pests
Basements often have unique challenges, like moisture and pests. Protecting your new storage shelf from these elements will ensure its longevity. Even with pressure-treated lumber, extra steps can help. I always recommend sealing or painting the wood. This creates a barrier against humidity. A good quality primer and paint can protect your shelves. Choose moisture-resistant paint designed for basement use.
Before painting, make sure the wood is clean and dry. Apply several thin coats rather than one thick one. This allows for better adhesion and protection. Pay special attention to cut ends. These are often more vulnerable to moisture absorption. A coat of polyurethane or a wood sealer also works well. This creates a protective layer that water cannot easily penetrate.
To deter pests, good organization is key. Pests like mice or insects are drawn to clutter. Keeping items on shelves and off the floor reduces hiding places. You might also consider placing desiccant packets on shelves with sensitive items. These absorb excess moisture. Keep the area around your shelves clean. Sweep and vacuum regularly. Cleaning your basement helps keep pests away.
Storing items in sealed plastic bins is another smart move. This protects your belongings from dust, moisture, and pests. Label your bins clearly. This makes finding items easier later. Elevating your bottom shelf slightly off the floor can also help. This allows air to circulate and prevents direct contact with any damp spots on the concrete floor. Proper protection keeps your stored items safe and clean. You can also learn how to protect furniture in storage from mice.
Optimizing Your Basement for Efficient Storage
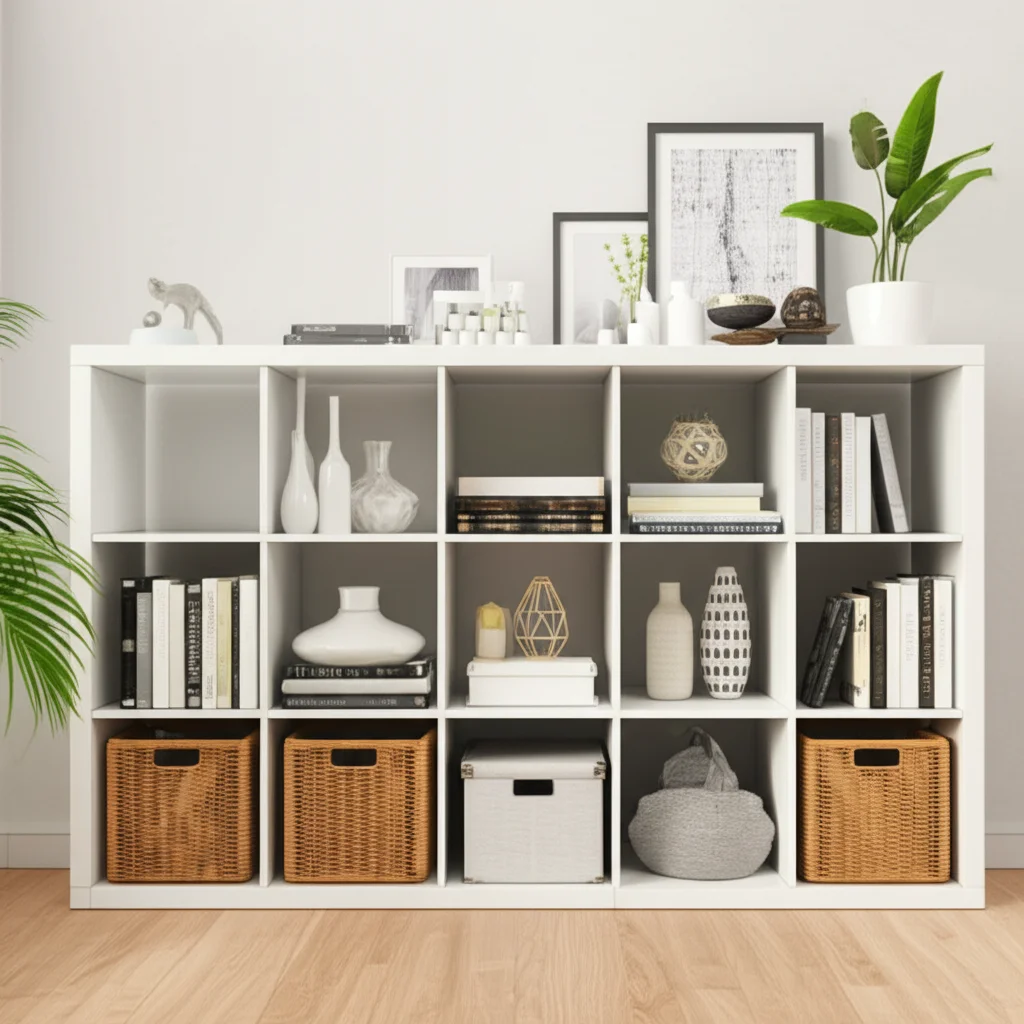
Building shelves is a big step, but optimizing your basement goes further. Efficient storage means making the most of every square inch. Once your shelves are built, it is time to arrange your items. Think about what you use most often. Place frequently used items on lower or easily accessible shelves. Store seasonal items or things you use rarely on higher shelves. I always put holiday decorations on the top shelf.
Consider using storage bins and containers. Clear plastic bins allow you to see what is inside without opening them. Labeling each bin is also very helpful. This saves you time when you are looking for something specific. Group similar items together. All tools go on one section. Craft supplies go on another. This creates a logical system.
Think about vertical space. If you have tall ceilings, you can build your shelves high. Use a sturdy step stool or small ladder to reach the top shelves safely. Also, consider the depth of your shelves. Deeper shelves hold more, but they can make items at the back hard to reach. Moderate depth shelves are often best for general storage.
Lastly, maintain your organized system. Schedule a quick decluttering session once or twice a year. Remove anything you no longer need. This prevents your shelves from becoming overcrowded again. An organized basement storage shelf saves you time and reduces stress. It transforms your basement into a functional space.
FAQ Section
What is the best wood to use for basement shelves?
The best wood for basement shelves is pressure-treated lumber for the frame due to its resistance to moisture and insects. For the actual shelves, use structural-grade plywood (3/4-inch for heavy loads, 1/2-inch for lighter items). These materials ensure durability in a damp basement environment.
How do you prevent basement shelves from sagging?
To prevent basement shelves from sagging, use thick plywood (3/4-inch) for the shelf surfaces. Add middle support beams made from 2x4 lumber underneath longer shelves. Ensure the shelf frame is built with strong, properly spaced vertical and horizontal supports.
Should I anchor my basement shelves to the wall?
Yes, you should always anchor your basement shelves to the wall. This is a crucial safety step to prevent the unit from tipping over, especially if it is tall or holds heavy items. Use a stud finder to locate wall studs and secure the shelf frame to them with long lag screws or heavy-duty anchors.
How do I protect wood shelves from basement moisture?
To protect wood shelves from basement moisture, use pressure-treated lumber for the frame and seal or paint all wood surfaces with a moisture-resistant primer and paint. Ensure good air circulation around the shelves and store items in sealed plastic bins. You can also use desiccants for extra protection.
What tools do I need to build a basement shelf?
You will need a miter saw or circular saw for cutting lumber, a drill for pre-drilling and driving screws, a tape measure, a level, a pencil, and a stud finder. Safety glasses and gloves are also essential. These tools help ensure accurate cuts and a secure build.
How much space should be between basement shelves?
The space between basement shelves depends on what you plan to store. For general use, 12-18 inches between shelves is common. For taller items like storage bins or large tools, allow 24-30 inches or more. Adjustable shelving allows you to change spacing as your storage needs evolve.
Conclusion
Building a storage shelf for your basement is a rewarding project. It makes a big difference in how you use your home. I have found that a well-organized basement takes away a lot of stress. You can find what you need quickly. This guide helped you understand the steps. We talked about planning your design, choosing good materials, and building a strong frame. We also covered how to make your shelves sturdy and safe.
Remember to protect your shelves from moisture and pests. This ensures they last for many years. Organizing your items on the shelves keeps your basement functional. Now is the perfect time to start this project. Take back your basement space. Create an organized storage area. Get your tools ready and begin to build the storage shelf for your basement today. You will love the outcome.
- basement storage
- DIY shelving
- home organization
- storage solutions
- basement organization

Katria Melrose
Cleaning Specialist
With over 12 years of experience in commercial cleaning and a certification in workplace ergonomics, I’ve developed a deep understanding of what makes a workspace truly productive. At HEG, I specialize in helping people transform their home offices into clean, efficient, and comfortable environments. Through smart cleaning routines and strategic organization solutions, I empower readers to create spaces that support focus, comfort, and success—one well-organized desk at a time.