· Todd Martin · Home Improvement · 12 min read
How To Add Legs To Cube Storage
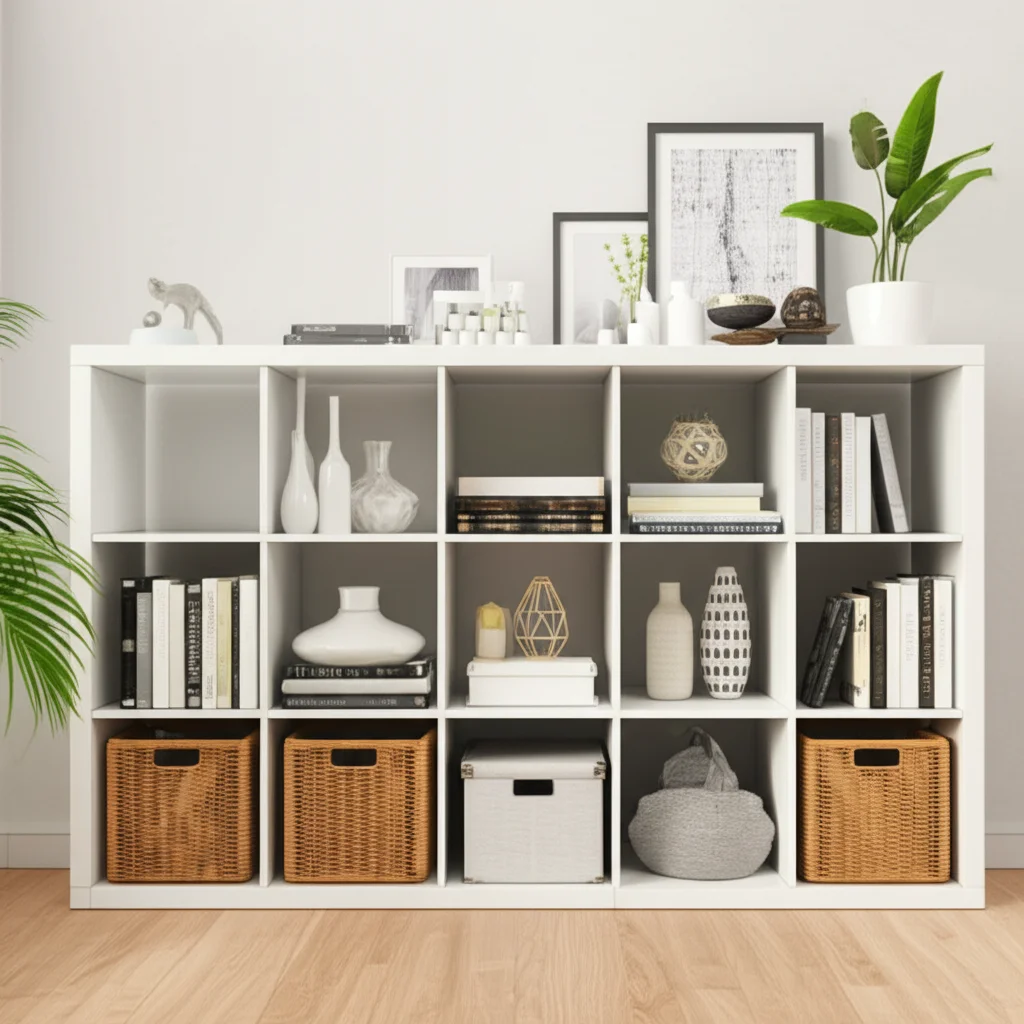
Elevate Your Space: How To Add Legs To Cube Storage
Have you ever looked at your cube storage unit and wished it stood a little taller? Maybe you want to give it a more finished, furniture-like appearance. Adding legs to cube storage can change its look completely. It also adds height, making items easier to reach. I’ve found this simple upgrade makes a big difference in any room.
This guide will show you how to add legs to cube storage effectively. We will cover everything from choosing the right legs to the installation process. You will learn about different leg types and essential tools. We will also discuss safety tips and common issues. By the end, you will feel confident to transform your cube storage into a stylish and functional piece.
Takeaway
- Adding legs elevates cube storage, improving aesthetics and accessibility.
- Proper leg selection and secure attachment are crucial for stability.
- Measure, prepare, and pre-drill holes for a smooth installation process.
To add legs to cube storage, you must select appropriate furniture legs, confirm the cube unit’s material and structure, and then securely attach the legs using screws and mounting plates, often with pre-drilled pilot holes for stability and preventing damage. This process transforms a basic unit into a more elevated and functional piece.
Why Add Legs to Your Cube Storage?
Adding legs to a cube storage unit brings many benefits. It elevates the unit off the floor. This makes cleaning underneath much easier. Dust and debris cannot accumulate as readily. Also, raising the unit can protect it from floor moisture.
Beyond practical benefits, legs change the whole look of the piece. A unit sitting directly on the floor can look heavy. Legs create an airy, lighter feel. They can make a basic storage unit appear more like a piece of custom furniture. This instantly upgrades the room’s style. I find it gives the space a more polished and intentional design.
Legs also improve accessibility. Reaching items on the bottom shelf becomes much easier. You do not need to bend down as far. This is especially helpful for people with back issues. For children’s rooms, it can make toys more accessible at their height. Legs turn a simple storage solution into a functional design element.
Choosing the Right Legs for Your Cube Storage
Selecting the correct legs is important. Different leg types offer various styles and support. Consider the material of the legs first. Wood legs give a classic or rustic feel. Metal legs provide a modern or industrial look. Plastic legs are lightweight and often affordable. Each material has its own weight capacity and aesthetic.
Think about the height you need. Legs come in many heights, from short risers to tall table legs. Taller legs are good for turning a unit into a console table. Shorter legs simply lift it off the floor. The thickness of the legs also matters for appearance and stability. Thicker legs offer more visual weight and support.
Consider how the legs attach. Some legs screw directly into the unit. Others use mounting plates or brackets. Mounting plates spread the weight and offer a stronger connection. Ensure the leg’s attachment method matches your cube unit’s construction. Some cube units have a hollow core, requiring special consideration for attachment.
Essential Tools and Materials You’ll Need
Before you start, gather all your tools and materials. Having everything ready makes the job go smoothly. You will need the furniture legs themselves. Make sure you have the correct number and type. Also, check if the legs come with mounting hardware. If not, you will need to buy screws and mounting plates separately.
Here is a list of common tools:
- Drill: An electric drill is crucial for pre-drilling holes. This prevents wood from splitting.
- Drill bits: Match the drill bit size to your screw diameter. Use a slightly smaller bit for pilot holes.
- Measuring tape: Accurate measurements ensure even leg placement.
- Pencil: Mark the spots where you will attach the legs.
- Screwdriver: You will need a screwdriver bit for your drill or a manual screwdriver. This depends on your screw type.
- Safety glasses: Always protect your eyes when drilling.
- Level: A level helps ensure the unit sits evenly.
- Wood glue (optional): For added stability in some setups.
- Felt pads (optional): Protect your floors from scratches.
Having these items ready prevents interruptions. This makes the installation process efficient. I always lay out all my tools beforehand. It saves time and stress during the project.
Preparing Your Cube Storage Unit for Leg Installation
Proper preparation is key to a stable and professional result. First, empty your cube storage unit completely. This makes it lighter and easier to move. It also prevents damage to items inside. Place the unit upside down on a clean, flat surface. Use a soft blanket or cardboard to protect the top surface.
Inspect the bottom of your cube unit. Most cube storage units are made from particle board or MDF. Identify the solid areas where the screws will get good grip. Avoid drilling into hollow sections. The outer perimeter and any internal dividers usually offer solid points. Some units have a thin base that might require extra support.
Measure and mark the leg positions. Use your measuring tape and pencil. Place the legs about 1-2 inches in from each corner. This provides maximum stability. Mark the screw holes accurately. If using mounting plates, trace the plate and mark all screw holes. Ensure the marks are symmetrical and even. This step is like preparing to attach legs to an epoxy table, where precise marking ensures alignment. Accurate marking prevents wobbly results.
Step-by-Step Guide to Attaching the Legs
Attaching legs is a straightforward process when you follow these steps carefully. Start by pre-drilling pilot holes. Use a drill bit that is slightly smaller than your screw diameter. Drill slowly and carefully. Do not drill all the way through the unit. The pilot hole should be deep enough for the screw to bite. Pre-drilling prevents the wood from splitting, especially with particle board.
Next, align the legs or mounting plates with your marked spots. If using mounting plates, position the plate over the pilot holes. Insert the screws into the holes. Use your drill with a screwdriver bit or a manual screwdriver. Drive the screws in until they are snug. Do not overtighten, as this can strip the screws or damage the particle board.
If your legs screw directly into the unit, attach them firmly. Some legs have a hanger bolt that screws into a pre-drilled hole. Then, the leg twists onto the bolt. Ensure all legs are tightened securely. After attaching all legs, carefully turn the unit upright. Check for stability. If it wobbles, recheck the tightness of each screw. Adjust as needed until the unit stands firm. This process is similar to how you would add legs to a dresser, ensuring stability for furniture.
Reinforcing and Stabilizing Your Elevated Cube Storage
Sometimes, the standard attachment might not be enough, especially for heavier items. Reinforcement can add significant stability. If your cube unit’s bottom panel feels thin, consider adding a wooden base plate. This is a piece of plywood cut to the size of the unit’s base. You can attach it to the bottom of the cube unit first. Then, attach the legs to this sturdy base plate. This spreads the weight and provides a much more secure attachment point for the legs.
For extra strength, particularly with taller legs, use corner brackets. These metal brackets attach to the inside corner of the cube unit and to the leg. They provide lateral support, preventing the legs from splaying out. You can also use leg levelers on uneven floors. These small adjustable feet screw into the bottom of the legs. They help you perfectly level the unit.
Always check for wobble after adding legs and before loading the unit. Push gently on different sides. If you notice any movement, tighten the screws or add more support. Sometimes, a little wood glue on the leg-to-unit connection points can provide extra assurance, but this makes the legs permanent. A stable unit ensures safety and longevity.
Styling Your Elevated Cube Storage
Adding legs transforms a basic storage unit into a decorative piece. Now it is time to style it. The new height opens up many design possibilities. You can use the top surface for display. Add plants, lamps, or decorative objects. A framed photo or a stack of books looks great on the elevated surface. This makes the unit feel more like a console table or buffet.
Consider adding storage bins or baskets that fit the cubbies. These hide clutter and add a cohesive look. Choose bins that match your room’s color scheme or material. Fabric bins offer a soft touch. Wicker baskets add texture. Clear plastic bins are practical for seeing contents. Think about the room’s overall aesthetic.
You can further enhance the unit with paint or wallpaper. Painting the cube unit before adding legs can totally change its character. A bold color can make it a statement piece. Wallpaper on the back panel of the cubbies adds a pop of pattern. Remember, styling is about making the unit functional and beautiful. It is similar to how you might build a coffee table with storage and then style it to fit your living room.
Maintenance and Care for Your New Unit
Once you add legs to cube storage, a little maintenance helps keep it looking good. Regularly check the leg connections. Screws can loosen over time, especially if the unit is moved frequently or holds heavy items. Tighten any loose screws promptly. This prevents wobbling and maintains stability.
Clean the legs and the unit as needed. For wooden legs, dust with a soft cloth. For metal legs, wipe with a damp cloth and dry immediately to prevent rust. Avoid harsh chemical cleaners. These can damage the finish. If you used felt pads on the bottom of the legs, check them occasionally. They can wear down or fall off. Replacing worn pads protects your floors from scratches. Keeping felt pads on chair legs uses similar principles.
If the unit is in a high-traffic area, consider adding additional protective measures. Coasters on top surfaces prevent water rings. Avoid overloading the unit. Distribute weight evenly within the cubbies. Proper care ensures your elevated cube storage remains a functional and attractive part of your home for years. It is about protecting your furniture, much like learning how to protect wood furniture in storage.
Troubleshooting Common Issues
Even with careful planning, you might encounter some issues. One common problem is a wobbly unit. This usually means the legs are not evenly attached or tightened. Recheck all screws. Use a level to identify which leg is too short or too long. Adjustable leg levelers can fix unevenness on the floor itself. Sometimes, the unit itself might be slightly warped. In this case, shims under the legs can help.
Another issue is stripped screw holes. This happens if you overtighten screws or drill pilot holes too large. If a screw hole is stripped, remove the screw. Fill the hole with wood filler or a small dowel glued in place. Let it dry completely. Then, re-drill a new pilot hole and reinsert the screw. This gives the screw a new, firm grip.
If the bottom of your cube unit feels too flimsy for direct leg attachment, do not force it. This is where the base plate reinforcement mentioned earlier comes in. A thin piece of plywood attached to the entire base provides a solid surface for leg attachment. Do not be afraid to add extra support if the initial setup feels unstable. Your goal is a safe and sturdy piece of furniture.
FAQ Section
Can any cube storage unit have legs added?
Most cube storage units can have legs added. Check the unit’s material. Particle board or MDF units are common. Ensure there are solid areas on the bottom for screw attachment. Units with very thin bases might need a reinforcing plate.
What kind of legs are best for cube storage?
The best legs depend on your style and weight needs. Wooden legs offer a classic look. Metal legs give a modern feel. Choose legs with a wide top plate for better stability. Legs designed for furniture are generally good choices.
How do I determine the right leg height?
Consider the unit’s purpose. If it is a bookshelf, standard furniture leg height (around 4-6 inches) works well. For a console table, choose taller legs (18-28 inches). Measure existing furniture for comparison if you are unsure.
Do I need to drill pilot holes?
Yes, drilling pilot holes is very important. Pilot holes prevent the wood or particle board from splitting when you insert screws. They also make it easier to drive the screws in straight. The pilot hole should be slightly smaller than the screw’s diameter.
How do I prevent the unit from wobbling after adding legs?
To prevent wobbling, ensure all legs are tightened evenly. Use a level to check for evenness. If your floor is uneven, use adjustable leg levelers on the bottom of the legs. Adding corner brackets can also improve stability, especially for taller legs.
Can I remove the legs later if I change my mind?
Yes, you can usually remove the legs later. If you used screws, simply unscrew them. There might be visible screw holes left behind. If you used wood glue for extra security, removal will be more difficult and might damage the unit.
Conclusion
Adding legs to cube storage is a practical and stylish upgrade. It transforms a simple storage solution into an elevated piece of furniture. You improve its appearance and make it more functional. I have found this DIY project truly rewarding. It offers a custom look without the high cost.
Remember to choose the right legs for your unit’s style and needs. Gather all your tools before you begin. Take your time to measure and pre-drill holes accurately. Reinforce the unit if necessary for lasting stability. With these steps, you can confidently add legs to cube storage and enhance your living space. Start your project today and see the transformation!
- cube storage
- furniture legs
- DIY storage
- home organization
- storage solutions


