· Todd Martin · DIY Home Improvement · 13 min read
How To Build Cabinets Over Baseboard
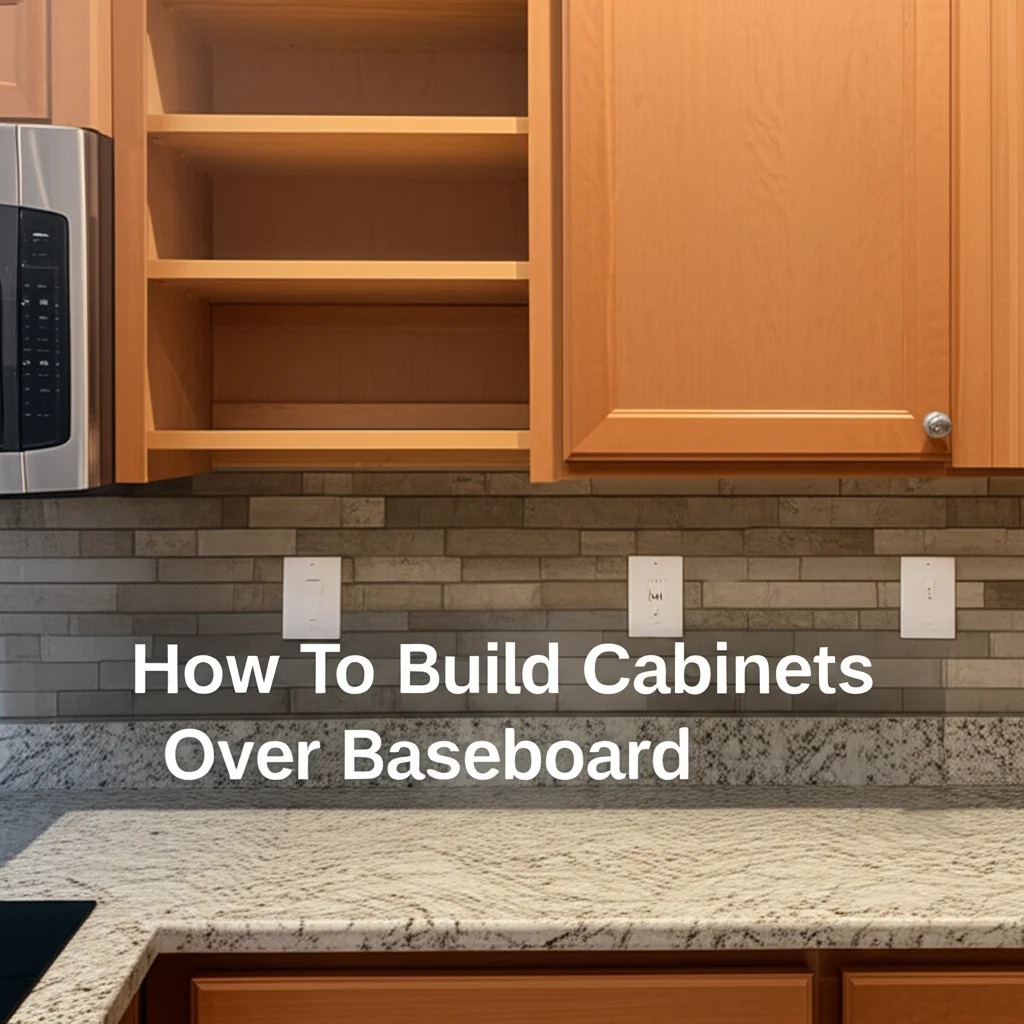
Building Cabinets Over Baseboard: A Comprehensive DIY Guide
Have you ever considered adding built-in cabinets but hesitated because of existing baseboards? It is a common challenge for homeowners and DIY enthusiasts. Building cabinets over baseboard trim creates a seamless, finished look that enhances any room. This guide provides clear instructions to help you integrate new cabinetry with your existing wall trim. You can achieve professional results with careful planning and proper techniques. I will walk you through design, construction, and installation steps.
Takeaway:
- Plan your cabinet design carefully, accounting for baseboard height and depth.
- Choose between notching cabinets or removing baseboard for a clean fit.
- Use precise measurements and cuts for a professional installation.
- Secure cabinets to wall studs for stability.
- Finish with trim work that integrates new cabinets with existing baseboards.
To build cabinets over baseboard, you typically modify the cabinet kick plate or base to accommodate the existing trim. This involves either notching the cabinet to fit around the baseboard or removing the baseboard where the cabinet will sit flush against the wall, then reinstalling trim if needed.
Understanding Baseboard Challenges for Cabinetry
Baseboards are a common feature in most homes. They provide a finished look where walls meet the floor. However, they can pose a challenge when you want to install new cabinets. You cannot just push a flat-backed cabinet against a wall with baseboard trim. The cabinet will not sit flush against the wall, leaving an unsightly gap.
Different types of baseboards exist, varying in height and thickness. Standard baseboards are often 3 to 4 inches tall. Custom or older homes might have taller or more ornate trim. You must consider these dimensions when planning your cabinet build. Ignoring the baseboard can lead to unstable cabinets or an unfinished appearance. Proper planning avoids these issues.
I have seen many projects where baseboards were overlooked. This often leads to frustrating last-minute adjustments. It is much easier to address this during the design phase. You have a few options to solve this problem. These include notching the cabinet or removing the baseboard entirely. Each method has its own benefits and challenges.
Consider the room’s aesthetic. Do you want the cabinet to look fully integrated? Or is a slight protrusion acceptable? Most people prefer a built-in look. This means the cabinet should sit flush against the wall. Understanding your baseboard dimensions is the first crucial step for success.
Planning Your Cabinet Project: Design and Measurements
Careful planning is essential before you cut any wood. Begin by measuring your space accurately. Measure the width, height, and depth where your cabinets will go. Pay close attention to corners and any irregularities in the walls. Walls are rarely perfectly straight or square.
Now, focus on your baseboard. Measure its exact height from the floor. Also, measure its thickness, meaning how far it projects from the wall. These measurements are critical for deciding how your cabinet will interact with the baseboard. You need to decide if you will notch the cabinet or remove the baseboard. Notching involves cutting a recess into the cabinet’s bottom edge. This allows the cabinet to fit around the baseboard. This method is often preferred for built-in looks without major wall alterations.
Removing the baseboard means cutting and pulling out the section where the cabinet will sit. The cabinet then goes directly against the wall, and you might reinstall the baseboard around it or transition it into the cabinet. If you remove the baseboard, make sure you can neatly cut and reattach the remaining sections. I generally recommend removing it for a truly flush, built-in look, especially for larger units. However, notching works well for smaller, freestanding units that sit tight against a wall.
Design your cabinet boxes keeping these measurements in mind. If you notch, the cabinet’s kick plate or bottom frame needs to be taller than your baseboard. This allows space for the notch. For custom cabinets, you can design your cabinet face frames or the entire cabinet structure to accommodate the baseboard. Think about the style too. Will your cabinets have a toe kick? How will it integrate with the baseboard? A well-planned design saves time and effort during construction.
Essential Tools and Materials for Cabinet Construction
Gathering the right tools and materials makes your project go smoothly. You will need a variety of common woodworking tools. A circular saw or table saw is essential for cutting plywood and other sheet goods accurately. A miter saw is perfect for precise crosscuts, especially for trim pieces. You also need a drill for assembling components and attaching cabinets to walls.
For materials, high-quality plywood is a common choice for cabinet boxes. It provides strength and stability. Hardwood for face frames and doors offers durability and a finished look. You might also need MDF or particleboard for specific parts, like back panels. Consider the type of wood and finish you want for your cabinets. This affects the overall appearance and cost.
Here is a list of essential items:
- Measuring Tools: Tape measure, combination square, level (long and short).
- Cutting Tools: Circular saw or table saw, miter saw, jigsaw (for notches).
- Drilling/Fastening Tools: Cordless drill, various drill bits, impact driver, stud finder.
- Assembly Hardware: Wood screws, pocket hole screws, cabinet connectors.
- Joining Methods: Wood glue, clamps.
- Finishing Supplies: Sandpaper, primer, paint or stain, brushes, rollers.
- Safety Gear: Safety glasses, hearing protection, dust mask.
I always recommend having more clamps than you think you need. They are incredibly useful for holding pieces together while glue dries or screws go in. Do not forget a reliable stud finder. Attaching your cabinets securely to wall studs is vital for stability. Choose screws appropriate for the material and ensure they are long enough to penetrate the studs. Remember, using the right tools ensures precise cuts and a strong final product.
Building the Cabinet Boxes: The Foundation
Constructing the cabinet boxes is the core of your project. This is where you bring your design to life. Start by cutting your plywood or chosen material according to your measured dimensions. Label each piece to avoid confusion. Accuracy in this stage prevents headaches later on.
I usually begin with the side panels, top, and bottom. These form the basic box shape. Use wood glue and screws, or pocket hole joinery, to assemble the box. Pocket holes create strong, hidden joints. Ensure all corners are square. A carpenter’s square is invaluable for checking this. An out-of-square box will cause problems down the line, especially when adding doors.
Now, consider the baseboard. If you opted to notch the cabinet, this is the time to do it. Measure up from the bottom of your cabinet side panels the exact height of your baseboard. Then, measure in from the back edge the thickness of your baseboard. Mark these dimensions on the bottom-back corners of your cabinet side panels and the bottom shelf or kick plate. Use a jigsaw to carefully cut out these notches. This allows the cabinet to slide snugly around the baseboard.
If you chose to remove the baseboard, you do not need to notch the cabinet. The cabinet box will sit directly against the wall. Building a toe kick for your wall cabinets is often done at this stage. A toe kick provides a recessed space at the bottom of the cabinet, improving comfort when standing close. Whether you notch or remove baseboard, make sure the cabinet box is sturdy. Add a back panel for rigidity and to help keep the cabinet square. This also gives you a surface to attach to the wall.
For various cabinet types, the basic box construction principles remain similar. Whether you’re building a pantry cabinet with doors or wall cabinets for a living room, a strong, square box is your foundation.
Installing Cabinets Over Baseboard: Techniques and Tips
With your cabinet boxes built, it is time for installation. This step requires precision to ensure stability and a professional look. First, locate the wall studs using your stud finder. Mark their positions lightly with a pencil. These are the points where you will anchor your cabinets. Attaching cabinets directly to studs is crucial for long-term stability.
Carefully position the first cabinet. If you notched the cabinet, it should slide right over the baseboard. Ensure it is perfectly level. Use shims if the floor is uneven. Shims are small, tapered pieces of wood that you place under the cabinet to lift and level it. Check for level both front-to-back and side-to-side. An unlevel cabinet will create issues with doors and drawers later.
Once level, secure the cabinet to the wall studs. Drill pilot holes through the cabinet’s back panel into the studs. Then, drive long wood screws through these pilot holes into the studs. Use at least two screws per stud, one near the top and one near the bottom. This prevents the cabinet from tipping. If installing multiple cabinets, use cabinet screws to join them together. This creates a solid, unified unit. You can also fill gaps between two cabinets if necessary, for a seamless appearance.
When dealing with existing baseboard heaters, careful planning is even more important. You cannot block the heat source. If your cabinets will be near these, you might need to leave a gap or create a custom enclosure. Arranging furniture around baseboard heaters requires similar considerations to cabinet placement. Always prioritize safety and functionality. Take your time during installation. Rushing can lead to mistakes and rework. A properly installed cabinet is safe and looks great.
Finishing Touches and Baseboard Integration
Once your cabinets are securely installed, it is time for the finishing touches. This step ensures a seamless look and integrates the new cabinetry with your room’s existing baseboard trim. If you removed the baseboard where the cabinets sit, you now need to address the remaining exposed wall. You have a few options here.
One option is to cut new sections of baseboard to fit flush against the front of your cabinets. Then, you can mitre the ends to meet the existing baseboard perfectly. This creates a continuous run of trim around the room and across the front of your cabinets. Use wood glue and finish nails to secure the new baseboard pieces. Fill any small gaps with caulk for a clean line. If you need to paint these new pieces, ensure they match the existing trim.
If you chose to notch your cabinets around the baseboard, you might not need to add new trim. However, you might want to add a thin piece of scribe molding where the cabinet meets the wall. This hides any small gaps that might appear due to wall imperfections. Scribe molding is flexible and can be easily cut to fit. Use caulk along the top edge of the baseboard where it meets the cabinet. This creates a smooth transition.
After all trim work is complete, consider painting or staining your cabinets. If you want to achieve a factory-like finish, proper preparation is key. This might involve sanding, priming, and multiple coats of paint. Learn how to paint kitchen cabinets without sanding if you are looking for an easier prep method. Or, if you need to match existing finishes, find tips on how to match stain on cabinets. Add cabinet doors and hardware last. This completes the functionality and aesthetic of your new built-ins. Step back and admire your new, custom cabinets.
Troubleshooting Common Issues During Cabinet Installation
Even with careful planning, issues can arise during cabinet installation. Knowing how to troubleshoot these problems saves time and frustration. One common problem is uneven floors. This causes cabinets to wobble or sit unlevel. Always use shims to correct this. Place shims under the low points of the cabinet base. Tap them in gently until the cabinet is perfectly level. Trim any excess shim material once the cabinet is secure.
Another issue is uneven walls. Walls are rarely perfectly flat. This can create gaps between the back of the cabinet and the wall. If the gap is small, a bead of caulk can hide it. For larger gaps, you might need to use a piece of scribe molding. Scribe molding is thin and flexible. It can be tapered to fit the contour of the wall, bridging the gap for a finished look. Attach it to the cabinet edge where it meets the wall.
Sometimes, cabinet doors might not align perfectly after installation. This usually means the cabinet box is slightly out of square. Check the box again with a large square. If it is off, you might need to loosen screws, adjust the cabinet slightly, and re-tighten. Adjustable hinges can also help fine-tune door alignment. Most cabinet hinges have screws that allow for up-down, left-right, and in-out adjustments.
If you encounter difficulties with the baseboard cutouts, remember that minor imperfections can be concealed. Small gaps around the baseboard can be filled with wood putty or caulk before painting. Always test-fit your cabinets before final fastening. This gives you a chance to spot problems early. Patience is key. Addressing issues as they arise prevents larger problems later on. A solid, level installation is worth the extra effort.
FAQ Section
Should I remove the baseboard or notch the cabinet when building cabinets over it?
You can either remove the baseboard or notch the cabinet. Removing the baseboard creates a truly flush, built-in appearance, as the cabinet sits directly against the wall. Notching the cabinet allows it to fit around the existing trim, which is simpler but may not be as perfectly seamless. Your choice depends on the desired look and your comfort with carpentry.
How do I ensure my cabinets are level when installing them over an uneven floor?
Use shims to level your cabinets on an uneven floor. Place thin shims under the low spots of the cabinet’s base until it is perfectly plumb and level. Check for level both front-to-back and side-to-side using a spirit level. Once level, secure the cabinet to the wall studs and trim any excess shim material.
What tools are essential for cutting cabinets to fit around baseboards?
For cutting cabinets to fit around baseboards, essential tools include a tape measure, a pencil for marking, and a jigsaw. A jigsaw allows you to make precise, curved, or straight cuts for notching the cabinet base. A utility knife can score the cut line first for cleaner edges on laminated materials.
Can I build any type of cabinet over baseboard?
Yes, you can build or adapt most types of cabinets to fit over baseboard. This includes floor-to-ceiling cabinets, kitchen base cabinets, or custom built-in units. The primary adjustment involves modifying the cabinet’s bottom or kick plate to accommodate the baseboard’s height and depth, ensuring a stable and flush installation against the wall.
How do I finish the gap between the cabinet and the baseboard for a clean look?
To finish the gap between the cabinet and the baseboard, you can use caulk for small gaps. For larger gaps, or if you removed the baseboard section, install new baseboard pieces along the cabinet face. Mitre these pieces to seamlessly connect with the existing baseboard. Scribe molding can also hide minor imperfections where the cabinet meets the wall.
Conclusion
Building cabinets over baseboard is a rewarding DIY project that significantly enhances your home’s functionality and aesthetic appeal. You learned to plan your design, measure accurately, and choose between notching or removing baseboard. We also covered essential tools, proper cabinet box construction, and secure installation techniques. Remember that meticulous measurement and a patient approach are your best allies.
Addressing common issues like uneven floors or walls with shims and scribe molding ensures a professional outcome. Integrating new trim pieces or careful caulking provides a seamless look that makes your cabinets appear custom-built. Taking on this project adds valuable skills to your DIY repertoire and results in beautiful, integrated storage solutions. Are you ready to transform your living space with custom-built cabinetry? Start planning your project today and enjoy the satisfaction of a job well done.
- Cabinet Installation
- DIY Cabinetry
- Baseboard Trim
- Home Renovation
- Custom Cabinets
- Woodworking Projects

Todd Martin
Senior Writer
With over 15 years of experience in home renovation and design, I started HEG to share what I’ve learned with homeowners who want to create spaces that are both beautiful and functional. I’ve always believed in a hands-on approach, and over the years, I’ve picked up practical solutions that actually work. Through HEG, I aim to make home improvement more approachable, sharing real tips that help you create a home you truly love.