· Todd Martin · DIY Home Improvement · 18 min read
How To Paint A File Cabinet

Revitalize Your Office: How To Paint A File Cabinet Easily
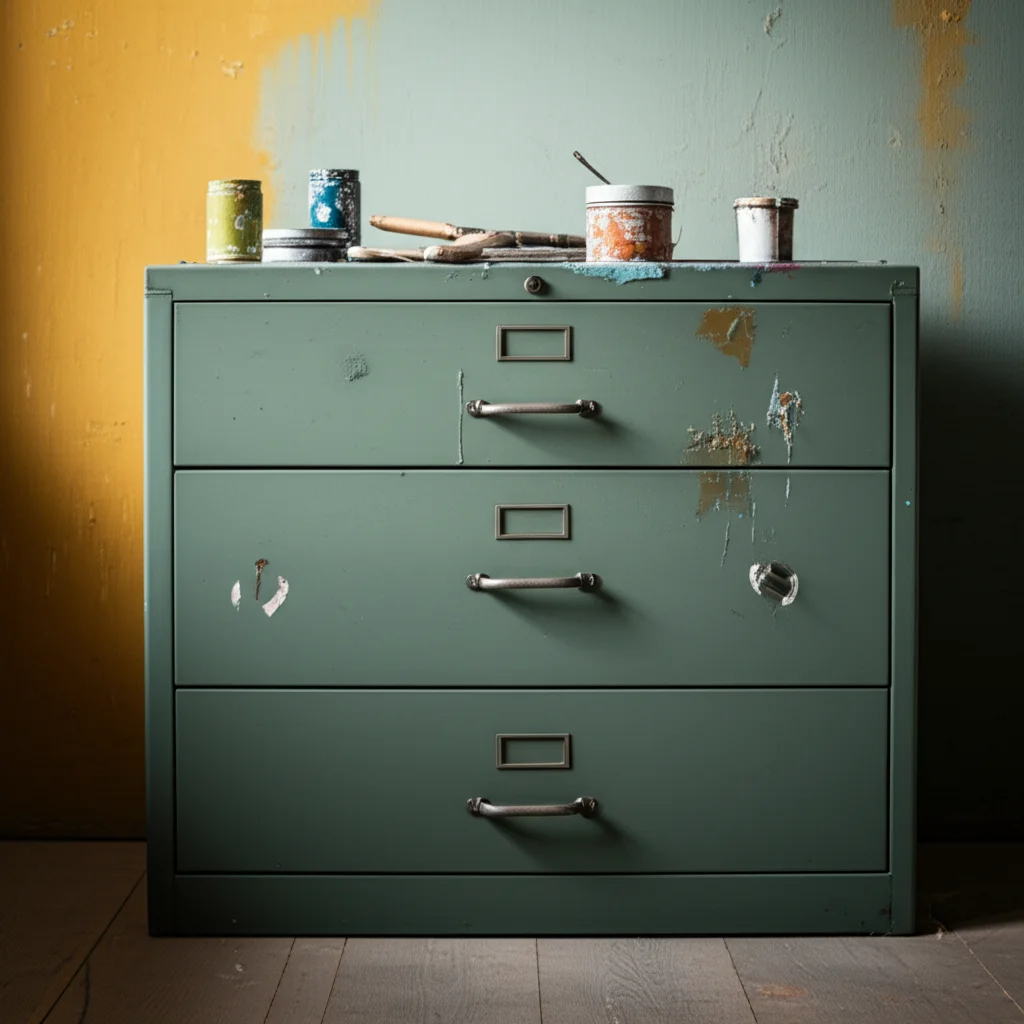
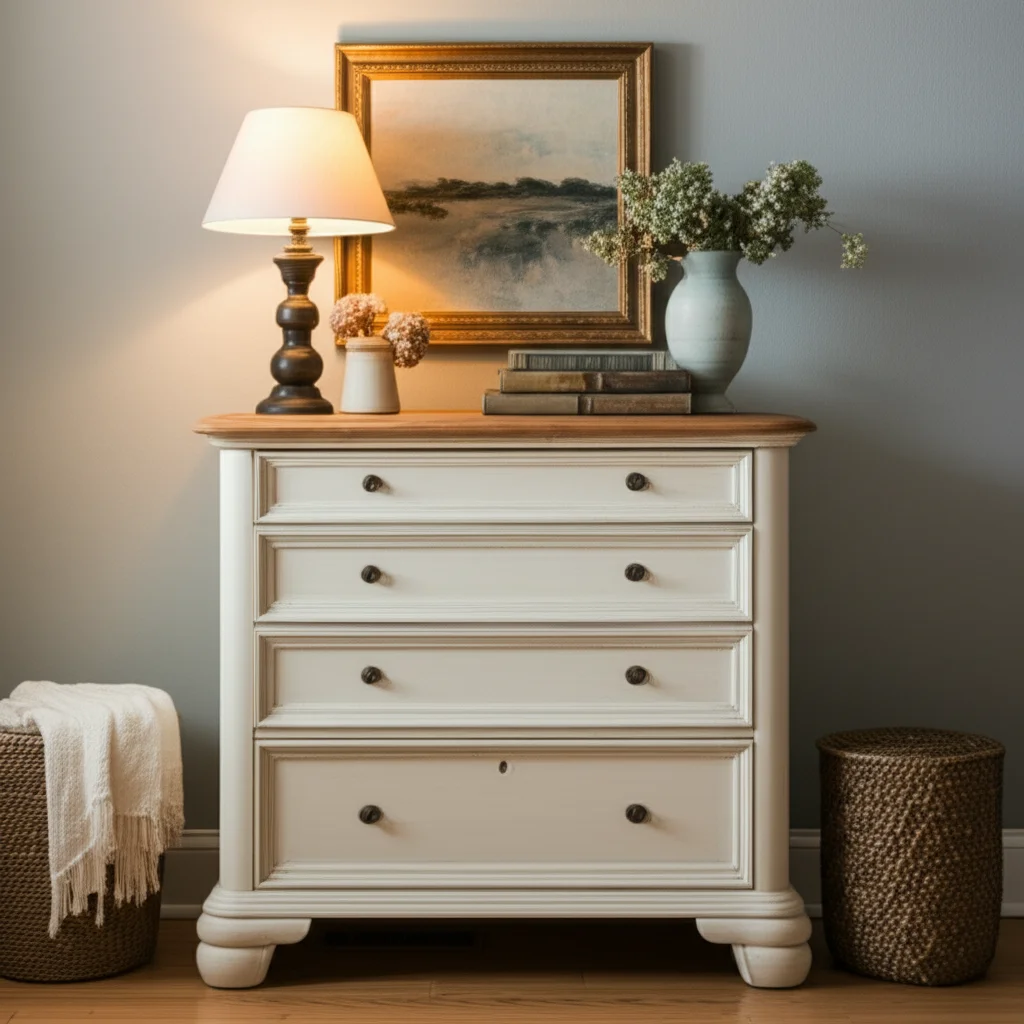
Do you look at your old file cabinet and wish it had a new look? Many people have functional file cabinets that no longer match their office style. Instead of buying a new one, consider painting it. Painting a file cabinet is an excellent way to update your office space. This simple DIY project brings new life to an old item. I find it satisfying to turn something worn into a fresh, appealing piece. This article will show you each step, from preparing the surface to applying the final coats.
Painting a file cabinet transforms it from a dull utility item into a decorative storage piece. This project saves you money and reduces waste. You give your furniture a second chance. We will discuss essential materials, proper surface preparation, choosing the right paint, and effective application methods. You will learn how to achieve a smooth, long-lasting finish. By the end, you will have a file cabinet that looks brand new.
Takeaway:
- Prepare Thoroughly: Clean, degrease, and sand the file cabinet surface for best paint adhesion.
- Choose Wisely: Select the correct primer and paint type (e.g., metal primer, oil-based or enamel paint) based on your cabinet’s material.
- Apply Evenly: Use thin, consistent coats of paint. Allow ample drying time between coats.
- Protect Your Work: Apply a clear topcoat for added durability and a professional finish.
Painting a file cabinet involves cleaning, sanding, priming, and applying multiple thin coats of paint. This process gives your old cabinet a fresh, durable finish. You need to allow sufficient drying time between each step.
Gather Your Tools and Materials for Painting Your File Cabinet
Before you begin painting your file cabinet, collecting all necessary tools and materials saves time. Having everything ready helps the project run smoothly. This step sets you up for success. I always make a list to ensure I do not forget anything important.
Essential Supplies for File Cabinet Painting
Start by checking your cabinet material. File cabinets are usually metal, but some are wood or laminate. This detail impacts your choice of primer and paint. Get quality supplies for a good finish.
Here is a list of items you will need:
- Safety Gear: Gloves, safety glasses, dust mask or respirator. Protect yourself from dust and paint fumes.
- Cleaning Supplies: Mild detergent, water, clean rags, degreaser (like TSP substitute). A clean surface helps paint stick better. You can learn more about how to clean cabinet thoroughly before painting.
- Sanding Supplies: Sandpaper (120-grit and 220-grit), sanding block or electric sander. Sanding provides a surface for the paint to grip.
- Primer: Metal primer for metal cabinets, or a bonding primer for wood/laminate. Choose a primer that matches your paint type (water-based or oil-based).
- Paint: High-quality spray paint, latex enamel, or oil-based enamel paint. These types offer durability for furniture.
- Applicators: Paint rollers (small foam rollers for smooth finish), paint brushes (for corners and edges), or a paint sprayer. If using a sprayer, you may need to learn how to thin Valspar cabinet and furniture paint or other brands.
- Drop Cloths or Tarps: Protect your work area from paint drips and spills.
- Painter’s Tape: Mask off areas you do not want painted, like hardware or drawer glides.
- Screwdriver: For removing hardware and drawers.
- Mineral Spirits or Paint Thinner: For oil-based paint cleanup, if you choose that type.
- Clear Topcoat (Optional but Recommended): Polyurethane or clear enamel for added protection and durability.
I find that investing in good quality paint and primer makes a big difference. Cheaper paints may require more coats or may not hold up as well. Good brushes also help avoid brush marks. For a super smooth finish, I often prefer spray paint or a paint sprayer for metal surfaces. This step alone can determine the overall quality of your painted file cabinet.
Prepare Your File Cabinet for Painting
Proper preparation is the most important step in painting any piece of furniture. This stage ensures the paint adheres well and the finish lasts a long time. Skipping steps here leads to poor results. I always take my time with preparation, knowing it pays off in the end.
Disassembly and Cleaning
First, empty the file cabinet. Remove all drawers and any removable hardware like handles or label holders. Use your screwdriver for this. Keep all screws and small parts together in a bag. This prevents losing them and makes reassembly easier. If you want to refresh the look of your hardware, consider learning how to clean old cabinet hardware while the paint dries.
After disassembly, clean the cabinet thoroughly. Use a mild detergent and water to wash down all surfaces. Pay close attention to greasy spots, fingerprints, or dirt. File cabinets often collect grime from office use. For stubborn grease or sticky residue, use a degreaser or TSP substitute. Follow the product instructions carefully. Rinse the cabinet well with clean water to remove all cleaning solution residue. Let it dry completely before moving on. Any moisture trapped underneath will cause problems later.
Sanding and Dust Removal
Sanding creates a “tooth” for the primer and paint to grip. For metal file cabinets, use 120-grit sandpaper first to scuff the surface. If there are any rusty spots, sand them until the rust is gone. For wooden or laminate cabinets, this grit also works well to rough up the surface. Sanding removes any existing gloss or old, loose paint.
After the initial sanding, switch to 220-grit sandpaper. Lightly sand the entire cabinet again. This step smooths out any sanding marks from the coarser grit. It prepares the surface for an even finish. Do not press too hard; you only need to scuff the surface.
Once sanding is complete, remove all dust. Use a vacuum cleaner with a brush attachment to get into corners and crevices. Then, wipe the entire cabinet with a damp cloth or a tack cloth. Tack cloths are sticky and pick up fine dust particles effectively. Ensure no dust remains before priming. Dust causes bumps and an uneven finish. I often wipe it down a few times to be sure. This meticulous cleaning ensures paint adhesion.
Priming Your File Cabinet for a Lasting Finish
Priming is a vital step in painting. Primer creates a uniform surface for paint. It also helps paint stick better, especially on tricky materials like metal or laminate. Skipping primer often results in peeling or uneven coverage. My experience tells me that a good primer makes all the difference for a professional look.
Choosing the Right Primer
The type of primer you use depends on your file cabinet’s material.
- For Metal File Cabinets: Use a high-quality metal primer. These primers often contain rust inhibitors, which are important for metal furniture. Look for a “direct-to-metal” or “rust-inhibiting” primer. Oil-based or epoxy primers offer excellent adhesion and durability on metal. These primers create a strong bond, preventing paint from flaking off.
- For Wood File Cabinets: A standard wood primer or stain-blocking primer works well. If the wood has stains or tannins, a stain-blocking primer prevents them from bleeding through your new paint.
- For Laminate or Particle Board File Cabinets: These materials are slick and do not absorb paint well. You need a specialized bonding primer. These primers are designed to stick to slick surfaces. They create a grippy layer for your paint. Without a bonding primer, paint will likely scratch or peel off laminate easily.
Always choose a primer compatible with your chosen topcoat paint. If you plan to use oil-based paint, use an oil-based primer. If you plan to use latex paint, a water-based primer is usually fine, but some oil-based primers can be painted over with latex once cured. Read the labels carefully.
Applying the Primer
Set up your work area in a well-ventilated space. Lay down drop cloths to protect the floor. Wear your safety gear, including gloves and a mask.
Apply the primer in thin, even coats.
- Spray Primer: If using spray primer, hold the can about 8-12 inches from the surface. Use sweeping, even motions. Overlap each pass slightly. Spray paint offers a smooth, professional finish.
- Brush or Roller Primer: If using a brush or roller, apply a thin coat. A small foam roller gives a smoother finish on flat surfaces. Use a brush for corners and edges.
Do not try to get full coverage with the first coat. Primer is meant to create a base, not to cover completely. Two thin coats of primer are better than one thick coat. A thick coat can drip, run, or take longer to dry. It may also lead to uneven texture.
Allow the first coat of primer to dry completely according to the manufacturer’s instructions. This usually takes a few hours. Once dry, lightly sand the primed surface with 220-grit sandpaper. This step removes any small bumps or imperfections. It also ensures the next coat has something to adhere to. Wipe off all sanding dust with a tack cloth before applying the second coat. Apply a second thin coat of primer if needed, especially on dark or stained surfaces. Let the final primer coat dry and cure fully before moving to paint. This curing time can be 24 hours or more. Patience here means a better final result.
Choosing the Right Paint for Your File Cabinet Makeover
Selecting the correct paint is critical for a durable and attractive finish on your file cabinet. The right paint type ensures your hard work lasts. It also gives the cabinet the look and feel you desire. I always think about both appearance and function when choosing paint.
Types of Paint for Furniture
Several paint types work well for furniture, including file cabinets:
- Latex Enamel Paint: This is a popular choice for furniture. It is water-based, easy to clean up with water, and typically low in odor. Latex enamel paints dry quickly and are durable once cured. Look for formulations specifically designed for cabinets or furniture, as these offer harder finishes. These paints come in various sheens, from satin to semi-gloss. A semi-gloss or gloss finish is often good for file cabinets because it is easy to wipe clean. You can learn more about how to paint furniture with latex paint for general guidance.
- Oil-Based Enamel Paint: Oil-based paints are known for their durability and smooth finish. They level beautifully, minimizing brush marks. They create a hard, chip-resistant surface. However, they have a strong odor and require mineral spirits for cleanup. They also take longer to dry. If you want a very tough finish, especially for a metal file cabinet, oil-based enamel is an excellent option.
- Spray Paint (Enamel or Acrylic): High-quality spray paint designed for metal or furniture is convenient. It creates an incredibly smooth, factory-like finish with no brush marks. This is often my preferred method for metal file cabinets. Ensure you use spray paint suitable for your cabinet’s material and desired durability. Many spray paints are acrylic-enamel hybrids, offering good adhesion and toughness.
- Chalk Paint: Chalk paint offers a matte, distressed look without much prep. It adheres to almost any surface without sanding or priming. However, it requires a wax or poly topcoat for protection, as it is naturally porous. If you want a vintage or shabby chic style, this is a good choice.
- Melamine Paint: This is a tough, durable paint specifically designed for kitchen cabinets and furniture. It provides a hard, washable surface. It is often water-based but offers oil-based paint’s durability.
Sheen and Color Considerations
The paint’s sheen affects both the look and durability.
- Satin: A subtle sheen, hides imperfections well, easy to clean. Good for a softer look.
- Semi-Gloss: A noticeable shine, very durable, and easy to clean. Popular for cabinets and trim. It helps reflect light and can make a small space feel larger.
- Gloss: A high shine, most durable and easiest to clean. It can highlight surface imperfections, so very careful preparation is needed. It gives a modern, sleek look.
Choosing a color depends on your office or room decor. Consider:
- Matching Existing Decor: Pick a color that complements your current color scheme.
- Creating a Pop of Color: A bright, bold color can turn a file cabinet into a statement piece.
- Classic Neutrals: Whites, grays, or blacks are timeless and fit any decor.
- Functional Colors: Darker colors hide scuffs better, while lighter colors brighten a space.
Remember that a small paint sample can look different on a large surface. If possible, test a small area or use paint swatches. I often buy a small sample can to try it on a hidden spot. This helps me visualize the final result.
Applying Paint to Your File Cabinet for a Smooth Finish
With your file cabinet prepped and primed, you are ready for the exciting part: applying paint. This step requires patience and attention to detail. Applying paint correctly leads to a smooth, durable finish. I always focus on thin, even coats to avoid drips and achieve a professional look. For general guidance on painting furniture, see how to paint furniture without brush marks, as many of the principles apply here.
Painting Techniques and Application
Set up your workspace in a well-ventilated area. Use drop cloths to protect the floor and surrounding items. Ensure your cabinet is stable and easily accessible from all sides. Wear your safety gear, including a mask and gloves.
For Brush and Roller Application:
- First Coat: Apply a thin, even coat of paint. If using a roller, use a small foam roller for flat surfaces. It helps create a smooth finish with fewer bubbles. Use a high-quality brush for edges, corners, and areas the roller cannot reach. Do not overload your brush or roller. This prevents drips and runs. Work in sections, applying paint evenly.
- Drying Time: Allow the first coat to dry completely according to the paint manufacturer’s instructions. This is crucial. Rushing this step causes paint to pull up or create an uneven surface. Drying times vary, typically 2-4 hours for latex, longer for oil-based paints.
- Light Sanding (Optional but Recommended): Once dry, lightly sand the painted surface with 220-grit or 320-grit sandpaper. This smooths any minor imperfections or dust nibs. It also helps the next coat adhere better. Wipe off all sanding dust with a tack cloth.
- Second and Subsequent Coats: Apply a second thin coat of paint. Repeat the drying and light sanding steps between each coat. Most file cabinets will need two or three coats for full coverage and durability. Darker original colors or lighter new colors may require more coats.
- Achieving Smoothness: For the smoothest finish with a brush, “lay off” the paint. This means applying paint, then lightly dragging the brush over the wet paint in one direction to smooth it out. Do this immediately after application before the paint starts to set.
For Spray Paint Application:
- Shake Well: Shake the spray paint can vigorously for at least one minute before use and frequently during application.
- Test Spray: Test on a piece of scrap cardboard first to check spray pattern and consistency.
- Even Passes: Hold the can 8-12 inches from the surface. Use steady, sweeping motions. Overlap each pass by about 50%. Keep the can moving to prevent drips.
- Thin Coats: Apply multiple thin coats rather than one thick coat. This avoids runs and ensures even coverage.
- Drying Time: Allow recommended drying time between coats (usually 15-30 minutes for spray paint). This is often called “recoat time.”
- Multiple Coats: Apply two to three thin coats for full, even coverage.
Remember to paint the drawers separately from the cabinet frame. Paint the visible sides and front first. Let them dry, then flip them to paint the other sides if desired. If you decide to paint the interior of your drawers or cabinet, consider reading how to paint inside of cabinets for specific tips.
Curing, Topcoats, and Reassembly of Your Painted File Cabinet
The painting is done, but the job is not finished. Curing time and applying a topcoat are crucial steps. They protect your paint job and ensure it lasts for years. Rushing these steps can ruin all your hard work. I know it is tempting to put everything back together, but patience is key here.
Understanding Curing Time
Drying time and curing time are different. Paint feels dry to the touch in a few hours. This means it is safe to recoat. Curing time is when the paint fully hardens and reaches its maximum durability. This process can take days or even weeks.
- Latex paints: Often cure in 7-30 days.
- Oil-based paints: May take 7-14 days to fully cure.
- Spray paints: Generally cure faster, sometimes within 24-72 hours.
Always check the paint manufacturer’s instructions for exact curing times. During this period, treat your freshly painted file cabinet gently. Avoid heavy use, bumping, or placing items on it that might scratch the surface. The paint is still vulnerable until fully cured. I usually move my painted pieces to a low-traffic area to cure without disturbance.
Applying a Clear Topcoat (Optional but Recommended)
A clear topcoat adds an extra layer of protection. It shields the paint from scratches, scuffs, and general wear. It also makes the surface easier to clean. This is especially important for a high-use item like a file cabinet.
Types of Topcoats:
- Polyurethane: Comes in water-based and oil-based formulas. Water-based polyurethane dries clear and does not yellow. Oil-based polyurethane is more durable but can add a slight amber tint, especially over light colors.
- Polycrylic: A water-based product that is less durable than polyurethane but resists yellowing more. It is good for lighter paint colors.
- Clear Enamel Spray: Many paint brands offer clear enamel in a spray can. This is a convenient option, especially if you used spray paint for the color coats.
Application: Apply the topcoat in thin, even layers. Follow the same application techniques as for your paint coats (brush/roller or spray). Two to three thin coats are usually best. Lightly sand with 320-grit or 400-grit sandpaper between coats, especially if you feel any bumps. Remember to wipe off all dust. Allow each coat to dry fully before applying the next. Also, allow the final topcoat to cure according to its specific instructions before reassembly. This can add another few days to the overall project time.
Reassembly and Final Touches
Once the paint and topcoat are fully cured, it is time to reassemble your file cabinet.
- Reinstall Drawers: Carefully slide the drawers back into their tracks. Be gentle to avoid scratching the new paint.
- Attach Hardware: Screw the handles and label holders back onto the drawers. Do not overtighten, as this can damage the paint.
- Inspect: Step back and inspect your finished file cabinet. Look for any areas that might need a touch-up.
Your revitalized file cabinet is now ready for use. It will look like a brand new piece of furniture. This transformation enhances your office decor. My favorite part is seeing the dramatic difference. This DIY project gives a custom look without the high cost of buying new.
Troubleshooting Common Painting Issues and Maintenance
Even with careful preparation, painting can present challenges. Knowing how to fix common problems helps you achieve the best outcome. Proper maintenance ensures your painted file cabinet stays looking great for years. I have faced many painting issues myself and learned how to correct them.
Fixing Common Painting Problems
- Drips and Runs: These happen when you apply too much paint in one area. If the paint is still wet, you can sometimes smooth it out with your brush or roller. If it has dried, gently sand the drip down with 220-grit sandpaper. Apply another thin coat of paint. This usually fixes the issue.
- Brush Marks: Using the wrong type of brush, overloading it, or applying too thick of a coat causes brush marks. To fix, let the paint dry completely. Lightly sand the affected area with 220-grit sandpaper to smooth out the marks. Apply a thinned coat of paint or use a foam roller for a smoother finish. For best results, consider using a paint sprayer.
- Peeling or Flaking Paint: This is often due to poor surface preparation or not using primer. The paint did not adhere properly. To fix, you must sand off the peeling paint completely. Clean the area, reprime, and repaint. Ensure the surface is perfectly clean and sanded before priming.
- Bubbles or Blistering: Humidity, extreme temperatures, or applying paint over a dirty or damp surface can cause bubbles. If bubbles appear, let the paint dry. Sand them down smoothly, clean the dust, and reapply a thin coat. Ensure your work area is at a stable temperature and low humidity.
- Uneven Coverage: This usually means you applied too few coats or coats were too thin. Apply additional thin, even coats of paint until you achieve consistent coverage. Lightly sand between coats to help adhesion.
If you encounter issues like getting paint on surfaces it should not be on, resources like how to get paint off cabinets or how to clean paint off floor can provide specific cleanup advice. Learning how to clean paint brush properly after each use helps prevent dried paint issues and keeps your tools ready.
Maintaining Your Painted File Cabinet
Once your file cabinet is fully cured, proper care helps keep it looking fresh.
- Regular Cleaning: Dust your file cabinet regularly with a soft, damp cloth. Avoid harsh abrasive cleaners, which can dull or damage the paint finish. A mild soap and water solution works best for general cleaning.
- Protect from Scratches: Use felt pads under items placed on top of the cabinet. Be careful when moving drawers in and out. For a high-use item, a clear topcoat significantly boosts durability.
- Touch-Ups: Keep a small amount of leftover paint. If small chips or scratches occur over time, you can easily touch them up. Clean the area, apply a small amount of paint with a fine brush, and let it dry.
- Avoid Harsh Chemicals: Do not use ammonia-based cleaners, strong solvents, or abrasive pads. These can break down the paint finish and cause discoloration or damage.
By understanding common issues and applying simple maintenance, your freshly painted file cabinet will remain a beautiful and functional part of your office for many years to come. This careful approach helps you enjoy your DIY work longer.
Creative Ideas for Decorating Your Painted File
- File Cabinet Painting
- Furniture Makeover
- DIY Painting
- Office Storage Refresh


