· Todd Martin · Automotive Maintenance · 19 min read
How To Clean Aluminum Engine Parts
Revitalize Your Ride: How to Clean Aluminum Engine Parts
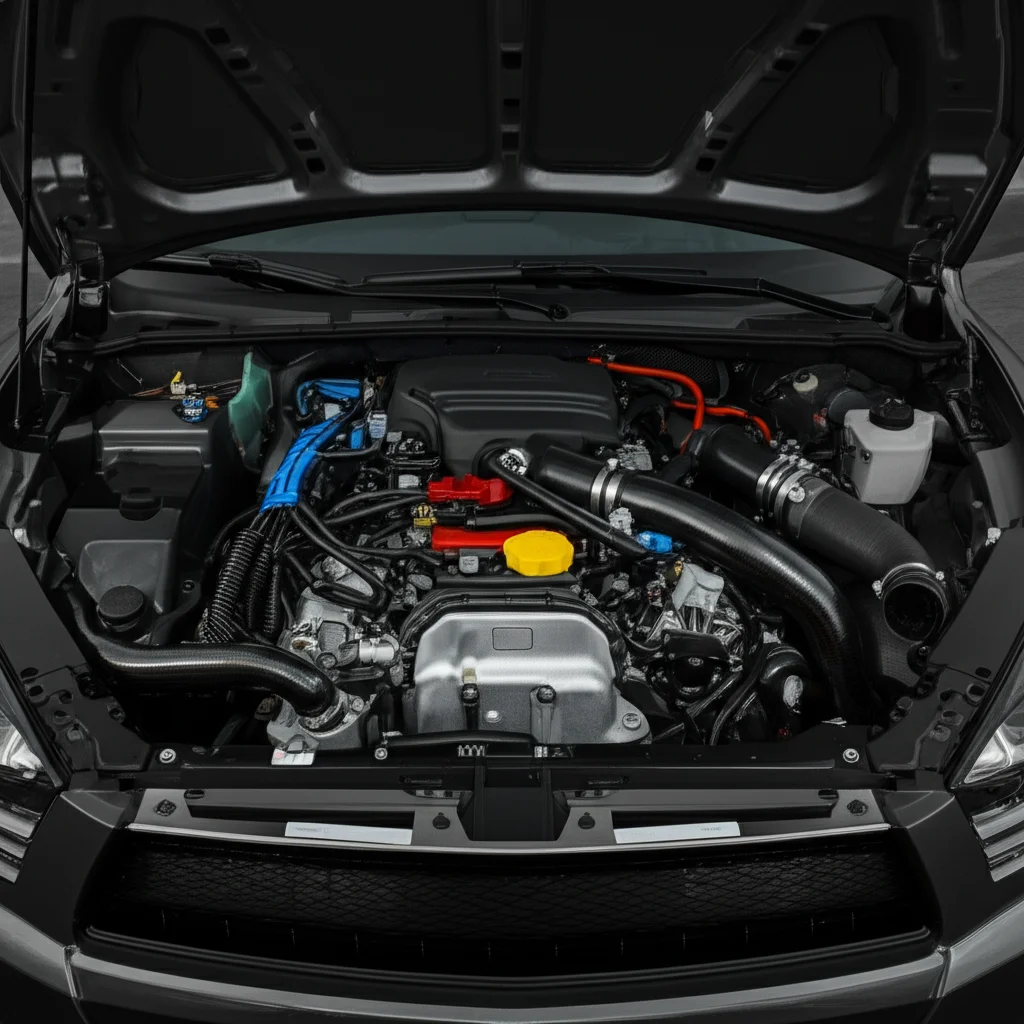
Keeping your engine clean goes beyond aesthetics. Cleaning aluminum engine parts improves performance and extends component life. Over time, grime, oil, and carbon buildup accumulate, hindering proper function. Neglecting these vital components leads to overheating and reduced efficiency.
I understand the desire for a well-maintained vehicle. Properly cleaned engine parts simply perform better. This guide will walk you through the entire process. You will learn the right tools and cleaning agents to use. We will cover safety, preparation, and detailed cleaning steps. Get ready to restore your engine’s pristine condition and keep it running smoothly.
Takeaway
- Safety First: Always wear proper protective gear like gloves and eye protection.
- Disassembly is Key: Remove parts from the engine for thorough cleaning.
- Choose Wisely: Select cleaners based on the type of dirt (oil, carbon, oxidation).
- Gentle Approach: Aluminum is soft; avoid harsh abrasives.
- Rinse Thoroughly: Remove all cleaning agent residue to prevent damage.
- Dry Completely: Ensure parts are dry before reassembly to prevent corrosion.
- Protect: Apply a protective coating after cleaning for lasting shine.
To clean aluminum engine parts, you need to first disassemble them from the engine. Then, apply a suitable degreaser or specialized aluminum cleaner to remove oil, grease, and carbon buildup. Use brushes or rags to scrub away contaminants. Finally, rinse the parts thoroughly with water and ensure they are completely dry before reassembly.
Understanding Aluminum Engine Parts and Their Unique Needs
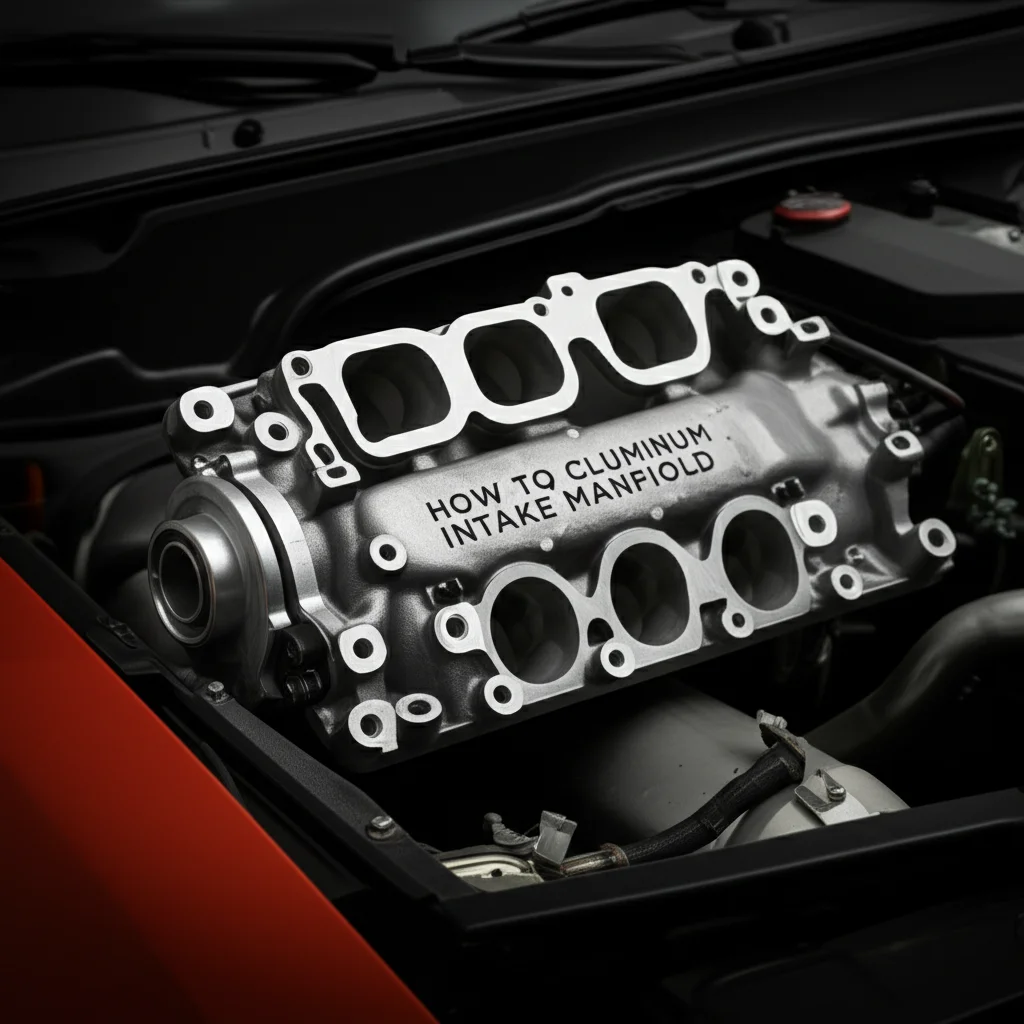
Aluminum is a popular material for engine components. Manufacturers use it for cylinder heads, intake manifolds, valve covers, and other parts. It is lightweight, which helps improve fuel efficiency. Aluminum also dissipates heat well, which is important for engine cooling.
However, aluminum has specific cleaning requirements. It is a reactive metal. It can easily oxidize when exposed to air and moisture. This oxidation forms a dull, powdery layer on the surface. Harsh chemicals or abrasive tools can damage aluminum. They can etch the surface or remove the protective oxide layer. This makes the aluminum more prone to corrosion. Understanding these properties is the first step. You need to know how to clean aluminum engine parts effectively and safely. This ensures longevity and performance.
The Challenge of Engine Grime
Engine parts face extreme conditions. They are constantly exposed to oil, grease, fuel, and exhaust gases. This creates stubborn deposits. Oil sludge builds up over time. Carbon deposits form in combustion chambers and exhaust ports. These contaminants reduce efficiency. They can also cause engine problems. For instance, carbon buildup reduces airflow. This impacts engine power. Sludge clogs oil passages. This can lead to engine damage.
Removing these contaminants requires specific cleaners. You cannot just use any strong chemical. Some cleaners react badly with aluminum. They cause discoloration or corrosion. We need to choose products designed for aluminum. They must be strong enough to cut through grime. Yet, they must be gentle on the metal. Proper cleaning restores performance. It helps your engine run like new.
Essential Tools and Materials for Cleaning
Before you start cleaning, gather all necessary tools and materials. Having everything ready saves time. It also ensures safety and efficiency. This preparation step is crucial. It sets you up for a successful cleaning job. I always make sure I have my supplies organized beforehand.
Personal Protective Equipment (PPE)
Safety is paramount when working with chemicals. Engine parts often have sharp edges or hot spots.
- Gloves: Chemical-resistant gloves protect your hands from harsh cleaners and grease. Nitrile gloves are a good choice.
- Eye Protection: Safety glasses or goggles shield your eyes from splashes and debris. I never skip this step.
- Respirator/Mask: A mask protects you from inhaling fumes from cleaners. Good ventilation is also important.
- Apron/Old Clothes: Protect your clothing from stains and chemicals.
Cleaning Agents and Solutions
The right cleaning agents make a big difference. They effectively remove different types of buildup.
- Degreasers: A good quality automotive degreaser is essential. It dissolves oil and grease. Choose products specifically labeled safe for aluminum.
- Aluminum Cleaners: Dedicated aluminum cleaners remove oxidation and brighten the surface. Read labels carefully.
- Carbon Removers: For heavy carbon buildup, a specialized carbon cleaner is needed. These break down stubborn deposits. You might also want to look into how to clean carbon buildup in engine for more targeted advice.
- Mild Soap & Water: For light dirt or rinsing, plain dish soap and water work well.
- Baking Soda & Vinegar: A paste of baking soda and water can gently remove minor oxidation. A vinegar solution can help with some stains, but use it cautiously on bare aluminum, as it’s acidic.
Brushes and Scrubbing Tools
Various brushes help reach all surfaces.
- Stiff Bristle Brushes: For heavy grease and grime on accessible areas. Avoid metal brushes on aluminum.
- Nylon Brushes: Softer than stiff bristles, suitable for general scrubbing.
- Toothbrushes/Detail Brushes: Essential for tight crevices and intricate areas.
- Scrub Pads: Non-abrasive synthetic scrub pads work for tougher spots. Never use steel wool.
- Microfiber Cloths/Rags: For wiping, drying, and polishing.
Other Useful Equipment
- Parts Washer (Optional): A dedicated parts washer simplifies the process for heavily soiled items. It circulates cleaning solution.
- High-Pressure Washer (Optional): Can remove loose dirt but use with caution on sensitive parts. Never spray directly into bearings or delicate sensors.
- Air Compressor: For drying parts quickly and thoroughly. It blows water out of small passages.
- Buckets: For mixing solutions and rinsing.
- Drip Pans/Tarps: To protect your work area from spills.
- Safety Solvent (Optional): For final rinse or to remove residues.
- Plastic Scrapers: For gently removing caked-on grime without scratching.
Gathering these items before starting streamlines the cleaning process. It helps ensure effective cleaning while protecting both you and your engine parts. My garage is always stocked with these essentials for any engine work.
Step-by-Step Guide to Cleaning Aluminum Engine Parts
Cleaning aluminum engine parts requires a methodical approach. Follow these steps for thorough and safe results. This process helps restore parts to their best condition.
Step 1: Disassembly and Initial Inspection
First, you need to remove the aluminum parts from the engine. This allows for complete access to all surfaces. Take photos or label parts as you go. This helps with reassembly later. During disassembly, inspect each part closely. Look for cracks, excessive wear, or any signs of damage. Cleaning might reveal hidden issues. This is a good opportunity to identify parts needing replacement.
For example, if you are cleaning an intake manifold, remove it completely. If you are cleaning a cylinder head, unbolt it from the engine block. The more accessible the part, the better you can clean it. Remember to safely store all fasteners and small components.
Step 2: Pre-Cleaning and Degreasing
This step removes the bulk of oil and grease. It prepares the surface for deeper cleaning.
- Scrape Off Loose Debris: Use a plastic scraper to remove large chunks of caked-on grease or carbon. Be gentle to avoid scratching the aluminum.
- Apply Degreaser: Spray or brush a generous amount of automotive degreaser onto the parts. Make sure it is safe for aluminum. Allow it to sit for the recommended time. This gives the degreaser time to break down the oil and grease.
- Scrub: Use a stiff bristle brush or nylon brush to scrub the parts. Focus on areas with heavy buildup. For intricate passages, a small detail brush or even a pipe cleaner can help. If you’re dealing with extensive oil residue, you might find it useful to check out tips on how to clean engine oil sludge.
- Rinse: Rinse the parts thoroughly with water. A garden hose can work well here. Ensure all degreaser and loosened grime are washed away. You might need to repeat this step for very dirty parts.
Step 3: Removing Carbon Buildup and Oxidation
After degreasing, you can tackle more stubborn deposits. Carbon buildup often appears as black, crusty deposits. Oxidation is a dull, grayish film.
- For Carbon Buildup: Apply a specialized carbon remover. These products are designed to dissolve or loosen carbon deposits. Let it soak according to product instructions. Then, scrub with a brush. Sometimes a soft brass brush (not steel) can be used very carefully on heavily carbonized areas, but test it first in an inconspicuous spot. For detailed advice on this, refer to how to clean carbon buildup in engine.
- For Oxidation: Use an aluminum cleaner or a mild abrasive. You can also try a paste of baking soda and water. Apply the paste and gently scrub with a soft brush or non-abrasive pad. Rinse thoroughly. For components like an aluminum intake manifold, tackling oxidation is crucial for both appearance and performance.
- Specialized Parts: If you are cleaning specific areas like the head gasket surface, precision is key. For advice on this, you might consult a guide on how to clean aluminum head gasket surface.
Step 4: Final Rinse and Drying
This is a critical step to prevent water spots and corrosion.
- Thorough Rinse: Rinse all parts again with clean water. Make sure no cleaning solution residue remains. Residues can cause discoloration or damage.
- Air Dry/Compressed Air: Allow parts to air dry completely. Or, use an air compressor to blow water out of all crevices. This is faster and more effective. It also prevents water spots.
- Wipe Down: Wipe down larger surfaces with a clean, lint-free microfiber cloth. Ensure every part is bone dry before proceeding to the next step. Moisture left behind can lead to immediate re-oxidation or corrosion.
Following these steps will leave your aluminum engine parts clean and ready for inspection or reassembly. Take your time with each stage for the best results.
Advanced Cleaning Techniques and Considerations
Sometimes, standard cleaning methods are not enough. Certain situations require more advanced techniques. These methods can tackle extremely tough grime or achieve a higher level of finish. However, they often come with specific risks. Always consider these carefully.
Ultrasonic Cleaning
Ultrasonic cleaners use high-frequency sound waves. These waves create tiny bubbles in a cleaning solution. The bubbles collapse, creating a scrubbing action. This action effectively dislodges dirt from complex parts. It reaches areas that brushes cannot.
- Benefits: Excellent for small, intricate parts like carburetor components. It cleans thoroughly without physical scrubbing. It is ideal for parts with many small passages. If you are cleaning a small engine carburetor, an ultrasonic cleaner can be invaluable.
- Considerations: Requires specialized equipment. Choose a cleaning solution compatible with aluminum. Do not use highly acidic or alkaline solutions. Ensure parts are fully submerged.
Vapor Blasting / Wet Blasting
Vapor blasting uses a mixture of abrasive media and water. This mixture is propelled at high speed onto the surface. It cleans and finishes the aluminum simultaneously.
- Benefits: Leaves a satin-like finish. It cleans deeply without damaging the surface. It also peens the surface, making it more resistant to future staining.
- Considerations: Requires professional equipment. It can be messy. Proper media selection is crucial. Incorrect media can damage softer aluminum. It is often used for restoration projects.
Chemical Soaking for Heavy Deposits
For parts with extremely heavy, baked-on carbon or oil sludge, chemical soaking might be necessary.
- Benefits: Dissolves stubborn deposits without aggressive scrubbing. Good for parts that are too complex to scrub by hand.
- Considerations: Use strong chemicals with caution. Ensure the chemical is safe for aluminum. Some industrial-strength cleaners can be very caustic. Always follow product instructions for soak times. Over-soaking can damage aluminum. Ensure excellent ventilation. Dispose of spent chemicals properly. If you are dealing with significant sludge from the engine, a deep soak can be very effective.
Polishing Aluminum Engine Parts
After cleaning, you might want to polish your aluminum parts. This restores a mirror-like shine.
- Process: Start with a fine-grit abrasive polish. Move to progressively finer polishes. Use a soft cloth or a polishing wheel.
- Benefits: Enhances appearance. Creates a smooth surface that resists dirt accumulation.
- Considerations: Time-consuming. Requires patience. A polished surface needs ongoing maintenance. It can oxidize more quickly if not protected. Some engine parts do not need a mirror finish. Focus on functional cleanliness first.
These advanced techniques offer solutions for tough cleaning challenges. They also provide options for achieving a show-quality finish. Always prioritize safety and material compatibility when choosing a method.
Preventing Future Buildup and Maintaining Cleanliness
Cleaning aluminum engine parts is a significant effort. You want those results to last. Preventing future buildup is key to long-term engine health. A few simple practices can keep your components looking great and performing well. I always advise people to think about prevention after they’ve done a big clean.
Regular Maintenance and Inspection
- Routine Checks: Periodically check your engine bay. Look for oil leaks or excessive grime. Addressing small issues early prevents big problems.
- Scheduled Oil Changes: Fresh oil prevents sludge formation. Follow your vehicle’s recommended oil change intervals. Using quality oil also helps.
- Air Filter Replacement: A clean air filter ensures proper airflow. This helps prevent carbon buildup in the combustion chamber.
- Fuel System Cleaners: Use a quality fuel system cleaner every few thousand miles. This helps prevent carbon deposits on valves and injectors.
Protective Coatings and Sealants
After cleaning, consider applying a protective coating to exterior aluminum parts.
- Clear Coats: Some clear ceramic or acrylic coatings can protect polished aluminum. They form a barrier against oxidation and contaminants.
- Waxes/Sealants: Automotive waxes or synthetic sealants designed for metal can offer temporary protection. They repel water and dirt.
- Engine Bay Dressings: There are specific products for dressing engine bay plastics and metals. These can add a shine and help resist grime.
- Benefits: Reduces the frequency of deep cleaning. Maintains the aesthetic appeal. Provides a barrier against corrosion.
- Considerations: Choose products resistant to high engine temperatures. Reapply as recommended by the manufacturer.
Proper Driving Habits
Your driving style impacts engine cleanliness.
- Avoid Excessive Idling: Idling for long periods can lead to carbon buildup. It also causes condensation, which contributes to sludge.
- Regular Highway Driving: Taking your car on the highway helps the engine reach optimal operating temperatures. This burns off deposits. It also helps prevent sludge from the engine.
- Use Quality Fuel: Higher quality fuels sometimes contain detergents. These detergents help keep the fuel system clean.
Best Practices for Storage
If you store an engine or parts, ensure they are clean and protected.
- Drain Fluids: Completely drain all fluids from the engine. This prevents corrosion.
- Oil and Grease: Coat internal surfaces with a light layer of engine oil. This prevents rust and corrosion.
- Desiccants: Place desiccant packets (like silica gel) inside the engine. These absorb moisture.
- Seal Openings: Cover all openings with tape or caps. This prevents dust and pests from entering. Store in a dry, temperature-controlled environment.
By implementing these preventative measures, you can significantly reduce the need for intensive cleaning. This keeps your aluminum engine parts pristine and functional for a longer time. I always tell my friends that prevention is easier than cure when it comes to engine cleanliness.
Common Mistakes to Avoid When Cleaning Aluminum
Cleaning aluminum engine parts correctly saves you time and prevents damage. However, certain mistakes can cause more harm than good. I’ve learned these lessons from experience and want to help you avoid them.
Using Harsh or Incompatible Cleaners
- Problem: Aluminum is reactive. Cleaners containing high concentrations of lye (sodium hydroxide), strong acids (like muriatic acid), or highly alkaline solutions can cause irreversible damage. They etch the surface. They can also cause severe discoloration, making the aluminum appear dark or black.
- Solution: Always check product labels. Ensure cleaners are specifically labeled “aluminum-safe.” If unsure, test a small, inconspicuous area first. Opt for dedicated automotive degreasers or aluminum cleaners.
Excessive Abrasive Scrubbing
- Problem: Aluminum is a relatively soft metal. Using steel wool, aggressive wire brushes, or highly abrasive scrubbing pads will scratch the surface. This not only looks bad but also removes the protective oxide layer. It makes the aluminum more vulnerable to future oxidation and corrosion.
- Solution: Stick to nylon brushes, synthetic scrub pads, or soft cloths. For very stubborn spots, use plastic scrapers or very fine-grit aluminum-specific abrasives if absolutely necessary. Always use the least aggressive method first.
Incomplete Rinsing
- Problem: Leaving cleaner residue on aluminum parts can lead to etching, staining, or accelerated corrosion. The chemicals continue to react with the metal over time. This is especially true for strong degreasers or acidic cleaners.
- Solution: Rinse thoroughly with plenty of clean water. Pay extra attention to crevices and blind holes. A high-pressure nozzle or an air compressor helps flush out all residue. You want the part to feel completely clean to the touch.
Not Drying Parts Completely
- Problem: Water left on aluminum promotes oxidation. This can lead to unsightly water spots or a dull, chalky appearance. It also creates a favorable environment for corrosion, especially if any chemical residue remains.
- Solution: After rinsing, use compressed air to blow off all water. Wipe down accessible surfaces with a clean, dry microfiber cloth. Ensure parts are completely dry before reassembly or storage.
Neglecting Safety Precautions
- Problem: Working with chemicals, sharp engine parts, and potentially harmful fumes without proper PPE can lead to injuries or health issues. Chemical burns, eye irritation, or respiratory problems are real risks.
- Solution: Always wear chemical-resistant gloves, eye protection, and a respirator or mask. Work in a well-ventilated area. Have a source of clean water nearby for emergency rinsing. Follow all safety warnings on cleaning product labels.
By being aware of these common pitfalls, you can clean your aluminum engine parts effectively and safely. Avoiding these mistakes ensures your components remain in excellent condition.
Final Touches and Reassembly Tips
You have cleaned your aluminum engine parts. Now it is time for the final steps. Proper reassembly is as important as the cleaning process itself. These final touches ensure your hard work pays off. Your engine will run smoothly and efficiently.
Post-Cleaning Inspection
Before putting anything back together, perform a final inspection.
- Thorough Check: Look at each part again. Are there any spots you missed? Is the surface completely free of grime, carbon, and oxidation?
- Damage Assessment: Re-inspect for any cracks, warps, or wear that might have been hidden by dirt. Cleaning often reveals these issues. This is your last chance to replace faulty components.
- Cleanliness Confirmation: Ensure all bolt holes, passages, and mating surfaces are clean. Even small bits of debris can cause problems during reassembly. For instance, a clean aluminum head gasket surface is critical for a proper seal.
Lubrication and Sealing
- Moving Parts: Apply a thin layer of appropriate lubricant (e.g., engine oil, assembly lube) to any moving parts. This includes camshafts, lifters, or rocker arms. This provides initial protection during the first start-up.
- Gaskets and Seals: Replace all old gaskets and seals with new ones. Do not reuse old gaskets. They will likely leak. Apply a thin coat of gasket sealant or RTV silicone where recommended by the manufacturer. This ensures a proper seal.
- Fasteners: Use threadlocker on bolts that require it. Apply anti-seize compound to fasteners that might seize in aluminum. This prevents galling and makes future disassembly easier. This is especially important for small engine carburetor bolts.
Reassembly Guidelines
- Follow Manual: Always refer to your vehicle’s service manual for reassembly instructions. It provides torque specifications for all fasteners. It also shows the correct sequence for tightening bolts.
- Torque Wrench: Use a torque wrench for all critical fasteners. Overtightening can strip threads or warp parts. Undertightening can lead to leaks or parts coming loose.
- Organized Approach: Reassemble parts in a systematic manner. Refer to the photos you took during disassembly. Take your time. Do not rush the process.
- Double-Check: Before starting the engine, double-check all connections. Ensure hoses are clamped. Wires are connected. All fasteners are tightened to spec.
Initial Startup and Monitoring
- Fluid Levels: Refill all necessary fluids like engine oil and coolant. Check levels thoroughly.
- First Start: Start the engine and listen for any unusual noises. Check for leaks immediately.
- Monitor Performance: Pay attention to engine temperature, oil pressure, and overall performance. A clean engine typically runs smoother and more efficiently.
By following these final steps, you ensure that your cleaned aluminum engine parts function perfectly. You will extend the life of your engine and enjoy a more reliable vehicle. This meticulous approach brings satisfaction and peace of mind.
FAQs About Cleaning Aluminum Engine Parts
What is the best way to clean heavily oxidized aluminum engine parts?
For heavily oxidized aluminum, start with a specialized aluminum cleaner. These products often contain mild acids or chelating agents designed to dissolve oxidation. For stubborn areas, create a paste using baking soda and water, then gently scrub with a non-abrasive nylon brush or synthetic pad. Rinse thoroughly afterwards. If oxidation is extremely severe, professional methods like vapor blasting might be considered.
Can I use household cleaners like oven cleaner on aluminum engine parts?
No, I strongly advise against using oven cleaner on aluminum engine parts. Oven cleaners often contain strong alkaline chemicals like lye (sodium hydroxide). These chemicals are highly corrosive to aluminum. They can cause severe discoloration, pitting, or irreversible etching on the surface. Always use cleaners specifically formulated and labeled as safe for aluminum.
How do I remove stubborn carbon deposits from aluminum engine parts?
To remove stubborn carbon deposits, use a specialized carbon remover or an engine parts cleaner designed to dissolve carbon. Apply the product and allow it to soak for the recommended time. Then, scrub with a stiff nylon brush or a plastic scraper. For very hard deposits, you might need to repeat the process or consider an ultrasonic cleaner, which is excellent for intricate carbon removal.
Is it safe to pressure wash aluminum engine parts?
You can pressure wash aluminum engine parts to remove loose dirt and degreaser residue, but use caution. Keep the nozzle a safe distance from the parts. Avoid directly spraying into bearings, delicate sensors, or electrical connections. High pressure can force water into sealed components, causing damage. Always ensure parts are completely dry afterwards to prevent re-oxidation.
How can I prevent aluminum engine parts from re-oxidizing after cleaning?
To prevent re-oxidation, ensure parts are completely dry after cleaning. Then, consider applying a protective coating. Options include clear ceramic coatings or specialized aluminum sealants designed for high-temperature applications. For polished parts, a quality automotive wax or synthetic sealant can provide a temporary barrier. Regular maintenance and keeping the engine bay clean also help.
What should I do if a cleaning product discolors my aluminum part?
If a cleaning product discolors your aluminum part, it means the cleaner was too harsh or incompatible. You might try to restore it with a dedicated aluminum polish or a very fine abrasive compound. However, severe etching or deep discoloration might be permanent. Always test new cleaners on an inconspicuous area first to avoid this issue.
Conclusion
Cleaning aluminum engine parts greatly enhances your vehicle’s performance and appearance. We have covered the process from preparation to reassembly. You now understand the unique needs of aluminum. You also know the right tools and cleaning agents to use. Remember to always prioritize safety and choose products compatible with aluminum.
Regular maintenance and preventative measures extend the life of your cleaned components. By following these steps, you not only restore the shine but also ensure optimal engine function. A clean engine runs more efficiently. It lasts longer. Taking the time to properly clean aluminum engine parts is an investment. It pays off in reliability and satisfaction. Are you ready to see your engine shine? Start cleaning today!
- engine cleaning
- aluminum restoration
- auto repair
- car maintenance
- degreasing

Todd Martin
Senior Writer
With over 15 years of experience in home renovation and design, I started HEG to share what I’ve learned with homeowners who want to create spaces that are both beautiful and functional. I’ve always believed in a hands-on approach, and over the years, I’ve picked up practical solutions that actually work. Through HEG, I aim to make home improvement more approachable, sharing real tips that help you create a home you truly love.