· Todd Martin · Automotive Maintenance · 15 min read
How To Clean Aluminum Intake Manifold

Optimize Your Engine: How to Clean Aluminum Intake Manifold
Imagine your car breathing freely, delivering optimal power and efficiency. This is the promise of a clean engine. Over time, carbon and other deposits build up inside your engine’s critical components. One key area for this buildup is the intake manifold. Specifically, if you own a vehicle with an aluminum intake manifold, maintaining its cleanliness is vital for engine health.
A dirty intake manifold restricts airflow. This leads to reduced engine performance and poor fuel economy. Cleaning your aluminum intake manifold is a maintenance task many car owners can do themselves. It improves how your engine runs. This comprehensive guide will walk you through the entire process. We will cover why cleaning is important, the tools you need, and a step-by-step method. You will learn how to restore your manifold to peak condition.
Takeaway: Restore Engine Performance
- Carbon buildup in your aluminum intake manifold harms engine efficiency.
- You can clean your manifold at home with proper tools and methods.
- Regular cleaning helps maintain power and fuel economy.
- Safety first: always wear protective gear and follow proper procedures.
- Patience and thoroughness are key to a successful cleaning job.
Answer to the Main Query
To clean an aluminum intake manifold, you must first remove it from the engine. Then, use specialized solvents and mechanical tools like brushes and scrapers to remove carbon buildup. Rinse thoroughly and ensure it is dry before reinstallation. This process restores airflow and improves engine performance.
Unleash Engine Power: Why Clean Your Aluminum Intake Manifold
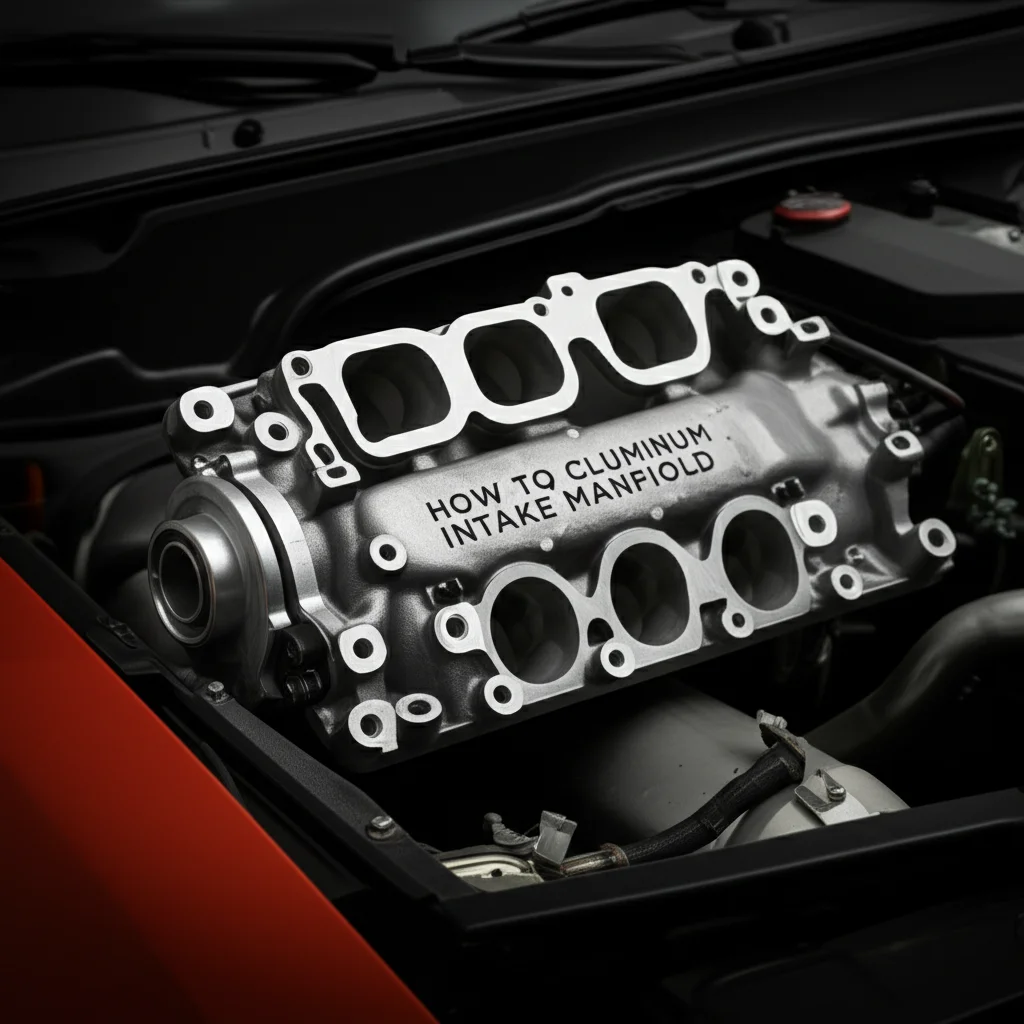
Your car’s engine needs air to burn fuel efficiently. The intake manifold is a crucial part of this air delivery system. It channels air from the throttle body to each cylinder. Over time, exhaust gases, oil vapors, and other contaminants can accumulate inside the manifold. This creates stubborn carbon deposits. This buildup is particularly common in engines with Exhaust Gas Recirculation (EGR) systems or Direct Injection (DI) fuel systems. These systems route exhaust gases back into the intake for emissions control, but they also introduce soot and oil.
When these deposits coat the inside of your aluminum intake manifold, several problems arise. First, the effective diameter of the passages shrinks. This restricts the amount of air reaching the cylinders. Less air means less power. Your engine might feel sluggish. Second, the carbon buildup can create rough surfaces. This disrupts smooth airflow. Airflow dynamics are critical for engine performance. A rough surface can lead to inefficient combustion.
Symptoms of a dirty intake manifold often include reduced fuel economy, engine misfires, rough idling, and a noticeable lack of power during acceleration. You might also see your check engine light illuminate. Cleaning the aluminum intake manifold directly addresses these issues. It restores the proper airflow. This allows the engine to breathe freely again. A clean manifold means your engine can perform as designed. It can deliver its full power potential and achieve better fuel efficiency. Regular cleaning extends the life of other engine components too. It prevents stress caused by poor combustion. Maintaining a clean manifold is an investment in your vehicle’s longevity and performance.
Essential Gear: Tools and Supplies for Intake Manifold Cleaning
Before you start the process to clean your aluminum intake manifold, gather all necessary tools and supplies. Having everything ready saves time and ensures a smooth workflow. Safety is paramount during this task, so protective gear is a must. You will be working with chemicals and around sharp edges. I always recommend wearing gloves to protect your hands from grease and cleaning solutions. Eye protection is also non-negotiable. Chemical splashes or flying debris can cause serious injury.
For tools, you will need a basic mechanics tool set. This includes wrenches and sockets of various sizes to remove the manifold bolts. A torque wrench is essential for proper reinstallation to prevent overtightening or undertightening bolts. You will also need scrapers. Plastic scrapers are good for initial removal of soft deposits. Metal scrapers are needed for more stubborn, hardened carbon. Ensure they are not so sharp they damage the aluminum surface. Different sized wire brushes are very useful. Small brushes can get into tight corners and passages. A drill-mounted wire brush can speed up cleaning of larger areas but use it carefully on aluminum.
For cleaning agents, a heavy-duty degreaser is vital. This will break down oily residue. Carburetor cleaner or specific intake manifold cleaner sprays are excellent for dissolving carbon deposits. These products are formulated to be safe for aluminum. You might also consider a non-chlorinated brake cleaner for final rinsing. This cleaner evaporates quickly and leaves no residue. Have plenty of rags or shop towels. An air compressor with a blow gun is very helpful for drying and clearing loose debris. Finally, new intake manifold gaskets are required. These are crucial for a proper seal upon reassembly. Never reuse old gaskets. Some people also find success with a solution of vinegar and baking soda for general cleaning on other parts, but for heavy carbon, specialized cleaners are best.
Safe Disassembly: Preparing to Remove Your Aluminum Intake Manifold
Removing the intake manifold is the most involved part of this cleaning process. It requires careful attention to detail. Always begin by ensuring your vehicle is cool and disconnected from its power source. Disconnect the car’s battery by removing the negative terminal first. This prevents accidental shorts and electrical hazards. Next, relieve any fuel pressure in the system. Consult your vehicle’s service manual for the exact procedure. This often involves pulling a fuse or specific relay. It is critical for safety to handle fuel systems correctly.
Before physically removing the manifold, identify and label all hoses, wires, and connectors attached to it. I use painter’s tape and a marker to label each connection. This helps immensely during reassembly. Take pictures with your phone before disconnecting anything. These photos serve as a visual guide. You will need to disconnect the throttle body, various vacuum lines, electrical connectors for sensors, and fuel lines. Drain some coolant if the manifold has coolant passages running through it. Have a drain pan ready.
The manifold itself is bolted to the cylinder head. These bolts must be removed in a specific pattern. Again, consult your service manual for the correct sequence. Often, you start from the outside and work your way in, loosening bolts gradually. This prevents warping the manifold or cylinder head. Once all connections are free and bolts are removed, gently pry the manifold away from the cylinder head. It might stick due to old gasket material. Be careful not to damage the cylinder head gasket surface. If your vehicle has a separate aluminum head gasket surface, ensure it remains protected. After removal, inspect the intake ports on the cylinder head for carbon buildup. If present, carefully clean these areas too. This will ensure a completely free flowing system once your aluminum intake manifold is clean and reinstalled.
Deep Clean Techniques: How to Clean Aluminum Intake Manifold Effectively
Once you have your aluminum intake manifold removed, the real cleaning work begins. Your goal is to remove every trace of carbon, oil, and grime. Start with the most stubborn deposits. Use your plastic scraper to remove any large, loose chunks of carbon. Be gentle. You do not want to gouge the aluminum surface. For hardened carbon, switch to a metal scraper. Apply steady pressure. Work carefully to chip away at the buildup.
After scraping, apply a generous amount of intake manifold cleaner or carburetor cleaner. These chemicals are designed to dissolve carbon. Spray thoroughly into all ports and passages. Let the cleaner soak for the recommended time. This allows the chemicals to penetrate the deposits. For heavily soiled manifolds, you might need to repeat this step several times. Some mechanics suggest letting the manifold soak in a bath of dedicated cleaning solution for several hours or overnight. You can also spray the cleaner into a sturdy plastic bin and let the manifold sit in it.
Next, use your wire brushes. Different sizes allow you to reach into tight corners and passages. A drill-mounted wire brush can quickly clean large, open areas. Exercise caution. Excessive speed or pressure can damage the aluminum. Manual scrubbing with a stiff-bristled brush is often safer for intricate areas. Pay close attention to the runners and the areas around the injector ports. Once you have scrubbed everything, rinse the manifold. Use warm water and a strong stream. Some people use a pressure washer, but keep the pressure low to avoid damage. Ensure all chemical residue and loosened carbon are flushed out. Use a non-chlorinated brake cleaner for a final rinse. This ensures no residue remains and promotes quick drying. Thoroughly dry the manifold with compressed air. Make sure no water or cleaner is left inside any passages. A completely dry manifold is crucial before reinstallation. For more on general aluminum cleaning, you can look into how to clean oxidized aluminum wheels, as some principles apply.
Precision Reassembly: Installing Your Cleaned Aluminum Intake Manifold
After you successfully clean aluminum intake manifold, it is time to put it back on the engine. This step is as crucial as the removal process. A precise reassembly ensures a perfect seal and prevents vacuum leaks or other performance issues. First, ensure both the manifold and the cylinder head gasket surfaces are spotless. Any old gasket material or debris will compromise the new seal. You can use a razor blade or fine-grit sandpaper gently to remove remaining gasket material, being careful not to scratch the aluminum.
Now, place the new intake manifold gaskets onto the cylinder head studs or directly onto the manifold, depending on your vehicle’s design. Never reuse old gaskets. Old gaskets are compressed and will not seal properly. This can lead to vacuum leaks, which cause rough idling and poor engine performance. Carefully lower the cleaned aluminum intake manifold onto the cylinder head studs. Guide it slowly to ensure the gaskets remain perfectly aligned. Make sure no wires or hoses get pinched underneath.
Once the manifold is in place, hand-tighten all the manifold bolts. Do not overtighten them yet. Next, use your torque wrench to tighten the bolts to the manufacturer’s specifications. It is vital to follow the specific tightening sequence outlined in your vehicle’s service manual. This sequence ensures even pressure distribution across the gasket. It prevents warping of the manifold. Typically, you start tightening from the center bolts and work your way outwards in a crisscross pattern. After torquing the bolts, reconnect all the hoses, vacuum lines, and electrical connectors you labeled during disassembly. Double-check every connection. Refer to your photos if needed. Reconnect the fuel lines and any coolant lines. Lastly, reconnect the battery’s negative terminal. Before starting the engine, do a final visual check. Ensure everything is in place.
Beyond the Deep Clean: Maintaining a Healthy Intake Manifold
Cleaning your aluminum intake manifold is a significant maintenance task. However, keeping it clean is an ongoing process. Regular maintenance helps prevent rapid carbon buildup. This extends the time between major cleanings. One simple preventative measure is using high-quality fuel. Premium fuels often contain additives that help keep your fuel system and combustion chambers cleaner. While these do not directly clean the intake manifold, they contribute to overall engine cleanliness.
Consider using a reputable fuel system cleaner periodically. Some of these cleaners are designed to atomize into the intake system. They can help dissolve lighter carbon deposits over time. Follow the product instructions carefully. For some vehicles, especially those with direct injection, a professional carbon cleaning service might be beneficial. These services use specialized tools. They blast walnut shells or chemicals directly into the intake ports. This cleans valves and runners without full manifold removal. Some vehicles might even benefit from an in-place cleaning method for lighter carbon. This typically involves specialized sprays introduced through the throttle body. But a deep clean like the one we discussed is usually needed for heavy buildup. For a quick guide on how to clean intake manifold without removing it, you can check specific resources.
Another important aspect is engine oil. Using the correct type and viscosity of engine oil is crucial. High-quality synthetic oils can reduce oil vapor blow-by. Less oil vapor means fewer deposits in the intake manifold. Regularly check and replace your PCV (Positive Crankcase Ventilation) valve. A faulty PCV valve can cause excessive oil vapor to enter the intake system. This significantly accelerates carbon buildup. By addressing these underlying causes, you can keep your aluminum intake manifold much cleaner for longer. This ensures your engine continues to run efficiently and powerfully.
Troubleshooting and Common Questions for Intake Manifold Care
Even with careful planning, questions or small issues can arise when cleaning or reinstalling your aluminum intake manifold. Knowing how to troubleshoot helps you complete the job successfully. One common concern is stubborn carbon. If chemical cleaners and brushes do not remove all buildup, consider a stronger, professional-grade carbon remover. Some people use ultrasonic cleaning for extremely fouled manifolds. This involves submerging the manifold in a special bath. The bath uses high-frequency sound waves to dislodge deposits. This is usually done by a specialized shop.
Another potential issue is a vacuum leak after reassembly. Symptoms include a whistling sound, rough idle, or a “check engine” light with lean fuel codes. This often means the new gasket did not seal properly. Double-check all manifold bolts. Ensure they are torqued to specification and in the correct sequence. Inspect all vacuum lines and hoses. Make sure they are connected and not cracked or damaged. A small leak can cause significant performance problems. You can use an unlit propane torch or a smoke machine to detect leaks. Waving propane near potential leak spots will cause engine RPM to change. A smoke machine fills the intake system with smoke, making leaks visible.
Sometimes, after cleaning and reinstallation, the engine might run rough initially. This can be normal. The engine’s computer (ECU) needs time to relearn air-fuel mixture settings. Drive the car for a few miles. The ECU should adjust. If the problem persists, recheck all electrical connections and vacuum lines. Ensure no sensor wires are loose. If you accidentally scratched the aluminum surface while cleaning, small surface scratches are usually fine. Deep gouges, however, can create airflow disturbances or leak points. For significant damage, professional repair or replacement might be necessary. Remember that patience is key. If you are unsure about any step, consult a professional mechanic or your vehicle’s service manual.
Frequently Asked Questions
How often should I clean my aluminum intake manifold?
The frequency depends on your vehicle’s engine type and driving habits. Direct injection engines or those with high mileage and a robust EGR system might need cleaning every 60,000 to 100,000 miles. You should check your vehicle’s specific maintenance schedule. If you notice symptoms like reduced power or poor fuel economy, consider checking it sooner.
Can I clean my intake manifold without removing it?
Some lighter carbon buildup can be addressed without full removal. This usually involves using aerosol cleaners sprayed into the throttle body while the engine is running. These methods are less effective for heavy, hardened deposits. A complete removal and deep clean are best for thorough results.
What are the risks of a dirty intake manifold?
A dirty intake manifold can lead to several engine problems. These include reduced engine power and acceleration. It can also cause lower fuel efficiency, rough idling, and engine misfires. Severe buildup can even damage other engine components over time. These issues can lead to costly repairs if left unaddressed.
Is cleaning an aluminum intake manifold a DIY job?
Yes, cleaning an aluminum intake manifold is a common DIY task. It requires patience, basic mechanical skills, and the right tools. If you are comfortable working on your engine, you can certainly do it. Always follow safety precautions and consult your vehicle’s service manual.
What is the best cleaner for aluminum intake manifold?
For heavy carbon buildup, specialized intake manifold cleaners or carburetor cleaners are highly effective. These are formulated to dissolve carbon and are safe for aluminum. You can find them at any automotive parts store. For final rinsing, a non-chlorinated brake cleaner is also a good choice.
What happens if I don’t replace the intake manifold gasket?
Reusing an old intake manifold gasket is a bad idea. Old gaskets are compressed and can no longer form a tight seal. This will almost certainly result in a vacuum leak. Vacuum leaks cause engine problems such as rough idling, stalling, and poor fuel economy. Always use new gaskets for a proper seal.
Conclusion
Cleaning your aluminum intake manifold is a vital maintenance step for your vehicle’s longevity and performance. This task, while requiring attention to detail and some mechanical aptitude, is achievable for the average car owner. By following the comprehensive steps outlined in this guide, you can effectively remove accumulated carbon deposits and restore your engine’s breathing.
Remember, a clean intake manifold directly translates to better engine performance, improved fuel efficiency, and a smoother running vehicle. You will notice the difference in power delivery and overall responsiveness. Regular preventative measures can also extend the life of your clean manifold. Do not let carbon buildup rob your engine of its potential. Take the initiative to clean your aluminum intake manifold. Your engine will thank you for it. Get your tools ready, stay safe, and enjoy the benefits of a revitalized engine.
- aluminum intake manifold
- clean intake manifold
- engine cleaning
- carbon buildup removal
- car maintenance
- automotive cleaning


