· Todd Martin · Home Maintenance · 16 min read
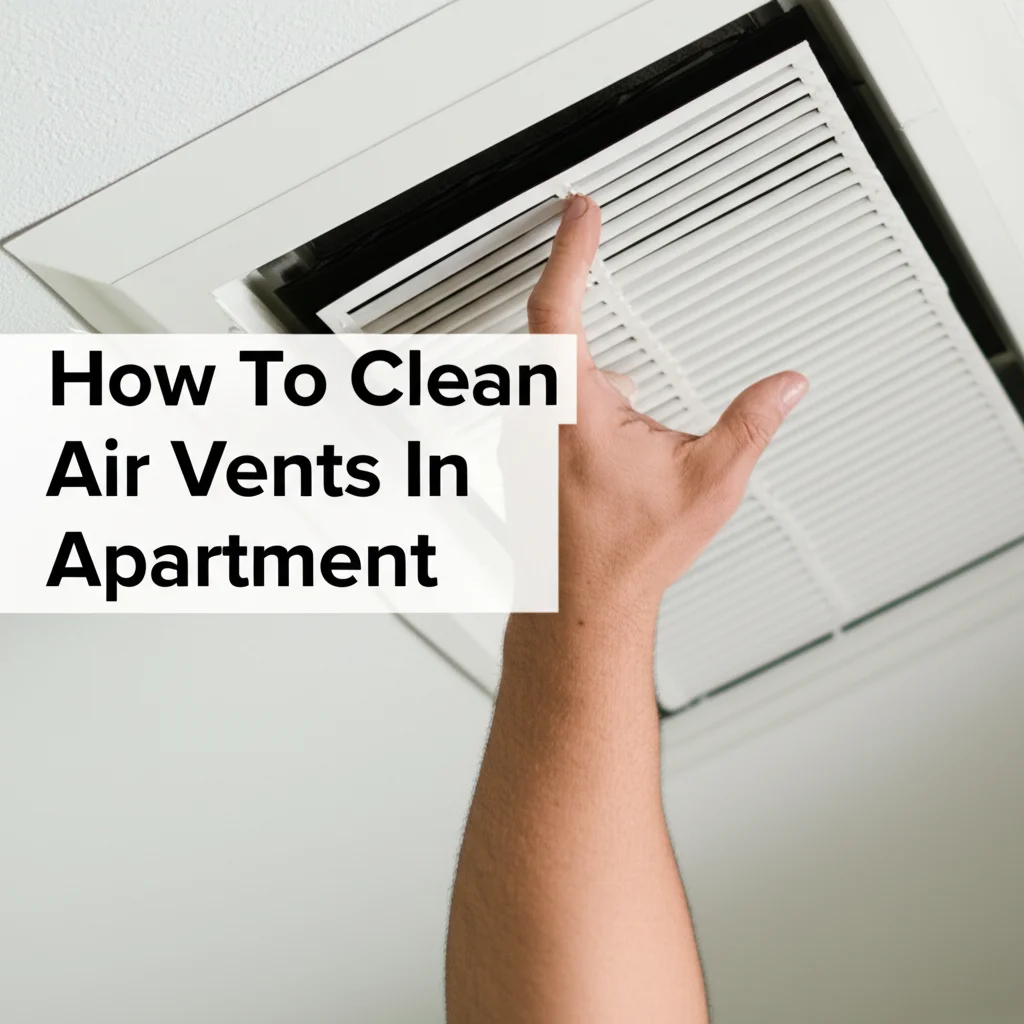
How To Clean Black Dust Around Air Vents
Clean Black Dust Around Air Vents for Better Air
Seeing black dust gather around your home’s air vents can be a frustrating sight. It signals more than just a dirty surface. This dust can point to issues with your home’s air quality or HVAC system. Ignoring it allows airborne particles to circulate, potentially affecting your health. I understand how concerning this can be.
This comprehensive guide will help you understand, clean, and prevent black dust around air vents. We will look at what causes this dust and gather the right tools for cleaning. You will find step-by-step instructions for effective removal. We will also cover prevention methods and discuss when to call a professional. My goal is to help you maintain a cleaner home and improve your indoor air quality.
Takeaway:
- Identify the source of black dust for effective cleaning.
- Gather necessary tools like vacuums, brushes, and cleaning solutions.
- Clean vent grilles and interior ducts regularly.
- Change HVAC filters on schedule to prevent future buildup.
- Consider professional help for stubborn issues or deep duct cleaning.
Clear Answer:
To clean black dust around air vents, first, vacuum the loose dust. Then, remove and wash the vent grilles with soap and water. Use a damp cloth or specialized brush to clean inside the vent opening. Ensure proper drying before reinstallation. Regular filter changes and humidity control prevent future dust.
Understanding Black Dust: What Causes It?
Black dust around air vents is a common household problem. It appears as dark smudges or streaks on walls and ceilings. This dust is often a mix of different airborne particles. Knowing what creates it helps you clean it better. It also helps you prevent it from returning. I always try to identify the source first.
This dust can be an indicator of your home’s air quality. If the dust is persistent, it means many particles are in your air. These particles settle on surfaces, especially around air vents. Air vents push air into rooms, making them prime spots for dust to collect.
Common Sources of Black Dust
Several factors cause black dust to form around air vents. One common source is general household dust. This dust includes skin flakes, pet dander, and fabric fibers. These tiny particles travel through your home’s air. They get pushed out through the vents and stick to nearby surfaces.
Another frequent cause is candle soot. Burning candles, especially paraffin wax candles, release fine soot particles. These particles are black and sticky. They easily cling to walls, particularly near air vents. Fireplaces and wood-burning stoves also produce soot. This soot can spread through your HVAC system. If you have a fireplace, ensure proper ventilation. Learn how to clean black soot from inside a fireplace to reduce its spread.
HVAC system issues can also contribute. Dirty air filters are a major culprit. When filters are clogged, they cannot trap particles effectively. Dust bypasses the filter and enters your home’s air supply. This leads to more dust around vents. Duct leaks also pull dust from unconditioned spaces like attics or crawl spaces. This dust then exits through your vents.
In some cases, black dust can be mold or mildew. Mold growth often appears as black spots or streaks. It thrives in damp areas. If your HVAC system has moisture problems, mold can grow inside the ducts. This mold then spreads spores through your vents. It is important to address mold quickly. You can learn how to clean mold from a window air conditioner for similar issues.
Why Black Dust Matters for Your Home
Black dust is not just an aesthetic issue. It can affect your health and home efficiency. Breathing in dust particles can trigger allergies and respiratory problems. Symptoms include sneezing, coughing, and irritated eyes. People with asthma are especially sensitive.
The dust also signals potential HVAC problems. A system constantly pushing out dust works harder. This uses more energy. Dirty ducts and filters reduce airflow. Reduced airflow means your heating and cooling system runs less efficiently. This leads to higher utility bills.
Over time, this dust can stain walls and ceilings. Removing these stains might require repainting. Regular cleaning prevents permanent damage. It maintains the look of your home. A clean home environment supports better health for everyone living there.
Essential Tools and Safety for Vent Cleaning
Before you start cleaning, gather all the necessary tools. Having everything ready makes the process smoother. Safety is also important. Protect yourself from dust and potential hazards. I always make sure I have my gear prepared.
The right tools help you clean effectively. They ensure you remove all the dust and grime. Proper safety gear protects your eyes and lungs. It prevents irritation from airborne particles.
Necessary Cleaning Supplies
You will need several items to clean black dust around air vents. A strong vacuum cleaner is essential. Use one with a hose attachment and a brush nozzle. This helps remove loose dust from surfaces and inside the vents. A microfiber cloth is good for wiping surfaces. It traps dust instead of spreading it.
For stubborn grime, prepare a cleaning solution. A mix of warm water and mild dish soap works well. You can also use a vinegar and water solution. Vinegar is a natural disinfectant and cuts through grease. Learn how to clean with vinegar and baking soda for other household tasks. You might also need a soft brush or a vent cleaning brush. These brushes reach into crevices and remove lodged dust.
A screwdriver or drill might be necessary. Most vent grilles attach with screws. You will need a tool to remove them. Make sure it matches the screw heads. Keep a bucket nearby for washing grilles. A towel or old rags are useful for drying.
Safety First: Precautions to Take
Safety is paramount when cleaning air vents. Always turn off your HVAC system before you begin. This prevents dust from spreading through the system. It also protects you from moving parts inside the ducts. Go to your thermostat and set it to “Off.” If you are working near the main unit, consider turning off power at the breaker box.
Wear protective gear. A dust mask or respirator is crucial. It prevents you from inhaling dust particles. Dust can carry allergens and irritants. Safety glasses protect your eyes from falling debris. Gloves keep your hands clean and prevent skin irritation from cleaning solutions.
Work in a well-ventilated area if possible. Open windows and doors to allow fresh air in. This helps disperse airborne dust. Avoid using harsh chemicals that release strong fumes. Stick to mild soaps or natural cleaners. If you encounter mold, take extra precautions. Consider wearing a more robust respirator. Ensure children and pets are away from the cleaning area. They should not inhale the dust or cleaning fumes.
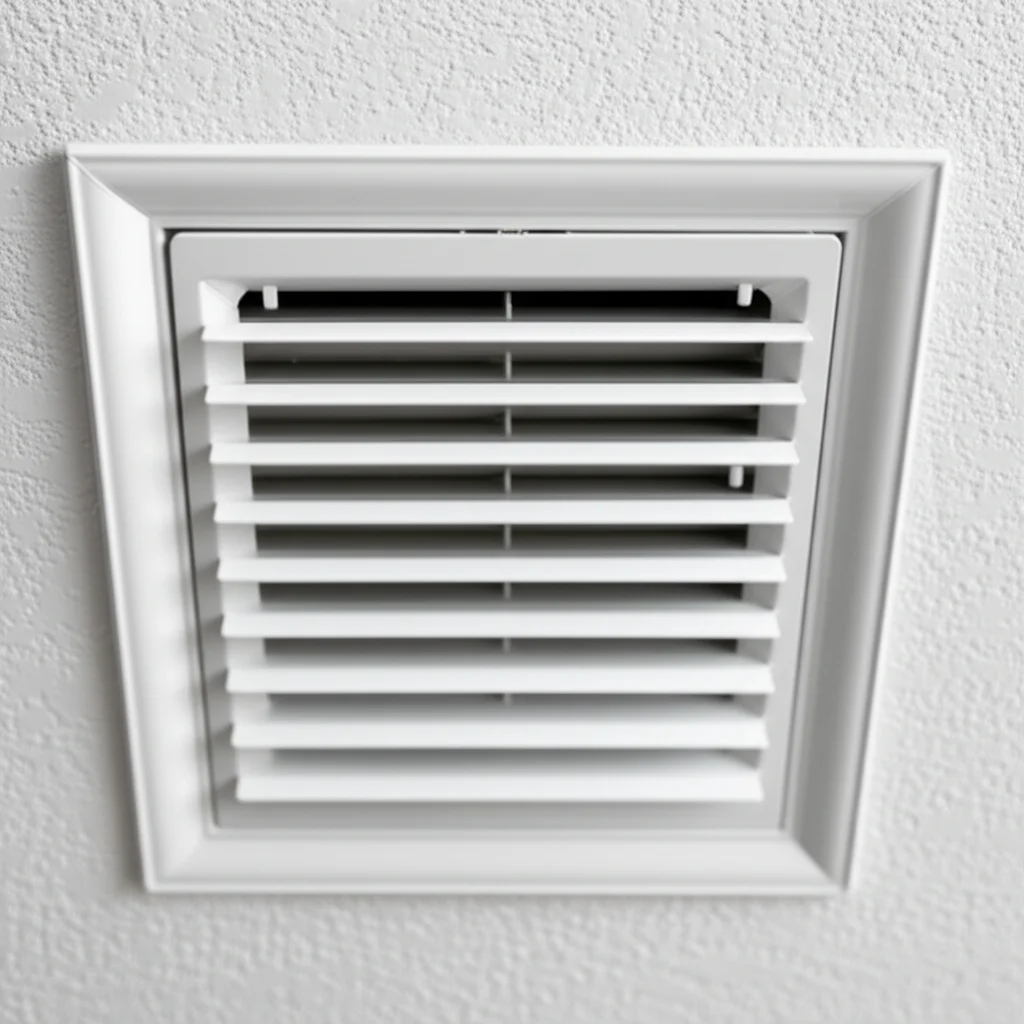
Step-by-Step Guide to Cleaning Air Vent Grilles
Cleaning the air vent grilles is the first major step. These are the visible parts of your vents. They collect a lot of black dust. A thorough cleaning improves the look and air quality of your home. I find this part very satisfying.
This process involves removing the grilles, washing them, and letting them dry. It ensures a deep clean. This removes accumulated grime that simple wiping misses.
Removing the Grilles
Begin by carefully removing the air vent grilles. Most grilles attach with screws. Use a screwdriver to loosen and remove these screws. Place the screws in a small container. This prevents them from getting lost. Take care not to strip the screw heads.
Once the screws are out, gently pull the grille away from the wall or ceiling. Some grilles may be stuck with old paint or grime. A slight wiggle can help loosen them. Be careful not to damage the drywall or plaster. If the grille is very difficult to remove, you might need a putty knife to gently pry around the edges.
As you remove the grille, pay attention to any insulation or duct tape around the edges. These seal the grille to the duct. If they are loose or damaged, plan to replace them. This helps maintain air efficiency later.
Washing and Drying Grilles
Take the removed grilles to a utility sink or bathtub. You can also use a large bucket outdoors. Fill the sink or bucket with warm water. Add a few drops of mild dish soap to the water. Place the grilles into the soapy water. Let them soak for about 15-20 minutes. Soaking helps loosen stubborn black dust and grime.
While soaking, use a soft brush or a sponge to scrub the grilles. Pay close attention to the slats and corners. These areas collect the most dust. For hard-to-reach spots, a stiff-bristled brush or an old toothbrush works well. If you encounter sticky residue, a degreaser cleaner can help.
After scrubbing, rinse the grilles thoroughly with clean water. Make sure all soap residue is gone. Soap left behind can attract more dust. Once rinsed, dry the grilles completely. You can air-dry them outdoors or use a clean towel. Ensure they are bone-dry before reattaching them. Moisture can cause mold or mildew growth. Drying completely prevents this issue.
Cleaning Inside the Vent and Ductwork
Cleaning the grilles is important, but dust also accumulates inside the vents. This part of the process tackles the hidden areas. Cleaning these spots improves airflow and reduces circulating dust. I always pay attention to the parts you cannot see.
Addressing the interior means getting rid of deeply settled particles. This improves your overall indoor air quality. It also helps your HVAC system work more efficiently.
Vacuuming Dust Inside Vents
After removing the grille, you will see inside the vent opening. Use your vacuum cleaner with a hose attachment. A narrow crevice tool or a brush attachment works best here. Carefully insert the vacuum hose into the vent. Vacuum as far as you can reach into the ductwork. Move the hose around to capture all loose black dust and debris.
You might be surprised by how much dust collects inside. Focus on the immediate opening and visible sections of the duct. This area often has the heaviest dust buildup. If your vacuum has strong suction, it will pull out a lot of settled particles.
For vents connected to the main return air duct, you might find larger debris. This can include small toys or paper. Remove these items carefully. They can obstruct airflow. This vacuuming step is critical for removing the bulk of the interior dust.
Wiping Down Vent Interiors
Once you have vacuumed, wipe down the interior surfaces. Dampen a microfiber cloth with water or a mild cleaning solution. You can use the same soapy water mixture from cleaning the grilles. Reach inside the vent as far as possible. Wipe down the walls and ceiling of the immediate duct opening.
The microfiber cloth will pick up fine dust particles that the vacuum missed. If you see black streaks that look oily, a stronger degreaser might be needed. Alternatively, a cloth dampened with rubbing alcohol can help. Be gentle to avoid damaging any internal components.
For vents with sharp edges, be careful not to cut yourself. You can wrap the cloth around a stick or a flat cleaning tool to reach deeper. Ensure all visible surfaces are clean. This wiping step provides a more thorough clean than just vacuuming. It leaves the interior looking and feeling fresh.
When to Consider Professional Duct Cleaning
Sometimes, black dust issues go beyond what you can clean yourself. If dust returns quickly or if you notice mold odors, professional help may be needed. Professional duct cleaning involves specialized equipment. They use powerful vacuums and brushes to clean the entire duct system.
Signs you might need professional help include:
- Persistent black dust: Even after regular cleaning, dust accumulates fast.
- Musty odors: A sign of mold or mildew growth within the ducts.
- Increased allergies or respiratory issues: Poor indoor air quality from dirty ducts affects health.
- Visible mold in ducts: If you see extensive mold growth beyond the vent opening.
- Major renovations: Construction dust can contaminate your ductwork.
Professionals can access parts of the duct system you cannot reach. They can also inspect for issues like leaks or excessive mold. If you have a central air conditioner, they can check components like the AC blower wheel. Proper AC maintenance can prevent future problems. Learn about how to clean an AC blower wheel without removing it if you suspect issues there. Cleaning other AC components, like a portable air conditioner water tank, also contributes to overall system health.
Addressing Specific Types of Black Dust
Not all black dust is the same. Its appearance can tell you about its origin. Understanding the type of dust helps you clean it more effectively. It also guides your prevention strategies. I pay close attention to the dust’s characteristics.
Different dust types require slightly different approaches. This ensures you target the problem correctly. It leads to a longer-lasting clean.
Soot from Candles or Fireplaces
If your black dust is fine, powdery, and easily smudges, it might be soot. Candles are a common source, especially scented ones or those made of paraffin wax. Fireplaces and wood-burning stoves also produce soot. This soot often contains tiny carbon particles. It can be sticky and hard to remove completely.
For soot, start by vacuuming thoroughly. Use a brush attachment to gently dislodge particles without smearing. Then, wipe surfaces with a dry microfiber cloth. Avoid using water immediately. Water can smear soot and make it harder to clean. After removing most of the dry soot, use a cleaning solution. A mixture of mild dish soap and water works. For stubborn soot, a degreaser or a specialized soot remover might be necessary. Remember to wear gloves.
To prevent soot, use beeswax or soy candles. Trim wicks regularly. Ensure your fireplace has proper ventilation. You can also learn how to clean black soot from inside a fireplace for better management.
Mold or Mildew Related Black Dust
Black dust that looks fuzzy, blotchy, or has a musty odor is likely mold or mildew. Mold thrives in damp, dark environments. Your HVAC ducts can become prime breeding grounds if moisture is present. This is a more serious issue than regular dust. Mold spores can negatively affect health.
If you suspect mold, wear a respirator and gloves. Vacuum the area carefully. Then, clean with a mold-killing solution. A bleach solution (1 cup bleach to 1 gallon water) can be effective. However, never mix bleach with ammonia-based cleaners. White vinegar also works as a natural mold killer. Spray the solution on the affected area. Let it sit for 10-15 minutes, then scrub with a brush. Rinse with clean water.
After cleaning, identify and fix the moisture source. This might be a leaky duct or a high humidity level in your home. You can learn how to clean mold from a window air conditioner as the principles are similar for different AC units. Preventing moisture is key to preventing mold. Consider a dehumidifier for your home if humidity is high.
Dust from HVAC Issues
If the black dust reappears quickly after cleaning, or if it has a greasy texture, your HVAC system might be the primary source. This dust often indicates dirty air filters, leaky ductwork, or issues with the furnace or AC unit. These problems allow more particles to circulate.
Begin by checking your air filter. A dirty filter cannot trap particles. It causes them to circulate throughout your home. Replace disposable filters monthly or quarterly. If you have a reusable filter, clean it regularly. Even a lawn mower air filter needs cleaning to work well; the principle applies to home HVAC systems. Inspect your ductwork for visible gaps or leaks. Seal any leaks with specialized mastic sealant or foil tape.
If you have a furnace, ensure it is serviced regularly. A furnace that is not burning fuel efficiently can produce soot. This soot spreads through the vents. Sometimes, carbon buildup inside the furnace or AC unit can contribute. Professional HVAC inspection helps identify and fix these issues. They can check the entire system.
Preventing Future Black Dust Accumulation
Preventing black dust is better than constantly cleaning it. Regular maintenance and simple habits keep your home cleaner. These steps also improve your indoor air quality. I prioritize prevention to save time and effort.
Proactive measures ensure a healthier living environment. They extend the life of your HVAC system. They also reduce the frequency of deep cleaning.
Regular Filter Changes
The most important step for preventing black dust is regularly changing your HVAC air filters. Filters trap dust, pollen, pet dander, and other airborne particles. When filters get clogged, they stop working effectively. Dust bypasses the filter and circulates into your home. This leads to dust accumulation around vents.
Check your filters monthly. Change disposable filters every 1 to 3 months. The frequency depends on factors like:
- Pet ownership: Homes with pets need more frequent changes.
- Allergies: People with allergies benefit from monthly changes.
- Occupancy: More people in the home means more dust.
- Outdoor environment: Construction or high pollution outside increases dust indoors.
For reusable filters, clean them as recommended by the manufacturer. This might involve vacuuming, washing, or soaking. A clean filter ensures your HVAC system runs efficiently. It protects indoor air quality. Think of it like maintaining other air-reliant systems, even something like a lawn mower air filter; proper maintenance is vital for performance.
Dusting and Vacuuming Routines
Regular household cleaning reduces the amount of dust available to become airborne. Dust surfaces frequently with a microfiber cloth. Microfiber traps dust instead of just pushing it around. Pay attention to surfaces near air vents.
Vacuum carpets and rugs regularly. Carpets are major dust reservoirs. A vacuum with a HEPA filter is best. It traps small particles effectively. Dust and vacuum at least once a week. More often if you have pets or allergies.
Consider cleaning your drapes, blinds, and upholstery. These fabrics collect a lot of dust. Washing drapes or vacuuming blinds reduces overall dust levels. A clean home environment means less dust for your air vents to circulate.
Humidity Control
High humidity levels in your home can contribute to black dust, especially if it is mold-related. Mold thrives in moist environments. It appears as black spots or streaks. Controlling humidity prevents mold growth.
Aim for indoor humidity levels between 30% and 50%. You can measure humidity with a hygrometer. If your home is too humid, use a dehumidifier. Place it in areas with high moisture, like basements or bathrooms. Ensure proper ventilation in bathrooms and kitchens. Use exhaust fans during showers and cooking.
If your air conditioner causes humidity issues, check its drainage. A clogged AC drain line can lead to moisture buildup. Learning how to clean an AC drain line with an air compressor can help prevent moisture problems. Addressing moisture problems is key to preventing mold and maintaining good air quality.
The Benefits of a Clean Air System
Maintaining clean air vents and ducts offers many advantages. These benefits extend beyond just a clean appearance. They impact your health, your home’s efficiency, and even your wallet. I have found these benefits to be significant.
A clean air system contributes to a more comfortable and healthier living space. It also ensures your heating and cooling equipment lasts longer.
Improved Indoor Air Quality
The most direct benefit of cleaning black dust is better indoor air quality. Dust, allergens, and pollutants circulate less. This means you and your family breathe cleaner air. Reduced airborne particles lead to fewer allergy symptoms. These include sneezing, coughing, and irritated eyes. People with respiratory
- air vent cleaning
- black dust removal
- indoor air quality
- HVAC maintenance
- home cleaning tips
- dust prevention

Todd Martin
Senior Writer
With over 15 years of experience in home renovation and design, I started HEG to share what I’ve learned with homeowners who want to create spaces that are both beautiful and functional. I’ve always believed in a hands-on approach, and over the years, I’ve picked up practical solutions that actually work. Through HEG, I aim to make home improvement more approachable, sharing real tips that help you create a home you truly love.