· Todd Martin · Home Maintenance · 19 min read
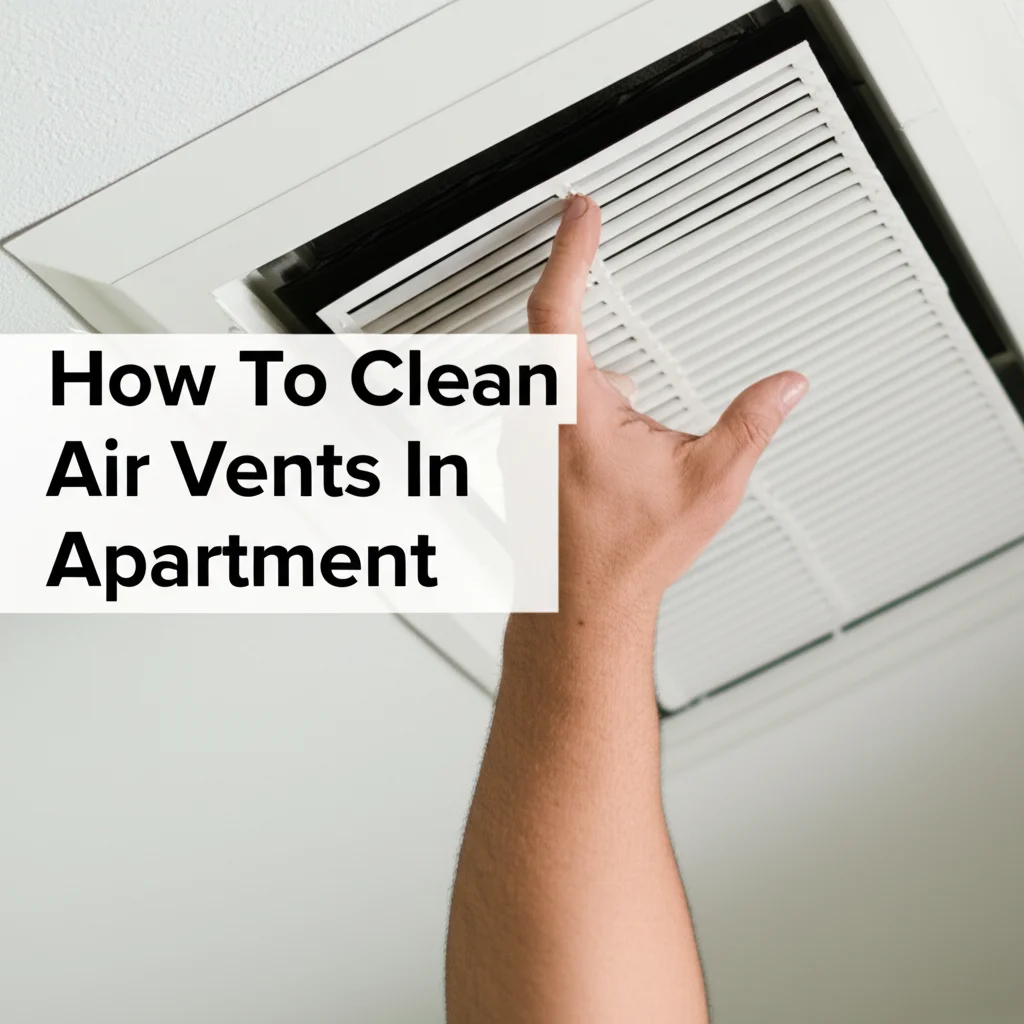
How To Clean Air Vents In Apartment
Breathe Easier: How To Clean Air Vents In Apartment
Do you notice dust collecting around your apartment’s air vents? Perhaps your allergy symptoms worsen when you are home. Dirty air vents are often the cause of poor indoor air quality. Cleaning air vents in your apartment helps ensure you breathe cleaner air. It also improves your heating and cooling system’s efficiency. Neglecting this task leads to dust, allergens, and even mold spreading through your home.
I will guide you through a simple process to clean apartment air vents. We will cover why this task is important. You will learn what tools you need. Then, I will provide step-by-step instructions for different vent types. I will also share tips for handling tough grime. We will discuss common mistakes to avoid. Finally, you will know when to get professional help. This guide helps you maintain a healthier, more comfortable living space.
Takeaway
- Regularly clean apartment air vents for better air quality and HVAC efficiency.
- Gather basic cleaning tools like a vacuum, brush, and cleaning solution.
- Follow specific steps for supply, return, and exhaust vents.
- Address stubborn grime with a vinegar and water solution or specialized cleaners.
- Change air filters often to reduce vent dirt.
- Call professionals for duct cleaning or severe mold issues.
Concise Answer
To clean air vents in an apartment, first remove the vent cover. Vacuum loose dust from the cover and inside the duct opening. Wipe the vent cover with a damp cloth and mild cleaner. Clean the duct opening’s edges. Let everything dry before replacing the cover. This process removes dust and improves air flow.
Importance of Clean Apartment Air Vents
Cleaning your apartment’s air vents is a simple task with big benefits. Many people overlook this chore. However, clean vents play a role in your home’s health and comfort. I always make sure my vents are clean. This keeps the air fresh.
Dirty vents trap dust, pet dander, pollen, and other allergens. When air blows through these vents, it picks up these particles. Then, it spreads them throughout your apartment. This causes health issues. People with allergies or asthma feel symptoms worsen. Everyone breathes in more dust. A clean vent system reduces these airborne irritants.
Dirty vents also block airflow. Your heating and cooling system works harder to push air. This uses more energy. High energy use means higher utility bills. Clean vents allow air to flow freely. Your HVAC system runs efficiently. This saves you money. It also makes your apartment more comfortable.
Vents covered in dust look bad. They can make an apartment feel dirty. Clean vents improve the look of your living space. They show care and attention to detail. This is important for renters. Landlords appreciate well-maintained units. My apartment always looks tidy with clean vents.
Sometimes, mold can grow around air vents, especially in humid areas. This mold spreads spores into the air. Breathing mold spores is bad for your health. Regularly cleaning helps spot and remove mold before it spreads. You can learn more about how to clean mold around air vents. This keeps your home safe and healthy.
Essential Tools for Cleaning Apartment Air Vents
Before you start cleaning, gather all your supplies. Having everything ready makes the job easier and faster. You likely have most of these items already. I always prepare my tools first.
Here is a list of what you need:
- Vacuum cleaner with hose attachments: A brush attachment works best for vent covers. A crevice tool reaches into the duct.
- Microfiber cloths: These cloths trap dust well. They are gentle on surfaces.
- Screwdriver: You may need a Philips head or flathead screwdriver. This depends on your vent cover screws.
- Dusting brush or old paintbrush: These are good for dislodging stubborn dust.
- Mild soap or all-purpose cleaner: Use a gentle solution. Dish soap mixed with water works fine.
- Warm water: For rinsing cloths and mixing solutions.
- Bucket or small basin: To hold your cleaning solution.
- Safety glasses and gloves: Protect your eyes and hands from dust and cleaners.
- Face mask: Wear one if you have allergies or expect a lot of dust.
- Trash bags: For disposing of dust and debris.
For heavily soiled vents or specific issues, consider these items:
- Stiff brush: For scrubbing tough grime.
- White vinegar: A natural cleaner and disinfectant. It also helps with odors. You can read about how to clean with vinegar and baking soda for other home cleaning needs.
- Bleach (diluted): Only for mold, and use with caution in well-ventilated areas.
- Compressed air: Helps blow dust out of hard-to-reach spots within the duct. However, you can also clean a PC without compressed air if you need tips for other areas.
Make sure your vacuum cleaner is in good working order. Check its filter. A clean vacuum filter ensures proper suction. Using the right tools protects your apartment. It also makes cleaning more effective.
Step-by-Step Guide to Cleaning Different Air Vent Types
Cleaning air vents involves a few simple steps. The process differs slightly based on the type of vent. We will go through each one. My approach focuses on thoroughness.
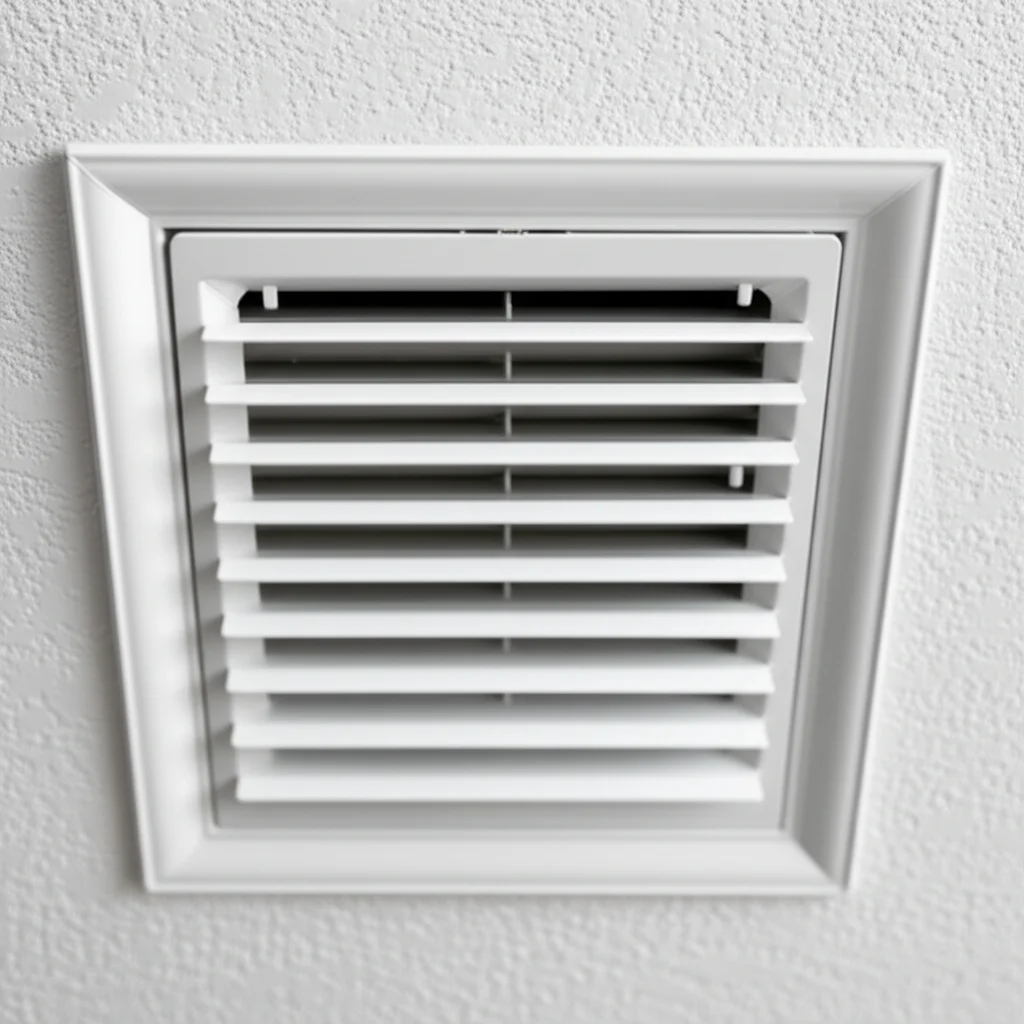
Cleaning Supply Air Vents (Ceiling and Wall)
Supply vents blow conditioned air into your rooms. They are usually found on ceilings or high on walls. These collect less heavy dust than return vents but still need attention.
- Turn off your HVAC system: This prevents dust from blowing out during cleaning. It also stops air from pulling dust back in. Safety is first.
- Protect the area: Place a drop cloth or old towel on the floor below the vent. This catches falling dust and debris.
- Remove the vent cover: Use a screwdriver to unscrew the cover. Some covers simply pull off or unlatch. Handle the cover carefully to avoid bending it.
- Vacuum the vent and duct opening: Use your vacuum’s brush attachment to remove loose dust from the vent cover. Then, use the crevice tool to vacuum inside the duct opening. Reach as far as you comfortably can. For black dust around air vents, pay extra attention here. You can find more information on how to clean black dust around air vents.
- Clean the vent cover: Take the vent cover to a sink or outdoors. Wash it with warm, soapy water. Use a brush to scrub stubborn dirt. For greasy buildup, a degreasing cleaner might work better. Rinse thoroughly.
- Dry the vent cover: Let the cover air dry completely. You can also wipe it with a clean microfiber cloth. Ensure no moisture remains to prevent rust or mold.
- Wipe around the duct opening: Use a damp cloth to wipe the visible edges of the duct opening. Remove any remaining dust or grime.
- Replace the vent cover: Once dry, screw the vent cover back into place. Do not overtighten the screws.
Cleaning Return Air Vents
Return air vents pull air from the room back into the HVAC system for conditioning. These vents often collect the most dust and debris. They are typically larger and located lower on walls.
- Turn off your HVAC system: Always begin by turning off the system for safety.
- Remove the filter: Many return vents have an air filter behind them. Remove this filter. It will likely be very dirty. You can read about how to clean a shark air purifier filter for similar filter cleaning techniques.
- Vacuum the vent cover and duct: Use the vacuum brush attachment to clean the vent cover. Then, use the crevice tool to vacuum inside the duct. Because these vents pull in more air, they often have more dust.
- Clean the vent cover: Take the cover outside or to a utility sink. Wash it with warm, soapy water. Scrub with a stiff brush if needed. Rinse well.
- Dry the vent cover: Allow the cover to air dry completely.
- Clean the filter area: Wipe down the area where the filter sits with a damp cloth.
- Insert a new filter: Always replace the old filter with a new one. Do not just clean the old filter. Dirty filters restrict airflow.
- Replace the vent cover: Secure the vent cover back in place.
Cleaning Bathroom and Kitchen Exhaust Vents
These vents are different. They do not connect to your HVAC system. They remove humid air and odors. They often have different cleaning needs.
- Turn off the power: For bathroom exhaust fans, locate the circuit breaker. Turn off the power to the fan. This prevents electric shock.
- Remove the cover: Most exhaust fan covers unclip or have small screws. Pull it down gently.
- Clean the cover: Wash the cover in warm, soapy water. For kitchen exhaust vents, grease is common. Use a strong degreaser.
- Clean the fan blades (if accessible): Gently wipe the fan blades and motor housing. A damp cloth or a vacuum attachment works here. Be careful not to bend the blades.
- Dry and replace: Let the cover dry fully. Reattach it to the fan. Turn the power back on.
Regularly cleaning all types of vents keeps your apartment fresh. It also helps your heating and cooling systems run well.
Cleaning Techniques for Stubborn Vent Grime and Odors
Sometimes, simple vacuuming and wiping are not enough. Air vents can accumulate stubborn grime. They can also develop unpleasant odors. This often happens in kitchens or bathrooms. I have faced this myself. Here are some techniques to tackle tough situations.
Dealing with Greasy Buildup
Kitchen exhaust vents often get greasy. Cooking fumes carry grease particles. These stick to vent covers and fan blades.
- Use a Degreaser: After removing the vent cover, spray it with a commercial degreaser. Allow it to sit for a few minutes. The degreaser breaks down the grease.
- Hot Water Soak: For very greasy covers, soak them in a tub of hot, soapy water. Add a cup of white vinegar to the water. Let it soak for at least 30 minutes. This helps loosen the grease.
- Scrub with a Stiff Brush: Use a non-abrasive scrub brush to remove the softened grease. Rinse the cover thoroughly with hot water. Make sure no soap residue remains.
- Wipe Down: Wipe the vent cover dry with a clean cloth. Ensure it is completely dry before reattaching.
Tackling Mold and Mildew
Mold can grow on or around vents in humid areas. This often happens in bathrooms or if there is a leak. Mold needs to be addressed quickly. You can find specific guidance on how to clean mold from window air conditioners.
- Safety First: Wear a face mask, gloves, and safety glasses. Mold spores are harmful.
- Vinegar Solution: Mix equal parts white vinegar and water in a spray bottle. Vinegar is a natural fungicide. It kills mold. It also does not harm most surfaces. You can also use vinegar and baking soda for cleaning other surfaces.
- Spray and Scrub: Spray the moldy area directly. Let the solution sit for 10-15 minutes. Then, scrub with a stiff brush or cloth. For mold on wood, this might also help with general strategies for how to clean black mold off wood.
- Hydrogen Peroxide: For more persistent mold, use a 3% hydrogen peroxide solution. Spray it on the mold. Let it sit for 10 minutes. Then, scrub and wipe clean. Hydrogen peroxide is also a good disinfectant.
- Bleach Solution (Caution): Only use diluted bleach (1 part bleach to 10 parts water) on non-porous surfaces. Ensure the area is well-ventilated. Never mix bleach with ammonia or other cleaners. Apply, let sit for a few minutes, then rinse thoroughly.
- Dry Completely: Ensure the area dries completely. Mold thrives in moisture. Use a fan or open windows to speed drying. If mold persists or covers a large area, consult your landlord or a professional.
Eliminating Odors
Sometimes vents can smell musty or stale. This is often due to dust, mold, or poor airflow.
- Thorough Cleaning: A complete cleaning of the vent and visible ductwork often removes the source of the odor.
- Baking Soda: After cleaning, sprinkle baking soda inside the duct opening. Let it sit for a few hours or overnight. Baking soda absorbs odors. Then, vacuum it up. Baking soda is also useful for other cleaning tasks, such as how to clean oven with baking soda.
- Activated Charcoal: Place a small bag of activated charcoal near the vent opening. It also absorbs odors.
- Air Freshener (Temporary): Use a natural air freshener spray for immediate relief. This is a temporary fix. It does not address the source.
Regular maintenance prevents these tough issues. Catching problems early makes cleaning easier.
Maintaining Optimal Air Quality Beyond Vent Cleaning
Cleaning your air vents is a great start. But it is only one part of maintaining healthy indoor air. Your apartment’s entire HVAC system plays a role. I always consider the bigger picture for air quality.
Here are other important steps:
Changing HVAC Air Filters Regularly
This is perhaps the most important step for air quality. Your HVAC system has an air filter. It captures dust, pollen, and other particles before they enter your ducts. A dirty filter cannot do its job.
- Frequency: Change your filter every 1-3 months. If you have pets or allergies, change it more often. I usually mark my calendar to remind myself.
- Filter Type: Use a high-quality filter. MERV ratings tell you how well a filter traps particles. Higher MERV ratings mean better filtration. Check with your landlord about recommended filter types.
- Benefits: A clean filter means cleaner air. It also helps your HVAC system run more efficiently. This saves energy.
Addressing Ductwork
While you clean the vents, the main ductwork can still hold dust. This happens over time.
- When to Consider Duct Cleaning: If you notice excessive dust, persistent odors, or a recent renovation, duct cleaning might be needed. Apartment residents usually need landlord approval for this.
- Professional Service: Duct cleaning is complex. It requires specialized equipment. A professional service uses powerful vacuums and brushes. They clean the entire duct system. They can also address mold issues within the ducts. If you suspect mold in your AC unit, a professional might be able to help. Learn more about how to clean mold from AC unit.
- Benefits: Deep duct cleaning removes years of buildup. This can significantly improve indoor air quality.
Controlling Humidity Levels
High humidity encourages mold and mildew growth. This can affect air quality.
- Dehumidifiers: Use a dehumidifier in damp areas like bathrooms or basements. Keep humidity levels between 30% and 50%.
- Ventilation: Open windows when weather permits. Use exhaust fans in bathrooms and kitchens. This removes excess moisture and cooking fumes.
Regular Apartment Cleaning
General cleanliness reduces the amount of dust that enters your vents.
- Dust Surfaces: Dust furniture, shelves, and electronics regularly.
- Vacuum Floors: Vacuum carpets and rugs. Mop hard floors to pick up dust and dirt. You can learn more about how to clean bathroom rugs for effective floor cleaning.
- Wash Linens: Wash bedding, curtains, and other fabrics often. These items collect dust.
Taking these steps helps create a healthier living space. It complements your vent cleaning efforts.
Common Errors to Avoid When Cleaning Apartment Vents
Cleaning air vents seems simple, but common mistakes can reduce effectiveness or cause damage. Knowing what to avoid helps ensure a good job. I have learned these lessons over time.
Here are errors to look out for:
Not Turning Off the HVAC System
This is a critical safety and effectiveness mistake. If your system is running, air will continue to circulate.
- Risk: Dust and debris can blow back into your face or into the room. It can also pull dust deeper into the ductwork.
- Solution: Always turn off the thermostat or the circuit breaker for your HVAC system before you start. This ensures safety and prevents dust from moving.
Forgetting to Protect the Area
Dust falls. It can create more mess than you started with.
- Risk: Dust and grime can fall onto your floors or furniture. This means more cleaning.
- Solution: Lay down old towels, newspaper, or a drop cloth below each vent. This makes cleanup much easier.
Using Harsh or Abrasive Cleaners
Some cleaning products can damage vent covers or surfaces.
- Risk: Strong chemicals can corrode metal, fade plastic, or strip paint. Abrasive scrubbers can scratch surfaces.
- Solution: Use mild soap and warm water. For tougher grime, white vinegar is a good natural option. If you need something stronger, test it on a small, hidden area first. Remember, simple solutions like how to clean with vinegar and baking soda are often effective.
Overlooking the Duct Opening
Cleaning just the vent cover is only half the job.
- Risk: Dust and debris remain inside the visible part of the duct. This means the problem persists.
- Solution: Use your vacuum’s crevice tool to reach inside the duct opening. Go as far as you can comfortably. Remove any visible dust or debris from the immediate edges.
Not Drying Vent Covers Completely
Moisture can cause new problems.
- Risk: Wet metal vent covers can rust. Wet plastic or metal can promote mold or mildew growth when placed back into a dark, humid duct.
- Solution: Ensure all vent covers are thoroughly dry before reattaching them. Air drying is best. You can also wipe them with a clean, dry cloth.
Forgetting to Change Air Filters
Clean vents do not help much if the main air filter is dirty.
- Risk: A clogged air filter will quickly re-deposit dust onto your newly cleaned vents. It also restricts airflow and makes your HVAC work harder.
- Solution: Always check and replace your HVAC air filter when cleaning vents. This is especially important for return air vents.
Not Cleaning Exhaust Fans
Bathroom and kitchen exhaust fans often get overlooked.
- Risk: These fans collect dust, grease, and moisture. They can become less effective at removing humidity and odors. This leads to mold or lingering smells.
- Solution: Include these in your cleaning routine. Remember to turn off the power at the breaker first.
By avoiding these common errors, you ensure your vent cleaning is effective and safe.
When to Seek Professional Help for Air Vent Cleaning
While DIY cleaning is effective for surface dust and grime, some situations require professional help. Recognizing these times saves you effort and ensures safety. I know my limits and when to call the experts.
Here are signs it is time to call a professional for your apartment’s air vents or ductwork:
Visible Mold Inside Ducts
You might see mold on the vent cover or just inside the duct. If mold extends beyond what you can reach or looks widespread, do not try to clean it yourself.
- Reason: Mold can be toxic. Improper cleaning can release spores into the air. Professionals have specialized equipment to contain and remove mold safely. They also identify the source of moisture causing the mold. If you see mold around air vents, especially extensive growth, it is a big sign. You can also learn about how to clean mold from AC unit if you suspect your whole system has issues.
- Action: Take pictures. Notify your landlord immediately. This is usually the landlord’s responsibility.
Persistent Odors
A lingering musty or stale smell suggests a problem deeper in the ductwork.
- Reason: Odors often come from trapped moisture, mold, mildew, or even dead pests in the ducts. DIY cleaning only addresses the visible parts.
- Action: Discuss this with your landlord. They may need to arrange for professional duct cleaning.
Excessive Dust Buildup Immediately After Cleaning
If your vents become dusty again very quickly, or you see large amounts of dust around registers, it means the problem is deeper.
- Reason: This indicates heavy dust accumulation within the main duct system. Your HVAC system might be blowing loose debris through the vents.
- Action: Suggest to your landlord that the entire duct system needs professional cleaning.
Pest Infestation
Finding signs of rodents or insects in your vents or ductwork is a serious issue.
- Reason: Pests can damage ducts, leave droppings, and introduce allergens and diseases. Their nests can block airflow.
- Action: Contact your landlord immediately. Pest removal and duct cleaning should be done by professionals to ensure complete eradication and sanitation.
Health Issues Persist
If residents experience ongoing allergy symptoms, respiratory problems, or unexplained illnesses, dirty ducts could contribute.
- Reason: Pollutants trapped in ducts can worsen indoor air quality.
- Action: Consult a doctor about health concerns. Then, discuss potential air quality issues with your landlord. Professional duct cleaning might be necessary.
After Major Renovations
Construction or renovation work often generates significant dust and debris. This can settle in your ductwork.
- Reason: Fine dust from drywall, sanding, or demolition can spread throughout the HVAC system.
- Action: Ask your landlord about post-construction duct cleaning.
In an apartment, major HVAC and ductwork cleaning typically falls under the landlord’s responsibility. Always communicate your observations and concerns. Provide specific details and evidence, like photos, to support your request. Professional cleaning ensures a thorough job and addresses underlying issues beyond basic vent cleaning.
Frequently Asked Questions
How often should I clean apartment air vents?
You should clean your apartment’s air vents every 2-3 months. This helps prevent dust buildup. It also keeps air flowing well. If you have pets, allergies, or notice lots of dust, clean them more often. Regular cleaning improves indoor air quality significantly.
Can dirty vents affect my health?
Yes, dirty vents can affect your health. They collect dust, allergens like pollen and pet dander, and sometimes mold spores. When air blows through these vents, it circulates these particles into your apartment. This can worsen allergies, asthma, and other respiratory issues.
Do I need to clean the ducts too?
You can clean the visible part of the ducts. However, extensive duct cleaning usually needs professional help. Ducts accumulate dust over years. If you notice persistent odors, excessive dust, or mold beyond the vent, suggest professional duct cleaning to your landlord.
What if my vents have mold?
If you find mold on your vents, clean it with a solution of equal parts white vinegar and water. Wear a mask and gloves. If the mold is extensive or inside the ductwork, contact your landlord immediately. They will arrange for a professional to inspect and remove it safely.
Is cleaning apartment vents difficult?
Cleaning apartment air vents is generally easy. It involves removing the cover, vacuuming, and wiping. It requires basic tools and takes about 10-15 minutes per vent. The most difficult part might be reaching high ceiling vents. My step-by-step guide makes it simple.
Can I clean air vents in a rental apartment?
Yes, you can clean air vents in a rental apartment. This is part of routine maintenance. It helps keep the apartment clean and healthy. However, for major issues like widespread mold or duct cleaning, you must inform your landlord. They are responsible for significant repairs to the HVAC system.
Conclusion
Cleaning air vents in your apartment is a small task with a big impact. It makes your living space healthier. It helps your HVAC system run better. I always feel good knowing my air vents are clean.
We covered why this task is important for your health and energy bills. We talked about gathering the right tools. I showed you how to clean different types of vents step-by-step. You learned how to handle tough grime and odors. We also discussed crucial steps like changing air filters. We looked at common mistakes to avoid. Finally, you now know when to call a professional for more serious issues.
Making vent cleaning a regular part of your apartment maintenance plan is smart. You will breathe cleaner air. Your apartment will feel fresher. You might even save money on energy bills. Start today by giving your air vents the attention they need. Your lungs and your wallet will thank you.
- air vent cleaning
- apartment cleaning
- HVAC maintenance
- dust removal
- indoor air quality
- home cleaning tips
- DIY cleaning

Todd Martin
Senior Writer
With over 15 years of experience in home renovation and design, I started HEG to share what I’ve learned with homeowners who want to create spaces that are both beautiful and functional. I’ve always believed in a hands-on approach, and over the years, I’ve picked up practical solutions that actually work. Through HEG, I aim to make home improvement more approachable, sharing real tips that help you create a home you truly love.