· Todd Martin · Art & Craft Maintenance · 13 min read
How To Clean Blending Stumps
Clean Blending Stumps: Restore Your Art Tools
Hello fellow artists! Have you ever reached for your trusty blending stump, only to find it caked with graphite or charcoal? A dirty blending stump can ruin your artwork, leaving smudges and unwanted marks. I know the frustration of trying to achieve a smooth gradient with a gritty, discolored tool. This guide will show you exactly how to clean blending stumps, ensuring your drawing tools perform at their best. We will cover simple, effective methods, essential tools, and tips for maintaining your blending stumps for a longer lifespan.
Takeaway: Restore your blending stumps for better art.
- Use sandpaper blocks or fine-grit sandpaper for dry sanding.
- Gently rub the soiled area of the stump on the sandpaper.
- A kneaded eraser removes lighter smudges and refreshes the tip.
- Regular cleaning improves blending quality and extends tool life.
To clean blending stumps, gently rub the soiled paper tip against fine-grit sandpaper or a sanding block until the dark pigment is removed, revealing a clean surface. For lighter residue, a kneaded eraser can lift away graphite or charcoal, ensuring the stump is ready for precise blending.
Understanding Blending Stumps and Their Importance
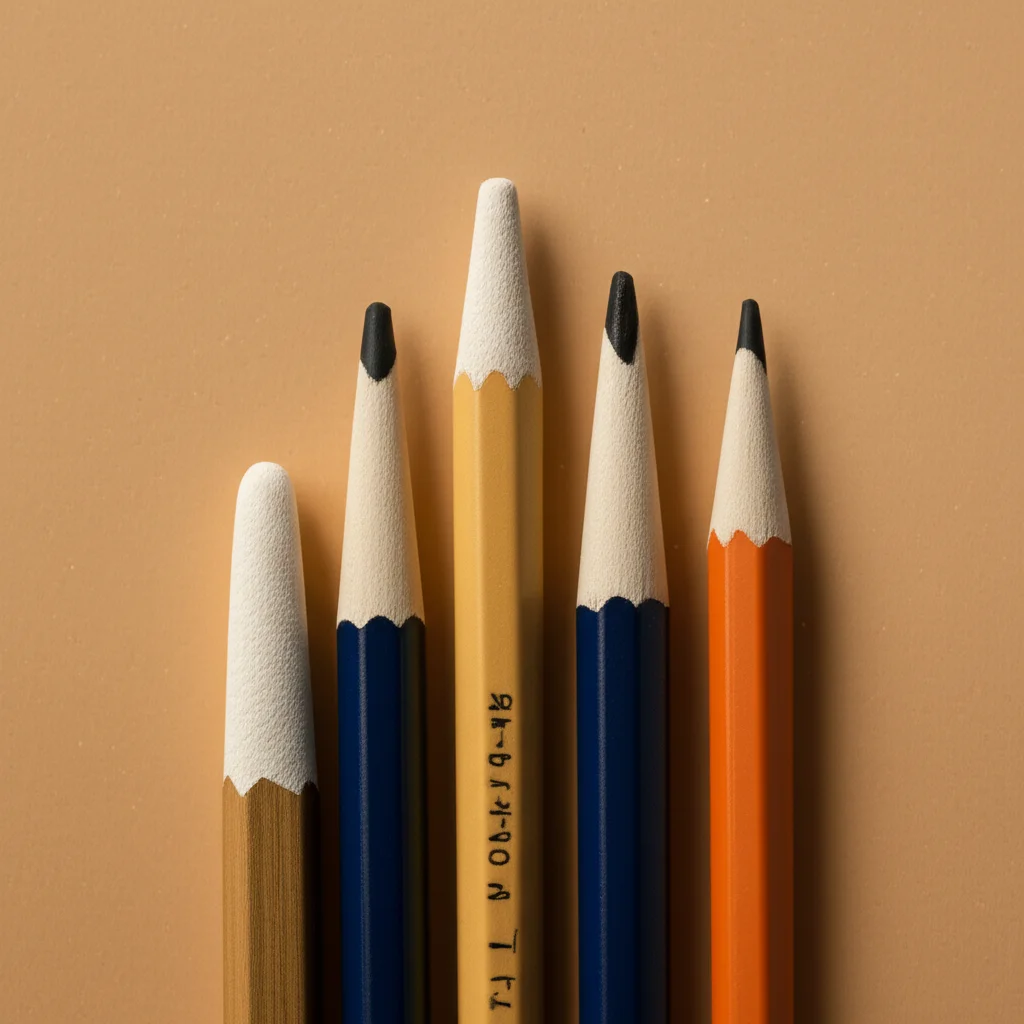
Blending stumps are essential tools for any artist working with graphite, charcoal, pastels, or colored pencils. They are tightly rolled paper cylinders, pointed at both ends, designed to smooth out lines and create seamless gradients. These tools allow artists to achieve soft transitions and subtle tonal variations in their drawings. The porous nature of the paper, however, means blending stumps quickly pick up pigment.
As you use a blending stump, it absorbs the drawing material, like graphite or charcoal. This accumulation of pigment makes the stump less effective for clean blending. A dirty stump can transfer unwanted color or grit to your artwork, creating smudges where you want smooth blends. Understanding how these tools work helps in knowing why regular cleaning is vital. Keeping them clean ensures precise application and professional results every time.
Why Clean Your Blending Stumps? Benefits for Art and Tool Longevity
Cleaning your blending stumps is not just about tidiness; it directly impacts the quality of your artwork. A clean stump provides a fresh, neutral surface for blending. This means you can blend different shades without accidental color transfer. Imagine trying to blend a light grey into white with a stump full of dark charcoal – it simply will not work.
Beyond aesthetic benefits, cleaning extends the life of your blending stumps. When pigments build up, they can harden, making the stump less flexible and effective. Regular cleaning prevents this hardening and maintains the stump’s texture. It also stops cross-contamination between different colors or tones in your drawings. By keeping your tools pristine, you save money on replacements and consistently produce your best work. Just like keeping other art tools clean, knowing how to clean a paint brush ensures they last longer and perform better.
Essential Tools for Effective Blending Stump Cleaning
Before you start cleaning your blending stumps, gather the right supplies. You do not need many items, but the correct tools make the process much easier and more effective. Having these on hand ensures you can clean your stumps quickly whenever needed. I keep these items in my art kit for easy access.
Here are the essential tools you will need:
- Sandpaper Block or Fine-Grit Sandpaper: This is your primary tool for removing pigment buildup. A specific sandpaper block designed for art tools is ideal. If you do not have one, fine-grit sandpaper (around 150-220 grit) works well. The abrasive surface gently sands away the soiled layer of paper.
- Kneaded Eraser: A kneaded eraser is soft and moldable. It is excellent for picking up light pigment and graphite dust from the stump’s surface. It can also help to reshape the tip slightly if it becomes dulled.
- Dry Cloth or Paper Towel: You will need this to wipe away any dust or loosened pigment after sanding. This step ensures that no loose particles transfer back to your artwork.
These tools are simple, but they are incredibly effective for keeping your blending stumps in top condition. They are readily available at art supply stores or even general craft stores.
Method 1: Dry Sanding for Deep Blending Stump Cleaning
Dry sanding is the most common and effective method for deep cleaning blending stumps. This technique removes accumulated pigment by gently abrading the surface of the paper. It is a straightforward process that restores your stump to nearly new condition. I use this method whenever my stumps feel rough or look too dirty.
Follow these steps for effective dry sanding:
- Prepare Your Workspace: Place a piece of scrap paper or newspaper on your work surface. This catches the pigment dust and paper fibers that will come off. This makes cleanup much easier afterward.
- Select Your Abrasive: Take your sandpaper block or a sheet of fine-grit sandpaper. Hold the sandpaper firmly on your protected surface.
- Gently Sand the Stump: Hold your blending stump at an angle, similar to how you would hold it for blending. Lightly rub the soiled tip of the blending stump against the sandpaper. Use a back-and-forth or circular motion. The goal is to remove the top layer of dirty paper.
- Rotate and Clean: As you sand, rotate the blending stump to ensure all sides of the tip are cleaned. Continue sanding until the dirty pigment is gone and the paper appears clean and white again. Be careful not to apply too much pressure, as this can wear down the stump too quickly.
- Wipe Away Residue: Once cleaned, gently tap the stump to remove any loose dust. Then, use a dry cloth or paper towel to wipe down the entire stump. This ensures no stray particles transfer to your artwork.
Dry sanding works because it exposes a fresh layer of paper. This method is crucial for maintaining the blending stump’s effectiveness and longevity. It is the most robust way to get rid of deep stains. Sometimes, art materials can leave stains on wood or other surfaces, and the principle of careful abrasion or lifting can be similar.
Method 2: Using a Kneaded Eraser for Light Cleaning
While dry sanding is excellent for deep cleaning, a kneaded eraser is perfect for lighter maintenance. It is a gentler approach that can refresh your blending stump without significant material loss. I find this method useful for quick clean-ups between uses or when the stump is only lightly soiled. It helps to keep the tips crisp without needing to sand constantly.
Here is how to use a kneaded eraser for light cleaning:
- Prepare the Eraser: Take your kneaded eraser and warm it slightly in your hands. Knead it until it is soft and pliable. You can mold it into a point or a flat surface, depending on what you need.
- Press and Lift: Gently press the kneaded eraser onto the soiled area of the blending stump. The eraser’s sticky surface will pick up the graphite or charcoal particles. Do not rub vigorously; pressing and lifting is more effective.
- Mold and Repeat: As the eraser picks up pigment, fold the dirty part of the eraser inwards. Knead it again to expose a clean surface. Repeat the press-and-lift action on the blending stump until the tip looks cleaner. You will see the eraser get darker as it absorbs the pigment.
- Reshape the Stump (Optional): If your blending stump tip has become rounded or slightly flattened, you can use the kneaded eraser to gently push and mold it back into a sharper point. This can help with precise blending.
This method is ideal for removing surface dust and light smudges. It is less aggressive than sanding and helps prolong the life of your stump by preserving its material. It’s a great intermediate step before resorting to more abrasive cleaning.
Advanced Cleaning Tips and Tricks for Stubborn Marks
Sometimes, blending stumps can develop stubborn marks, especially if you have used them heavily with dark charcoals or pastels. These marks may not come off easily with basic sanding. I have learned a few extra tricks over the years to deal with these tougher situations. These methods require a bit more care but can save a heavily soiled stump.
Consider these advanced tips:
- Targeted Sanding: For specific stubborn spots, focus your sanding on that small area. Use the corner of your sandpaper block or fold a piece of sandpaper to create a smaller abrasive surface. Apply slightly more pressure, but still be gentle. This targets the deep-set pigment without over-sanding the rest of the stump.
- Cleaning Your Workspace: While you clean your stumps, ensure your drawing area remains tidy. Pigment dust can easily spread and re-contaminate your tools or artwork. I always wipe down my desk after a cleaning session. Removing paint off the floor or other surfaces after an art project is similar; it prevents further mess.
- Blotting with Rubbing Alcohol (Use with Caution): For extremely stubborn, oily pastel residue, a tiny amount of rubbing alcohol on a paper towel can sometimes lift the stain. However, this is highly experimental and can damage the paper stump if too much is used. Only blot the very tip gently. Test it on an old stump first. Let it dry completely before use. This method is a last resort and not generally recommended for regular cleaning.
- Using a Craft Knife (Extreme Caution): In rare cases, if a part of the stump is permanently discolored or hardened, a very sharp craft knife can carefully shave off a tiny, thin layer. This requires extreme precision and care. You risk cutting yourself or damaging the stump beyond repair. Use this only if the stump is otherwise unusable and you are very confident in your precision.
These advanced methods are for when standard cleaning is not enough. Always start with the gentler methods first.
Preventative Care for Blending Stumps: Best Practices for Longevity
The best way to keep your blending stumps clean is to prevent them from getting excessively dirty in the first place. Good habits in your art practice can significantly extend the life and cleanliness of your tools. I find that a little preventative care goes a long way. It saves me time from intensive cleaning later.
Here are some best practices for preventative care:
- Clean After Each Use (or Session): Get into the habit of giving your blending stumps a quick clean after each drawing session. Even a minute or two with sandpaper or a kneaded eraser can prevent pigment from building up. This keeps them ready for your next project.
- Dedicate Stumps for Different Media: If you work with both graphite and charcoal, consider having separate blending stumps for each. This prevents cross-contamination of materials. Charcoal is particularly prone to making stumps very dirty quickly.
- Use Light Pressure: When blending, use a light hand. Pressing too hard forces more pigment into the paper fibers of the stump, making it harder to clean. Lighter pressure allows for better control and less buildup.
- Store Properly: Store your blending stumps in a pencil case or art supply box. This protects them from dust and dirt when not in use. Avoid leaving them loose in a drawer where they can pick up debris or get damaged.
- Use a Scrap Paper Pad: Always blend on top of a scrap piece of paper or a drawing board. This ensures your blending stump does not pick up dirt from your workspace. A clean surface helps maintain the cleanliness of your tools.
By implementing these preventative measures, you will find your blending stumps stay cleaner for longer. This reduces the frequency of deep cleaning.
When to Replace Your Blending Stump: Recognizing the End of Its Life
Even with diligent cleaning and preventative care, blending stumps do not last forever. They are made of compressed paper, which wears down with use and cleaning. Knowing when to replace your blending stump is important. Using an overly worn stump can negatively impact your artwork. It might be time for a new one if you notice certain signs.
Here are indicators that it is time to replace your blending stump:
- Too Short to Hold Comfortably: If the stump has become so short from repeated sanding that it is uncomfortable to hold, its usability is severely limited. You cannot apply proper pressure or achieve precise movements.
- Loss of Firmness or Shape: Over time, the paper can lose its tight compression, becoming soft or frayed. If the tip no longer holds a firm point or the body feels spongy, it will not blend effectively. You need a firm point for detailed work.
- Permanent Discoloration/Stains: Despite your best cleaning efforts, some deeply embedded pigments, especially from pastels or very dark charcoal, can permanently stain the stump. If it consistently leaves unwanted color, even after sanding, it is time for a replacement.
- Fraying or Unraveling: The tightly wound paper can start to fray or unravel, especially at the tips. Once the paper begins to separate, it becomes difficult to blend smoothly. The fibers will catch on the paper.
- Ineffective Blending: If you find your stump is no longer creating smooth, even blends, even after cleaning, its texture might be compromised. A worn-out surface cannot properly smooth pigment.
Replacing a blending stump is part of maintaining your art supplies. New stumps are inexpensive and ensure your work consistently looks its best. Do not be afraid to retire an old, tired stump for a fresh one.
Frequently Asked Questions About Blending Stump Cleaning
Q1: Can I use water to clean blending stumps?
No, do not use water to clean blending stumps. They are made of tightly rolled paper. Water will cause the paper to swell, warp, and potentially unravel. This will ruin the stump’s shape and make it unusable for blending. Always use dry cleaning methods like sanding or a kneaded eraser.
Q2: How often should I clean my blending stump?
The frequency depends on your usage. For heavy use, clean it after each drawing session. For lighter use, clean it when you notice pigment buildup or when it starts to leave unwanted marks. Regular, light cleaning is better than infrequent, deep cleaning.
Q3: Can I sharpen blending stumps like pencils?
No, you cannot sharpen blending stumps with a pencil sharpener. A sharpener will tear and shred the paper, ruining the stump. Use a sandpaper block or fine-grit sandpaper to create a new, clean point by abrading the tip. This maintains the integrity of the rolled paper.
Q4: Are tortillons the same as blending stumps? Can I clean them the same way?
Tortillons are similar to blending stumps but are typically smaller, made of thinner paper, and sometimes hollow. Yes, you can clean tortillons using the same dry methods: gently rub them on fine-grit sandpaper or use a kneaded eraser. Both tools are paper-based and require similar care.
Q5: What kind of sandpaper is best for cleaning blending stumps?
Fine-grit sandpaper, typically in the range of 150-220 grit, is best. Purpose-made sandpaper blocks for art tools are ideal. They often come with a pad for easy handling. Avoid coarse-grit sandpaper as it will remove too much material too quickly.
Q6: Will cleaning my blending stump make it last forever?
No, cleaning extends its life but does not make it last forever. Blending stumps are consumable tools. Each time you sand them, you remove a small amount of material. Eventually, they will become too short or too frayed to be effective, requiring replacement.
Conclusion
Keeping your blending stumps clean is a simple yet vital part of any artist’s routine. It directly impacts the quality of your artwork. A clean blending stump ensures smooth gradients and precise lines. We have explored effective methods, from dry sanding to using a kneaded eraser. Remember, preventative care can significantly extend the life of your tools. By following these tips on how to clean blending stumps, you ensure your art supplies are always ready for your next masterpiece. Invest a few moments in cleaning; your art will thank you for it. Keep creating beautiful art with well-maintained tools!
- blending stump
- cleaning art tools
- charcoal drawing
- tortillon care
- paper stumps

Todd Martin
Senior Writer
With over 15 years of experience in home renovation and design, I started HEG to share what I’ve learned with homeowners who want to create spaces that are both beautiful and functional. I’ve always believed in a hands-on approach, and over the years, I’ve picked up practical solutions that actually work. Through HEG, I aim to make home improvement more approachable, sharing real tips that help you create a home you truly love.