· Todd Martin · Aquarium Care · 15 min read
How To Clean Canister Filter
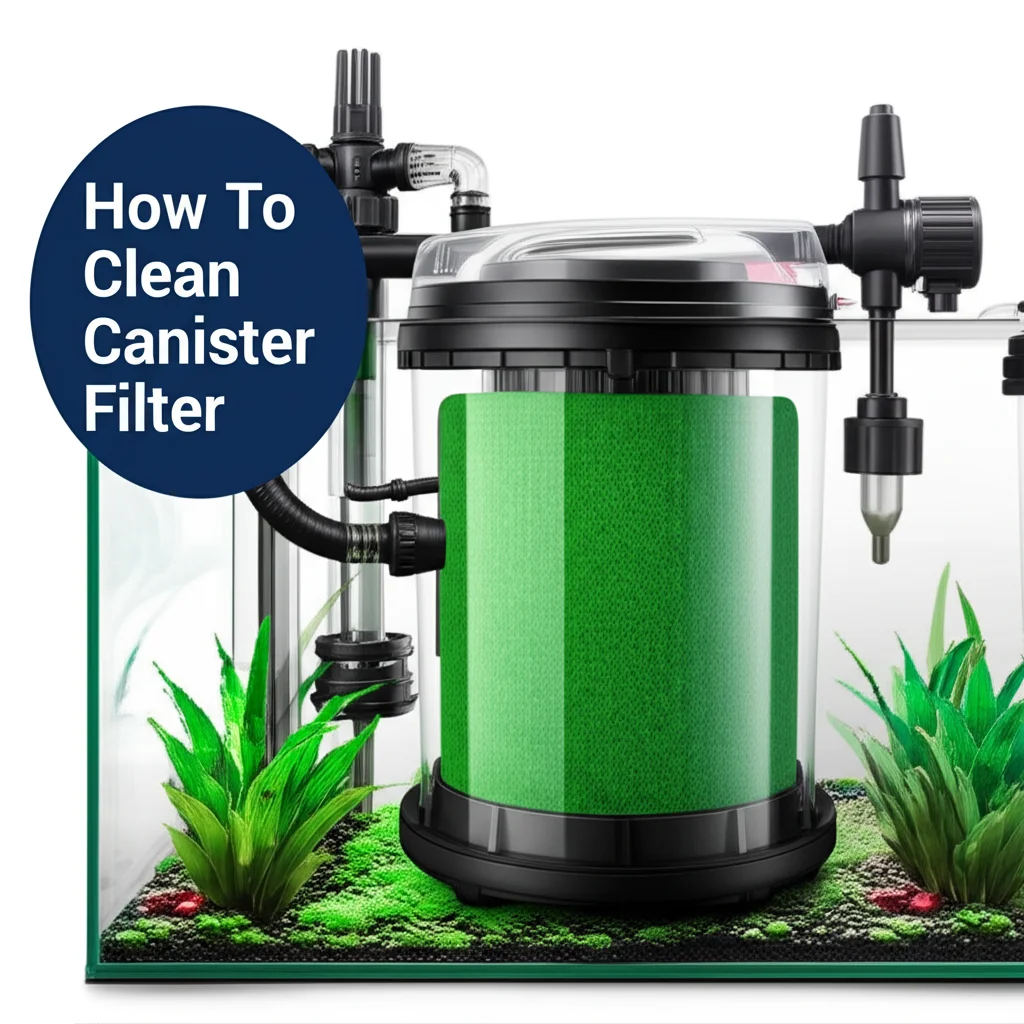
Mastering Canister Filter Cleaning for Crystal-Clear Water
Maintaining a healthy aquarium is a rewarding hobby. A clean environment ensures your aquatic friends thrive. A canister filter is a workhorse in many home aquariums. It keeps water pristine. Knowing how to clean a canister filter is a core skill for any fish keeper. This process keeps your water clear. It also removes harmful waste.
I remember my first aquarium. The water turned cloudy quickly. I learned a dirty filter caused the problem. Cleaning the canister filter regularly transformed my tank. The fish became more active. The plants looked greener. This guide explains the cleaning process. We will cover preparation, disassembly, media cleaning, and reassembly. You will learn to clean your filter like a pro. This keeps your aquarium ecosystem balanced.
Takeaway
- Gather all necessary tools before you start cleaning.
- Always use old tank water to rinse mechanical and biological media.
- Replace chemical media regularly, as it becomes exhausted over time.
- Thoroughly clean the impeller and hoses for optimal water flow.
- Prime your canister filter carefully after reassembly to prevent air pockets.
Cleaning a canister filter involves disconnecting it, disassembling the components, rinsing filter media in old tank water, cleaning the impeller and housing, replacing chemical media, and then reassembling and priming the unit. This process removes built-up waste and maintains beneficial bacteria. It ensures optimal filtration for healthy aquarium water.
Why Canister Filter Cleaning Matters for Your Aquarium
A clean canister filter is vital for a healthy aquarium. It processes large amounts of water. It removes physical debris. It breaks down harmful chemicals. This keeps the water safe for your fish. If you neglect cleaning, problems will arise.
Dirty filters reduce water flow. They can clog completely. This means less oxygen reaches your fish. It also leads to a buildup of toxins. Ammonia and nitrite levels can spike. These are very harmful to fish. Regular cleaning prevents these dangerous conditions. It keeps your aquarium ecosystem stable.
I learned this the hard way once. My fish seemed sluggish. The water smelled strange. I checked the filter. It was packed with sludge. After a thorough cleaning, the tank quickly improved. My fish regained their energy. The water cleared up. Cleaning your filter directly impacts the health of your aquatic pets. It also ensures the overall beauty of your tank. Just as you would clean a general how to clean water filter in your home for purity, an aquarium filter needs consistent attention. This ensures your aquatic environment remains pristine.
Canister filters house different types of media. Each media type performs a specific job. Mechanical media traps large particles. Biological media houses beneficial bacteria. Chemical media removes dissolved pollutants. Each type needs proper care. Cleaning ensures all parts work together. This maintains effective filtration. It provides a clean, safe home for your fish. Regular cleaning extends the life of your filter too. It protects your investment.
Essential Tools and Preparations Before You Start
Before you begin cleaning your canister filter, gather your tools. Having everything ready saves time. It also makes the process smoother. You will need a few buckets. One bucket holds the water from your tank. This water is important for rinsing media. Another bucket holds dirty parts. You will also need towels. These protect your floor from spills.
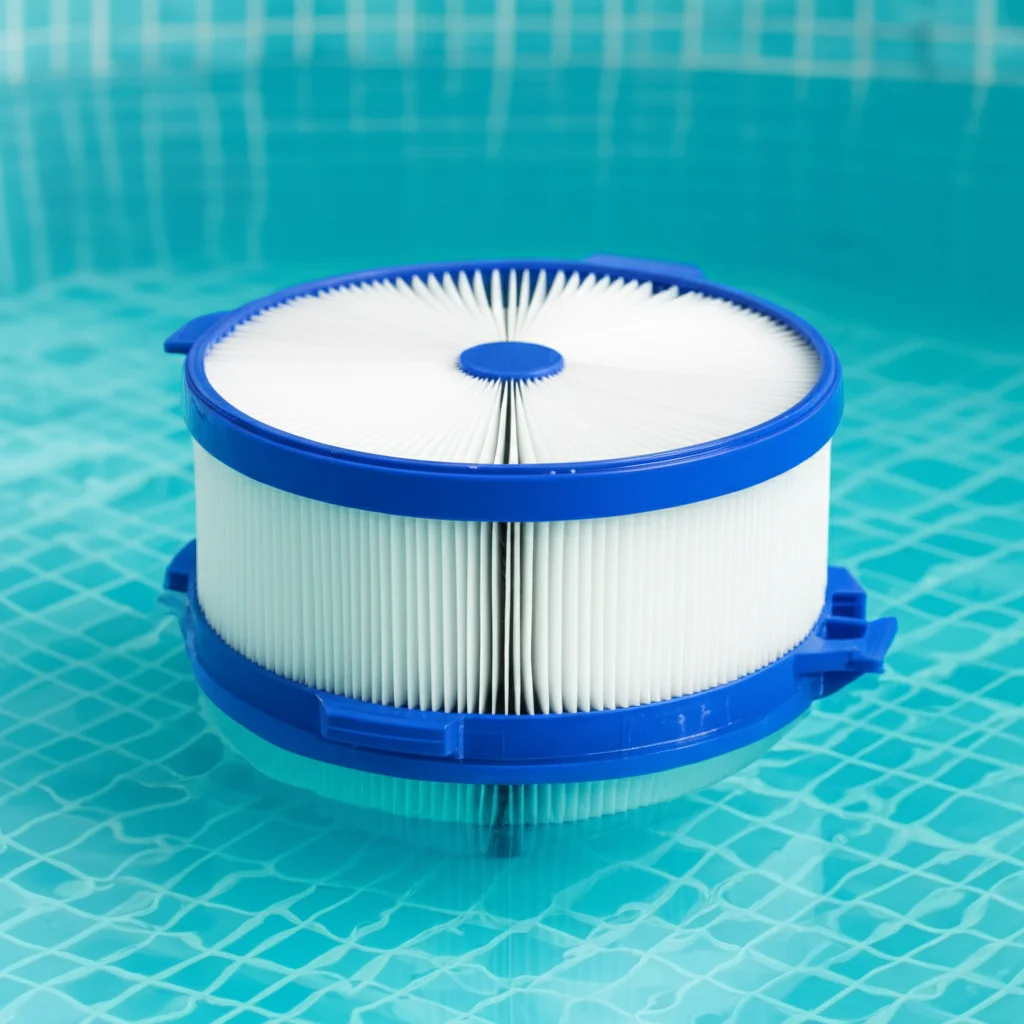
Specific cleaning tools are helpful. A soft brush helps clean the impeller. A hose brush cleans the filter lines. Dechlorinated water is a must. This refills your tank later. Having replacement filter media is wise. You may need new chemical media or worn-out pads. Think of it like preparing to clean a how to clean pool cartridge filter. Both require specific tools and a clear workspace.
Preparing Your Workspace
First, choose a good spot. A bathroom or utility sink is often best. Lay down old towels or newspapers. This protects surfaces from drips. Position your buckets. One bucket should be large enough to hold the water you drain. This water will be used for rinsing filter media. It contains beneficial bacteria.
Next, turn off all aquarium equipment. Unplug your filter. Also unplug heaters and air pumps. This prevents accidents. It stops your tank from getting too cold. It ensures safety during the cleaning process. Moving the filter can be messy. Be ready for some water spillage. Keep a dry towel handy for immediate clean-up.
Finally, prepare your aquarium. Some people do a partial water change just before cleaning. This reduces the overall mess. It also provides fresh water for your fish. Make sure your hands are clean. Avoid using soaps or detergents. These can harm your fish. The goal is to clean, not contaminate. Preparing properly makes the job easy and safe.
Step-by-Step Guide to Disassembling Your Canister Filter
Disassembling your canister filter is the first active step. This process sounds complex. It is quite simple. First, turn off the filter. Unplug it from the power outlet. This is a critical safety step. It prevents electrical shock. It also stops water from pumping out.
Next, disconnect the hoses. Most canister filters have quick-release valves. Close these valves. Then, unclip the hoses from the filter head. Be prepared for some water to drip out. Keep a towel under the connections. Slowly move the filter to your prepared cleaning area. It will be heavy with water.
Opening the Canister Head
Once the filter is in place, you can open it. Most canister filters have large clamps around the head. Unclip all these clamps. Some models may have screws. Read your filter’s manual if you are unsure. Slowly lift the filter head. It may be a tight fit. It might also have some suction. Gentle wiggling often helps.
Place the filter head aside carefully. Water will still be inside the canister body. Now you will see the media baskets. These are usually stacked. Carefully lift each basket out. Be mindful of the order. Many filters have a specific media order. Keeping them in order helps during reassembly. Place each basket into a separate bucket or designated area. This keeps the different media types separate. It makes cleaning individual media easier.
Remember, patience is key. Do not force any parts. If something feels stuck, check your manual. For example, when you how to clean hot tub filter, you also need to carefully disassemble it. This prevents damage. Disassembly is a gentle process. It prepares all parts for cleaning.
Cleaning Mechanical Filtration Media Effectively
Mechanical filtration media traps physical debris. This includes uneaten food, fish waste, and plant matter. Over time, this media gets very dirty. Sponges, filter floss, and filter pads are common types. Cleaning them is crucial for good water flow. It ensures the filter works well.
My personal routine is simple for mechanical media. I always use old aquarium water. I drain some tank water into a clean bucket. This water contains beneficial bacteria. It helps preserve the bacterial colonies on the mechanical media. If you use tap water, chlorine can kill these good bacteria. This can crash your tank’s nitrogen cycle.
Rinsing Sponges and Pads
Take your sponges and filter pads from the baskets. Submerge them in the bucket of old tank water. Gently squeeze them. Squeeze and release repeatedly. Watch the dirty water come out. Continue this until the water runs clearer. You do not need them to be perfectly clean. Some discoloration is normal. The goal is to remove the large debris. This restores water flow.
Filter floss or fine pads often get very matted. If they are too dirty, it might be better to replace them. Replacing a portion of your mechanical media is fine. Do not replace all of it at once. This helps keep some beneficial bacteria in the system. When you clean a how to clean hepa filter for an air purifier, you are removing physical particles, just like mechanical media. While the application is different, the principle of clearing blockages is the same. Similarly, the process of cleaning a how to clean foam air filter involves rinsing out trapped debris, which is very much like cleaning a filter sponge.
Remember, cleanliness for mechanical media means removing the sludge, not sterilizing it. A little dirt helps maintain a healthy bacterial balance. This balance is vital for fish health.
Maintaining Biological and Chemical Filtration Media
Biological and chemical filtration media perform different but equally important jobs. Biological media provides a home for beneficial bacteria. These bacteria break down harmful ammonia and nitrite. Chemical media, like activated carbon, removes dissolved pollutants. This includes odors and discoloration. Cleaning these media types requires a careful approach.
For biological media, preservation of bacteria is the main goal. These media often look like ceramic rings, bio-balls, or porous rocks. They have many tiny surfaces for bacteria to colonize. Never scrub or harshly clean biological media. Never use tap water. The chlorine in tap water will kill the bacteria. This can lead to a dangerous ammonia spike in your tank.
Caring for Biological Media
Take your biological media baskets. Submerge the media in a bucket of old aquarium water. Gently swish them around. You can gently rinse them with the old tank water. This removes any large debris that has settled. Do not over-clean them. A little biofilm is good. It means bacteria are present. You should not replace biological media unless it is physically breaking apart. If you must replace some, do it gradually. Replace only a small portion at a time. This keeps the beneficial bacteria thriving. Understanding the role of different filter components is key, much like understanding the purpose of each part when learning how to clean under sink water filter components.
Handling Chemical Media
Chemical media works differently. It absorbs pollutants from the water. Activated carbon is a common type. Over time, it becomes saturated. It can no longer absorb anything. At this point, it stops working. It might even release trapped pollutants back into the water. For this reason, chemical media needs regular replacement.
Check your filter’s instructions for replacement frequency. Most activated carbon needs replacement every 2-4 weeks. Other chemical media, like Purigen, can be regenerated. Follow the manufacturer’s specific instructions for regeneration. Do not rinse or reuse saturated chemical media. It has done its job. Replace it with fresh media. This ensures your water stays clear and odor-free. Maintaining all media types correctly ensures your filter runs at peak efficiency.
Cleaning the Canister Body, Impeller, and Hoses
After dealing with the filter media, turn your attention to the canister itself. The canister body, impeller, and hoses also collect grime. Cleaning these parts ensures smooth operation. It prevents future blockages. It extends the life of your filter.
Start with the main canister body. It often has a layer of sludge at the bottom. Rinse it out thoroughly. You can use tap water for this part. Wipe down the inside with a cloth or soft brush. Make sure all corners are clean. A clean canister prevents debris from re-entering your clean media. This step is purely for removing physical buildup.
Impeller Maintenance
The impeller is a critical component. It is the spinning part inside the filter head. It pushes water through the filter. If the impeller gets dirty, it slows down. This reduces water flow. It can even stop working completely. Gently remove the impeller cover. Pull out the impeller. Some impellers are magnetic. They just pull straight out.
Inspect the impeller. Look for debris wrapped around it. Hair, plant matter, or slime can block it. Use a small brush or cotton swab to clean the impeller. Clean the shaft it sits on too. Make sure the impeller spins freely. Also, check the impeller well. This is where the impeller sits. Clean any gunk out of this area. A clean impeller ensures strong water flow. This maintains proper filtration.
Cleaning Hoses and Connections
The hoses connect your filter to the aquarium. They also build up grime inside. Algae and slime can restrict water flow. Use a long hose brush. Push the brush through the hoses. Rinse them with tap water. Repeat until the water runs clear. This can be a messy job. Do it over a sink or bucket.
Finally, check all gaskets and O-rings. These are rubber seals. They prevent leaks. Wipe them clean. Look for cracks or stiffness. If they are damaged, replace them. Apply a thin layer of silicone grease. This helps them seal better. It prevents drying out. A well-maintained seal prevents leaks. This protects your floor and ensures filter integrity. This holistic approach ensures every part of your filter system performs optimally.
Reassembly, Priming, and Post-Cleaning Checks
After cleaning all parts, it is time for reassembly. This step is crucial. Incorrect reassembly can cause leaks. It can also prevent the filter from working. Follow your filter’s specific order for media baskets. Most filters have a designated order for mechanical, biological, and chemical media. Placing them correctly ensures optimal filtration efficiency.
Carefully place the cleaned media baskets back into the canister body. Ensure they sit flat. Make sure they are level. Any misalignment can cause bypass. This means water goes around the media instead of through it. Once the baskets are in, place the filter head back on. Align the top carefully. Press down firmly. Re-engage all the clamps. Make sure they are secure. Listen for a click on clamp models. A good seal is important. This prevents leaks.
Priming the Filter
Now, reconnect the hoses to the filter head. Close any quick-release valves if you opened them earlier. Move the filter back to its original position near the aquarium. The next step is priming. Priming fills the filter with water. This removes air pockets. Air in the filter can stop it from working.
Many modern canister filters have an auto-prime button or lever. Push this button until water flows into the filter. If your filter does not have one, you might need to manually prime it. Some methods involve removing an air plug and letting water gravity feed. Others require you to fill the canister with water before sealing it. Always refer to your filter’s specific manual for priming instructions. Once the filter is full, open all valves. Plug the filter back into the power outlet.
Post-Cleaning Checks
Once the filter is running, listen for strange noises. A gurgling sound means air is still trapped. It should be quiet. Check all hose connections and the filter head for leaks. A small leak can cause big problems. Let the filter run for a few minutes. Check the water flow back into the tank. It should be strong. A weak flow indicates a problem. It might mean air is still present. It could also mean a clogged hose or an impeller issue.
Monitor your water parameters for the next few days. Test for ammonia and nitrite. If you over-cleaned biological media, these levels might temporarily rise. A healthy filter helps keep these levels at zero. Regular checks ensure your aquarium stays healthy. You have successfully cleaned your canister filter.
FAQ Section
How often should I clean my canister filter?
You should clean your canister filter every 4-8 weeks. The exact frequency depends on your aquarium’s bioload. A heavily stocked tank needs more frequent cleaning. A lightly stocked tank can go longer. Observe your water flow. Reduced flow often signals a dirty filter. Regular checks prevent major issues.
Can I use tap water to clean my filter media?
No, do not use tap water to clean biological or mechanical filter media. Tap water contains chlorine or chloramines. These chemicals kill beneficial bacteria. Beneficial bacteria are vital for breaking down harmful ammonia and nitrite. Always use dechlorinated aquarium water from your tank for rinsing media.
What should I do if my filter doesn’t prime after cleaning?
If your filter does not prime, check all connections. Make sure hoses are securely attached. Ensure the filter head is properly sealed. Look for any trapped air bubbles. Rocking the filter gently can help release air. Some filters require you to manually fill the canister with water before starting. Refer to your filter’s manual for specific priming steps.
Should I replace all my filter media at once?
You should not replace all filter media at once. Replacing all mechanical and biological media can remove too many beneficial bacteria. This can lead to an ammonia spike. Replace chemical media regularly as it becomes exhausted. Replace mechanical media (sponges, floss) only when heavily soiled or falling apart. Replace biological media only if damaged, and then only a small portion at a time.
How do I know if my filter’s impeller is faulty?
A faulty impeller often causes a loud rattling noise. It can also lead to reduced or no water flow. Sometimes, the impeller might stop spinning altogether. If cleaning the impeller does not fix the issue, you may need to replace it. Impellers are wear-and-tear parts. They can degrade over time.
Is it normal for some beneficial bacteria to die during cleaning?
Yes, it is normal for some beneficial bacteria to die during cleaning. Even with careful rinsing in old tank water, some bacteria will be dislodged. The key is to minimize this loss. Avoid harsh scrubbing. Never use tap water. The remaining bacteria will quickly repopulate. This ensures your tank’s nitrogen cycle remains stable.
Conclusion
Cleaning your canister filter is a fundamental part of aquarium care. It directly impacts your fish’s health and the clarity of your water. By following the steps outlined in this guide, you can perform this maintenance task with confidence. Regular cleaning prevents toxin buildup. It maintains stable water parameters. It ensures your aquatic environment remains healthy and vibrant.
I know the first time I cleaned my canister filter, I felt a bit nervous. But the process is straightforward. Each step helps keep your filter running at its best. From gathering your tools to reassembling and priming, attention to detail matters. A well-maintained canister filter is a happy filter. It means happy fish. Make cleaning your canister filter a routine. Your aquarium will thrive as a result. Take action today. Keep your aquatic world sparkling clean.
- canister filter
- aquarium maintenance
- fish tank filter
- water quality
- filter cleaning

Todd Martin
Senior Writer
With over 15 years of experience in home renovation and design, I started HEG to share what I’ve learned with homeowners who want to create spaces that are both beautiful and functional. I’ve always believed in a hands-on approach, and over the years, I’ve picked up practical solutions that actually work. Through HEG, I aim to make home improvement more approachable, sharing real tips that help you create a home you truly love.