· Todd Martin · Engine Maintenance · 22 min read
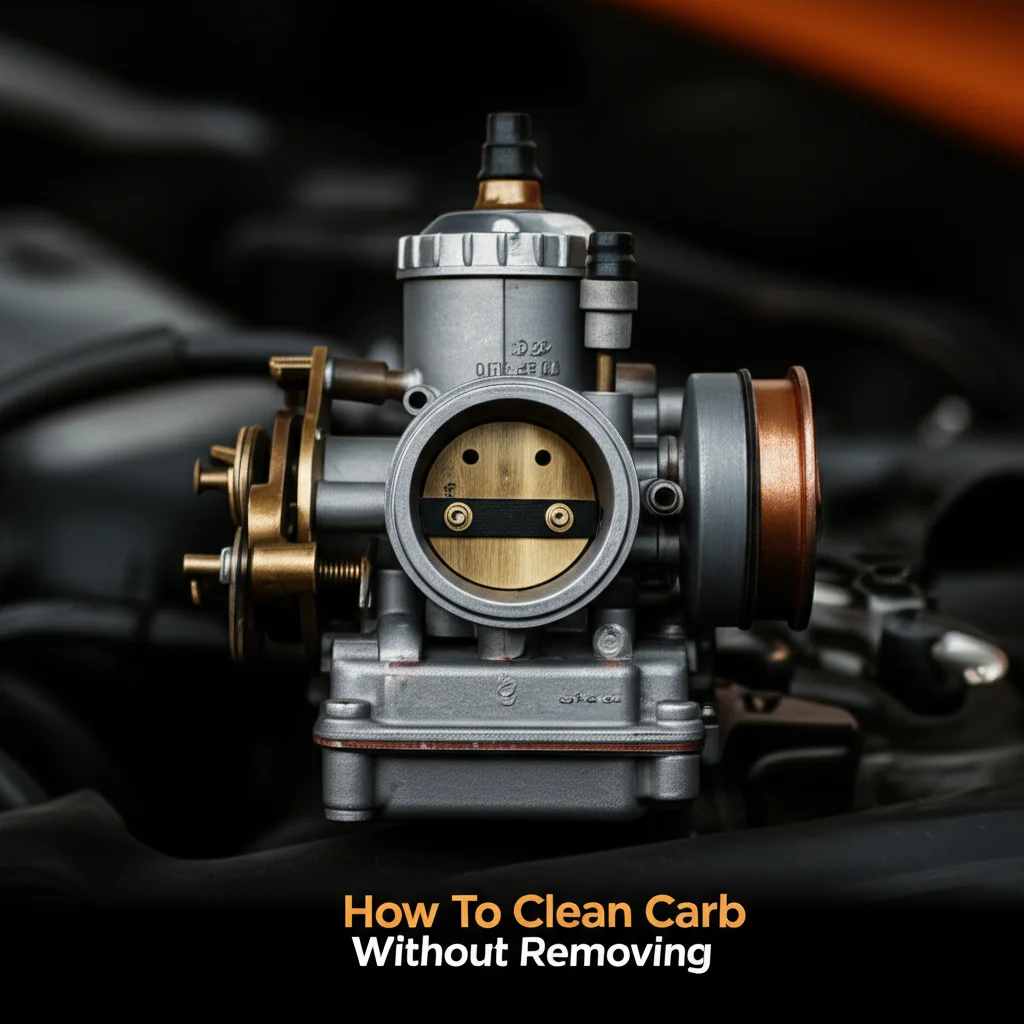
How To Clean Carburetor
How To Clean Carburetor: Your Ultimate Guide
Have you ever cranked your lawn mower, snowblower, or ATV, only to be met with sputtering, rough idling, or a complete refusal to start? Many times, a dirty carburetor is the hidden culprit behind these frustrating engine problems. I know the feeling; it can be incredibly annoying when your reliable equipment suddenly acts up.
Learning how to clean a carburetor yourself can save you time and money on professional repairs. This guide will walk you through the entire process, from understanding why your carburetor gets dirty to disassembling, cleaning, and reassembling it. We will cover necessary tools, crucial safety steps, and common issues to watch out for. By the end, you will feel confident tackling this essential maintenance task. Let’s get your engine running smoothly again.
Takeaway
- Identify Symptoms: Recognize signs like rough idle or starting issues to know when to clean your carburetor.
- Gather Tools: Collect essential items like carb cleaner, wrenches, and safety gear before you start.
- Disassemble Carefully: Take photos and notes during disassembly to ensure correct reassembly.
- Clean Thoroughly: Use specialized cleaners and compressed air to clear all passages and jets.
- Reassemble and Test: Put components back together precisely and test the engine’s performance.
To clean a carburetor, you must disassemble it, spray all internal passages and components with a dedicated carburetor cleaner, clear stubborn blockages with fine wire or compressed air, then reassemble and remount it on the engine. This process removes fuel varnish and debris, restoring proper fuel flow.
Why Your Carburetor Needs Cleaning: Spotting the Signs
Your engine’s carburetor is like its heart, mixing fuel and air for combustion. Over time, stale fuel or impurities can leave gummy deposits inside, restricting fuel flow. This build-up causes many common engine issues. I’ve seen countless engines restored by a simple carburetor cleaning.
Understanding why and when to clean your carburetor helps keep your equipment reliable. Modern fuels, especially those with ethanol, can break down and leave residue. This residue then clogs tiny passages and jets within the carburetor. A dirty carburetor cannot deliver the correct fuel-air mixture, leading to poor engine performance.
Common Symptoms of a Dirty Carburetor
Recognizing the signs of a dirty carburetor is the first step towards fixing the problem. Your engine will often tell you something is wrong. Pay close attention to how your machine runs, as these clues can pinpoint the carburetor as the issue. Ignoring these symptoms can lead to more serious engine damage over time.
- Engine not starting: This is a primary sign. If you have fuel and spark but the engine won’t kick over, a clogged carburetor is likely the reason. Fuel cannot reach the combustion chamber properly.
- Rough idling or stalling: The engine might run unevenly or die when you release the throttle. This shows inconsistent fuel delivery at lower RPMs. It’s frustrating when your equipment constantly stalls.
- Lack of power: Your machine might struggle under load or not reach its usual top speed. This indicates that the engine is not getting enough fuel for optimal performance. You might notice it bogging down.
- Excessive smoke: Sometimes, a rich fuel mixture caused by a partially clogged carburetor can lead to black smoke. This means too much fuel is burning, or not burning efficiently.
- Fuel leaks: Damaged or dried-out gaskets within a dirty carburetor can cause fuel to seep out. This creates a fire hazard and wastes fuel. Always address fuel leaks immediately.
If you observe any of these symptoms, a thorough carburetor cleaning is likely needed. This simple maintenance task can bring your equipment back to life. It saves you from costly professional repairs and extends the lifespan of your machine.
Essential Tools and Safety for Carburetor Cleaning
Before you start disassembling anything, gather all the necessary tools and prioritize safety. Working with fuel and small engine parts requires careful attention. I always make sure my workspace is well-lit and ventilated. Having the right tools makes the job much easier and prevents damage to delicate components.
Preparation is key to a successful carburetor cleaning project. A clean, organized workspace helps prevent losing small parts. You also need to protect yourself from chemicals and fuel. Never rush this preparation stage; it sets the foundation for a smooth repair.
Tools You Will Need
Having the correct tools on hand will streamline the cleaning process. I recommend setting everything out before you begin to avoid interruptions. Missing a tool halfway through can be incredibly frustrating.
- Carburetor Cleaner: Choose a non-chlorinated carb cleaner spray. This product effectively dissolves varnish and gum. It is specifically designed for cleaning fuel system components.
- Compressed Air: A can of compressed air or an air compressor with a blow gun is crucial. It helps clear passages after cleaning. This forces out any remaining debris or cleaner.
- Screwdrivers: You will need a variety of flathead and Phillips head screwdrivers. Small precision screwdrivers are also useful for tiny jets.
- Wrenches/Sockets: A set of metric and/or standard wrenches or sockets will be needed for nuts and bolts. Carburetors often have different fastener sizes.
- Pliers: Needle-nose pliers are excellent for handling small parts and removing hoses. They provide a precise grip.
- Wire Brushes/Carb Cleaning Kit: Small brass wire brushes or specialized carburetor cleaning wires help clean tiny orifices. These wires are flexible and can get into very small jets. You can get specific kits for cleaning jets on a carburetor.
- Parts Tray/Container: A container with compartments or a magnetic tray helps organize small screws and parts. This prevents losing critical components.
- Shop Rags/Paper Towels: For wiping up fuel and cleaner spills. Keep plenty on hand.
- New Gaskets/O-rings (Optional but Recommended): It’s often a good idea to replace gaskets when reassembling to prevent leaks. Many carburetors come with simple repair kits.
Safety First
Your safety is paramount when working with fuel and chemicals. Take every precaution to protect yourself and your environment. I always follow these steps to ensure a safe working area. Ignoring safety can lead to injury or property damage.
- Ventilation: Work in a well-ventilated area, preferably outdoors or in a garage with the door open. Carburetor cleaner fumes are strong and can be harmful.
- Eye Protection: Always wear safety glasses or goggles. Carburetor cleaner can splash and cause severe eye irritation.
- Gloves: Wear chemical-resistant gloves (nitrile or neoprene) to protect your skin from the harsh cleaner and fuel. Fuel can dry out or irritate your skin.
- Fire Extinguisher: Keep a fire extinguisher nearby. Fuel and carburetor cleaner are highly flammable.
- Disconnect Spark Plug: Always disconnect the spark plug wire before working on the engine. This prevents accidental starting. It is a simple but vital safety measure.
- Drain Fuel: Drain the fuel tank completely before removing the carburetor. This minimizes spills and fire hazards. Use an approved container for fuel storage.
By preparing thoroughly and prioritizing safety, you set yourself up for a successful and safe carburetor cleaning experience.
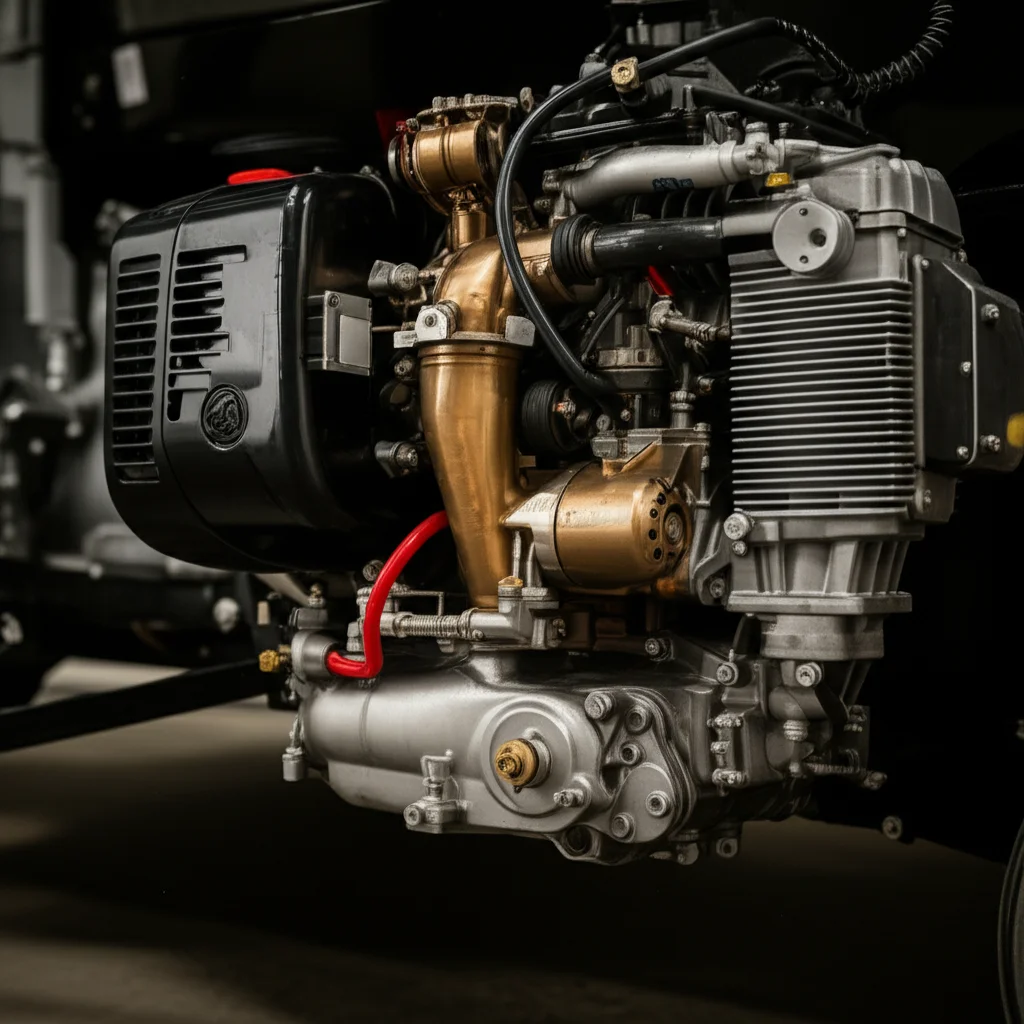
Carburetor Removal and Disassembly
Removing the carburetor and taking it apart might seem daunting, but it’s a methodical process. Take your time, and remember to document everything. I always take pictures or make notes as I go. This makes reassembly much easier.
Every small engine carburetor is slightly different, but the basic principles of removal remain the same. You need to detach it from the engine, then carefully separate its components. Do not force anything during this stage.
Step-by-Step Removal Process
Removing the carburetor is the first practical step in cleaning it. This allows you to access all its internal parts. Be patient and organized during this stage, as it sets the foundation for a smooth cleaning process. Remember where each hose and linkage connects.
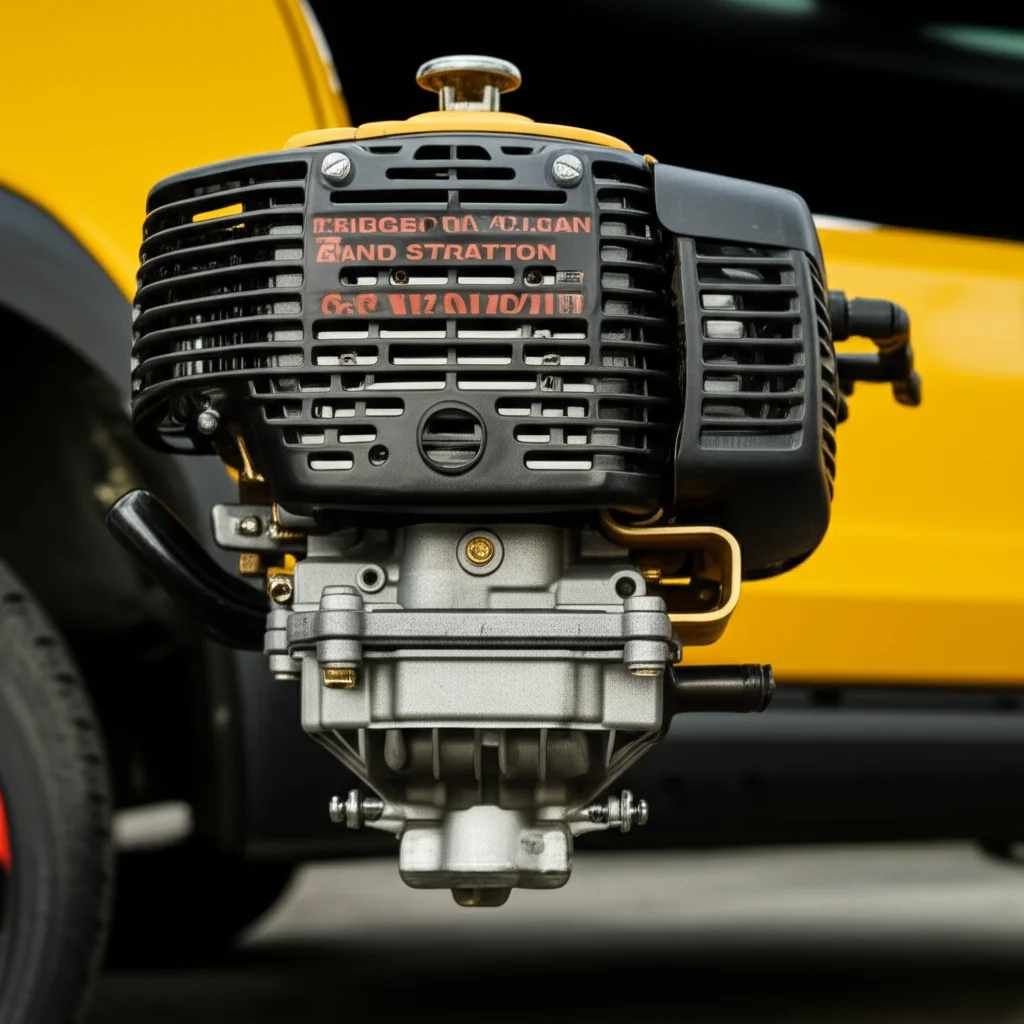
- Locate the Carburetor: It sits between the air filter assembly and the engine’s intake manifold. It is usually bolted directly to the engine. On some equipment, like a Briggs and Stratton carburetor, it might be more visible.
- Drain Fuel Tank: As mentioned, drain all fuel from the tank into an approved container. This prevents spills and fire hazards.
- Remove Air Filter Assembly: Unbolt or unclip the air filter housing. This provides access to the carburetor. You might need to remove a few screws.
- Disconnect Fuel Line: Locate the fuel line connected to the carburetor. Use pliers to slide back the clamp, then carefully pull the hose off. Be ready for a small amount of fuel to spill.
- Disconnect Linkages and Wires: There will be throttle and choke linkages, and possibly wires for a fuel solenoid. Take a picture or draw a diagram of how they connect. This is crucial for correct reassembly.
- Unbolt the Carburetor: There are typically two nuts or bolts holding the carburetor to the engine block. Remove these fasteners.
- Carefully Remove Carburetor: Gently pull the carburetor away from the engine. Be mindful of any gaskets between the carburetor and the engine. If they are torn, you will need to replace them. For some equipment, like an outboard carburetor, removal might not be necessary, but a full clean usually requires it.
Disassembling the Carburetor
Once removed, the carburetor needs to be carefully taken apart. This allows you to reach all the internal passages and components that need cleaning. Work slowly and methodically, placing parts in your organized tray. This is where those photos or diagrams become invaluable.
- Remove the Fuel Bowl: The fuel bowl is usually at the bottom of the carburetor. It is held on by one or more screws or a large bolt. Carefully remove it. Expect some residual fuel to spill out. The bowl often collects sediment.
- Remove the Float and Needle Valve: Inside the bowl, you will see a plastic or brass float. There is a small pin holding the float in place. Gently push out this pin to remove the float. The needle valve, which controls fuel flow into the bowl, is usually attached to or rests near the float. Handle these parts with care.
- Locate and Remove Jets: The main jet is often found in the center pillar, under where the needle valve was. Pilot jets or idle jets are usually smaller and located near the main jet, sometimes requiring a small screwdriver to unscrew. These tiny holes are the most common points of blockage. If you need to focus on these, there’s a specific guide on how to clean jets on a carburetor.
- Remove Other Components: Depending on the carburetor design, you might remove the idle mixture screw, choke plate, or throttle plate. Be careful not to lose any springs or washers associated with these. Only remove what is necessary for a thorough cleaning.
Always lay out components in the order you remove them. This visual aid simplifies reassembly. Remember, patience is key here; these parts are small and easily damaged if handled roughly.
Thorough Cleaning of Carburetor Components
With the carburetor disassembled, it’s time for the actual cleaning. This is where you get rid of all that varnish, gum, and debris that caused the engine problems. I focus on making sure every tiny hole and passage is clear. A thorough cleaning ensures proper fuel flow.
Use plenty of carburetor cleaner and compressed air. These are your main weapons against fuel residue. Do not use anything abrasive that could scratch or enlarge the delicate passages and jets. Precision is vital in this stage.
Cleaning the Carburetor Body and Bowl
Start with the larger components of the carburetor. The main body and fuel bowl often accumulate significant deposits. Pay attention to all surfaces, ensuring they are free of gunk. A clean carburetor body provides a solid foundation for proper operation.
- Spray Carburetor Cleaner: Liberally spray the entire carburetor body, inside and out, with carburetor cleaner. Focus on all holes, passages, and cavities. Let the cleaner soak for a few minutes to dissolve stubborn deposits. Some carburetors, like those on a lawn mower (if cleaning without removing), still benefit from this thorough internal spray.
- Clean the Fuel Bowl: Thoroughly spray the inside of the fuel bowl. Use a brush or rag to wipe away any sediment or residue. Ensure the bottom and sides are perfectly clean.
- Inspect Passages: Look into all the small passages and holes in the carburetor body. Ensure the cleaner flows freely through them. If you see any blockages, you will address them in the next step.
- Air Dry or Blow Dry: Use compressed air to blow out all the cleaner and loose debris from the carburetor body and bowl. Make sure no liquid cleaner remains.
Cleaning Jets and Tiny Passages
This is the most critical part of the cleaning process. The jets and tiny passages are easily clogged and cause most engine issues. They are also the most delicate. Patience and precision are your best friends here. I usually hold these tiny parts up to the light to confirm they are completely clear.
- Spray Each Jet: Hold each jet individually and spray carburetor cleaner through its tiny hole. You should see a fine stream of cleaner coming out the other side.
- Clear Blockages with Wire: If a jet is still blocked, use a fine wire from a carburetor cleaning kit or a strand of copper wire (like from a wire brush or electrical cable) to carefully push through the opening. Never use steel wire or drills, as they can damage the precise orifice size. For extremely tiny jets, even a single strand from a copper wire brush can be too thick. Use specific carb cleaning wires for best results.
- Blow with Compressed Air: After clearing with wire, spray cleaner again, then immediately follow with a blast of compressed air through each jet and passage. This ensures all loosened debris is expelled. Ensure air passes freely through all holes.
- Clean the Needle Valve and Seat: Gently wipe the needle valve with a clean rag. Do not bend or damage it. Spray cleaner into the needle seat area (where the needle valve rests) and blow it out with compressed air. Ensure the seat is clean for proper sealing.
- Clean the Float: Wipe the float clean. Check for any damage or saturation that could cause it to sink. A faulty float needs replacement.
- Address Idle Mixture Screw (if removed): If you removed the idle mixture screw, spray cleaner into its passage. Ensure the tip of the screw is clean. Note: Some idle mixture screws are capped and not meant to be removed by the user. If you removed it, carefully count the turns as you remove it so you can put it back to the same setting.
Remember, every tiny hole is important for proper fuel metering. If one is clogged, the engine will not run correctly. Take your time, be thorough, and ensure all passages are completely clear before moving on to reassembly. This detailed cleaning can often resolve issues with equipment like a snowblower carburetor or a weedeater carburetor.
Carburetor Reassembly and Installation
After meticulously cleaning every component, it is time to put the carburetor back together. This process is essentially the reverse of disassembly. This is where your photos and notes become invaluable. Precision during reassembly is just as important as thoroughness during cleaning.
Incorrect reassembly can lead to leaks, poor performance, or complete engine failure. Take your time, double-check connections, and ensure all parts are seated correctly. I always try to ensure a snug fit for every component.
Reassembling the Carburetor
Putting the small parts back together requires a steady hand and attention to detail. These are the steps I follow to ensure a successful reassembly. Make sure no dirt or debris gets back into the freshly cleaned parts.
- Install Jets: Carefully screw the main jet and any pilot or idle jets back into their correct locations. Do not overtighten them, as they are often brass and can strip easily. A gentle snug is enough.
- Install Needle Valve and Float: Place the needle valve back into its seat. Then, position the float and reinsert the float pin. Ensure the float moves freely up and down without binding. The float level is critical for proper fuel metering, but for cleaning, generally just putting it back correctly is sufficient.
- Attach Fuel Bowl: Place a new fuel bowl gasket (if replacing) or the old one if it’s in good condition, onto the carburetor body. Carefully position the fuel bowl and secure it with its screw(s) or bolt. Ensure a tight seal to prevent fuel leaks.
- Install Idle Mixture Screw (if removed): If you removed the idle mixture screw, thread it back in until it gently seats, then back it out to the number of turns you noted during disassembly. This returns it to its original factory setting. If you didn’t note it, typically start with 1.5 to 2 turns out from lightly seated.
Installing the Carburetor on the Engine
Once the carburetor is reassembled, it needs to go back onto the engine. This part involves reconnecting fuel lines, linkages, and air filter components. Double-checking each connection prevents frustrating issues later on. Proper installation ensures the engine receives fuel correctly.
- Position New Gaskets: Place new gaskets between the carburetor and the engine (and any spacers) if you removed them or if they were damaged. These gaskets are crucial for an airtight seal. If the old ones look good, you can reuse them, but new ones are always better to prevent air leaks.
- Mount the Carburetor: Carefully slide the carburetor back onto the engine studs or align its bolt holes. Reinstall the nuts or bolts that secure the carburetor to the engine. Tighten them evenly to avoid warping the carburetor body.
- Reconnect Linkages and Wires: Refer to your photos or diagrams and reattach all throttle and choke linkages. Ensure they move freely and correctly actuate the carburetor’s components. Reconnect any electrical wires, like those for a fuel solenoid.
- Reconnect Fuel Line: Reattach the fuel line to the carburetor’s fuel inlet. Slide the hose clamp back into position to secure it. Make sure the connection is snug to prevent leaks.
- Reinstall Air Filter Assembly: Put the air filter housing back in place and secure it. Install a new air filter if the old one is dirty or damaged. A clean air filter is essential for proper engine breathing. For some small engine carburetors, this entire process is quite common maintenance.
- Refill Fuel Tank: Pour fresh, clean fuel back into the fuel tank. Use the recommended fuel type for your equipment. I always recommend using a fuel stabilizer if the equipment will sit for extended periods.
After installation, inspect all connections for leaks. A small leak can pose a fire hazard. Take your time, and every part will find its proper place.
Testing Your Engine After Cleaning
The moment of truth arrives after cleaning and reassembling the carburetor. Starting your engine reveals if your hard work paid off. It is exciting to hear that engine roar back to life after fixing it yourself. Proper testing confirms the carburetor is now working correctly.
Be prepared for the engine to take a few extra pulls or cranks to start after refilling with fuel. The fuel lines and carburetor bowl need to prime themselves. This is normal.
First Start and Adjustments
Once everything is back together and fuel is in the tank, it’s time to test. This is often the most rewarding part of the process. Pay close attention to how the engine runs, listening for any remaining issues.
- Reconnect Spark Plug Wire: Reconnect the spark plug wire to the spark plug. This is the last step before attempting to start the engine.
- Prime the System: If your engine has a primer bulb, press it several times until it feels firm. This helps draw fuel into the carburetor. If no primer, it might take a few more pulls.
- Attempt to Start: Set the choke to the appropriate position (usually full choke for cold starts). Pull the starter cord or engage the electric starter.
- Monitor Performance:
- Does it start easily? A clean carburetor should allow for quicker, more reliable starts.
- Does it idle smoothly? Listen for a steady, consistent engine sound at idle. No more sputtering or stalling.
- Does it accelerate properly? Open the throttle and listen for a smooth increase in RPMs without hesitation or bogging.
- Are there any leaks? Visually inspect around the carburetor for any fuel leaks. Address any leaks immediately.
Fine-Tuning and Troubleshooting
Most carburetors on small engines are non-adjustable or have limited adjustments. However, sometimes minor tweaks might be needed. If the engine isn’t running perfectly, a few steps can help. This stage is about optimizing performance.
- Idle Speed Adjustment: Many carburetors have a screw for adjusting idle speed. If the engine idles too fast or too slow, turn this screw slightly (usually clockwise to increase RPM, counter-clockwise to decrease).
- Idle Mixture Screw (if adjustable): If your carburetor has an external idle mixture screw (which is rare on modern small engines due to emissions regulations), you might need to adjust it. Turn it slowly in small increments (1/8th of a turn at a time) to find the smoothest idle. Turning it in leans the mixture; turning it out richens it.
- Persistent Issues: If the engine still runs poorly after a thorough cleaning and minor adjustments, consider these possibilities:
- Missed Clog: A very tiny passage might still be partially blocked. A second, more focused cleaning might be needed, perhaps targeting specific areas like the jets on your carburetor.
- Damaged Gaskets/O-rings: An air leak from a damaged gasket can cause erratic running. Replace all gaskets if in doubt.
- Other Fuel System Issues: Check the fuel filter, fuel lines, and fuel tank for clogs or damage. A dirty fuel filter can restrict flow. Also, consider the fuel itself; old or contaminated fuel will cause problems.
- Spark Plug/Ignition Issues: A bad spark plug or ignition system problem can mimic carburetor issues. Check the spark plug’s condition.
- Valve Clearance: Incorrect valve clearance can also lead to poor performance, especially rough idle. This is a more advanced diagnosis.
- Float Level: Incorrect float level setting can cause either rich or lean conditions. While not typically adjusted during a basic cleaning, if persistent issues remain, it might need checking.
It’s truly satisfying when your engine springs back to life, running smoothly as it should. This confirms your carburetor cleaning was a success.
Preventing Future Carburetor Problems
Cleaning your carburetor is a great skill, but preventing future clogs is even better. Regular maintenance and proper fuel management can drastically reduce the need for repeat cleanings. I learned early on that a little prevention goes a long way in keeping my equipment reliable.
Protecting your fuel system from contamination is the best defense against a dirty carburetor. Fuel quality and storage are key factors. Being proactive ensures your engine is ready when you need it.
Best Practices for Fuel Storage and Usage
The leading cause of carburetor issues is stale or contaminated fuel. Implementing smart fuel habits will save you a lot of headaches. This is often the simplest and most effective preventative measure you can take.
- Use Fresh Fuel: Always use fresh gasoline, preferably purchased within the last 30 days. Old gasoline breaks down and forms gummy deposits. I try to buy fuel in smaller quantities if I don’t use it quickly.
- Add Fuel Stabilizer: For any fuel stored for more than a month, or for equipment that sits idle, always add a high-quality fuel stabilizer. Stabilizers prevent fuel degradation and varnish buildup. This is especially important for carburetors on snowblowers or other seasonal equipment.
- Avoid Ethanol (if possible): Ethanol in gasoline can absorb water and degrade rubber and plastic components in fuel systems. If your equipment manual permits, use ethanol-free gasoline. This is often recommended for small engines.
- Store Fuel Properly: Keep gasoline in a clean, approved fuel container, stored in a cool, dark place away from direct sunlight. Never store fuel in an open container. Use a clean gas can for storage.
- Don’t Overfill: Do not fill the fuel tank to the brim if the equipment will sit. Leave a small air gap to allow for fuel expansion.
Regular Maintenance and Checks
Beyond fuel management, routine checks can catch problems before they become major issues. A quick inspection now can prevent a full carburetor overhaul later. These habits keep your entire fuel system healthy.
- Check Fuel Filter: Many engines have an in-line fuel filter. Inspect it regularly and replace it if it looks dirty or clogged. A clean fuel filter prevents debris from reaching the carburetor.
- Inspect Fuel Lines: Look for cracks, kinks, or signs of wear in your fuel lines. Replace them if damaged. Old fuel lines can harden and restrict flow or leak.
- Clean Air Filter: A dirty air filter restricts airflow to the carburetor, causing the engine to run rich and sometimes affecting performance. Clean or replace it according to your equipment’s manual. This is a simple task that greatly helps.
- Run Engine Periodically: If equipment sits for extended periods, start and run the engine for 10-15 minutes every month or two. This circulates fresh fuel and prevents components from seizing up.
- Winterize Equipment: For seasonal equipment like lawn mowers or power washers, properly prepare them for storage. This often involves running the fuel tank dry or treating the fuel with a stabilizer. For example, for a push mower carburetor, draining the fuel system before winter is a good idea.
By adopting these preventative measures, you significantly reduce the chances of encountering carburetor problems. This means more reliable starting and better performance from your equipment, year after year.
When to Seek Professional Help
While cleaning a carburetor is a manageable DIY task, there are times when professional help is the best course of action. Recognizing your limits saves you time, frustration, and potential damage to your equipment. I’ve learned that knowing when to call in an expert is part of being a smart homeowner.
Sometimes, a carburetor issue goes beyond a simple clog. Or, the specific design of your equipment might make the task too complex for your comfort level. Do not hesitate to consult a qualified small engine mechanic in these situations.
Signs It’s Time for a Professional
It’s important to be honest about your skill level and the complexity of the problem. If you encounter any of these scenarios, consider professional assistance. A mechanic has specialized tools and experience that can diagnose and fix more intricate issues.
- Persistent Issues After Cleaning: If you’ve followed all the cleaning steps meticulously and the engine still runs poorly or won’t start, the problem might be elsewhere. It could be a deeper carburetor issue, like a worn
- carburetor cleaning
- small engine repair
- engine maintenance
- DIY repair

Todd Martin
Senior Writer
With over 15 years of experience in home renovation and design, I started HEG to share what I’ve learned with homeowners who want to create spaces that are both beautiful and functional. I’ve always believed in a hands-on approach, and over the years, I’ve picked up practical solutions that actually work. Through HEG, I aim to make home improvement more approachable, sharing real tips that help you create a home you truly love.