· Todd Martin · Small Engine Maintenance · 21 min read
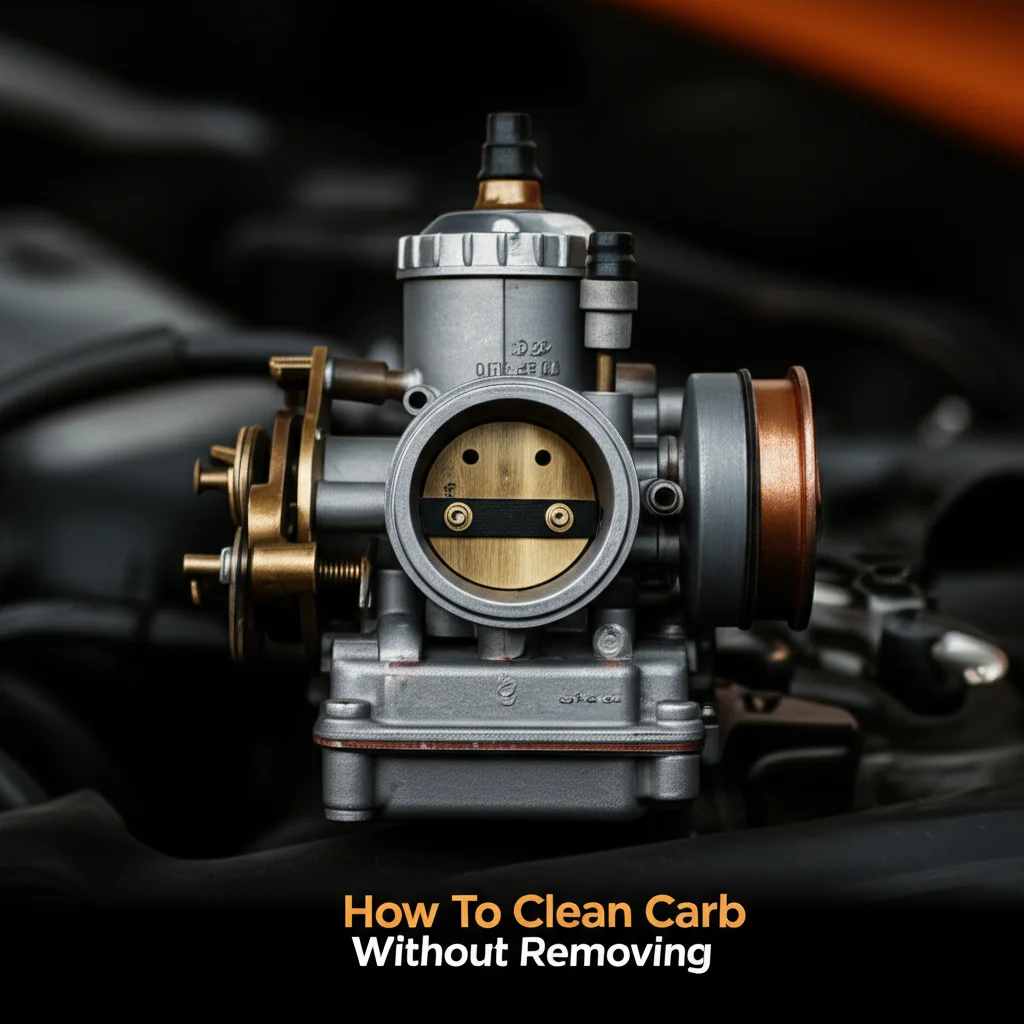
How To Clean Briggs And Stratton Carburetor
How to Clean a Briggs & Stratton Carburetor: A DIY Guide
Has your trusty lawn mower or generator with a Briggs & Stratton engine started acting up? Perhaps it sputters, struggles to start, or even refuses to run at all. These issues often point to a common culprit: a dirty carburetor. As a small engine owner, I know the frustration of a machine that will not perform. Cleaning your Briggs & Stratton carburetor can bring your engine back to life. It also saves you money on professional repairs.
This guide will show you how to clean your Briggs & Stratton carburetor step by step. We will cover necessary tools, safety tips, and clear instructions for removal, cleaning, and reinstallation. You will learn to identify common problems and solve them yourself. By the end, you will have the knowledge to keep your engine running smoothly for years.
Takeaway: Restore Engine Power with a Clean Carburetor
- Identify Symptoms: Recognize signs of a dirty carburetor, like hard starting or poor performance.
- Gather Tools: Collect essential items like carburetor cleaner, wrenches, and safety gear.
- Follow Steps: Learn the process for safe removal, thorough cleaning, and proper reassembly.
- Prevent Future Issues: Understand how fresh fuel and proper storage can extend carburetor life.
Cleaning a Briggs & Stratton carburetor involves disassembling the unit, spraying specific passages and components with carburetor cleaner, and clearing any clogs with a thin wire or compressed air. Reassemble the parts carefully, ensuring new gaskets are in place for a proper seal. This process restores fuel flow and helps the engine run smoothly.
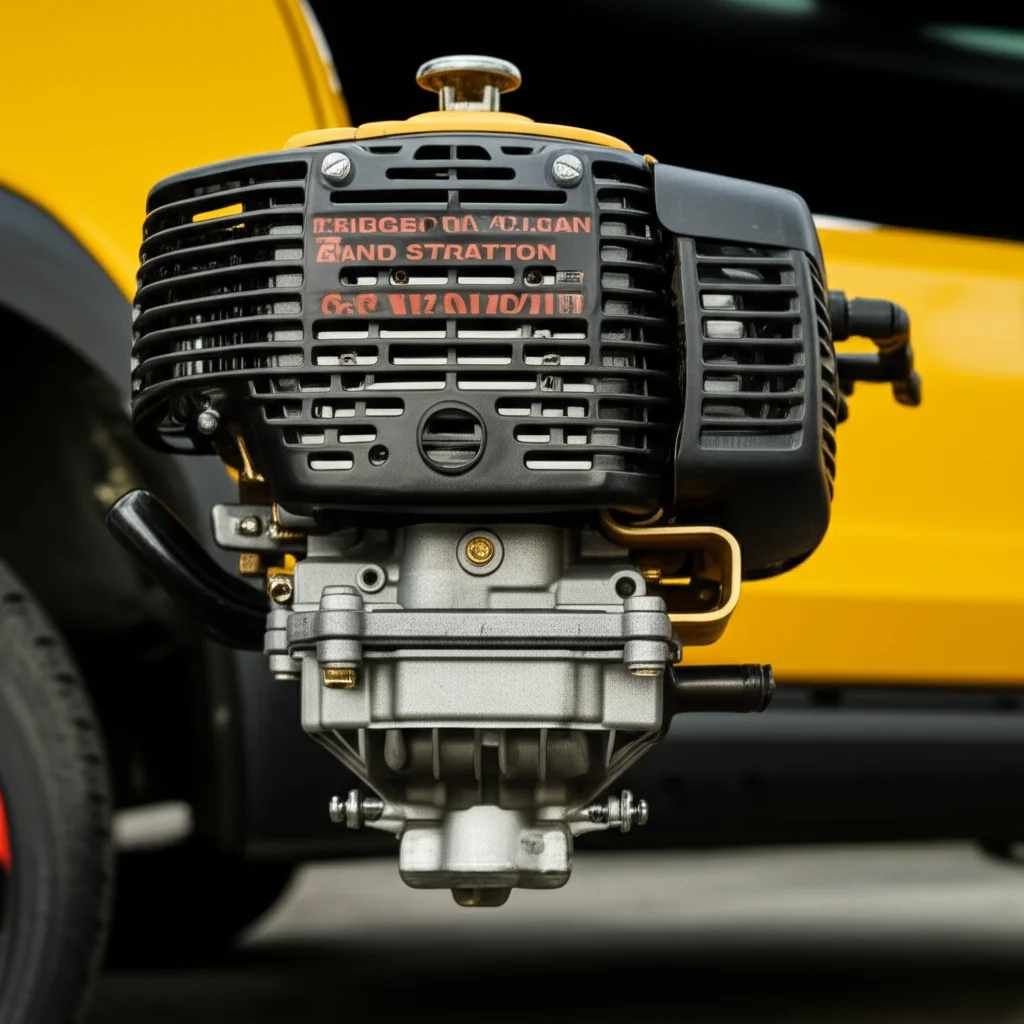
Why Your Briggs & Stratton Carburetor Needs Cleaning
Your Briggs & Stratton engine relies on a carburetor to mix air and fuel precisely. This mixture powers the engine. Over time, this component can get dirty. Fuel deposits or debris clog tiny passages inside the carburetor. When this happens, the engine cannot get the right air-fuel ratio. This leads to many performance problems.
A clean carburetor ensures your engine receives the correct fuel-air mixture. This is vital for efficient combustion. If the carburetor is dirty, your engine might struggle to start. It may also run rough, lose power, or consume more fuel. Regular cleaning prevents these issues. It also extends the life of your engine.
Common symptoms of a dirty carburetor include hard starting, especially after storage. The engine might idle roughly. It might also surge or stall during operation. Sometimes, you will notice a lack of power under load. These signs tell you it is time for a carburetor cleaning.
The main cause of carburetor problems is stale fuel. Modern gasoline contains ethanol. Ethanol attracts moisture and breaks down over time. This breakdown creates gummy deposits that clog the carburetor’s jets and passages. Using fuel stabilizer helps, but cleaning is sometimes necessary. Debris from the fuel tank can also enter the carburetor. This causes blockages that stop fuel flow.
I have found that even a small amount of old fuel can cause big problems. Taking the time to clean the carburetor saves frustration later. It keeps your outdoor power equipment dependable. For similar engines, the principles remain the same. Knowing how to clean a carburetor on a push mower or even how to clean a carburetor on a Stihl hedge trimmer follows a similar process. These small engines all rely on a clean fuel system for optimal performance.
Essential Tools and Supplies for Carburetor Cleaning
Before you begin cleaning your Briggs & Stratton carburetor, gather all the necessary tools and supplies. Having everything ready saves time and makes the job smoother. Preparation is key for a successful repair. I always make sure I have my workspace clear and organized.
You will need a variety of hand tools. A set of socket wrenches and screwdrivers (flat-head and Phillips) are essential. Small pliers can help with hoses or linkages. A small wire brush or an old toothbrush helps scrub away grime. Eye protection is vital; safety glasses shield your eyes from sprays and debris. Chemical-resistant gloves protect your hands.
Carburetor cleaner is a must-have. Choose a reputable brand that specifically targets gum, varnish, and carbon deposits. Make sure it is safe for carburetor components. Compressed air is also very useful. It helps blow out stubborn clogs from small passages. I keep a can of compressed air handy for this purpose.
A parts tray or several small containers are helpful for organizing removed screws, springs, and other small components. This prevents parts from getting lost. It also helps you remember where everything goes during reassembly. You might also need new gaskets. Check if your carburetor rebuild kit includes the correct ones. Gaskets often tear during disassembly.
A clean cloth or shop rags help wipe away grime and spilled cleaner. A flashlight can illuminate dark areas of the engine or carburetor. Finally, a small bucket or container helps drain old fuel. Always dispose of fuel properly.
Having the right tools means you are ready for the task. It also makes the job safer. I always prioritize safety. Working with fuel and harsh chemicals requires caution. Remember to ventilate your workspace well.
Preparing Your Engine for Carburetor Removal
Proper preparation ensures safety and makes carburetor removal easier. You need to prepare your Briggs & Stratton engine before you start. This step prevents accidents and helps you work efficiently. I always take a moment to review these steps first.
First, disconnect the spark plug wire. Pull the wire off the spark plug to prevent accidental starting. This is a critical safety step. An engine can unexpectedly turn over, even without fuel. This protects you from harm.
Next, you need to drain the fuel tank. Place a suitable container under the fuel tank’s drain plug or fuel line. Open the drain or disconnect the fuel line to let the fuel flow out. Old or contaminated fuel is a common cause of carburetor problems. Disposing of old fuel prevents it from causing more issues. If your engine is on a lawn mower, ensure it is on a flat surface. Some people prefer to siphon the fuel out.
Locate the carburetor on your Briggs & Stratton engine. It is usually mounted between the air filter housing and the engine block. The air filter housing often covers it. You will need to remove the air filter and its housing first. This gives you clear access to the carburetor.
Before you disconnect anything, take pictures of the carburetor and its connections. Use your smartphone to snap photos from different angles. Pay close attention to how fuel lines, throttle linkages, and choke linkages connect. These photos will be invaluable during reassembly. They help you put everything back in the correct place. I cannot stress enough how helpful photos are for small engine repairs.
Finally, make sure your work area is well-ventilated. Carburetor cleaner fumes can be strong. Work in an open garage or outdoors. This preparation ensures a safe and smooth process for removing the carburetor.
Step-by-Step Guide to Removing the Briggs & Stratton Carburetor
Removing the carburetor is a crucial step in the cleaning process. It requires careful attention to detail. I find that taking my time here prevents future headaches. This guide will help you detach your Briggs & Stratton carburetor safely.
First, with the spark plug wire disconnected and fuel drained, remove the air filter and its housing. This usually involves undoing a few bolts or clips. Set these components aside in a clean area. You will see the carburetor mounted to the engine block. There is usually an intake pipe or manifold between them.
Next, identify all the connections going to the carburetor. These typically include the fuel line, throttle linkage, and choke linkage. The throttle linkage connects the carburetor to the throttle control. The choke linkage operates the choke plate. Look for any small springs or washers. Note their position and how they attach. Your earlier photos will be very useful here. I usually disconnect the fuel line first. Use pliers to slide the hose clamp back. Then, carefully pull the fuel line off the carburetor’s inlet. Be ready for any residual fuel.
Carefully detach the throttle and choke linkages. These are often small metal rods or wires with bends at the ends. They fit into specific holes or clips on the carburetor. Use needle-nose pliers if needed. Take care not to bend or damage them. Some models might have a solenoid wire on the bottom of the float bowl. Disconnect this wire if present.
Now, you will see two or more bolts that secure the carburetor to the engine. These bolts typically go through the carburetor and into the engine block. They might also pass through an intake manifold or spacer. Use the appropriate socket wrench to loosen and remove these bolts. Support the carburetor as you remove the last bolt.
As you pull the carburetor away from the engine, pay attention to the gaskets. There are usually gaskets on both sides of the carburetor, between it and the engine, and between it and the air filter housing. These gaskets can stick or tear. New gaskets are often included in a carburetor rebuild kit. If they tear, you must replace them for a proper seal. For more general guidance on similar tasks, you can refer to articles like how to clean carburetor on push mower. This resource can offer additional context for small engine carburetor maintenance.
With all connections free and bolts removed, carefully pull the carburetor away from the engine. Place it in your parts tray or on a clean rag. Now you are ready to disassemble and clean it.
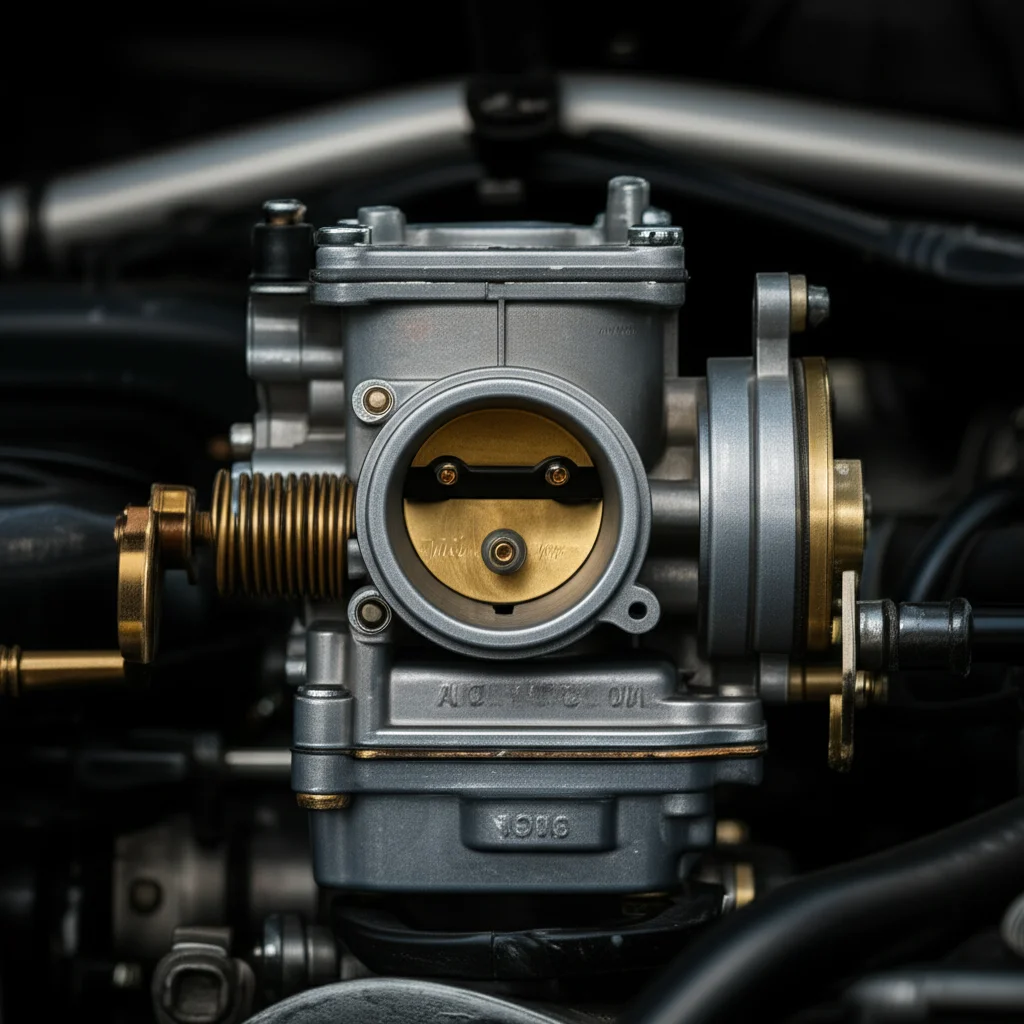
Disassembling and Cleaning the Carburetor Components
Now that the carburetor is off the engine, it is time for the detailed cleaning. This step involves taking the carburetor apart and thoroughly cleaning each piece. This is where most of the cleaning action happens. I always work on a clean, well-lit surface for this part.
First, remove the float bowl. This is the cup-shaped part at the bottom of the carburetor. It typically attaches with one or more screws or a single bolt in the center. Carefully remove the screws or bolt. The float bowl might have some old fuel or sediment inside. Empty it into your waste fuel container. Clean the bowl thoroughly with carburetor cleaner and a rag or brush. Look for any debris or sticky residue inside.
Next, locate the float. The float is a hollow, plastic or brass component inside the bowl area. It pivots on a pin. Remove the float pin carefully. Then, lift out the float and the needle valve. The needle valve is a small, pointed piece that sits at the end of the float. It controls fuel entry into the bowl. Inspect the needle valve for wear or damage. Replace it if it looks worn. Clean the float and the area where the needle valve seats.
Identify the main jet and the emulsion tube. The main jet is a small brass screw or insert, usually located in the center of the carburetor throat or under the emulsion tube. The emulsion tube is a longer, slender tube that sits underneath the main jet. These components control fuel flow and mixture. Use a screwdriver to carefully remove them. Be gentle as they are often soft brass.
Now, thoroughly spray all carburetor components with carburetor cleaner. Focus on the main body of the carburetor. Pay special attention to all small holes, ports, and passages. These are often where clogs occur. You will see cleaner squirt out of various openings. This shows the passages are clear. For stubborn clogs, use a thin piece of wire (like a bread tie wire) or the small wire tool often included with carburetor cleaner cans. Gently poke through each jet and passage. Follow this with a strong blast of compressed air. Compressed air ensures all tiny channels are completely clear. I always check each passage until I can see light through it or feel air flow.
Do not forget the idle jet or pilot jet, if your carburetor has one. This is often a very small, hard-to-see jet located near the throttle plate. It controls fuel flow at idle speeds. Ensure it is also completely clear. You can find many guides that show you how to clean lawn mower carburetor without removing it, but a full disassembly allows for a much more thorough cleaning of these tiny jets.
Once all parts are clean and dry, you are ready for reassembly. Ensure no residue remains. Each part must be spotless for the carburetor to work correctly.
Reassembly and Reinstallation of the Carburetor
After cleaning every component, it is time to put your Briggs & Stratton carburetor back together. This step requires precision and attention to detail. Proper reassembly ensures the carburetor functions correctly and seals properly. I always work methodically to avoid mistakes.
Start by reassembling the internal components of the carburetor. Insert the clean main jet and emulsion tube back into their proper locations. Do not overtighten them, as they are often made of soft brass. Next, place the needle valve back onto the float. Then, insert the float and its pivot pin into the carburetor body. Make sure the float moves freely up and down without sticking. It should pivot smoothly on its pin.
Place a new gasket onto the carburetor body where the float bowl attaches. This gasket is critical for preventing fuel leaks. Gently attach the float bowl, securing it with its screws or central bolt. Tighten these screws or the bolt evenly and snugly, but do not overtighten them. Overtightening can strip threads or crack the carburetor body.
Now, you are ready to reattach the carburetor to the engine. First, ensure you have new gaskets for the carburetor mounting points. These gaskets are usually between the carburetor and the engine block, and between the carburetor and the air filter housing. New gaskets prevent vacuum leaks, which can cause the engine to run poorly. If your old gaskets are torn or brittle, you must replace them.
Carefully position the carburetor onto the mounting studs or bolts on the engine. Make sure the new gaskets are aligned correctly. Reinsert the mounting bolts and tighten them hand-tight at first. Then, use your socket wrench to tighten them evenly. Do not overtighten. The carburetor body can crack if you apply too much force.
Reconnect all the linkages that you disconnected earlier. Refer to the photos you took during disassembly. Reattach the throttle linkage and the choke linkage to their correct points on the carburetor. Ensure they move freely without binding. Reconnect any solenoid wires if your carburetor has them.
Finally, reattach the fuel line to the carburetor’s inlet. Slide the fuel line clamp back into place to secure the hose. Make sure the fuel line is securely fastened to prevent leaks. Install the air filter housing and a clean air filter. This completes the reinstallation. For more general small engine cleaning advice, consider reviewing a resource on how to clean carburetor on a Stihl hedge trimmer. The fundamental steps for carburetor reassembly are often similar across different small engine types.
Post-Cleaning Steps and Engine Start-Up
With the carburetor cleaned and reinstalled, the final steps involve preparing your engine for operation and testing its performance. This is the moment of truth. I always look forward to hearing the engine purr after a successful cleaning.
First, refill the fuel tank with fresh, clean gasoline. Using fresh fuel is essential. Old or stale fuel can immediately clog your newly cleaned carburetor. Consider adding a fuel stabilizer to the gasoline, especially if the engine will sit for periods. This helps prevent fuel breakdown and future carburetor issues.
Reconnect the spark plug wire to the spark plug. Ensure it is firmly seated. This allows the ignition system to function. Your engine needs a strong spark to start.
Before starting, prime the engine if it has a primer bulb. Push the primer bulb several times until it feels firm or you see fuel in the clear line. This pushes fuel into the carburetor. If your engine has a choke, set it to the “full choke” position for starting. The choke enriches the fuel mixture, aiding cold starts.
Now, attempt to start the engine. It might take a few pulls or crank longer than usual the first time. This is normal, as the fuel system needs to fully prime and fill the carburetor. Once it starts, let it run for a few minutes. Allow the engine to warm up. Listen for any unusual noises.
Once the engine is warm, you might need to make minor adjustments. Most Briggs & Stratton carburetors are not easily adjustable by owners. However, some older models might have idle speed screws or mixture screws. If your engine surges or idles poorly, you can try adjusting the idle speed screw. Turn it slightly in small increments. For engines with mixture screws, turning them slowly can fine-tune the fuel-air ratio. Always consult your engine’s manual for specific adjustment procedures. If you have questions about other fuel system components, you might also find guidance in articles like how to clean fuel filter without removing it. This can help ensure your entire fuel system is working well.
Test the engine under load. If it’s a lawn mower, try cutting grass. If it’s a generator, plug in a small appliance. Observe its performance. A properly cleaned carburetor will allow the engine to run smoothly, respond well to throttle changes, and deliver full power. If problems persist, you may need to re-check your work or consider a carburetor rebuild kit for worn internal parts.
Troubleshooting Common Carburetor Issues After Cleaning
Even after a thorough cleaning, sometimes an engine still acts up. Do not lose heart. Several common issues can occur. Understanding these can help you diagnose and fix remaining problems. I have encountered these myself and found solutions.
If the engine does not start after cleaning, first check basic things. Is there fresh fuel in the tank? Is the spark plug wire connected? Is the choke set correctly? Make sure the engine has spark. If it still does not start, the carburetor may have a missed clog. A tiny passage can cause a big problem. You might need to remove the carburetor again and re-inspect all passages, especially the pilot and main jets. Use compressed air and fine wire tools.
An engine that starts but runs rough or surges often indicates an air leak or an issue with the idle circuit. Check all carburetor gaskets. Make sure they are correctly seated and not torn. A vacuum leak around the carburetor mount can pull in extra air. This leans out the fuel mixture. This causes surging. If the idle jet is not perfectly clear, the engine will run poorly at low speeds.
If the engine runs rich (smokes, fouls spark plugs), the float level might be too high. A high float level allows too much fuel into the bowl. This can also happen if the needle valve does not seal properly. Inspect the needle valve tip for wear or damage. Replace the needle valve and seat if they look worn. A stuck float can also flood the engine. Ensure the float moves freely.
Fuel leaks are another common issue. Check all fuel line connections. Ensure hose clamps are tight. Look for leaks around the float bowl gasket or other carburetor body seams. If you replaced gaskets, ensure they are the correct type and are installed flat. Overtightening can also cause leaks by deforming components.
Sometimes, despite cleaning, the carburetor is simply worn out. Internal components like the needle valve, float, or even the carburetor body itself can wear over time. If cleaning does not resolve the issue, a carburetor rebuild kit might be needed. This kit replaces all wear items like gaskets, needle valve, and sometimes jets. If the carburetor body is warped or corroded, a complete replacement might be necessary. But often, a good cleaning solves most problems.
Preventing Future Carburetor Problems
Preventing carburetor issues is easier than fixing them. A few simple practices can keep your Briggs & Stratton engine running smoothly for years. I have learned these lessons over time, and they truly make a difference.
Always use fresh fuel. Gasoline starts to degrade in about 30 days, especially if it contains ethanol. Ethanol attracts water, which corrodes carburetor components and creates deposits. Buying fuel in smaller quantities ensures you use it quickly. Avoid storing gasoline for long periods.
Use a high-quality fuel stabilizer in your gasoline. Add it to every fill-up, not just when storing the engine. Fuel stabilizer significantly slows down fuel degradation. It prevents the formation of gum and varnish deposits that clog carburetors. Follow the product’s instructions for the correct mixing ratio. I add stabilizer to all my small engine fuel cans.
Proper storage is key. Before storing your engine for the off-season, either run the fuel tank completely dry or add fuel stabilizer and run the engine for a few minutes to circulate the stabilized fuel through the carburetor. Draining the fuel prevents stale gas issues. However, running the engine with stabilized fuel can protect internal carburetor parts from drying out. Choose the method that best suits your engine and storage conditions.
Regularly check and replace your fuel filter. A clogged fuel filter restricts fuel flow and can allow debris into the carburetor. A clean filter ensures only clean fuel reaches the carburetor. This extends the life of your carburetor and prevents clogs. Some engines do not have an easily replaceable fuel filter, but if yours does, change it annually.
Keep your air filter clean. A dirty air filter restricts airflow to the engine. This can cause the engine to run rich. This also makes the carburetor work harder. Dirt can also bypass a dirty or damaged air filter and enter the carburetor. Inspect your air filter regularly and clean or replace it as needed.
These preventive measures reduce the need for frequent carburetor cleanings. They help your engine start easily and run reliably. A little proactive maintenance goes a long way in ensuring your Briggs & Stratton engine is always ready for work.
FAQ Section
How often should I clean my Briggs and Stratton carburetor?
You should clean your Briggs and Stratton carburetor when you notice performance issues, such as hard starting, rough idling, or a loss of power. For engines used seasonally, it is a good practice to clean it every 1-2 years, or before long-term storage if not draining fuel. Fresh fuel and stabilizer can extend this period.
Can I clean a carburetor without removing it?
Yes, you can often clean a carburetor without removing it for minor issues. Using a fuel additive or spraying carburetor cleaner directly into the air intake while the engine runs can help. However, for stubborn clogs or significant buildup, full removal and disassembly provide the most thorough and effective cleaning.
What kind of carburetor cleaner should I use?
Use a specialized aerosol carburetor cleaner that explicitly states it removes gum, varnish, and carbon deposits. Look for cleaners safe for oxygen sensors if your engine has one, although most small engines do not. Brake cleaner is not a direct substitute, as it can damage rubber and plastic components.
What are the signs of a dirty carburetor?
Signs of a dirty carburetor include an engine that is difficult to start, especially when cold. It may idle rough, surge, or stall during operation. The engine might also lose power under load or consume more fuel than usual. Black smoke from the exhaust can also indicate a rich fuel mixture caused by a clogged carburetor.
Do I need a rebuild kit when cleaning?
You do not always need a rebuild kit for a basic cleaning. If gaskets are intact and internal parts appear undamaged, a thorough cleaning might suffice. However, if gaskets tear during disassembly, or if the needle valve or float appear worn, a rebuild kit is recommended to replace these components and ensure a proper seal.
What if my engine still won’t start after cleaning the carburetor?
If your engine still will not start, recheck the fuel flow, spark, and compression. Ensure fresh fuel is in the tank and the fuel lines are clear. Verify the spark plug provides a strong spark. Check if all carburetor passages are truly clear, especially the tiny jets. A small vacuum leak or a faulty spark plug could also be the cause.
Conclusion
Cleaning your Briggs & Stratton carburetor is a powerful way to bring a sputtering or non-starting engine back to life. It might seem like a daunting task at first, but by following these clear, step-by-step instructions, you can successfully tackle this common small engine repair. I have found this process incredibly rewarding. It saves money and gives you a greater understanding of your equipment.
You now know how to safely prepare your engine, carefully remove the carburetor, meticulously clean its intricate components, and correctly reassemble everything. Remember to work in a well-ventilated area and prioritize safety by disconnecting the spark plug and handling fuel with care. These steps ensure a smooth and effective repair experience.
Taking the time to clean your Briggs & Stratton carburetor extends the life of your equipment. It ensures consistent and reliable performance. Do not let a dirty carburetor keep your lawn mower, generator, or other outdoor power tools from performing their best. Take charge of your engine’s health today. Your Briggs & Stratton engine will thank you with many more years of faithful service. Get your tools ready, and bring that engine back to peak condition!
- Briggs and Stratton
- carburetor cleaning
- small engine repair
- lawn mower maintenance
- engine troubleshooting
- fuel system
- DIY engine repair

Todd Martin
Senior Writer
With over 15 years of experience in home renovation and design, I started HEG to share what I’ve learned with homeowners who want to create spaces that are both beautiful and functional. I’ve always believed in a hands-on approach, and over the years, I’ve picked up practical solutions that actually work. Through HEG, I aim to make home improvement more approachable, sharing real tips that help you create a home you truly love.