· Todd Martin · Printer Maintenance · 14 min read
How To Clean Clogged Printhead
How To Clean Clogged Printhead for Optimal Performance
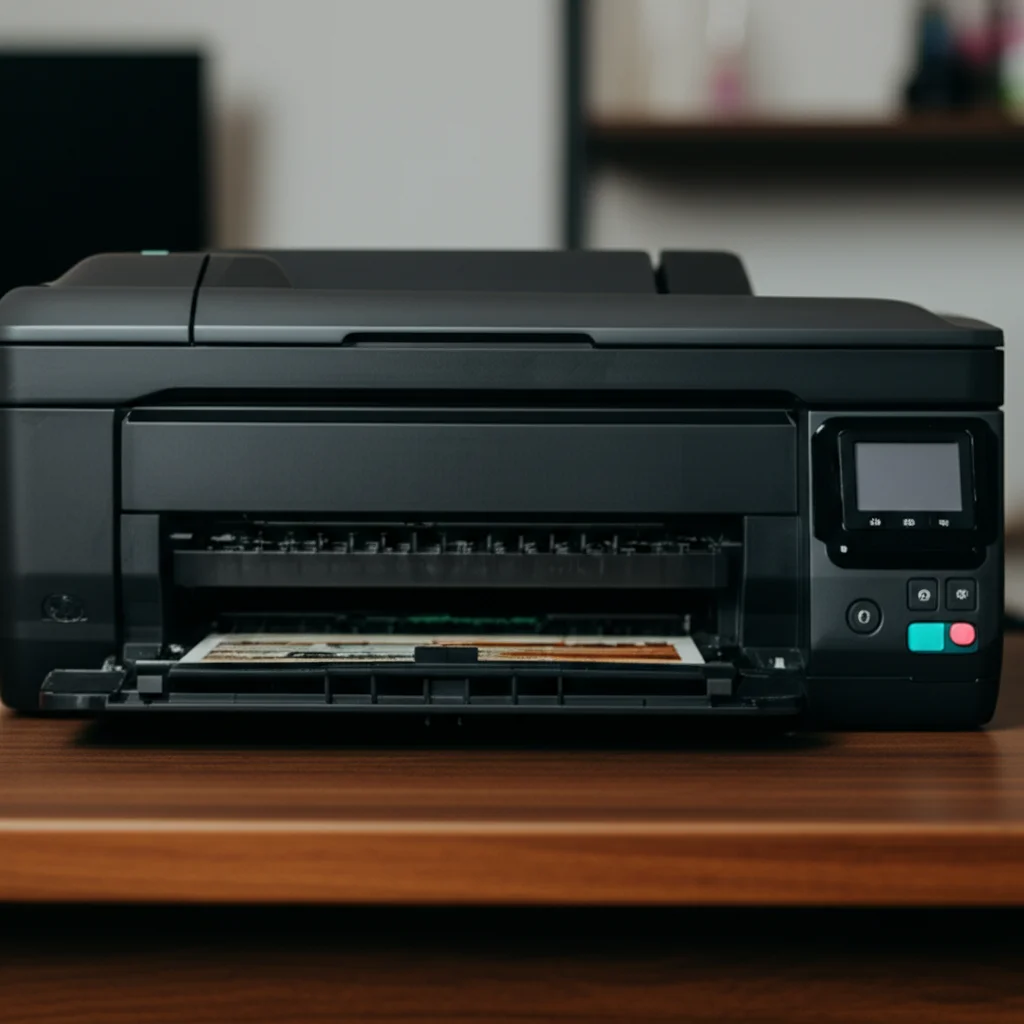
Are you seeing streaks, faded lines, or missing colors in your printed documents? A clogged printhead is often the culprit behind these frustrating issues. It is a common problem for inkjet printer owners. Knowing how to clean a clogged printhead effectively can save you time and money. You do not need to replace your ink cartridges or even your printer right away. This guide provides clear, simple steps to restore your print quality. We will cover both built-in cleaning functions and manual cleaning methods.
Takeaway
- Run Built-In Cleaning Cycles: Start with the printer’s automatic cleaning function. It is often enough for minor clogs.
- Perform Manual Cleaning: Use distilled water or a specialized cleaning solution for stubborn clogs.
- Exercise Caution: Handle printhead components carefully to avoid damage.
- Prevent Future Clogs: Print regularly and use quality ink to keep your printhead clear.
The Quick Fix: Cleaning a Clogged Printhead
You can clean a clogged printhead by running the printer’s built-in cleaning cycle through its software or control panel. For stubborn clogs, manually clean the printhead with a lint-free cloth and distilled water or a cleaning solution after carefully removing it.
Understanding Your Printer’s Printhead
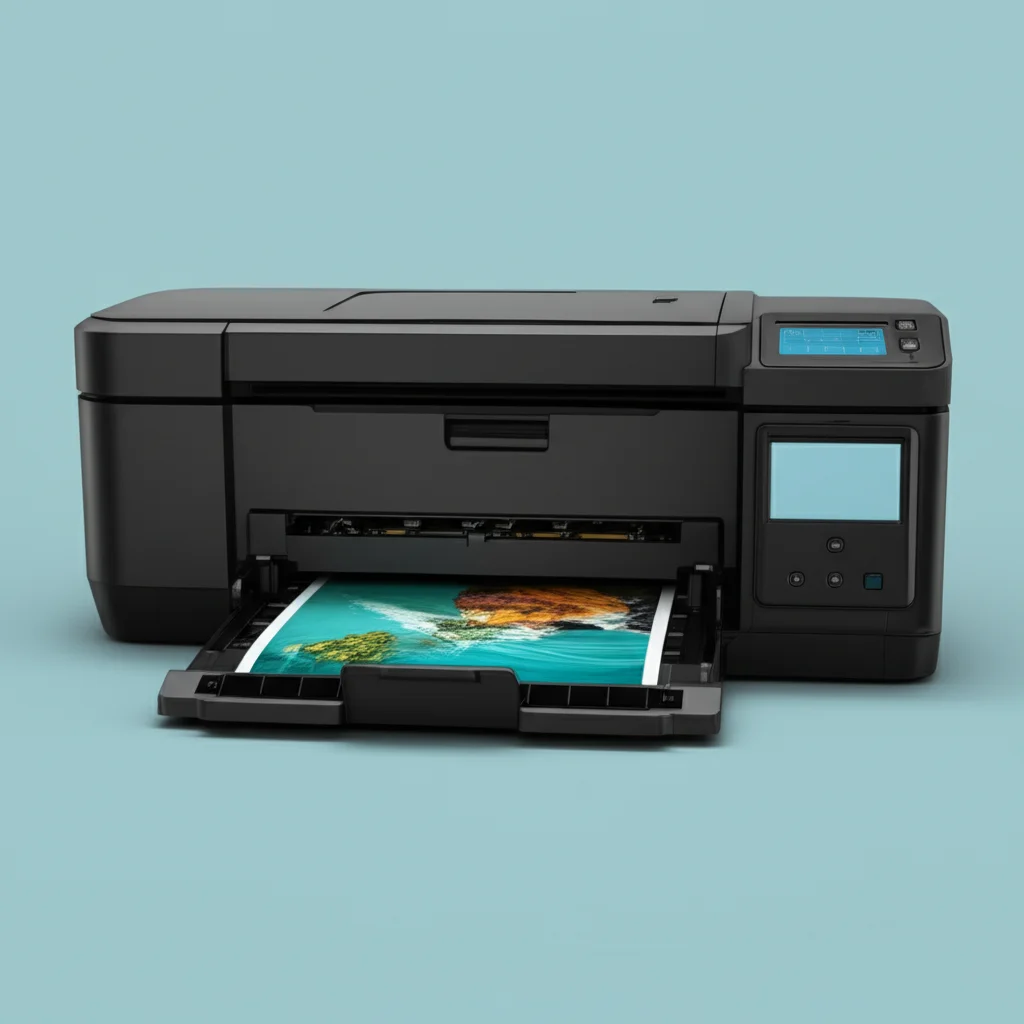
A printhead is the part of an inkjet printer that distributes ink onto the paper. It contains many tiny nozzles. Each nozzle sprays a small droplet of ink. Over time, these nozzles can dry out or accumulate ink residue. This causes clogs and affects print quality.
Identifying a clogged printhead is usually straightforward. You will notice problems like streaks, lines, or missing colors in your prints. Sometimes, the printer may show an error message. A print quality test page often reveals the exact extent of the clogging. Regular use helps prevent these clogs from forming.
Common Causes of Printhead Clogs
Printheads clog for a few main reasons. Understanding these causes helps you prevent future issues. The most common cause is dried ink. If you do not use your printer often, the ink in the nozzles can dry up and block them. This is like leaving a marker uncapped.
Using low-quality or incompatible ink can also lead to clogs. These inks may contain particles or formulations that do not flow well. This results in residue building up in the delicate nozzles. Exposure to air is another factor. If ink cartridges are not sealed properly, ink can dry out faster. Even dust or debris can get into the printhead and cause blockages. Proper storage of ink and regular printing are key to avoiding these problems.
Preparing to Clean Your Printhead
Before you begin cleaning your printhead, preparation is important. Safety is always the first step. You should gather all necessary supplies. Always power off and unplug your printer before doing any manual cleaning. This prevents electric shock and printer damage.
Gather your cleaning materials. You will need a lint-free cloth or paper towels. Distilled water is often sufficient for mild clogs. For more stubborn clogs, consider a specialized printhead cleaning solution. You might also need a shallow dish or tray. Gloves are a good idea to protect your hands from ink. Having these items ready makes the process smoother.
Safety Precautions When Handling Printer Components
Handling printer components requires care. Printheads are delicate parts. Static electricity can damage electronic components. Always ground yourself before touching internal parts. You can do this by touching a metal part of the printer frame.
Ink can be messy and stain. Wear disposable gloves to protect your hands. Avoid touching the electrical contacts on the printhead or ink cartridges. Oils from your skin can interfere with performance. Work in a well-lit area. This allows you to see the small parts clearly. Taking these precautions ensures both your safety and the printer’s longevity.
Step-by-Step Guide to Cleaning Clogged Printhead
Cleaning a clogged printhead involves a few different methods. We will start with the easiest, built-in options. Then, we move to more intensive manual cleaning. Always try the least invasive method first. This reduces the risk of damage.
Method 1: Using the Printer’s Built-In Cleaning Cycle
Most inkjet printers have a built-in cleaning cycle. This is the first thing you should try. It is designed to clear minor clogs automatically. You can usually access this function through your printer’s control panel or your computer’s printer software. Look for “Maintenance” or “Tools” in the printer settings.
Run the cleaning cycle once or twice. After each cycle, print a test page. This helps you check if the print quality has improved. Sometimes, a single cycle is enough. For more persistent clogs, you might need to run it a few times. If multiple cycles do not work, move to the next method. This method is similar to how you might run a self-cleaning cycle on other home appliances to clear internal blockages or residue.
Method 2: Manual Cleaning of the Printhead (On-Printer)
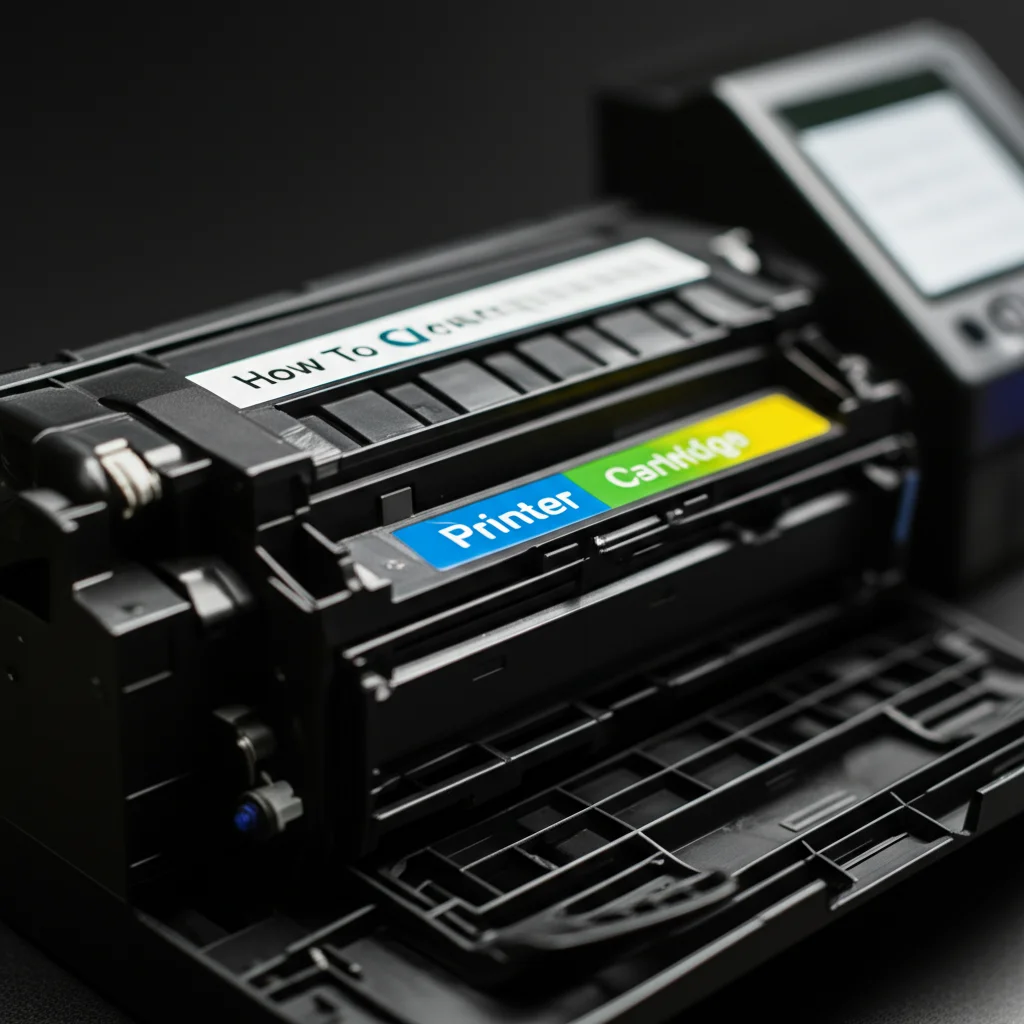
If the built-in cycle fails, you might need to clean the printhead manually. Some printers allow you to access the printhead directly without full removal. First, turn off and unplug your printer. Open the printer cover to access the ink cartridges. Carefully remove the ink cartridges.
Locate the printhead assembly. It is usually where the ink cartridges sit. Using a lint-free cloth dampened with distilled water, gently wipe the bottom of the printhead. You want to remove any visible ink residue or dried ink. Do not scrub hard. Just wipe gently to avoid damage. This careful wiping can often dislodge superficial clogs.
Method 3: Deep Manual Cleaning (Removing the Printhead)
For stubborn clogs, you might need to remove the printhead for a deeper clean. This step is for more advanced users. Check your printer’s manual for specific instructions on printhead removal. Printhead removal procedures vary widely between printer models. Some printheads are easily detachable, while others are integrated.
Once removed, place the printhead with the nozzle plate facing up in a shallow dish. Pour a small amount of distilled water into the dish. The water should just cover the nozzles. Let it soak for 10-30 minutes. This helps soften dried ink. You can also use a printhead cleaning solution instead of water. For extremely tough clogs, some people use a very diluted solution of isopropyl alcohol (70% or less). However, be cautious with alcohol as it can damage some printheads. Always check your printer’s recommendations first. This deep cleaning is like when you deep clean parts of a kitchen sink that are thoroughly clogged; sometimes, soaking is the only way to loosen hardened debris. Cleaning a clogged kitchen sink often requires more than just a quick flush.
After soaking, gently dab the nozzle plate with a lint-free cloth. You should see ink residue transferring to the cloth. Repeat until no more ink comes off. You can also use a syringe to push distilled water gently through the nozzles from the top side of the printhead, if possible, but be extremely careful not to apply too much pressure. Allow the printhead to air dry completely before reinserting it into the printer. This can take several hours. Ensure it is bone dry to prevent electrical shorts.
Reassembling and Testing Your Printer
After cleaning the printhead, it is time to reassemble your printer. Carefully reinsert the printhead into its original position. Make sure it clicks firmly into place. Then, put the ink cartridges back in. Close all printer covers.
Plug in the printer and turn it on. The printer might go through an initialization process. Once it is ready, run a nozzle check or print a test page. This will show you the improvement in print quality. If the print quality is still not perfect, try running another built-in cleaning cycle. Sometimes, it takes a few attempts for the ink to flow perfectly again. Patience is key.
Specialized Cleaning Solutions and Tools
While distilled water is often effective, some situations call for specialized cleaning solutions. These solutions are formulated to break down dried ink more effectively. They can be particularly useful for stubborn clogs. Always choose solutions specifically designed for inkjet printheads. Using improper chemicals can permanently damage your printhead.
You can find printhead cleaning kits online or at electronics stores. These kits often include a cleaning solution, syringes, and lint-free pads. They provide a more targeted approach to cleaning individual nozzles. However, always follow the kit’s instructions carefully. These specialized tools can help you get ink flowing properly again.
When Cleaning Doesn’t Work: Troubleshooting and Alternatives
Sometimes, despite your best efforts, cleaning the printhead might not fully resolve the issue. Do not lose hope immediately. There are a few more troubleshooting steps you can try. Understanding when to seek professional help or consider alternatives is also important. This applies to cleaning other household items too, like a water filter; if simple cleaning does not restore its function, replacement might be necessary. You can learn more about how to clean a water filter for comparison.
Repeated Cleaning Cycles
If the first cleaning attempts do not work, try repeating the process. Run the built-in cleaning cycle a few more times. Sometimes, several cycles are needed to dislodge all dried ink. You can also try soaking the printhead for a longer duration during manual cleaning. Extend the soaking time to an hour or even overnight for very stubborn clogs. Just ensure the liquid does not evaporate completely.
After a deep soak, you might need to run a few more built-in cleaning cycles. This helps prime the printhead and gets the ink flowing evenly. Patience is critical here. It might take several attempts over a day or two to fully clear the obstruction.
Consider Different Cleaning Solutions
If distilled water is not enough, look into stronger cleaning solutions. As mentioned, specialized printhead cleaning fluids are available. These are designed to dissolve dried ink better than plain water. Make sure the solution is compatible with your printer’s ink type (dye-based vs. pigment-based). Some solutions work better for specific ink types.
You can also use a small amount of isopropyl alcohol (70% concentration). Apply it to a lint-free cloth, then gently wipe the printhead nozzles. Avoid letting alcohol sit on the printhead for too long. Alcohol can dry out rubber seals if left exposed. Always test on a small, inconspicuous area first if unsure. Using vinegar, a common household cleaner for many items like a shower, is generally not recommended for printheads due to its acidity which can corrode delicate parts. For general cleaning, understanding how to clean a shower with vinegar might be useful, but for printers, specific solutions are safer.
Professional Repair or Printhead Replacement
If all cleaning methods fail, your printhead might be permanently damaged or too clogged to repair. At this point, you have two main options. You can seek professional repair. A printer technician might have specialized tools or more aggressive cleaning methods. This can be costly, so get an estimate first.
The second option is printhead replacement. Some printers have user-replaceable printheads. Check your printer’s manual or manufacturer’s website. A new printhead can be expensive, often costing a significant portion of a new printer’s price. Weigh the cost of a new printhead against the cost of a new printer. If your printer is old, buying a new one might be more economical.
Preventing Future Printhead Clogs
Preventing printhead clogs is easier than fixing them. A little proactive care can save you a lot of frustration. Regular maintenance is key. Simple habits can significantly extend the life of your printhead. For example, similar to how you would prevent clogs in a shower head by regularly cleaning it, printheads also benefit from routine care. Check out how to clean a clogged shower head for inspiration on preventative cleaning.
Regular Printer Usage
The most effective way to prevent clogs is to use your printer regularly. Inkjet printers are designed to be used. Ink starts to dry when it sits idle. Aim to print something at least once a week. Even printing a simple test page or a black and white document helps. This keeps the ink flowing through the nozzles.
Consider printing a color test page if you do not often print in color. This ensures all ink channels remain active. Regular usage prevents ink from hardening inside the tiny nozzles. It also maintains proper ink flow and lubrication within the printhead assembly. Consistent printing is your best defense against dried ink.
Using Quality Ink Cartridges
Always use good quality ink cartridges. Manufacturer-recommended or reputable third-party inks are best. Cheap, generic inks may have different formulations. These can contain impurities or dry out faster. They might not flow consistently through your printer’s specific printhead. This leads to blockages and poor print quality.
Using the right ink also protects your printer’s warranty. Some manufacturers void warranties if non-approved inks cause damage. Quality ink provides consistent performance and vibrant prints. It reduces the risk of clogs and ensures your printer functions smoothly. Just like you’d use quality products to prevent stains, the same principle applies to ink. Think about how difficult it can be to remove coffee stains; low-quality ink is like a persistent stain waiting to happen.
Proper Printer Storage and Environment
The environment where your printer sits matters. Avoid placing your printer in direct sunlight or near heat sources. High temperatures can cause ink to dry out faster within the printhead. Similarly, very dry environments can accelerate ink drying. A moderate, stable temperature is ideal.
When not in use, ensure your printer is turned off properly. Most printers have a park position for the printhead. This seals the nozzles to prevent air exposure. Leaving the printer on constantly might not always keep the nozzles capped, leading to drying. Covering your printer with a dust cover can also protect it. This prevents dust and debris from entering the printhead area. Taking care of the environment around your printer helps maintain its internal components, much like cleaning a filter in your dishwasher helps maintain its efficiency. Keeping your filter in a dishwasher clean prevents buildup and maintains performance.
Firmware Updates and Software Maintenance
Keep your printer’s firmware updated. Manufacturers often release updates. These updates can improve printer performance. They might include better ink management features. Updated firmware can optimize ink usage and printhead operation. This can indirectly help prevent clogs by ensuring efficient ink delivery.
Regularly check for driver updates on your computer. Printer drivers facilitate communication between your computer and printer. An outdated driver can sometimes cause printing issues. While not directly preventing clogs, optimized software ensures the printer’s internal cleaning cycles run effectively. This ensures your printer’s self-maintenance features work as intended.
Frequently Asked Questions (FAQ)
How often should I clean my printhead?
You should clean your printhead only when you notice print quality issues. This includes streaks, missing lines, or faded colors. Running cleaning cycles too often can waste ink. For prevention, print a test page weekly. This keeps the ink from drying in the nozzles.
Can I use rubbing alcohol to clean my printhead?
You can use isopropyl alcohol (rubbing alcohol) with caution. Use a solution of 70% concentration or less. Apply it to a lint-free cloth and gently wipe the nozzles. Avoid prolonged contact or soaking the printhead in alcohol. It can damage delicate rubber seals.
What happens if I don’t clean a clogged printhead?
If you ignore a clogged printhead, print quality will worsen. Your prints will continue to have streaks or missing colors. Eventually, the nozzles may become permanently blocked. This could lead to needing a professional repair or a complete printhead replacement.
How do I know if my printhead is permanently damaged?
You will know if your printhead is permanently damaged if repeated cleaning attempts fail. Even after multiple deep cleaning cycles, print quality does not improve. If print quality remains poor or new issues appear, replacement is often the only solution.
Can I prevent printhead clogs by storing my printer in a certain way?
Yes, store your printer in a moderate, stable environment. Avoid direct sunlight, extreme temperatures, and high humidity. Turn off your printer properly when not in use. This allows the printhead to “park,” sealing the nozzles and preventing ink from drying out.
Is it better to clean or replace ink cartridges for clogs?
Always try cleaning the printhead first. Clogs are usually in the printhead nozzles, not the cartridges themselves. Replacing cartridges for a printhead clog is often unnecessary and expensive. Only replace cartridges if they are genuinely empty or defective.
Conclusion
Learning how to clean a clogged printhead is a valuable skill for any printer owner. You can restore your print quality and extend your printer’s life. Start with the printer’s built-in cleaning cycle. This often resolves minor issues. For stubborn clogs, a careful manual cleaning process can make a big difference. Remember to use distilled water or specialized solutions.
Preventative measures are just as important. Print regularly to keep ink flowing. Use quality ink cartridges. Store your printer in a suitable environment. Follow these steps to maintain your printhead. This ensures clear, crisp documents every time. Do not let a clogged printhead ruin your printing experience. Take action and enjoy vibrant prints again!
- printer cleaning
- printhead maintenance
- clogged nozzles
- printer repair
- ink clogs


