· Todd Martin · Tool Maintenance · 20 min read
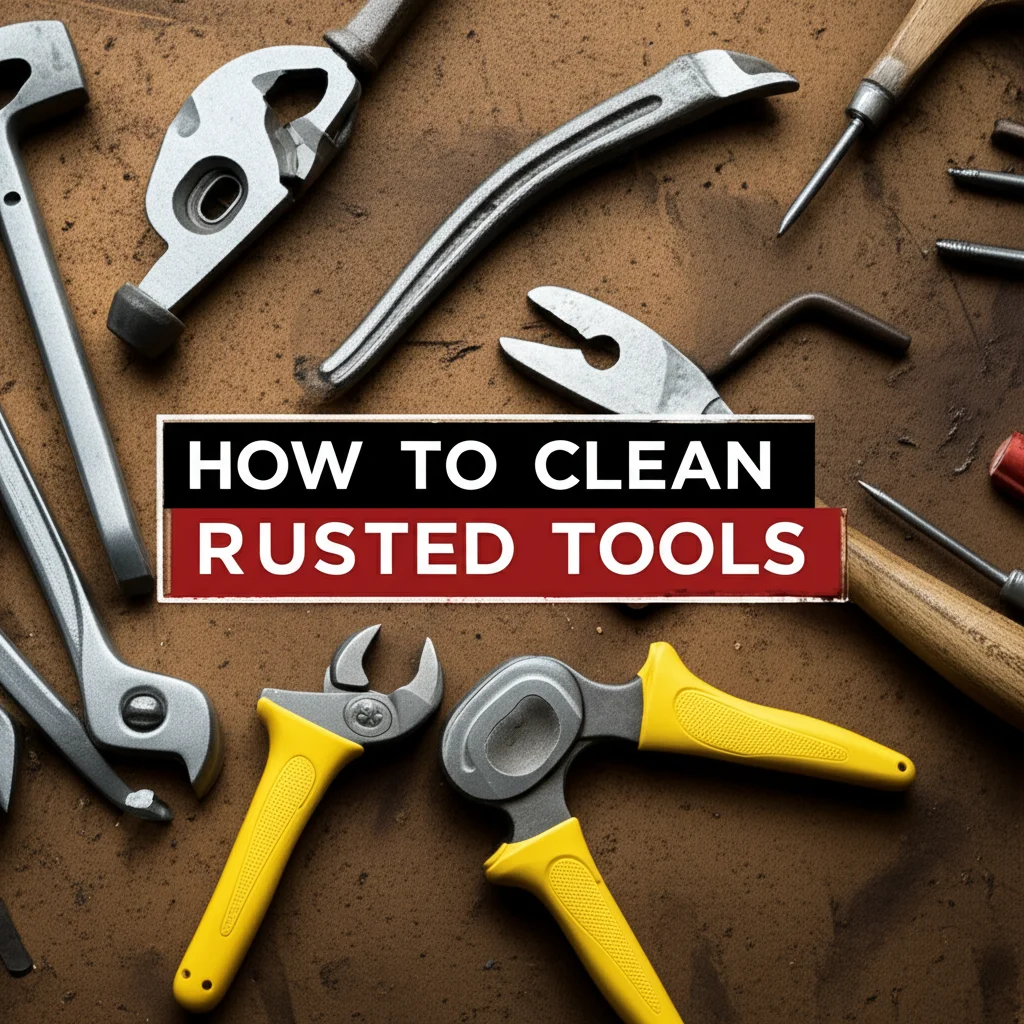
How To Clean Felco Pruners
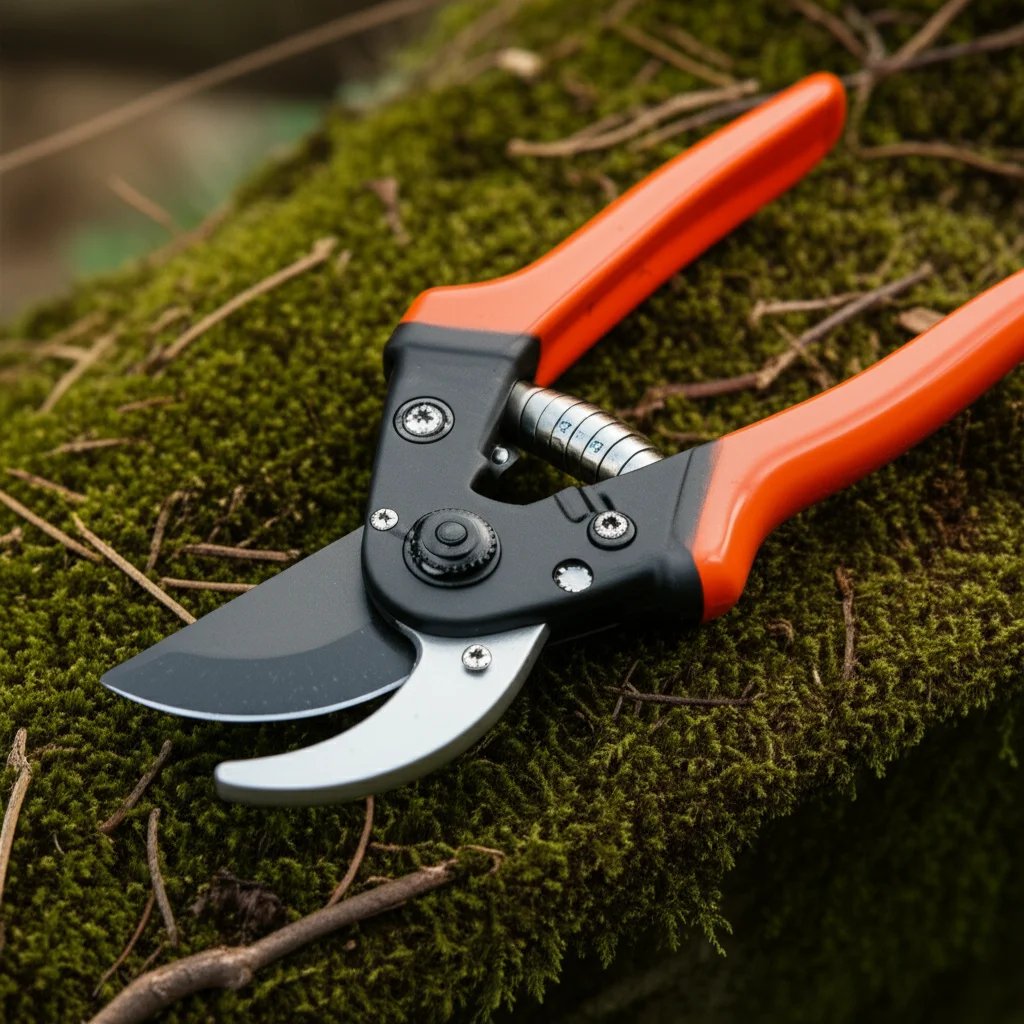
How To Clean Felco Pruners for Optimal Performance
Maintaining your gardening tools is important. Felco pruners are a top choice for many gardeners. They offer precision and durability. However, even the best tools need regular care. Neglecting your pruners leads to problems. You will experience dull blades and rust. This makes your work harder. It also harms your plants.
Learning how to clean Felco pruners correctly is a skill every gardener should master. Regular cleaning extends tool life. It also keeps blades sharp. This ensures clean cuts for plant health. This guide provides a detailed approach. We will cover basic cleaning to deep maintenance. You will learn the best methods and materials. Prepare to give your Felco pruners the care they deserve. This will ensure they perform well for many years.
Takeaway
Keeping your Felco pruners clean is simple and essential.
- Wipe down blades after each use to remove sap and debris.
- Use rubbing alcohol or a mild bleach solution for disinfection.
- Dry all parts thoroughly to prevent rust.
- Lubricate moving parts regularly for smooth operation.
- Sharpen blades as needed to maintain cutting efficiency.
Clear and Concise Answer
To clean Felco pruners, wipe blades after each use with a damp cloth to remove sap. For deeper cleaning, disassemble them, scrub blades with a wire brush and cleaner like rubbing alcohol or a mild bleach solution, dry completely, then lubricate and reassemble.
Why Regular Cleaning of Felco Pruners Matters
Taking care of your Felco pruners is more than just about cleanliness. It directly affects how well your tools work. It also impacts the health of your garden. Pruners cut through various plant materials. These materials leave behind sap, dirt, and plant pathogens. These residues build up over time. This buildup creates several issues. It can prevent your pruners from closing properly. It can also cause blades to stick.
Uncleaned blades also pose a risk to your plants. Plant diseases spread easily from one plant to another. This happens through contaminated tools. A simple cut can introduce bacteria or fungi. This can sicken or even kill your plants. Regular cleaning removes these harmful agents. It ensures each cut is clean and healthy. This practice protects your entire garden.
Beyond hygiene, cleaning prevents mechanical issues. Sap and dirt cause rust. Rust corrodes metal components. This weakens the blades. It also makes moving parts stiff. A rusty blade cannot make a clean cut. This damages plant tissue. Damaged plant tissue is more vulnerable to disease. Proper care keeps your investment safe. Felco pruners are built to last. Their longevity depends on your cleaning routine.
The Impact of Sap and Debris
Sap is sticky. It clings to pruner blades. It hardens over time. This creates a thick layer of residue. This residue makes blades dull. It also increases friction during cutting. You must apply more force. This tires your hand. It also risks damaging the plant. Debris like small wood chips and dirt also gets trapped. These particles scratch the blade surface. They also promote rust formation.
The buildup of sap and debris is a breeding ground. It allows for bacteria and fungi to grow. When you cut into a healthy plant, these pathogens transfer. This can spread diseases like canker or blight. Imagine pruning a diseased branch. Then you immediately prune a healthy rose bush. Without cleaning, you just spread the disease. This emphasizes the need for sanitation. Cleaning is a preventative measure. It keeps your plants safe.
Protecting Your Investment
Felco pruners are high-quality tools. They are an investment for serious gardeners. High-quality tools perform better. They also last longer. But they require maintenance. Ignoring cleaning shortens their lifespan. You may need to replace parts sooner. Or you may need to buy new pruners entirely. This costs more money in the long run.
Proper cleaning preserves the sharp edge of the blades. It keeps the spring mechanism working smoothly. It also protects the handles. This maintains the tool’s overall integrity. A well-maintained tool feels good to use. It performs reliably every time. Think of it like a car. You change the oil and clean it. Your pruners need similar attention. They are precision instruments. Treat them with care. This ensures they serve you well for many years of gardening enjoyment.
Gathering Your Cleaning Supplies for Felco Pruners
Before you begin the cleaning process, you need the right tools. Having everything ready saves time. It makes the task more efficient. The supplies you need are simple. Many items you might already own. These basic tools help remove tough grime. They also disinfect and protect your pruners. Choose your cleaning agents carefully. Some options are harsher than others. Consider what works best for your tools and your comfort level.
Essential Cleaning Tools
A sturdy wire brush is crucial. It helps scrub off dried sap and dirt. Choose one with stiff bristles. A small, stiff-bristled brush works well too. Old toothbrushes can also be effective. A clean rag or cloth is also necessary. This is for wiping and drying. Microfiber cloths are good for absorbing moisture. They leave no lint behind. Have a sharpening stone ready. This is for maintaining blade sharpness. A Felco-specific sharpening stone is ideal. It matches the blade angles.
Gloves protect your hands. Use work gloves or disposable gloves. This keeps your hands clean. It also protects them from cleaning solutions. Safety glasses are a good idea. They protect your eyes from splashes. A small container or bucket is useful. This is for mixing cleaning solutions. It also holds small parts if you disassemble the pruners. Finally, a few cotton swabs can reach small crevices.
Choosing Your Cleaning Solutions
You have several options for cleaning solutions. Rubbing alcohol is a popular choice. It dissolves sap effectively. It also acts as a disinfectant. Isopropyl alcohol, 70% or higher, works best. Bleach is another powerful disinfectant. Mix a 1:9 bleach to water solution. For example, use one part bleach to nine parts water. This creates a mild solution. Use bleach with caution. It can corrode metal if left on too long. Always rinse thoroughly after using bleach.
Soapy water is a gentle option. Use a few drops of dish soap in warm water. This helps loosen dirt and grime. It does not disinfect as well as alcohol or bleach. You can also buy specialized tool cleaners. These products are designed for garden tools. They often contain rust inhibitors. Some gardeners prefer natural options. Vinegar is a mild acid. It can help with rust or hard water stains. You can learn more about general cleaning with how to clean bathroom with vinegar. Always test natural solutions on a small area first.
Lubrication and Protection
After cleaning, lubrication is key. Light machine oil works well. Examples include 3-in-1 oil or mineral oil. Some companies make specific tool oils. These often come in small applicator bottles. A fine-grit sharpening stone is vital. This keeps the blade keen. Look for a ceramic or diamond stone. Ensure it is suitable for your pruner’s blade type.
For rust prevention, consider a rust-inhibiting spray. Some oils contain rust preventatives. This adds an extra layer of protection. A soft cloth or old towel is needed for drying. Ensure everything is dry before storage. Proper drying prevents new rust from forming. Having all these supplies ready makes the cleaning process smooth. It ensures your Felco pruners receive complete care.
Step-by-Step Guide to Basic Cleaning of Felco Pruners
Basic cleaning of your Felco pruners should happen frequently. Ideally, clean them after each significant pruning session. This prevents sap and debris from hardening. It also stops plant diseases from spreading. This simple routine keeps your tools in good shape. It makes deep cleaning less frequent. Let’s walk through the easy steps.
The Initial Wipe
Start by wiping the blades. Use a sturdy rag or cloth. Wipe off any obvious sap, dirt, or plant material. Do this immediately after finishing your pruning. Fresh sap is easier to remove. If the sap is already dry, dampen the cloth. You can use warm water. A little dish soap added to the water helps. This first step removes the bulk of the grime. It prepares the pruners for deeper cleaning. Focus on both sides of the cutting blade. Also, clean the anvil blade if your pruners have one. Pay attention to the spring and pivot areas. Debris collects here.
Removing Stubborn Grime
Sometimes sap and grime stick hard. A wire brush comes in handy here. Gently scrub the blades and other metal parts. Focus on areas with buildup. For very stubborn resin, use a specialized resin cleaner. You can also use mineral spirits or rubbing alcohol. Apply the cleaner to a cloth. Then rub the affected areas. Alcohol effectively dissolves sticky sap. If you have any stainless steel components, remember principles from how to clean stainless steel to avoid scratching. Always scrub away from the blade’s sharp edge. This protects your hands.
For sticky sap, you can also try cooking oil. Apply a small amount to the blades. Let it sit for a few minutes. The oil helps to loosen the sap. Then wipe it away with a clean cloth. Repeat if necessary. This method is gentle. It is also effective for dissolving plant resins. After using any cleaner, wipe the pruners clean. Remove all traces of the cleaning agent.
Disinfection Practices
Disinfection is crucial. It stops the spread of plant diseases. After cleaning off physical debris, disinfect the blades. Rubbing alcohol (70% or higher) works very well. Pour some alcohol onto a clean rag. Wipe down both sides of the blades thoroughly. Alcohol evaporates quickly. It leaves no residue. Another option is a mild bleach solution. Mix one part bleach with nine parts water. Dip the blades into this solution. Or wipe them down with a cloth soaked in it.
Leave the bleach solution on for a few minutes. This allows it to sanitize. Then, rinse the pruners thoroughly with clean water. Bleach is corrosive. You must rinse it off completely. Not rinsing can lead to rust. Always wear gloves when handling bleach. These disinfection steps are vital. They ensure your pruners are safe for your plants. A disinfected tool helps your garden thrive.
Essential Drying
Thorough drying is perhaps the most important step. Moisture leads to rust. After cleaning and rinsing, dry your pruners immediately. Use a clean, dry rag or towel. Wipe every part of the tool. Pay close attention to crevices. Water can hide in the pivot point or around the spring. You can use compressed air if available. This helps remove moisture from tight spots.
Leave the pruners to air dry for a short while. Place them in a warm, dry area. Do not put them away wet. Even small amounts of moisture can cause rust. Rust weakens metal. It also makes your pruners look bad. Some gardeners use a hairdryer on a low setting. This ensures complete dryness. Once completely dry, proceed to lubrication. This protects the metal surfaces. It prepares your pruners for their next use.
Deep Cleaning and Disassembly of Felco Pruners
Basic cleaning handles most daily grime. However, sometimes your Felco pruners need a deeper clean. This is especially true if they are very dirty. This might happen if you forget to clean them for a while. Or if you work with particularly sappy or diseased plants. Deep cleaning often involves disassembling your pruners. This allows you to reach every part. It ensures thorough cleaning and rust removal.
Felco pruners are designed for easy disassembly. They usually have a central bolt and nut. You can loosen these with a wrench or special Felco tool. Keep track of all parts. Lay them out on a clean surface. Taking photos during disassembly helps with reassembly. This process ensures no hidden grime remains. It also allows you to inspect parts for wear.
When to Disassemble Your Pruners
Disassemble your pruners for deep cleaning when:
- Performance is reduced: If the blades stick or feel gritty.
- Visible rust: You see rust forming on any metal parts.
- Heavy sap buildup: When basic cleaning cannot remove all sap.
- Seasonal maintenance: Once a year for thorough care.
- Blade replacement: If you need to replace a worn or damaged blade.
Disassembly lets you access internal components. You can clean the spring, the pivot bolt, and the interior of the handles. These areas collect debris. They are hard to reach otherwise. A complete breakdown ensures all parts are clean. It allows for detailed inspection. You can check for any damaged or worn parts.
Cleaning Individual Components
Once disassembled, clean each part separately.
- Blades: Use a wire brush to scrub off all sap and rust. For rust, you can use a rust-specific cleaner. Alternatively, create a paste of baking soda and water. Apply it to rusty spots. Let it sit, then scrub with the brush. For severe rust, fine-grit sandpaper can help. Remember to clean both the cutting blade and the anvil blade thoroughly. If you have general rust issues, similar principles to how to clean rust off concrete can apply for removing rust.
- Pivot Bolt and Nut: These parts accumulate grime. Clean them with a wire brush or an old toothbrush. Use rubbing alcohol to dissolve any sticky residue. Ensure the threads are clean.
- Spring: The spring can get rusty or collect debris. Clean it with a brush. If it’s very dirty, soak it in rubbing alcohol for a few minutes.
- Handles: Wipe the handles clean. If they are plastic or composite, soapy water works well. If they are metal, clean them like the blades.
- Washers and Spacers: These small parts are important. Clean them carefully. Ensure they are free of dirt and grit.
Dealing with Rust on Blades
Rust is a common problem. It happens when iron reacts with oxygen and water. Rust makes blades dull. It also weakens the metal. For light rust, scrubbing with a wire brush and a cleaner like rubbing alcohol often works. You can also use a rust eraser or fine steel wool. Always scrub in the direction of the blade. This prevents scratching.
For heavier rust, consider a rust remover product. Follow the product instructions carefully. Some people use white vinegar for rust. Soak rusty parts in undiluted white vinegar for a few hours. Then scrub the rust away. Rinse thoroughly with water afterwards. Dry immediately and completely. An old toothbrush is useful for small rust spots. After removing rust, protect the metal. Apply a light coat of oil. This prevents rust from returning. A clean, rust-free blade makes pruning much easier and healthier for your plants.
Sharpening Your Felco Pruner Blades for Peak Performance
A clean pruner is important, but a sharp pruner is essential. Dull blades tear plant tissue. This creates ragged cuts. Ragged cuts heal slowly. They also invite diseases. A sharp blade makes a clean, precise cut. This promotes faster healing. It also reduces stress on your plants. Felco pruners are known for their high-quality blades. Keeping them sharp maintains their superior performance.
Sharpening is not difficult. It requires the right tools and a little practice. You can use a Felco sharpening stone. These stones are designed for Felco blades. They have the correct angles. Always sharpen your pruners away from your body. Wear gloves for safety. A sharp blade is a safe blade. You need less force to cut. This reduces the risk of slips or accidents.
The Importance of a Sharp Edge
A sharp edge glides through branches. It makes a clean cut. This is like using a sharp knife in the kitchen. Dull blades crush and tear plant fibers. This leaves jagged edges. These damaged areas are prime entry points for pathogens. Plant wounds from dull blades are larger. They take longer to seal over. This puts the plant at risk.
Think about the health of your plants. Clean, sharp cuts are less stressful. They promote vigorous growth. They also minimize the chance of disease. Regular sharpening also extends the life of your pruner blades. A dull blade requires more force. This puts stress on the blade itself. It can cause chipping or bending. Keeping the edge keen reduces this wear. It means your blades will last longer. This saves you money in the long run.
The Sharpening Process
- Gather Your Tools: You will need a Felco sharpening stone (or equivalent) and a clean cloth. You might also want a small container of water or honing oil, depending on your stone type.
- Clean the Blade: Before sharpening, ensure the blade is clean. Remove all sap, dirt, and rust. A dirty blade will not sharpen well. The grime will just rub into the stone.
- Find the Bevel Angle: Felco blades have a specific bevel angle. Hold the sharpening stone flat against this angle. It is usually around 25-30 degrees. The Felco stone often has guides to help you find this angle.
- Sharpen the Bevel: Start at the base of the blade. Move the stone along the bevel. Use firm, consistent strokes. Push the stone away from the cutting edge. Repeat this motion several times. Aim for 10-15 strokes initially. Maintain the correct angle throughout. You will see a fine burr form on the opposite side of the blade. This burr indicates you are removing metal correctly.
- Remove the Burr: Flip the blade over. Hold the stone flat against the back side. Use 1-2 light strokes. This removes the burr. Do not create a new bevel on this side. The goal is just to flatten the burr.
- Test Sharpness: Carefully test the blade. It should feel sharp. You can try cutting a piece of paper or a thin twig. A sharp blade will cut cleanly.
- Clean and Oil: After sharpening, wipe off any metal shavings. Then apply a thin layer of oil to the blade. This protects it from rust. This simple sharpening routine keeps your Felco pruners ready for any pruning task.
Lubricating and Protecting Your Felco Pruners
Cleaning and sharpening are critical steps. However, your Felco pruners are not fully maintained until they are lubricated. Lubrication is essential for any tool with moving parts. It ensures smooth operation. It also protects metal surfaces from wear and rust. Just as a well-oiled machine runs efficiently, so do well-lubricated pruners. This step completes your maintenance routine. It prepares your tools for storage or immediate use.
Neglecting lubrication causes problems. Friction increases between moving parts. This makes the pruners harder to open and close. It can also lead to premature wear of the pivot bolt and spring. Lubrication reduces this friction. It forms a protective barrier. This barrier repels moisture. This prevents rust from forming. Proper lubrication extends the life of your Felco pruners. It ensures they feel like new with every use.
Selecting the Right Lubricant
Choosing the correct lubricant is important. Do not use heavy greases or thick oils. These can attract dirt and grime. They also make the pruners feel sluggish. Light machine oil is ideal for pruners. Examples include 3-in-1 oil, sewing machine oil, or specialized tool oils. Many garden tool brands offer their own lubricants. These are formulated for tool mechanisms.
Mineral oil is also a good, non-toxic option. It is safe for blades that touch plants. Avoid WD-40 for long-term lubrication. It is primarily a penetrating oil. It is good for loosening rusty parts. But it evaporates quickly. It does not provide lasting lubrication. Silicone sprays can be an option. Ensure they are designed for metal-to-metal contact. The best choice is a light, non-gumming oil. It should provide smooth movement without collecting excessive dirt.
Application and Storage
After cleaning and sharpening, apply the lubricant.
- Open the Pruners: Fully open your pruners. This exposes the pivot point and spring.
- Apply Oil: Put a few drops of oil on the pivot bolt. Apply it to the spring mechanism. Also, put a thin film on both sides of the cutting blade. This is especially important if you live in a humid climate. You can also apply a tiny bit to the locking mechanism.
- Work the Oil In: Open and close the pruners several times. This helps the oil penetrate the moving parts. You should feel the action become smoother.
- Wipe Excess: Use a clean rag to wipe off any excess oil. Too much oil attracts dust and debris. A thin, even coating is all you need. You might find general tips for handling oil in articles like how to clean oil from concrete, though that’s for spills, it highlights the nature of oil.
Proper storage protects your freshly cleaned and lubricated pruners. Store them in a dry place. A shed, garage, or toolbox is suitable. Avoid leaving them outside. Do not store them in direct contact with damp soil or concrete. Hang them up if possible. This prevents them from touching potentially wet surfaces. Some gardeners use a tool roll or sheath. This protects the blades. It also keeps them from scratching other tools. These simple steps ensure your Felco pruners remain in top condition. They will be ready for your next gardening adventure.
Common Mistakes to Avoid When Cleaning Felco Pruners
Caring for your Felco pruners is straightforward. Yet, some common errors can harm your tools. Avoiding these mistakes ensures your pruners stay in excellent condition. It helps them perform well for many years. Knowing what not to do is as important as knowing what to do. Let’s look at pitfalls to steer clear of.
The Perils of Neglect
The biggest mistake is not cleaning your pruners at all. Or cleaning them too infrequently. Sap hardens quickly. Dirt and plant debris become caked on. This makes them much harder to remove later. Neglect allows rust to set in. It also permits plant diseases to spread. A quick wipe down after each use prevents major issues. Make it a habit. It takes only a few minutes. This small effort saves you significant time and trouble later. You would not leave your dishes dirty for weeks. Treat your tools with similar respect.
Another form of neglect is skipping lubrication. Clean blades can still seize up. They can still get rusty if not protected. Lubrication forms a barrier. It keeps moisture out. It ensures smooth action. Always follow cleaning with lubrication. This completes the protective cycle. Without it, your cleaning efforts are only half effective.
Avoiding Abrasive Damage
Using overly abrasive materials can damage your blades. Steel wool that is too coarse can scratch the fine edge. Harsh sandpaper can remove too much metal. It can also create an uneven edge. Stick to fine-grit steel wool, rust erasers, or Felco’s specialized sharpening stone. These are designed to be gentle on high-quality steel. Never use a grinding wheel or power sander. These generate too much heat. They can ruin the temper of the blade. This makes the blade soft and unable to hold an edge.
When scrubbing, avoid excessive force. Let the cleaning solution do most of the work. Gentle, consistent scrubbing is more effective. It is also safer for your tools. Harsh chemicals can also be abrasive. Bleach is corrosive. Always dilute it properly. Rinse it off completely. These precautions protect the integrity of your Felco pruners.
Improper Drying Dangers
Not drying your pruners thoroughly is a major error. Water is the primary cause of rust. Even a tiny bit of moisture can start corrosion. After cleaning, wipe every part of the pruner dry. Pay extra attention to the pivot bolt. Water can collect in the narrow spaces. Use a dry cloth. Air dry for a short period in a warm, well-ventilated area.
Never store your pruners in a damp environment. Do not leave them outside overnight. Moisture from dew or rain will quickly cause rust. Do not store them directly on concrete floors. Concrete can draw moisture. Always ensure your tools are bone dry before putting them away. This simple step saves your pruners from unsightly and damaging rust. It ensures they are ready for action when you next need them.
Troubleshooting Common Felco Pruner Problems
Even with regular cleaning, you might encounter issues. Sometimes, stubborn rust appears. Or the pruners might feel stiff despite lubrication. Knowing how to troubleshoot these common problems saves you money. It also keeps your tools working at their best. Most issues have simple solutions. We will cover a few frequent challenges and how to fix them.
- Felco Pruners
- Pruner Cleaning
- Garden Tool Maintenance
- Sharpening Pruners
- Rust Prevention

Todd Martin
Senior Writer
With over 15 years of experience in home renovation and design, I started HEG to share what I’ve learned with homeowners who want to create spaces that are both beautiful and functional. I’ve always believed in a hands-on approach, and over the years, I’ve picked up practical solutions that actually work. Through HEG, I aim to make home improvement more approachable, sharing real tips that help you create a home you truly love.