· Todd Martin · Tool Maintenance · 19 min read
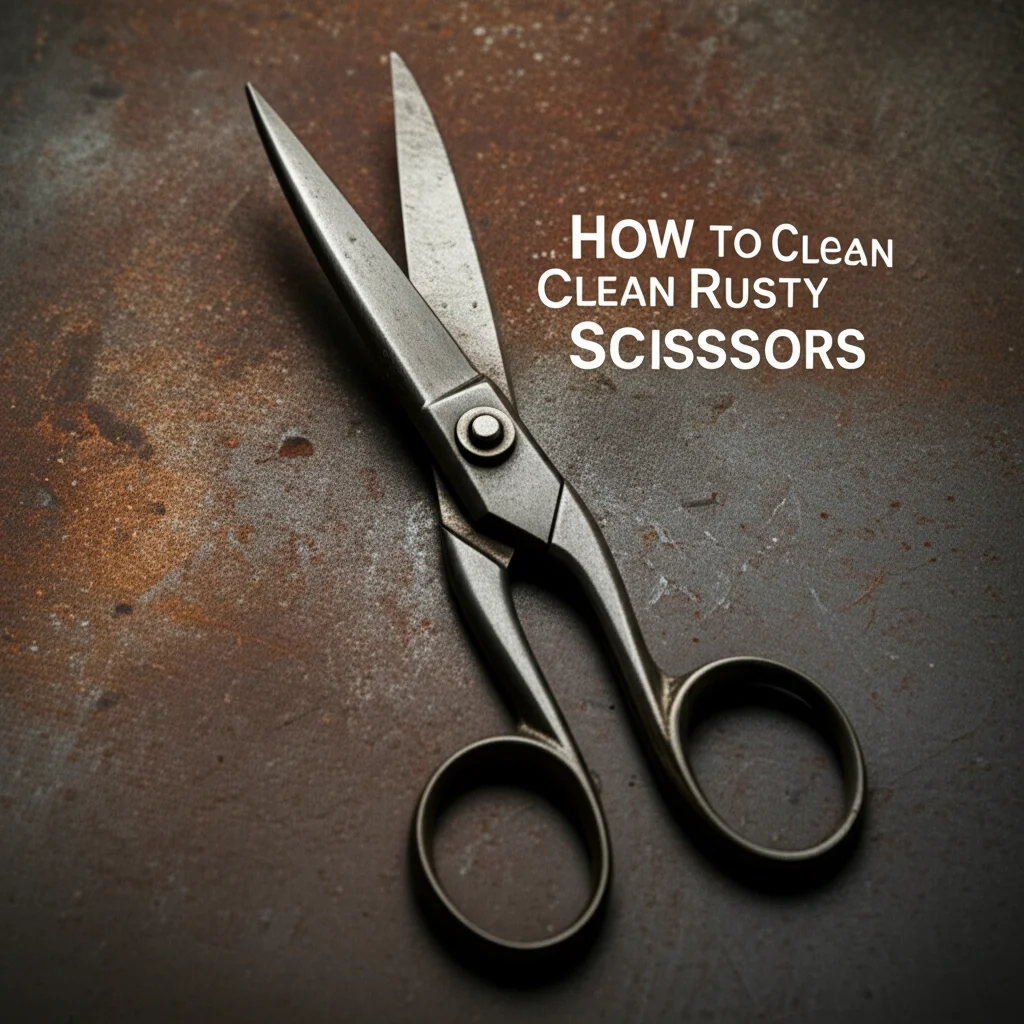
How To Clean Rusted Tools
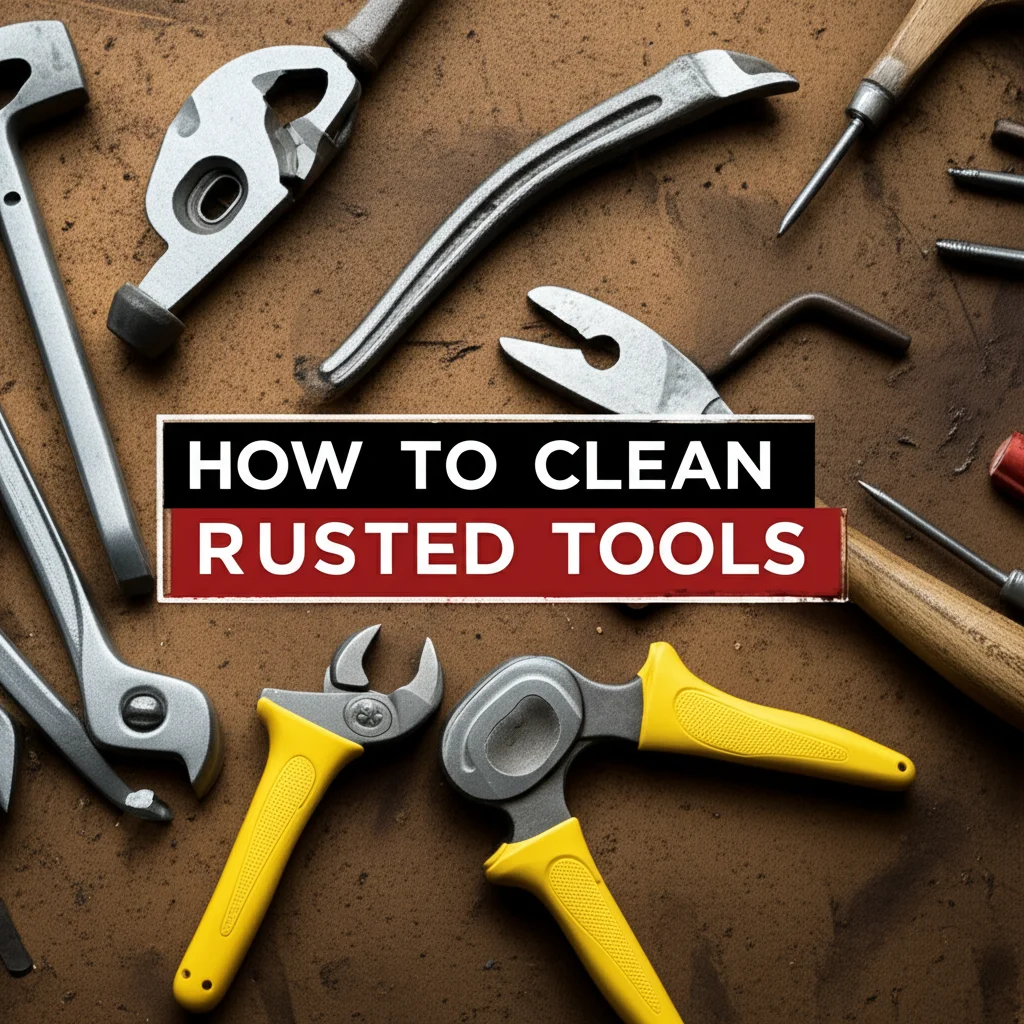
How To Clean Rusted Tools
Imagine reaching for your favorite wrench, only to find it covered in a reddish-brown flaky coating. Rust on tools is a common problem, especially for those stored in humid environments or forgotten in a shed. This corrosion not only looks bad but also weakens tools and reduces their effectiveness. Ignoring rust can lead to permanent damage, making your valuable equipment unusable. Learning how to clean rusted tools keeps them sharp, functional, and ready for your next project.
I know how frustrating it is to have a project grind to a halt because a rusted tool jams or breaks. I have faced this many times. This guide will walk you through various proven methods to remove rust, from simple household remedies to more specialized techniques. We will cover safety precautions, necessary supplies, and steps to restore your tools to their former glory. Finally, I will share tips to prevent rust from returning, ensuring your tools last longer.
Takeaway
- Assess Rust Severity: Determine if rust is light surface corrosion or deep pitting before starting.
- Choose Method Wisely: Select natural, chemical, or abrasive techniques based on tool type and rust level.
- Prioritize Safety: Wear protective gear for all rust removal processes.
- Thoroughly Clean: Remove all rust, then clean off residue properly.
- Protect After Cleaning: Oil and store tools correctly to prevent new rust.
To clean rusted tools, you must first assess the rust’s severity. Then, choose an appropriate method, like soaking in vinegar for light rust or using abrasive tools for heavy corrosion. Always wear protective gear, thoroughly clean the tool after rust removal, and apply a rust preventative like oil before proper storage.
Understanding Rust and Its Impact on Your Tools
Rust, scientifically known as iron oxide, forms when iron or its alloys, like steel, react with oxygen and moisture. This chemical reaction occurs frequently in damp conditions. Water or high humidity provides the necessary moisture, and air contains the oxygen. Tools left exposed to the elements, or stored in humid basements or garages, become prime targets for rust formation.
The presence of rust significantly degrades your tools. It causes metal to become brittle and weaken over time. A rusted wrench might slip more easily, and a rusted saw blade loses its sharpness. Rust also creates friction, making moving parts stiff and difficult to operate. For precision tools, even light rust can alter their calibration and accuracy. Tools lose their efficiency and lifespan when rust takes hold.
Different types of tools suffer from rust in unique ways. Hand tools, like screwdrivers or pliers, can become uncomfortable to grip as rust forms on handles and jaws. Garden tools, often exposed to soil and water, rust quickly, making digging or pruning harder. How to clean garden tools can help you with those specific items. Power tools can experience seized motors or damaged electronic components if rust spreads internally. Understanding these impacts helps you prioritize tool maintenance. Removing rust preserves your investment and ensures tools perform their best.
Essential Safety Precautions for Rust Removal
Safety comes first when dealing with rust removal. Some methods involve corrosive chemicals or create fine dust. Protecting yourself from these hazards prevents injury. Always read product labels for specific safety instructions.
Wear appropriate personal protective equipment (PPE) before you begin. This includes safety glasses to shield your eyes from splashes and flying debris. Gloves protect your hands from chemicals and sharp tool edges. Consider a dust mask or respirator, especially when using abrasive methods that create metal dust. This dust can irritate your lungs if inhaled.
Good ventilation is also crucial. Work in a well-ventilated area, such as outdoors or in a garage with open doors. If you work indoors, use fans to circulate air. Chemical fumes can build up and cause respiratory problems. Avoid working in confined spaces without proper airflow. Dispose of any chemical waste responsibly. Do not pour strong chemicals down drains. Follow local regulations for hazardous waste disposal. Prioritizing safety makes the rust removal process much smoother.
Gathering Your Rust Removal Arsenal
Before you tackle rusted tools, gather all necessary supplies. Having everything ready saves time and ensures a smooth process. You likely already have some effective items at home. Other products might require a quick trip to the store.
For natural, DIY methods, you will need white vinegar, baking soda, lemon juice, or even a potato. Salt often accompanies these natural cleaners. You will also need abrasive materials like steel wool, wire brushes, or sandpaper (various grits). Old toothbrushes or stiff-bristled brushes help with scrubbing. A clean cloth or rag is essential for wiping and drying.
For more aggressive rust, consider specialized commercial rust removers. These products contain acids or chelating agents designed to dissolve rust quickly. Look for products specifically labeled for tools or metal. Remember, some commercial removers require neutralization after use. You might also need a plastic container or bucket for soaking tools. Finally, a penetrating oil or mineral oil is vital for post-cleaning lubrication. This prevents immediate re-rusting. Gathering your supplies ahead of time ensures you have the right tools for the job.
DIY Methods: Harnessing Household Cleaners for Rust Removal
Many common household items contain properties that effectively break down rust. These methods are often gentler than harsh chemicals and are great for light to moderate rust. They are also budget-friendly and readily available. I have personally used many of these with great success on my own tools.
White Vinegar Soak
White vinegar is an excellent rust remover due to its acetic acid content. Acetic acid reacts with rust, causing it to dissolve. This method works well for smaller tools or parts that can be fully submerged. I find this method very effective for general how to clean old tools projects as well.
- Submerge Tools: Place rusted tools in a container. Pour enough white vinegar to fully cover them. For very large tools, you can soak a rag in vinegar and wrap it around the rusted area.
- Soak Time: Allow tools to soak for several hours, or even overnight for heavily rusted items. Check tools periodically.
- Scrub and Rinse: Remove tools from the vinegar. Use a wire brush, steel wool, or an old toothbrush to scrub away the loosened rust. You might need to scrub vigorously. Rinse tools thoroughly with water to remove all vinegar and rust particles.
- Dry Completely: Dry tools immediately and completely to prevent new rust. A hairdryer or air compressor speeds up this process.
Baking Soda Paste
Baking soda offers a mild abrasive and alkaline solution. It is good for light rust or when you cannot submerge the tool. This method is safe for most metal surfaces.
- Make a Paste: Mix baking soda with a small amount of water to create a thick paste. The consistency should be like toothpaste.
- Apply Paste: Apply the paste generously to the rusted areas of the tool. Ensure good coverage over the rust spots.
- Wait and Scrub: Let the paste sit for an hour or two. Then, use a brush or steel wool to scrub the paste and rust away. The mild abrasive action helps lift the rust.
- Rinse and Dry: Rinse the tool thoroughly with water. Dry it completely to prevent immediate re-rusting.
Lemon Juice and Salt
Lemon juice contains citric acid, another natural rust dissolver. Combining it with salt creates a mild abrasive that enhances rust removal. This method is good for smaller rust spots.
- Sprinkle Salt: Sprinkle a generous amount of salt onto the rusted area.
- Add Lemon Juice: Squeeze fresh lemon juice over the salt. Enough juice should create a paste-like consistency with the salt.
- Let Sit: Allow the mixture to sit on the rust for a few hours. The acid reacts with the rust.
- Scrub and Rinse: Use a brush or crumpled aluminum foil to scrub the rust away. Aluminum foil acts as a gentle abrasive. Rinse thoroughly with water and dry promptly.
Potato and Dish Soap
This method uses oxalic acid naturally found in potatoes. The dish soap helps to break down grease and allows the acid to work better. It is a surprisingly effective and very gentle method.
- Cut Potato: Cut a potato in half.
- Apply Soap: Apply a thin layer of dish soap to the cut surface of the potato.
- Rub Tool: Rub the cut potato firmly onto the rusted area of the tool. The potato’s oxalic acid combined with the soap and the potato’s mild abrasive texture helps remove rust.
- Let Sit (Optional): For stubborn spots, stick the rusted tool into the potato and leave it for a few hours or overnight.
- Clean and Dry: Remove the potato, then scrub any remaining rust with a brush. Rinse and dry the tool thoroughly.
These DIY options prove that you do not always need harsh chemicals to get rid of rust. They are effective and environmentally friendly choices for many rusted tool scenarios. Remember to always dry your tools completely after any of these wet treatments.
Chemical and Abrasive Approaches for Stubborn Rust
When DIY methods fall short, or you face heavy, deeply pitted rust, chemical and abrasive solutions offer stronger alternatives. These methods require more caution but can effectively restore heavily corroded tools.
Commercial Rust Removers
Specialized commercial rust removers are formulated to dissolve rust quickly. They often contain stronger acids like phosphoric acid or chelating agents that bind to iron oxides. I use these for my most challenging rust problems.
- Read Instructions: Always follow the manufacturer’s instructions precisely. Different products have varying application methods and safety warnings.
- Apply Product: Apply the rust remover to the rusted areas. Some products are sprays, others are gels, and some require soaking.
- Allow Dwell Time: Let the product sit for the recommended time. This allows the chemicals to work on the rust. Do not exceed the suggested time, as some chemicals can damage the underlying metal with prolonged exposure.
- Scrub and Rinse: Use a stiff brush or non-abrasive pad to scrub away the softened rust. Rinse the tool thoroughly with water, often neutralizing with an alkaline solution if recommended by the product.
- Dry Immediately: Dry the tool completely to prevent flash rusting.
Abrasive Methods: Mechanical Rust Removal
Abrasive methods physically grind or scrape away the rust. These are powerful for heavy rust but can also remove some parent metal, so use them carefully.
- Wire Brushes and Wheels: For stubborn surface rust, a wire brush (manual or attached to a drill) is very effective. It scrapes off loose rust flakes. A wire wheel on a bench grinder or angle grinder makes quick work of large rusted areas. Wear heavy-duty gloves and eye protection. These tools create metal dust.
- Sandpaper: Start with a coarse grit (e.g., 60-grit) for heavy rust, then progress to finer grits (e.g., 220-grit or higher) to smooth the surface. Wet/dry sandpaper can be used with water or oil for lubrication, reducing dust and improving finish. Wrap sandpaper around a block for even pressure.
- Grinding Wheels and Flap Discs: For very heavy rust on thick metal, grinding wheels or flap discs on an angle grinder remove material rapidly. This method should be used only on robust tools where material removal is acceptable. Always use extreme caution and proper PPE.
- Dremel or Rotary Tools: For small, intricate areas, a rotary tool with various abrasive bits (wire brush, grinding stone) can reach where larger tools cannot. These are perfect for detail work on smaller, delicate tools.
- Electrolysis (Advanced Method): This method uses electricity to convert rust back into iron. It requires a battery charger, water, washing soda (sodium carbonate), and a sacrificial piece of steel. The rusted tool acts as the cathode, and the sacrificial steel as the anode. This is a slower but very effective method that does not remove any base metal. It requires careful setup and understanding of electrical principles. You can find many guides online for how to clean stainless steel and other metals using this method.
When using abrasive methods, work slowly and check your progress often. The goal is to remove rust, not the tool’s essential shape or integrity. Always clean off any dust or debris thoroughly after abrasion.
Rust Removal Methods for Specific Tool Types
Different tools require specific considerations for rust removal. The approach you take depends on the material, size, and function of the tool. Applying the wrong method can damage the tool.
Hand Tools (Wrenches, Pliers, Screwdrivers)
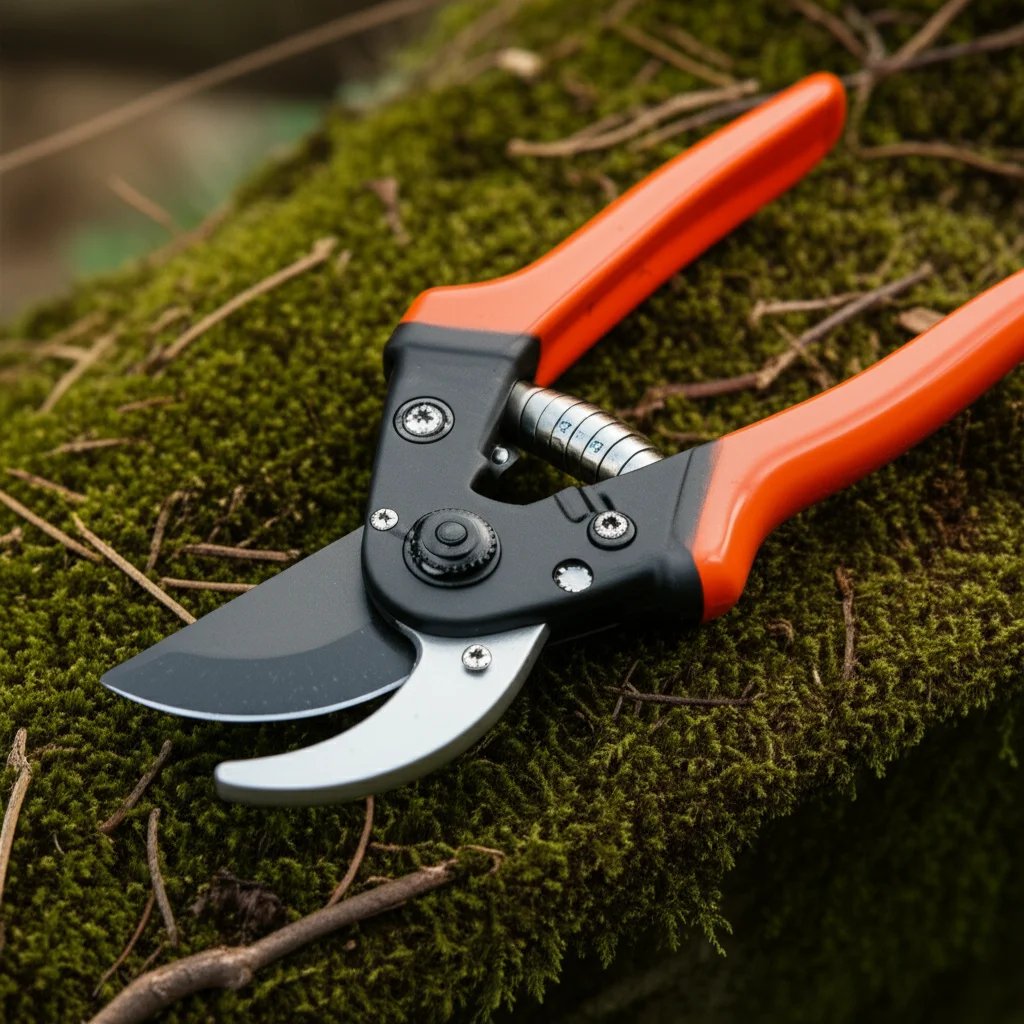
These common tools are often solid steel. They can handle most rust removal methods. Soaking in vinegar or using commercial rust removers works well. For stubborn spots, a wire brush or sandpaper is effective. After rust removal, lubricate moving parts, like plier joints, with a penetrating oil. Wipe down handles to ensure a clean grip.
Garden Tools (Shovels, Rakes, Pruners)
Garden tools frequently encounter moisture and dirt, making them prone to rust. Clay and soil contribute to the rust problem. For large surfaces like shovel blades, a wire brush or even a pressure washer can remove loose rust and dirt. Soaking pruner blades in vinegar works wonders for detail. Always clean off dirt before attempting rust removal. Afterwards, sharpen blades and oil wooden handles to prevent cracking. You can find more targeted advice on how to clean garden tools.
Cast Iron Tools (Anvils, Vises)
Cast iron is durable but prone to deep rust. Abrasive methods like wire wheels are effective for large cast iron surfaces. Electrolysis is also a superior method for cast iron as it only removes rust without damaging the base metal. After cleaning, cast iron needs seasoning or a protective coating, similar to cast iron cookware, to prevent re-rusting. Apply a thin layer of oil (like linseed or mineral oil) and bake lightly if possible.
Precision Tools (Measuring Instruments, Calipers)
These tools require a gentle touch to maintain accuracy. Abrasive methods are generally unsuitable as they can alter dimensions. Use chemical rust removers designed for delicate instruments, or very light applications of baking soda paste. Fine steel wool (0000 grade) or very fine sandpaper can be used with extreme care for small spots. Lubricate all moving parts with a light instrument oil after cleaning. Protection is key for these items.
Tools with Wooden Handles
When cleaning tools with wooden handles, avoid prolonged soaking that can damage the wood. Wrap the metal parts in vinegar-soaked rags or apply paste remedies. Keep the wooden handle dry. After cleaning the metal, clean and oil the wooden handle with linseed oil or similar wood treatment. This preserves the wood and prevents it from drying out or cracking.
Power Tool Components (Drill Bits, Saw Blades)
For detachable power tool components, apply similar methods as hand tools. Drill bits can be soaked in vinegar. Saw blades might benefit from a commercial rust remover or gentle abrasive cleaning. Avoid getting liquids into the motor housing or electrical components of the power tool itself. If internal components are rusted, professional service is often required. Always ensure components are completely dry before reassembling.
Restoring and Protecting Your Tools After Cleaning
Removing rust is only half the battle. To ensure your tools remain functional and rust-free, proper restoration and protection are essential. This final step is crucial for their longevity.
Lubrication
After cleaning, all tools need proper lubrication. This prevents immediate re-rusting and ensures smooth operation. For moving parts, like hinges on pliers or gears in a drill, apply a light coat of machine oil or penetrating oil. This reduces friction and extends the tool’s life. For general tool surfaces, a thin layer of mineral oil or WD-40 acts as a protective barrier. Wipe off excess oil to avoid attracting dirt. This simple step forms a shield against moisture and air.
Sharpening
Many tools lose their edge due to rust or general use. Rust can create pits and unevenness on cutting surfaces. After rust removal, sharpen blades on knives, chisels, axes, and even garden shears. A sharp tool performs better and is safer to use. Use sharpening stones, files, or specialized sharpening tools. Always follow the correct sharpening angle for each tool. A well-sharpened edge makes work easier and more efficient.
Applying Protective Coatings
Beyond oiling, consider applying a more durable protective coating for long-term rust prevention. Clear lacquer or polyurethane can seal metal surfaces against moisture. For tools exposed to harsh conditions, a rust-inhibiting paint offers superior protection. Ensure the tool is completely dry and clean before applying any coating. These coatings create a physical barrier that stops oxygen and moisture from reaching the metal.
Proper Storage
The way you store your tools significantly impacts rust prevention. Humidity is a tool’s enemy. Store tools in a dry environment. A toolbox or cabinet provides good protection. Consider adding desiccant packets (like silica gel) to toolboxes or drawers to absorb excess moisture. Keep tools off concrete floors, as concrete can wick moisture. Hang tools on walls or store them on shelves to improve air circulation. A climate-controlled workshop is ideal, but proper storage in any space greatly reduces rust risk. Consistent airflow around tools helps too.
Maintaining Tools to Prevent Future Rust
Preventing rust is easier than removing it. Adopting a regular tool maintenance routine saves time and preserves your investment. Proactive care ensures your tools stay in top condition.
Regular Cleaning Habits
Make cleaning a habit after every use. Do not put a dirty tool away. Wipe down tools with a clean rag to remove dirt, grime, and moisture. For garden tools, brush off soil and rinse them if necessary. Ensure tools are completely dry before storage. Even a small amount of moisture can initiate rust. This quick wipe-down prevents many rust problems before they start.
Oiling and Waxing
Regularly apply a thin coat of oil to metal surfaces. Mineral oil, 3-in-1 oil, or specialized tool oil works well. For tools exposed to the elements, like garden tools or those stored in a shed, a wax coating (like paste wax or car wax) provides a more durable barrier. Apply wax, let it dry, then buff it. This creates a hard, protective layer that repels water. Oiling and waxing create a sacrificial layer that rust attacks first.
Climate Control and Desiccants
Control the environment where you store tools. High humidity is the primary cause of rust. Use a dehumidifier in your workshop or garage if humidity is an issue. Store tools in sealed containers or toolboxes. Place desiccant packets (silica gel, or even chalk) inside toolboxes to absorb moisture. Replace or recharge desiccants periodically. Maintaining a dry environment is critical for long-term rust prevention.
Rust-Inhibiting Storage Solutions
Invest in rust-inhibiting storage solutions. Some toolboxes or drawer liners contain VCI (Vapor Corrosion Inhibitor) technology. These emit a vapor that creates a protective molecular layer on metal surfaces, preventing rust. You can also buy VCI-impregnated paper or bags to wrap individual tools. These solutions offer an extra layer of defense, especially for valuable or infrequently used tools. They actively protect the metal even in humid conditions.
Immediate Action on Surface Rust
Do not let small rust spots grow. If you notice any developing surface rust, address it immediately. A quick scrub with steel wool or a fine abrasive can remove it before it becomes a major problem. Early intervention saves a lot of effort later. This prevents the rust from spreading and deeply pitting the metal. Catching rust early maintains the tool’s integrity. Consistent maintenance ensures your tools are always ready for work.
FAQ Section
Q1: Can I use Coca-Cola to clean rusted tools?
Yes, Coca-Cola contains phosphoric acid, which can help dissolve light rust. Submerge small tools in Coca-Cola for several hours or overnight. Then, scrub the loosened rust with a wire brush or steel wool. Rinse the tool thoroughly with water and dry it completely afterward to prevent new rust.
Q2: Is it safe to use strong acids like muriatic acid for rust removal?
Muriatic acid is extremely corrosive and dangerous. It can cause severe burns and damage tools if not used properly. I do not recommend it for general home use. Stick to safer alternatives like vinegar, oxalic acid-based removers, or commercial rust removers with clearer instructions. Always prioritize safety.
Q3: How do I remove rust from intricate tool parts?
For intricate parts, use methods that allow the rust remover to penetrate small spaces. Soaking in vinegar or a commercial liquid rust remover works well. A rotary tool with a small wire brush attachment or cotton swabs dipped in rust remover can reach tight areas. Use a soft brush for scrubbing.
Q4: How long does it take to clean rusted tools with vinegar?
The time varies based on rust severity. Light surface rust might loosen in a few hours. Heavily rusted tools may require an overnight soak, or even 24-48 hours. Check the tools periodically. If the rust does not easily scrub off, extend the soaking time.
Q5: Can rust removal damage my tools?
Yes, aggressive abrasive methods can remove too much metal, altering tool dimensions or weakening them. Strong chemicals, if not used correctly, can also corrode the base metal. Always choose the least aggressive method first and proceed with caution. Proper drying and lubrication are crucial post-cleaning.
Q6: How often should I oil my tools to prevent rust?
The frequency depends on usage and storage conditions. For tools used regularly or stored in humid environments, oil them monthly or after every few uses. Tools stored in dry, climate-controlled spaces may only need oiling every few months. A thin coat after each use is ideal for highly susceptible tools.
Conclusion
Rust can silently ruin your valuable tools, but armed with the right knowledge, you can effectively combat it. We have explored a range of options for how to clean rusted tools, from simple household remedies like vinegar and baking soda to more robust chemical and abrasive techniques. Each method offers unique benefits, allowing you to choose the best approach for the specific type and severity of rust you face. Remember, the key is to assess the problem, select your cleaning agent wisely, and always prioritize your safety.
Restoring your tools brings them back to life. It ensures they remain functional, efficient, and ready for whatever project you tackle next. Beyond cleaning, maintaining your tools is paramount. Implement habits like regular cleaning, oiling, and proper storage. These simple steps prevent future rust from forming, saving you time and money in the long run. By following these guidelines, you can enjoy a collection of well-maintained, rust-free tools for years to come. Start cleaning your rusted tools today and preserve your investment!
- rust removal
- tool restoration
- rust prevention

Todd Martin
Senior Writer
With over 15 years of experience in home renovation and design, I started HEG to share what I’ve learned with homeowners who want to create spaces that are both beautiful and functional. I’ve always believed in a hands-on approach, and over the years, I’ve picked up practical solutions that actually work. Through HEG, I aim to make home improvement more approachable, sharing real tips that help you create a home you truly love.