· Kianna Connelly · Kitchen Cleaning · 20 min read
How To Clean Bottom Of Oven
How to Clean Bottom of Oven: Your Complete Guide
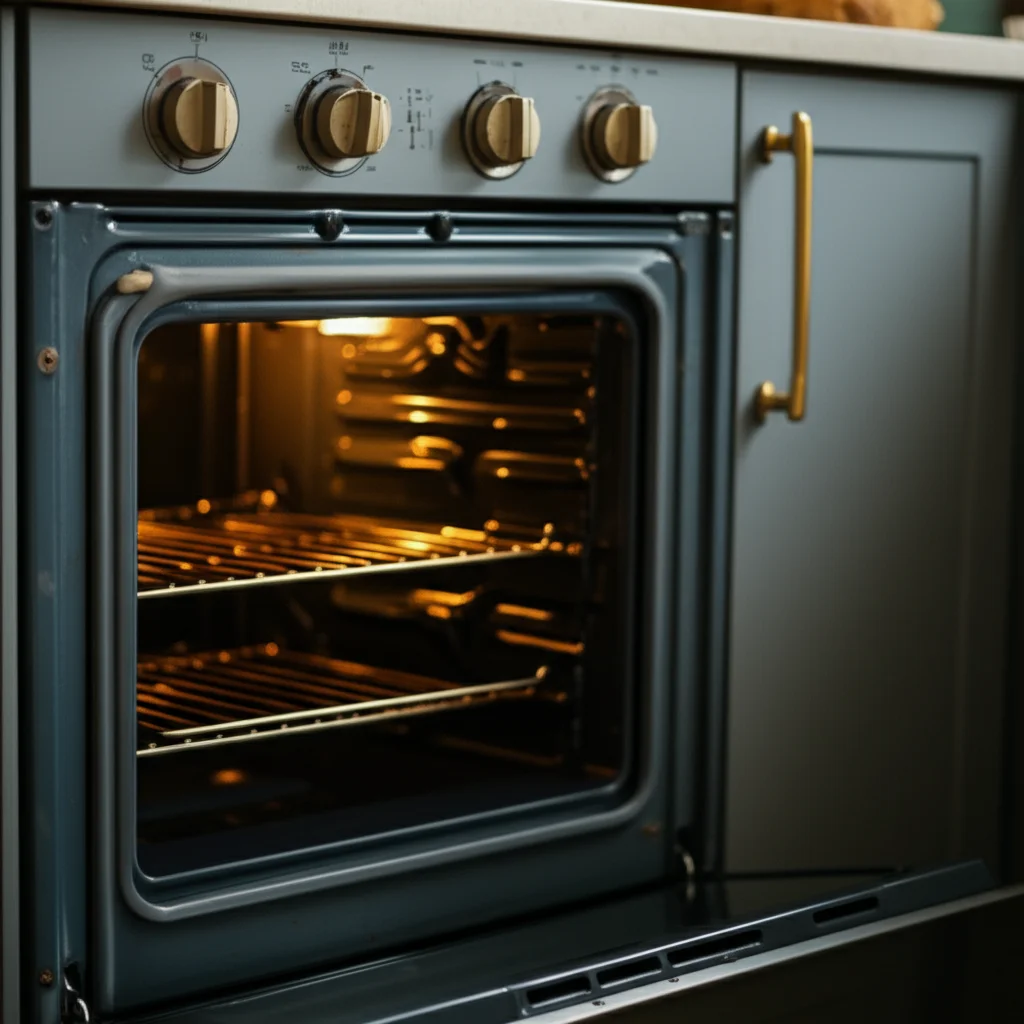
My oven is a workhorse in my kitchen. It bakes, roasts, and creates countless delicious meals for my family. But with all that hard work comes the inevitable: spills, splatters, and burnt-on messes that accumulate on the oven’s bottom. A dirty oven bottom not only looks unappetizing but also can affect food taste and even become a fire hazard. I know how frustrating it feels to see those stubborn stains, but cleaning the bottom of your oven does not have to be a dreaded chore.
This comprehensive guide will help you master how to clean the bottom of your oven efficiently. We will explore various effective methods, from natural solutions like baking soda and vinegar to more robust commercial cleaners. You will learn the best techniques for tackling common issues like burnt food, grease, and persistent stains. My goal is to make your oven cleaning experience simple and successful, leaving you with a sparkling clean appliance ready for its next culinary adventure.
Takeaway
- Prioritize Safety: Always unplug your oven and let it cool completely before starting any cleaning process.
- Remove Debris: Scrape away loose food particles and spills before applying any cleaning agents.
- Choose Your Method: Select between natural cleaners (baking soda, vinegar) for everyday grime or commercial products for tough, baked-on messes.
- Apply and Wait: Allow cleaning solutions sufficient dwell time to break down stains, typically 30 minutes to overnight.
- Wipe Thoroughly: Use damp cloths to remove residue, rinsing them frequently until the oven bottom is clean.
- Prevent Future Messes: Use oven liners, clean up spills quickly, and maintain a regular cleaning schedule to keep your oven bottom pristine.
Cleaning the bottom of your oven involves scraping loose debris, applying a suitable cleaning agent like a baking soda paste or commercial oven cleaner, allowing it to sit for adequate time, and then thoroughly wiping away the grime with damp cloths. Ensure the oven is cool and unplugged before you begin.
Essential Preparation Steps Before You Clean the Oven Bottom
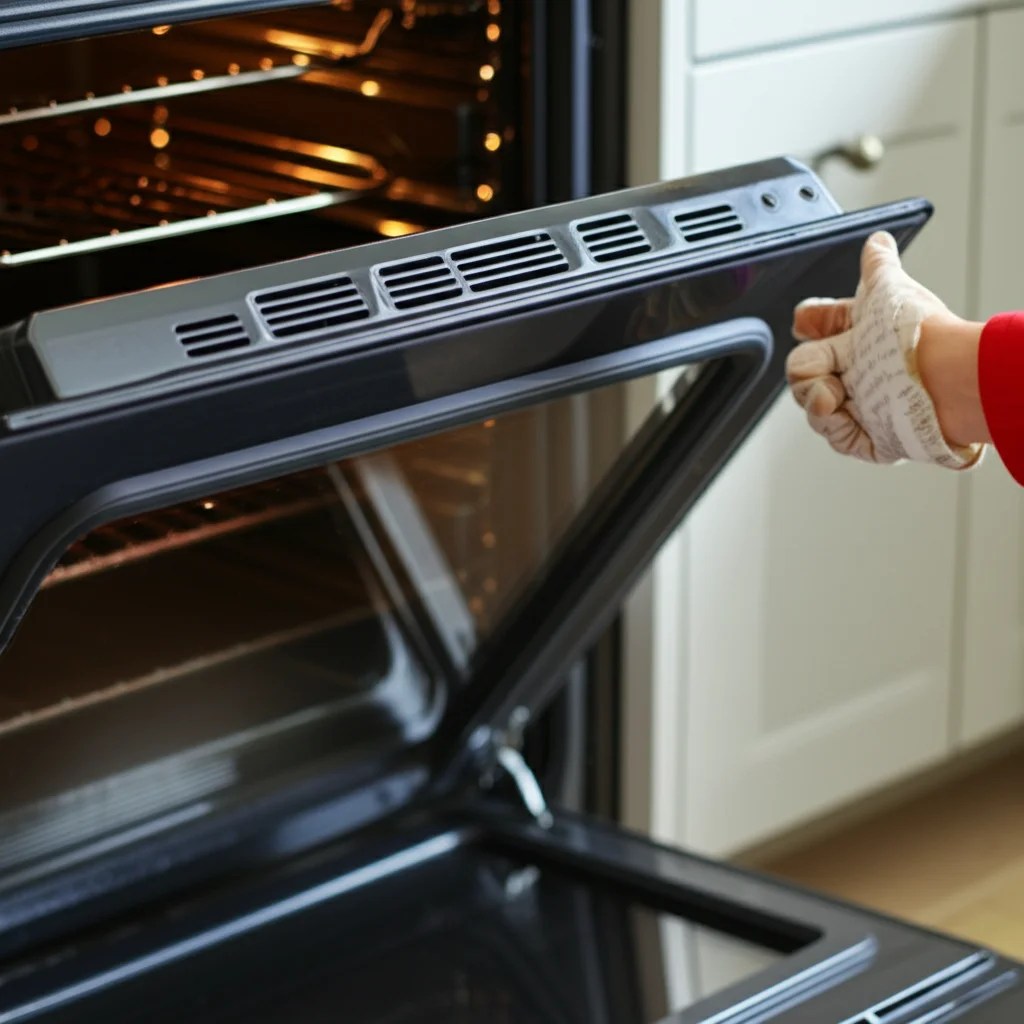
Before you begin any cleaning, proper preparation is important. Taking a few simple steps ensures your safety and makes the cleaning process much more effective. I always start by making sure the oven is completely cold. A hot oven is not only dangerous but also makes cleaning products less effective.
First, I unplug the oven from its power source. This removes any risk of accidental activation or electrical shock. Safety is always my top concern in the kitchen. Next, I remove everything from the oven interior. This includes all oven racks, baking sheets, and any other items stored inside.
After clearing the oven, I tackle the loose debris. A dry paper towel or a soft brush works well for this. I carefully sweep out any crumbs, charred food bits, or other loose particles. This step prevents small debris from turning into muddy messes once cleaning solutions are applied. Getting rid of these dry pieces helps the cleaning agent focus on the stuck-on grime. Taking these preparatory steps creates a clean slate, allowing your chosen cleaning method to work best on the actual baked-on stains.
Safety First: Power Down and Cool Down
Safety is the most important part of oven cleaning. Never attempt to clean a hot oven. High temperatures can cause burns and react unexpectedly with cleaning chemicals. I always make sure my oven is off and completely cool to the touch.
Unplugging the appliance is also a non-negotiable step. This prevents any accidental turning on of elements or lights during cleaning. Some ovens have a dedicated breaker you can flip. Always prioritize your personal safety before applying any cleaners or reaching into the oven.
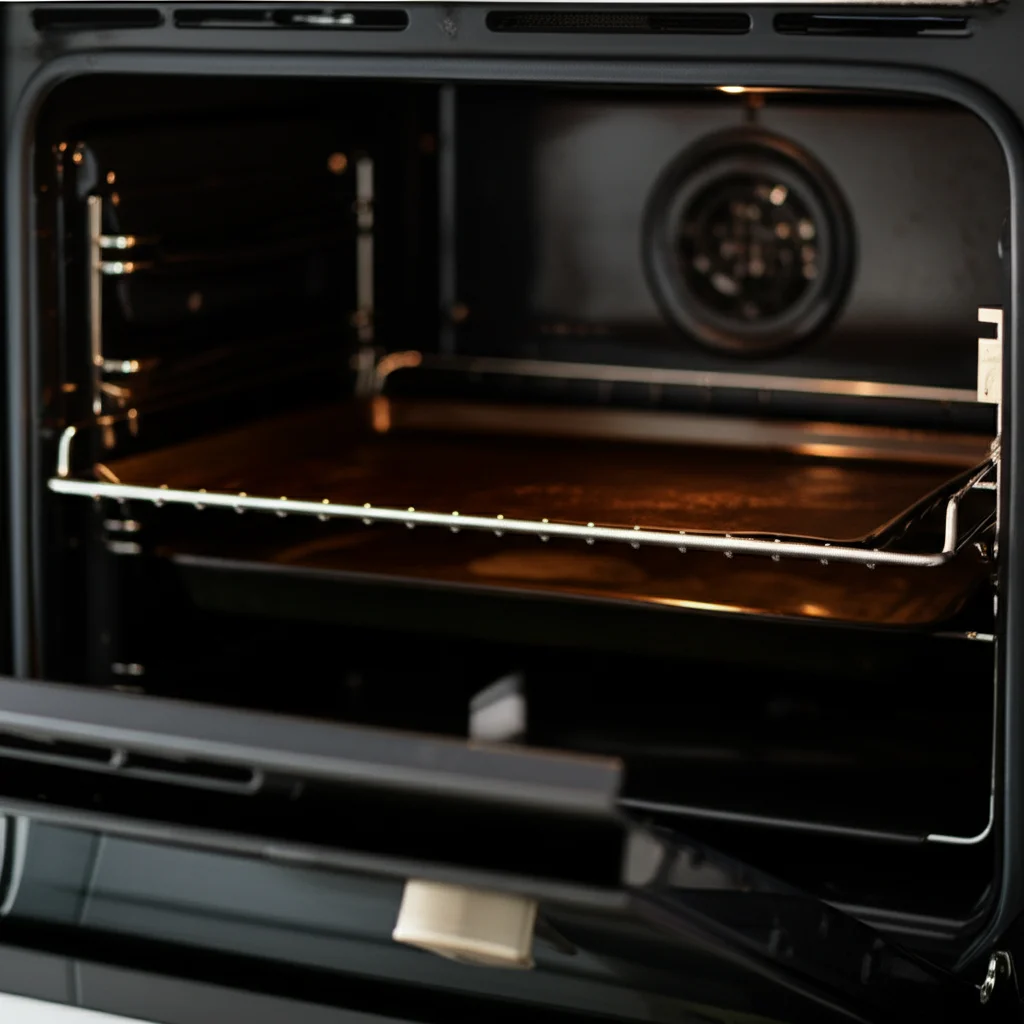
Removing Racks and Loose Debris from the Oven Bottom
Once the oven is safe, I begin clearing the way. Remove all oven racks from the interior. These can be cleaned separately, as they often have their own unique cleaning challenges. You can find excellent advice on cleaning oven racks in various ways, such as how to clean oven racks without a bathtub or even how to clean oven racks with aluminum foil.
After the racks are out, I sweep or vacuum out all loose crumbs, burnt bits, and food particles from the bottom of the oven. A small brush and dustpan work great. For very fine dust, a handheld vacuum can be useful. This step prevents new mud from forming when you add liquids.
Natural Solutions to Clean Oven Bottom: Baking Soda and Vinegar Method
Using natural cleaning agents is my preferred method for many household tasks, including how to clean the bottom of your oven. Baking soda and vinegar are powerful, non-toxic alternatives to harsh chemicals. This combination works wonders on grease and baked-on food. I find this method effective for regular cleaning and moderately soiled oven bottoms.
First, I create a thick paste using baking soda and a small amount of water. The consistency should be like toothpaste. I generously spread this paste over the entire bottom of the oven, paying extra attention to the heavily soiled areas. For stubborn spots, I make the paste a bit thicker and really press it onto the grime. The baking soda works by absorbing grease and lifting burnt food particles.
I let the baking soda paste sit for several hours, often overnight, for best results. The longer it sits, the more time it has to break down the grime. After the waiting period, I spray white vinegar directly onto the dried baking soda paste. This creates a fizzing reaction, which helps to loosen and lift the remaining stubborn bits. This natural approach is excellent for general clean-up and leaves a fresh scent. For more specific details on using this powerful duo, check out our guide on how to clean oven with baking soda.
Step-by-Step Guide for Baking Soda Paste
Creating and applying the baking soda paste is straightforward. I use a large bowl and mix about 1/2 cup of baking soda with 2-3 tablespoons of water. I slowly add more water, a teaspoon at a time, until I get a thick, spreadable paste. It should not be watery; it needs to cling to the surface.
I put on gloves to protect my hands. Then, I use a spoon or a rubber spatula to spread the paste evenly over the entire bottom surface of the oven. I ensure every greasy or burnt spot is covered. For vertical surfaces, I make the paste slightly thicker so it adheres better.
Vinegar Spray and Final Wipe Down
After the baking soda paste has had time to work (I usually let it sit for at least 4 hours, or overnight for really tough spots), it will be dry. Now, it is time for the vinegar. I fill a spray bottle with plain white vinegar. I generously spray the vinegar over all the dried baking soda paste. You will see a fizzing action; this is the acid in the vinegar reacting with the alkaline baking soda. This reaction helps to lift and loosen the baked-on grime.
Once the fizzing stops, I grab a damp cloth or sponge. I start wiping away the loosened grime and baking soda residue. It might take a few passes, rinsing the cloth frequently. For very stubborn spots, a non-scratch scrubber can help. I keep wiping until all traces of the baking soda and dirt are gone, leaving a clean oven bottom.
Tackling Tough Stains: Commercial Cleaners for Oven Bottom
Sometimes, natural methods are not enough for deeply embedded grime. For serious burnt-on spills and thick grease layers, commercial oven cleaners can be very effective. These products contain stronger chemicals designed to dissolve the toughest messes. When I face a truly challenging oven bottom, I turn to these specialized cleaners.
It is very important to use commercial cleaners safely. Always read the product instructions carefully before applying. Most require good ventilation, so I open windows and turn on the kitchen fan. I also wear rubber gloves and sometimes even a mask to avoid inhaling fumes. I never mix commercial cleaners with other products, especially not with natural cleaners like vinegar, as this can create dangerous gases.
These cleaners work by breaking down the burnt-on food and grease through a chemical reaction. They usually require a specific dwell time, which can range from 30 minutes to several hours, depending on the product and the severity of the mess. After the waiting period, the grime is much easier to wipe away, often transforming stubborn black spots into a soft, wipeable residue. While strong, commercial cleaners offer a powerful solution for those extremely dirty oven bottoms that natural methods cannot conquer.
Types of Commercial Oven Cleaners and Their Use
Commercial oven cleaners come in several forms. Aerosol sprays are common; they provide even coverage. There are also gel or liquid formulas that can be brushed on. Some products are “fume-free,” which means they have a less strong odor, but I still recommend ventilation.
I always test a small, hidden area first, if possible, to ensure it does not damage the oven finish. When applying, I spray or spread the cleaner evenly over the dirty bottom surface. I make sure to cover all the stained areas. I avoid spraying directly onto the heating elements or any open vents.
Safety Precautions and Ventilation
Working with strong chemicals requires caution. I always wear heavy-duty rubber gloves to protect my skin. If the cleaner is an aerosol, I also wear safety glasses to protect my eyes. Good ventilation is vital. I open all nearby windows and doors to create a cross-breeze. I may even use a fan to direct fumes outside.
I never stay in the kitchen for extended periods while the cleaner is working. I let the product do its job in a well-ventilated area. After the recommended dwell time, I wipe the oven bottom thoroughly with damp cloths, rinsing the cloth many times. I make sure to remove all chemical residue. This ensures no fumes or chemicals remain when I use the oven next.
Special Cases: Cleaning Burnt Spills and Melted Items from Oven Bottom
Sometimes, ordinary cleaning methods are not enough. Burnt spills and melted items present unique challenges when you clean the bottom of your oven. Whether it is a sugary sauce that caramelized into a rock-hard black blob or plastic that accidentally melted onto the surface, these require specific approaches. I have faced these frustrating situations myself, and I know how stubborn these messes can be.
For heavily burnt-on food, the key is often extended soaking or repeated application of cleaning agents. The crust forms a barrier, so breaking it down takes time. Melted plastic or other foreign objects require a very different approach, often involving heat to soften them before removal. You must be careful not to damage the oven surface during these specific cleaning tasks. Knowing the right technique for each type of unusual spill can save you a lot of time and frustration, helping you restore your oven bottom to its clean state. This section offers targeted advice for these particularly difficult cleaning jobs.
Removing Heavily Burnt-On Food
Heavily burnt-on food often appears as a thick, black crust. For this, I find that a long soak with a baking soda paste is very effective. I apply a very thick layer of baking soda paste, adding just enough water to make it spreadable but not runny. I ensure it completely covers the burnt area.
I let this sit for at least 12 hours, or even 24 hours if the burn is very severe. The extended contact time allows the baking soda to penetrate and soften the carbonized food. After soaking, I use a plastic scraper or an old credit card to gently scrape away the softened grime. Avoid metal scrapers, as they can scratch the oven enamel. Then, I wipe clean with damp cloths.
Dealing with Melted Plastic or Other Foreign Objects
Melted plastic is a tricky one. The best way to remove it is often to re-melt it slightly so it becomes pliable. I turn the oven on to its lowest setting, usually around 150-200°F (65-93°C), for 5-10 minutes. I watch it closely. The goal is to soften the plastic, not burn it further.
Once soft, I turn the oven off and carefully scrape the plastic off using a wooden or plastic spatula. Never use metal, as it can damage the oven. As soon as it cools, it hardens again, so I work quickly. For detailed instructions on removing such unfortunate spills, refer to our articles on how to clean burnt plastic from oven or how to clean melted plastic from oven. After removal, a commercial oven cleaner can help remove any remaining residue or discoloration.
Addressing Grease and Oil on the Oven Bottom
Grease and oil spills are common culprits for a dirty oven bottom. These substances can bake onto the surface, creating sticky, stubborn layers that are difficult to remove. When you cook fatty foods, splashes are almost unavoidable. Over time, these accumulate and can even cause smoking during cooking. I know the distinct smell of burnt grease, and it is not pleasant.
Cleaning grease and oil requires methods that effectively break down their chemical structure. While baking soda can absorb some grease, very thick or old grease often needs a degreasing agent. Commercial oven cleaners are excellent at dissolving grease. However, for a more targeted natural approach, other solutions also exist. Addressing these greasy messes promptly is important. Fresh oil spills are much easier to clean than those that have been baked on for multiple cooking cycles. This section will guide you through effective strategies to tackle greasy residues, ensuring your oven bottom is free from sticky buildup and unpleasant odors.
Degreasing the Oven Bottom Effectively
For significant grease buildup, I find that a combination of methods works best. First, I sprinkle a generous amount of baking soda directly onto the greasy areas. Baking soda is known for its grease-absorbing properties. I let it sit for about 15-30 minutes to soak up some of the oil.
Next, I spray a solution of equal parts white vinegar and water over the baking soda. The fizzing action helps lift the grease. For really tough grease, a dedicated degreaser spray designed for kitchen use can be applied. I let it sit for the recommended time, usually 5-10 minutes. Then, I scrub gently with a non-scratch scour pad or brush, followed by wiping with warm, soapy water. For specific advice on oil spills, check out how to clean oil out of oven, and for general grease, see how to clean grease from oven.
Dealing with Stubborn Greasy Residues
Stubborn greasy residues can feel impossible to remove. For these, I often use a steam method if the oven material allows it. I place a heat-safe bowl of water (and a little bit of lemon juice for freshness) in the oven. I turn the oven on to a low temperature, around 250°F (120°C), for about 20-30 minutes. This creates steam that helps to loosen baked-on grease.
After steaming, I turn off the oven and let it cool slightly until it is warm but safe to touch. Then, I apply a commercial oven cleaner or a thick paste of baking soda and a few drops of dish soap directly to the stubborn grease. I let it sit for an hour or two. The combination of steam and a strong cleaner or degreaser typically breaks down even the most challenging greasy spots, making them easier to wipe away.
Self-Cleaning Oven Bottoms: What You Need to Know
Many modern ovens come with a self-cleaning feature, which seems like a miracle solution. While the self-clean cycle does a lot of the work, it is important to understand what it does and does not do, especially concerning the oven bottom. I have a self-cleaning oven, and I have learned that it is not a magic wand that completely eliminates all cleaning efforts. The self-cleaning function uses extremely high temperatures to burn off food residues. This process turns grime into ash, which can then be easily wiped away.
However, there are important limitations and post-cleaning steps to consider. The self-clean cycle is very effective for breaking down organic matter, but it can leave a fine ash residue, particularly on the oven bottom where most spills occur. Also, some spills, especially sugary ones, can turn into a hard, glassy substance that the self-clean cycle might not fully remove. Understanding how to manage the self-cleaning process and what to do afterwards is key to achieving a truly clean oven bottom without relying solely on the high heat. This section will guide you through using your self-cleaning feature effectively and the necessary follow-up steps.
How the Self-Clean Cycle Affects the Oven Bottom
The self-cleaning cycle heats the oven to extreme temperatures, often around 900°F (480°C). At this heat, food residue on the oven bottom, including grease and burnt-on food, is incinerated. It reduces to a fine, powdery ash. This process significantly loosens and carbonizes most organic material.
However, not all residue fully disappears. Sugary spills, for instance, can harden into a very difficult-to-remove glaze. Also, the high heat can sometimes bake on certain types of stains even more firmly if they were not adequately carbonized. While the self-clean function does a lot of the heavy lifting for the oven bottom, it is often not a complete solution on its own.
Post-Self-Clean Cleanup of the Oven Bottom
After the self-cleaning cycle finishes and the oven cools completely, a layer of ash will remain on the oven bottom. This ash needs to be wiped away. I always wait until the oven is cold before opening the door. Then, I use a damp cloth or sponge to wipe out the ash. I start from the back and work my way forward.
For any stubborn spots that remain, such as those hardened sugary residues, I create a paste of baking soda and water. I apply it directly to the remaining stains. I let it sit for 30 minutes to an hour. Then, I gently scrape with a plastic scraper and wipe clean. This two-step process, self-clean followed by a quick manual wipe, ensures a truly pristine oven bottom. You can find more comprehensive advice on this process by reading our guide on how to clean oven after self-clean.
Maintenance Tips: Keeping Your Oven Bottom Clean Long-Term
Cleaning the oven bottom can be a big job, but consistent maintenance makes it much easier. My approach is to prevent large buildups rather than waiting for a major deep clean. Regular upkeep not only saves time and effort in the long run but also helps maintain your oven’s performance and appearance. A clean oven is more efficient and safer.
Small, frequent actions are far more effective than sporadic, intense cleaning sessions. I incorporate quick wipes into my routine after significant spills. Using protective measures, like oven liners, can also drastically reduce the amount of direct contact food has with the oven bottom. These simple habits create a cleaner cooking environment and extend the life of your appliance. This section will provide practical tips to keep your oven bottom spotless with minimal effort, transforming a daunting task into a manageable part of your kitchen routine.
Preventing Spills and Buildup
Prevention is the best strategy for a clean oven bottom. I always try to use baking dishes large enough to contain food during cooking. Using a baking sheet on the rack below my cooking dish also catches most drips and spills. This simple step saves so much time.
Another excellent preventative measure is using an oven liner. These are heat-resistant mats that sit on the very bottom of your oven. When spills occur, they land on the liner, not on the oven surface itself. I can easily remove the liner and wash it in the sink or dishwasher. This keeps the actual oven bottom pristine. Regularly replacing or cleaning the liner is key.
Regular Wiping and Quick Clean-ups
Even with preventative measures, small spills happen. I make it a habit to address them quickly. After a cooking session, once the oven is cool, I do a quick visual check of the bottom. If I see a fresh spill, I wipe it up immediately with a damp cloth and a little dish soap. Fresh spills are much easier to clean than baked-on ones.
I also schedule a light monthly clean for the oven bottom. This involves a quick wipe down with a mild cleaner or a vinegar-water solution. This prevents small splatters from accumulating into tough, baked-on messes. Consistent, light cleaning eliminates the need for intense scrubbing sessions down the line, keeping my oven ready for use at all times.
FAQ Section
How often should I clean the bottom of my oven?
I recommend cleaning the bottom of your oven every 1 to 3 months, depending on how often you use it and how prone you are to spills. For heavy users, monthly quick clean-ups are great. For occasional users, a quarterly deep clean is usually sufficient. Addressing spills immediately as they happen prevents heavy buildup.
Can I use the self-cleaning function for just the bottom?
The self-cleaning function works on the entire oven interior, including the bottom. You cannot activate it for just one specific area. While it incinerates residue on the bottom, you will still need to manually wipe away the resulting ash. Sometimes, stubborn spots require additional manual scrubbing after the cycle.
What if a spill is baked on hard and won’t come off?
For hard, baked-on spills, I suggest applying a thick paste of baking soda and a little water. Let it sit for several hours, or even overnight. For very severe cases, a commercial oven cleaner might be necessary. Always allow enough dwell time for the cleaner to break down the grime, then scrape gently with a plastic tool.
Is it safe to use strong chemicals in my oven?
Using strong chemicals in your oven can be safe if you follow instructions precisely. Always ensure good ventilation by opening windows and using a fan. Wear protective gear like gloves and safety glasses. Never mix different cleaning products. After cleaning, wipe the oven thoroughly with damp cloths to remove all chemical residue before using the oven again.
How can I prevent future messes on the oven bottom?
To prevent future messes, I suggest using oven liners. These silicone or non-stick mats catch drips and spills, protecting the oven bottom. You can also place a baking sheet on the rack below your cooking dish to catch overflows. Promptly wiping up fresh spills before they bake on also saves a lot of effort.
Can I clean the oven bottom without removing the racks?
It is possible to clean the oven bottom without removing the racks, but it is much harder. The racks block access to the entire surface, making it difficult to apply cleaners evenly and wipe effectively. For a thorough clean, I always remove the racks first. This allows full access to all areas of the oven bottom.
Conclusion
A clean oven bottom is essential for a hygienic kitchen and efficient cooking. We have explored various effective ways to clean the bottom of your oven, from simple baking soda and vinegar methods to powerful commercial cleaners for stubborn stains. Remember, preparation is key: always ensure your oven is cool and unplugged before you begin. Tackling burnt food, grease, and even melted plastic requires specific strategies, but with the right approach, no mess is too daunting.
The self-cleaning feature offers a convenient option, but it still requires a follow-up wipe-down for a truly pristine finish. My best advice for maintaining a clean oven bottom is consistency.
Regular, quick clean-ups and preventative measures like oven liners will save you time and effort in the long run. By adopting these simple habits, you can keep your oven looking its best and performing efficiently for years to come. Do not let spills discourage you; embrace these methods, and enjoy a sparkling clean oven every time you cook!
- oven cleaning
- burnt food removal
- grease stains
- natural oven cleaner
- oven maintenance
- deep cleaning oven
- DIY oven cleaning

Kianna Connelly
Cleaning Expert
With a background in hospitality management and a passion for professional organizing, I’ve dedicated my career to helping people create cleaner, calmer living spaces. At HEG, I design efficient, eco-friendly cleaning systems that not only save time but also deliver spotless, lasting results. I believe that a well-organized home brings peace of mind—and I’ve had the privilege of transforming thousands of homes with practical strategies that truly work. Whether it’s streamlining routines or tackling the toughest messes, I’m here to make clean living simple and sustainable.