· Todd Martin · Kitchen Cleaning · 19 min read
How To Clean Old Cookie Sheets

Revive Your Old Cookie Sheets: Deep Cleaning Made Easy
Do you own a collection of cookie sheets that have seen better days? Baked-on grease and stubborn, dark stains often make old cookie sheets look worn out. These unsightly marks are common. They build up over time from spilled food, oil residue, and high oven temperatures. Many people simply replace these old sheets. However, cleaning old cookie sheets thoroughly can bring them back to life. You can restore their shine and improve their baking performance.
This article provides effective, simple strategies. We will explore several methods using common household products. You will learn how to tackle even the toughest grime. We will cover methods like baking soda and hydrogen peroxide, vinegar solutions, and specific techniques for different types of sheet materials. My goal is to help you transform your grimy bakeware. Get ready to bake on sheets that look almost new again!
Takeaway
Restore your old cookie sheets to a like-new condition with these actionable steps:
- Use baking soda and hydrogen peroxide for tough, baked-on grease.
- Combine vinegar and baking soda for a powerful, natural cleaning paste.
- Apply cream of tartar and vinegar specifically for aluminum discoloration.
- Consider a dishwasher detergent tablet for an easy soak-and-scrub solution.
- Maintain cleanliness with regular washing and proper storage to prevent future buildup.
How to clean old cookie sheets? You can clean old cookie sheets using various household ingredients. Methods include baking soda with hydrogen peroxide, vinegar and baking soda paste, or cream of tartar for aluminum. Apply the chosen cleaner, let it sit, then scrub away baked-on grime and restore shine.
Understanding Why Cookie Sheets Get Grimy
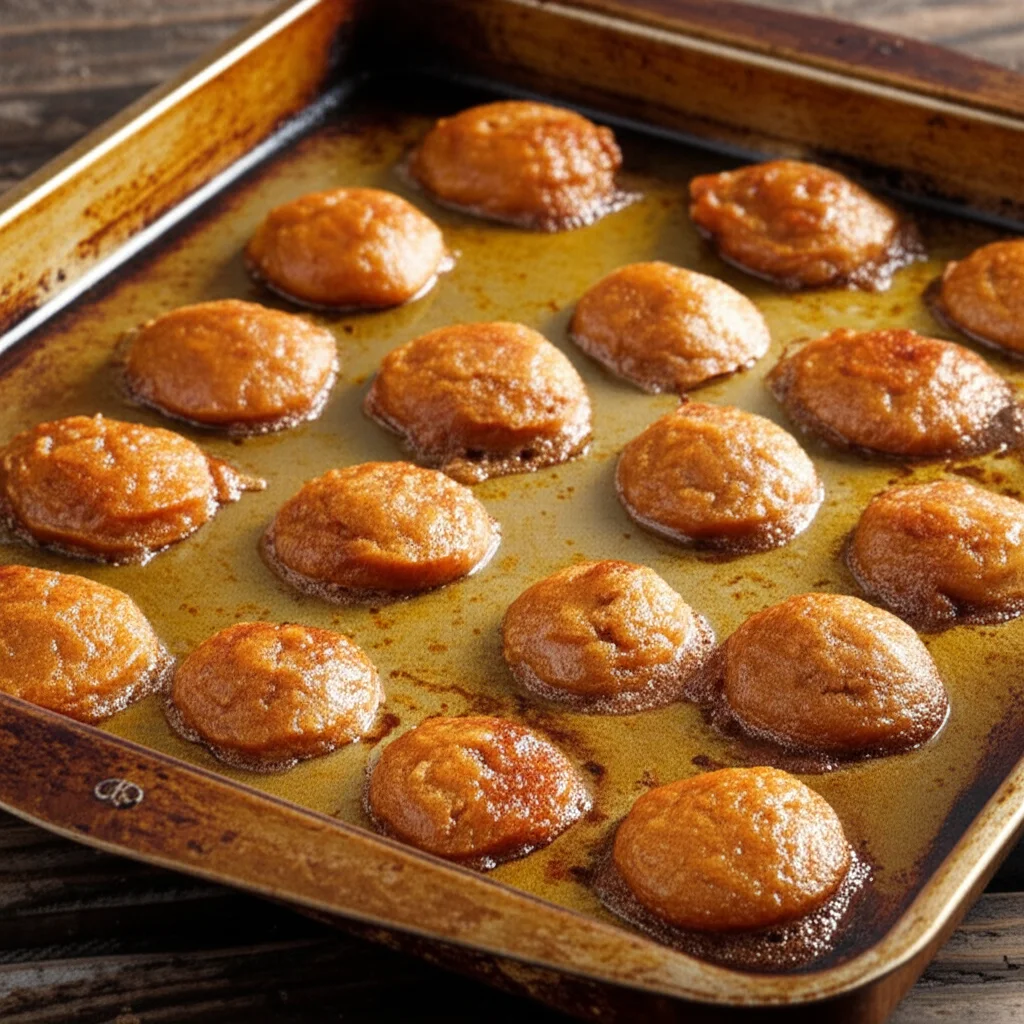
Cookie sheets are workhorses in your kitchen. They endure high temperatures and frequent use. Over time, this constant exposure causes them to accumulate baked-on grease and food residues. This accumulation leads to unsightly discoloration and stubborn stains. Understanding why these stains appear helps you clean them better. It helps you choose the right cleaning method.
The Science Behind the Stains
When you bake, fats and oils from your food can splatter or drip onto the sheet. These fats polymerize, or harden, under the oven’s heat. They create a sticky, dark film. This film bonds strongly to the metal surface. Each time you bake, more layers of this film accumulate. This makes the stains darker and harder to remove. This process is similar to how a seasoned cast-iron pan works, but on a cookie sheet, it is undesirable. High heat also causes a chemical change in the metal itself. This leads to a permanent-looking darkening or tarnishing. This happens especially with aluminum sheets.
Common Types of Cookie Sheet Stains
You will encounter different types of stains on your old cookie sheets. Grease buildup is the most common. It looks like a sticky, dark brown or black layer. Burnt food residue is another common problem. These are hard, carbonized bits of food stuck to the surface. Discoloration, particularly on aluminum, appears as a gray or dull appearance. This is often due to oxidation or mineral deposits from water. Understanding the stain type guides you in selecting the most effective cleaning agent. Different cleaning agents target different chemical bonds. This helps you achieve the best results.
The Impact of Neglect
Ignoring these stains does more than just make your cookie sheets look bad. The accumulated grime can affect baking performance. Darker surfaces absorb more heat. This can lead to uneven baking or burnt bottoms on your cookies. The residue can also transfer flavors to new food. This can ruin the taste of your freshly baked goods. Regular cleaning keeps your sheets looking good. It also ensures consistent baking results. Taking care of your kitchen tools is important for good cooking. You want your kitchen to function well. A clean kitchen supports healthy cooking habits.
Essential Cleaning Supplies for Old Cookie Sheets
Before you start scrubbing, gather your tools. Having the right cleaning supplies makes the job much easier. Many effective cleaners are common household items. You likely have most of them in your pantry already. I find that using the right tools prevents frustration. It also makes the process faster.
Basic Cleaning Agents
You will use several basic cleaning agents for your old cookie sheets. Baking soda is a mild abrasive and deodorizer. It reacts with acids and fats, helping to lift grime. White vinegar is an acid. It helps dissolve mineral deposits and grease. Hydrogen peroxide is an oxidizer. It breaks down organic matter like baked-on food. Dish soap acts as a degreaser. It helps lift loose dirt. These items are safe for most bakeware materials. They are also gentle on your hands.
Recommended Tools
Beyond the cleaning agents, you need a few physical tools. A non-scratch scrubbing brush or sponge is essential. Avoid abrasive scrubbers like steel wool unless the sheet is very durable. Steel wool can scratch the surface. Scratches can make future stains stick more easily. A plastic scraper or old credit card helps remove large, stuck-on bits. You might also want rubber gloves to protect your hands. A large basin or sink is useful for soaking. For particularly challenging grime, a magic eraser can work wonders. This tool uses micro-abrasives to lift stains.
Optional Specialized Cleaners
For extremely stubborn stains, you might consider stronger options. Oven cleaner is designed to break down baked-on carbon and grease. It is very effective. However, use oven cleaner with caution. Follow the manufacturer’s instructions carefully. Wear gloves and work in a well-ventilated area. Some oven cleaners can damage certain types of non-stick coatings. Always check your cookie sheet’s material first. Another option is a barbecue grill cleaner. These are strong degreasers. They work well on heavy buildup. Always rinse your sheets thoroughly after using any strong chemical. You want to remove all chemical residue.
It is helpful to also understand how to clean other metal items. If you have old metal tools, the principles are similar. Cleaning old metal tools involves degreasing and removing rust. Cookie sheets also fall into the category of baking essentials. Knowing how to clean your everyday baking items is a good skill. For example, learning how to clean baking sheets helps keep all your bakeware in top condition.
Method 1: The Baking Soda and Hydrogen Peroxide Technique
This method is highly effective for tackling tough, baked-on grease and stubborn discoloration. It uses two common household products. The combination creates a powerful reaction. This reaction lifts away grime without harsh scrubbing. I have seen impressive results with this technique on my own well-used cookie sheets. It works wonders on carbonized residue.
Step-by-Step Guide
- Prepare the Cookie Sheet: First, remove any loose crumbs or food debris from the cookie sheet. You can use a paper towel or a soft brush. Make sure the sheet is dry before proceeding.
- Apply Baking Soda: Sprinkle a generous layer of baking soda evenly over the entire surface of the cookie sheet. Pay extra attention to the areas with the heaviest stains. You want a thick, visible layer.
- Add Hydrogen Peroxide: Carefully pour hydrogen peroxide over the baking soda. You will see a bubbling reaction. This is normal. It means the solution is working. Add enough peroxide to create a thick paste. The paste should cover all the baking soda.
- Let it Sit: Allow the paste to sit on the cookie sheet for several hours. For very tough stains, I recommend leaving it overnight. The longer it sits, the more time the chemicals have to break down the grime. This waiting period is crucial for success.
- Scrub and Rinse: After soaking, grab a non-scratch scrub brush or sponge. Scrub the sheet in circular motions. The grime should lift away relatively easily. Rinse the cookie sheet thoroughly with warm water. Dry it immediately to prevent water spots.
Tips for Success
- Patience is Key: This method relies on chemical action over time. Do not rush the soaking process. Give it ample time to work.
- Safety First: Hydrogen peroxide is generally safe. However, wearing gloves protects your hands from drying out. Avoid getting the paste on surfaces you do not want to clean.
- Repeat if Necessary: For extremely old and heavily stained sheets, you might need to repeat the process. One application can make a big difference. Two might make it look brand new.
- Test on an Inconspicuous Area: If you are unsure about the sheet’s material, test a small, hidden spot first. This checks for any adverse reactions. This is a good practice for any new cleaning method.
This method is particularly useful for discolored surfaces that simply won’t come clean with dish soap. The oxidizing power of hydrogen peroxide helps lift deeply embedded stains. This brings back the original look of your bakeware.
Method 2: Vinegar and Baking Soda Power
The combination of white vinegar and baking soda is a classic cleaning duo. It creates a powerful fizzing action. This action helps to lift and loosen stubborn grime. This method is excellent for baked-on food and grease. It is also completely natural and non-toxic. I often turn to this pair for general kitchen cleaning tasks because of its effectiveness.
Step-by-Step Guide
- Remove Debris: Start by scraping off any loose food particles. A plastic scraper or spatula works well for this. You want a relatively clear surface to begin.
- Create a Baking Soda Layer: Sprinkle a generous amount of baking soda over the entire stained surface of the cookie sheet. Make sure it covers all the dark areas.
- Add Vinegar: Slowly pour white vinegar over the baking soda. You will observe an immediate fizzing reaction. This chemical reaction helps to break down the hardened grease. Add enough vinegar to create a thick, bubbly paste.
- Soak Time: Let the mixture sit on the cookie sheet for at least 30 minutes. For tougher stains, you can extend this to an hour or even longer. The longer soak time allows the reaction to penetrate deep into the grime.
- Scrub and Rinse: After soaking, use a non-abrasive sponge or scrub brush. Gently scrub the affected areas. The grime should begin to loosen and lift away. Rinse the cookie sheet thoroughly under warm running water. Ensure all residue is gone. Dry it immediately to prevent water spots.
Tips for Success
- Warm Cookie Sheet: If possible, warm the cookie sheet slightly before applying the mixture. A warm surface can sometimes enhance the cleaning reaction. You can do this by running it under warm water.
- Repeat for Stubborn Spots: Some very old stains may require a second application. Do not get discouraged if everything does not come off the first time. Persistence pays off with very old bakeware.
- Ventilation: While natural, the vinegar and baking soda reaction produces carbon dioxide gas. Ensure good ventilation in your kitchen. Open a window if possible.
- Versatile Cleaner: This baking soda and vinegar paste works for many kitchen cleaning tasks. You can use it on stovetops, sinks, and even oven interiors. It is a versatile solution for a clean home.
This method is particularly satisfying to watch. The fizzing action gives a clear indication that it is working. It effectively cuts through grease. It leaves your cookie sheets much cleaner. It is a fantastic alternative to harsh chemical cleaners.
Method 3: Cream of Tartar and Vinegar for Aluminum Sheets
Aluminum cookie sheets are common. They often develop a dull, grayish film or dark stains over time. This discoloration is due to oxidation and interactions with certain foods or detergents. Regular cleaning methods might not fully restore their shine. Cream of tartar, combined with vinegar, offers a specific solution for aluminum. This combination helps to brighten the metal.
Understanding the Reaction
Cream of tartar is potassium bitartrate. It is an acidic salt. When mixed with an acid like vinegar, it becomes a powerful chelating agent. This means it binds to metal ions. It helps lift off the oxidized layers that cause dullness and discoloration on aluminum. It is a gentler alternative to strong acids. It effectively restores the metal’s natural luster.
Step-by-Step Guide
- Prepare the Sheet: Ensure your aluminum cookie sheet is free of loose food particles. You want to work only on the stained surface.
- Make a Paste: In a small bowl, mix equal parts cream of tartar and white vinegar. Stir until you form a thick paste. The consistency should be spreadable.
- Apply the Paste: Spread a generous layer of the cream of tartar and vinegar paste over the discolored areas of your aluminum cookie sheet. Ensure full coverage of the dull spots.
- Let it Sit: Allow the paste to sit on the sheet for at least 30 minutes. For deeply stained sheets, you can extend the waiting time to an hour. The acidic paste needs time to work on the oxidation.
- Scrub and Rinse: Use a non-abrasive sponge or cloth to scrub the paste into the sheet. You should see the discoloration begin to lift. Rinse the cookie sheet thoroughly with warm water. Dry it immediately with a clean towel. This prevents water spots and re-oxidation.
Tips for Success
- Warm Water for Mixing: Mixing the paste with slightly warm water instead of vinegar can also work. Then apply the warm vinegar solution after the paste. This is if you prefer not to mix them directly.
- Consistent Application: Ensure even coverage of the paste. Any missed spots will remain dull.
- Gentle Scrubbing: While scrubbing is needed, avoid overly aggressive action. The chemical reaction does most of the work.
- For Heavily Oxidized Sheets: If your sheet is severely discolored, you might need to repeat the process. Sometimes, a second application yields even better results.
This method specifically targets the unique properties of aluminum. It can make a significant difference in the appearance of your old aluminum bakeware. It brings back that bright, silvery shine.
Method 4: The Dishwasher Detergent Tablet Trick
This trick is surprisingly effective for heavily stained cookie sheets. It leverages the powerful cleaning agents found in dishwasher detergent tablets. These tablets contain concentrated enzymes and surfactants. They are designed to break down tough food residues and grease. This method is relatively hands-off. It requires minimal scrubbing from you.
How It Works
Dishwasher detergent tablets are formulated to work in hot water. They dissolve and release potent cleaning chemicals. These chemicals penetrate and dissolve stubborn, baked-on grime. The process is similar to how they clean dishes in a dishwasher. However, when concentrated on a cookie sheet, they provide an intense cleaning action. This method is particularly good for sheets with a lot of carbonized food.
Step-by-Step Guide
- Fill the Sink: Find a large sink or basin. It must be big enough to fully submerge your cookie sheet. Place the dirty cookie sheet in the sink.
- Add Hot Water: Fill the sink with very hot water. Make sure the water completely covers the cookie sheet. The hotter the water, the more effective the detergent tablet will be.
- Add Detergent Tablet: Drop one dishwasher detergent tablet into the hot water. The tablet will begin to dissolve and fizz. You might see some suds forming.
- Soak Overnight: Let the cookie sheet soak in the hot, soapy water overnight, or for at least 8-12 hours. The long soak time allows the powerful detergents to work their magic. They will break down the hardened grime.
- Scrub and Rinse: The next morning, drain the water. Most of the grime should be softened. Use a non-scratch sponge or plastic scraper to easily wipe or scrape away the loosened residue. Rinse the cookie sheet thoroughly with warm water. Dry it completely to prevent water spots.
Tips for Success
- One Tablet is Enough: One tablet is usually sufficient for one cookie sheet. Using more will not necessarily improve results.
- Handle with Care: Dishwasher detergent is potent. Avoid direct skin contact with the dissolved solution. Wear rubber gloves when handling the sheet after soaking.
- Not for All Materials: This method works best on stainless steel or anodized aluminum sheets. It might be too harsh for very thin aluminum or non-stick coatings. Always check the manufacturer’s guidelines for your specific bakeware.
- Use in a Well-Ventilated Area: The fumes from dissolving detergent can be strong. Ensure your kitchen is well-ventilated.
This method offers a low-effort solution for heavily soiled cookie sheets. It lets the chemicals do the hard work. This can save you from a lot of strenuous scrubbing. If you have a particularly grimy sheet that resists other methods, this one is worth trying.
Tackling Stubborn Stains and Maintaining Shine
Sometimes, even after using the primary cleaning methods, a few stubborn stains might remain. These are often deeply embedded or highly carbonized spots. Do not despair. There are additional techniques to tackle these specific issues. Furthermore, proper maintenance is crucial to keep your cookie sheets looking their best after cleaning. It prevents new stains from forming.
Dealing with Lingering Stubborn Stains
- Targeted Scrubbing with a Paste: For really tough spots, create a very thick paste of baking soda and a small amount of water or hydrogen peroxide. Apply this paste directly to the stubborn stain. Let it sit for an hour. Then, use a fine-grit non-scratch scrubbing pad or an old toothbrush for concentrated scrubbing. The smaller tool allows for more focused pressure.
- Commercial Oven Cleaners (Use with Caution): As mentioned earlier, commercial oven cleaners are powerful degreasers. They can dissolve almost any baked-on gunk. However, they are highly corrosive. Always wear heavy-duty rubber gloves and eye protection. Work in a well-ventilated area. Apply a small amount only to the stained area. Follow product instructions carefully regarding dwell time and rinsing. Never use oven cleaner on non-stick surfaces or anodized aluminum, as it can strip the finish.
- Lemon and Salt Paste: For lighter discoloration or minor sticky residue, a paste of lemon juice and coarse salt can be surprisingly effective. The acidity of the lemon helps break down grease, and the salt acts as a gentle abrasive. This is a good natural option.
- Physical Scraping: For truly hardened, carbonized bits, you might need a more aggressive physical approach. Use a sturdy plastic scraper, a wooden spatula, or even an old credit card at an angle. Avoid metal scrapers, which can scratch the surface. Gently pry and scrape away the hardened bits. Be careful not to gouge the metal.
Maintaining Your Cookie Sheet’s Shine
- Immediate Cleaning: The best way to prevent stubborn stains is to clean your cookie sheets immediately after each use. Do not let food residue sit and harden. Wash them with warm soapy water.
- Proper Drying: Always dry your cookie sheets completely after washing. Air drying can leave water spots or lead to oxidation, especially on aluminum. Towel dry them thoroughly.
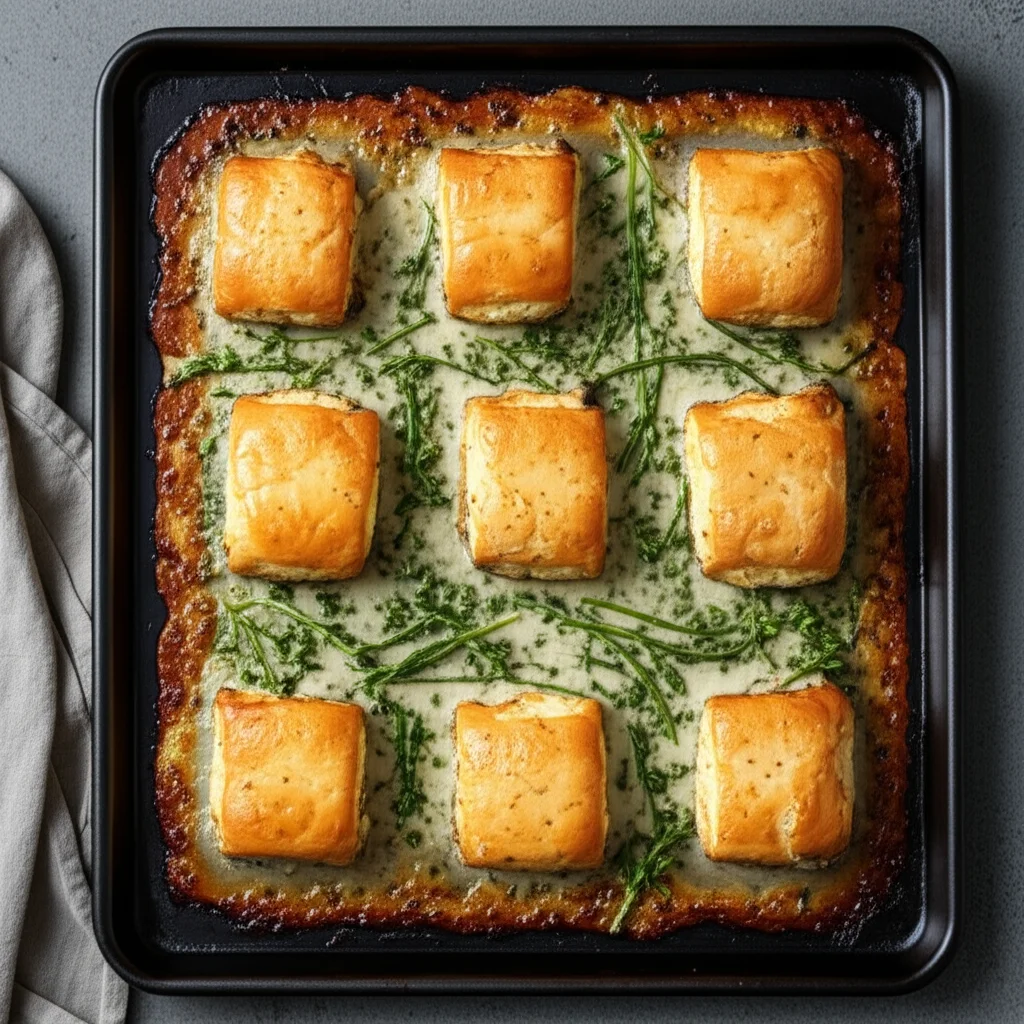
- Use Parchment Paper or Silicone Mats: Lining your cookie sheets with parchment paper or silicone baking mats creates a barrier between the food and the sheet. This significantly reduces baked-on messes and makes cleanup much easier. This is a simple, effective preventative measure.
- Avoid High Heat When Empty: Heating an empty cookie sheet to very high temperatures can cause it to warp and contribute to discoloration over time. Try to avoid putting empty sheets into a hot oven for prolonged periods.
- Consider Material: Different materials handle cleaning differently. Stainless steel is more durable against abrasives than aluminum. Non-stick coatings require very gentle cleaning. Knowing your sheet’s material helps with proper care.
- Store Properly: Store your clean, dry cookie sheets in a way that prevents scratching. Stacking them directly without protection can cause scratches. Place paper towels or thin cloths between stacked sheets. This protects the surfaces.
Regular care and attention extend the life of your bakeware. It also keeps it looking good. A little effort after each use saves you from major cleaning tasks later. Your clean cookie sheets will perform better and last longer.
Frequently Asked Questions
Can I use steel wool or abrasive scrubbers on old cookie sheets?
Using steel wool is generally not recommended for most cookie sheets. It can scratch the surface, especially on aluminum or non-stick coatings. Scratches create tiny grooves where food can stick more easily in the future. For stubborn stains, try a non-scratch scouring pad or a plastic scraper first. If you have a very durable stainless steel sheet, fine steel wool might be an option.
How often should I clean my cookie sheets deeply?
Deep cleaning is not needed after every use. It depends on how frequently you use them and the types of food you bake. If you use parchment paper or silicone mats often, a simple wash is enough. If you notice significant baked-on grease or discoloration, deep clean them. This is usually every few weeks or months. Regular wiping after each use prevents buildup.
What causes cookie sheets to turn dark over time?
Cookie sheets turn dark mainly due to baked-on grease and food residue. Fats and oils polymerize and harden under high oven temperatures. This forms a dark, sticky film. This process is called carbonization. Aluminum sheets also darken due to oxidation. High heat and certain foods can accelerate this process. This results in a dull, grayish appearance.
Is it safe to bake on a discolored cookie sheet?
Generally, it is safe to bake on a discolored cookie sheet. The dark stains are usually just carbonized food and oil. They are not harmful. However, heavily stained sheets can affect baking performance. They absorb more heat, leading to uneven baking or burnt bottoms. Also, old residue can transfer unwanted flavors to your food. Cleaning them is a good practice.
Can I use oven cleaner on my cookie sheets?
Yes, you can use oven cleaner on some cookie sheets, but with extreme caution. Oven cleaner is very effective at dissolving baked-on grime. Only use it on stainless steel or un-coated aluminum sheets. Never use it on non-stick, anodized aluminum, or dark-coated bakeware. It will strip the finish. Always wear gloves, ensure ventilation, and follow product instructions precisely.
How do I prevent new stains from forming on my clean cookie sheets?
Prevent new stains by using parchment paper or silicone baking mats. These create a barrier. Always wash your cookie sheets immediately after each use with warm, soapy water. Dry them thoroughly to prevent water spots and oxidation. Avoid high baking temperatures when possible. Proper storage also helps protect the surface.
Conclusion
Bringing your old cookie sheets back to life is entirely possible. You do not need to discard them when they show signs of wear. We explored several effective methods to clean old cookie sheets. You can choose from options like the powerful baking soda and hydrogen peroxide treatment, the classic vinegar and baking soda paste, or the specific cream of tartar solution for aluminum. The dishwasher detergent tablet trick offers a hands-off approach for very stubborn grime. Each method targets different types of stains. They all aim to restore the original shine and performance of your bakeware.
Remember that understanding the type of stain and your cookie sheet’s material guides your cleaning choice. Whether it is baked-on grease, carbonized food, or simple discoloration, a solution exists. Consistent cleaning after each use and protective measures like parchment paper extend the life and cleanliness of your sheets. Do not let unsightly stains diminish your baking joy. Grab your cleaning supplies and give your old cookie sheets the deep clean they deserve. You will be amazed at the transformation. Transform your bakeware today and enjoy perfectly baked goods on sparkling clean sheets!
- cookie sheet cleaning
- bakeware restoration
- stubborn stains
- kitchen cleaning tips
- home cleaning


