· Todd Martin · Home Cleaning · 23 min read
How To Clean My Air Fryer

Unlock a Spotless Air Fryer: How to Clean Your Appliance
Your air fryer helps you create delicious, crispy meals with less oil. It is a kitchen hero. However, like all cooking appliances, it gets dirty. Food particles, grease, and grime build up over time. This affects performance and even food taste. Many people wonder about the best way to clean my air fryer effectively. It feels like a chore, but it is simpler than you think.
A clean air fryer cooks food evenly and safely. It also lasts longer. Keeping your air fryer in top shape is important for optimal performance. This guide will show you how to clean your air fryer thoroughly. We will cover daily cleaning, deep cleaning, and specific parts like baskets and heating elements. You will learn easy steps to maintain your appliance. Let’s make your air fryer sparkle.
Takeaway
Keeping your air fryer clean ensures it works best and lasts long. Follow these steps for a spotless appliance:
- Clean After Each Use: Wash the basket and pan with warm soapy water.
- Deep Clean Regularly: Tackle tough grease and crumbs at least monthly.
- Target All Parts: Do not forget the heating element and air vents.
- Use Safe Cleaners: Stick to mild soap or baking soda solutions.
- Dry Completely: Make sure all parts are dry before reassembly.
The easiest way to clean your air fryer involves disassembling removable parts and washing them with warm, soapy water. For tough grease, a baking soda paste or a gentle degreaser works well. Always unplug the unit and ensure it cools completely before cleaning. Regularly wiping down the exterior also helps maintain its appearance.
Why Keeping Your Air Fryer Clean Matters
Cleaning your air fryer is not just about looks. It significantly impacts your cooking experience and appliance lifespan. Food residue and grease accumulate inside. This buildup can cause several problems. First, it can lead to uneven cooking. Dirty parts block proper airflow, making food cook inconsistently. This means some parts might be burnt while others are undercooked.
Second, old food particles can burn and smoke. This creates unpleasant odors and flavors in your fresh food. Nobody wants their fries to taste like last night’s burnt chicken. A clean air fryer prevents these smells. It ensures your meals always taste fresh and delicious. We want our food to be perfect.
Third, consistent cleaning prevents grease buildup. Excessive grease is a fire hazard. It can also damage the air fryer’s heating element over time. Regular cleaning protects your investment. It keeps your appliance safe and functional. Think of it as a small effort for a big reward. Proper maintenance extends the life of your air fryer.
Finally, hygiene is important. A dirty air fryer can harbor bacteria. This is a risk to food safety. Cleaning removes these contaminants. It ensures every meal you prepare is healthy and safe for your family. I always feel better knowing my cooking tools are spotless. A clean appliance is a happy appliance.
Essential Tools and Supplies for Air Fryer Cleaning
Before you start cleaning, gather your tools. Having everything ready makes the process smoother. You probably already have most of these items at home. Using the right supplies ensures effective cleaning without damaging your appliance. I like to have everything organized before I begin.
First, you will need a non-abrasive sponge or soft brush. These are crucial for scrubbing without scratching. Metal scrubbers or harsh brushes can damage the non-stick coating on your air fryer basket. A microfiber cloth is also very useful for wiping surfaces. It absorbs liquids well and leaves no streaks.
Next, prepare your cleaning solutions. Warm water and mild dish soap are your primary go-to cleaners. They work for everyday messes. For tougher grease, baking soda is a magic ingredient. Mix it with water to form a paste. This natural abrasive lifts stubborn grime. White vinegar is another powerful, natural cleaner. It helps cut through grease and deodorize. You can spray a vinegar-water solution for a deep clean.
Some optional but helpful tools include soft-bristled brushes for hard-to-reach areas. An old toothbrush works wonders for tight spots. A spray bottle can make applying solutions easier. Gloves are also a good idea to protect your hands, especially if you are dealing with greasy residue. With these items, you are ready to tackle any air fryer mess.
- Non-abrasive sponge or soft brush
- Microfiber cloth
- Mild dish soap
- Warm water
- Baking soda
- White vinegar (optional)
- Old toothbrush or small brush
- Spray bottle (optional)
- Rubber gloves (optional)
Step-by-Step Guide: Cleaning Your Air Fryer Basket and Pan
The air fryer basket and pan are the parts that get the most direct contact with food. This means they accumulate grease and crumbs quickly. Cleaning these parts after every use is vital. It prevents buildup and makes deep cleaning easier. I always make sure these are sparkling.
1. Unplug and Cool Down: Safety first. Always unplug your air fryer from the power outlet. Let it cool completely before touching any parts. Hot surfaces can cause burns. Give it at least 30 minutes to an hour after use. This step is non-negotiable.
2. Remove the Basket and Pan: Carefully pull out the air fryer basket and the drip pan. Most air fryers have a release button to separate the basket from the pan. Check your specific model’s instructions.
3. Discard Large Food Particles: Empty any loose food crumbs into the trash can. You can use a paper towel to wipe away excess oil. This makes the washing process much cleaner.
4. Wash with Warm Soapy Water: Fill your sink with warm water and a few drops of mild dish soap. Submerge the basket and pan in the soapy water. Use a non-abrasive sponge or soft brush to gently scrub away food residue and grease. The non-stick coating is delicate, so avoid harsh scrubbing. For tips on how to clean your fryer basket effectively, you can read more how to clean fryer basket.
5. For Stubborn Residue: If food is stuck, do not scrape it. Instead, let the parts soak in warm, soapy water for 10-15 minutes. This softens the residue, making it easier to wipe away. A paste of baking soda and water can also be applied directly to stubborn spots. Let it sit for a few minutes before scrubbing gently.
6. Rinse Thoroughly: Rinse both the basket and pan under running water. Make sure to remove all soap residue. Leftover soap can leave a strange taste in your next meal.
7. Dry Completely: This step is crucial to prevent mold and mildew. Use a clean cloth or paper towel to dry all parts thoroughly. You can also let them air dry completely before putting them back into the air fryer. Moisture can damage the appliance or promote bacterial growth. I usually let them air dry on a rack for a while.
By following these simple steps after each use, your air fryer basket and pan will remain clean and ready for your next culinary adventure.
Deep Cleaning Your Air Fryer: Tackling Stubborn Grease and Residue
Sometimes, everyday cleaning is not enough. Stubborn grease and burnt-on food can accumulate in hard-to-reach areas. A deep clean is necessary every few weeks or once a month, depending on how often you use your air fryer. This ensures longevity and optimal performance. This is where we go beyond the basket and pan. For more detailed instructions on deep cleaning, refer to how to deep clean air fryer.
1. Prepare the Air Fryer: Again, ensure the air fryer is unplugged and completely cool. Remove the basket and pan. These parts should be cleaned separately as described above.
2. Clean the Interior Cavity: The main body of the air fryer, where the basket slides in, can collect grease splatters and crumbs. Dampen a microfiber cloth with warm, soapy water. Wring it out well so it is only damp, not dripping. Carefully wipe down the inside walls and floor of the cavity. Avoid getting water into electrical components. For really sticky spots, apply a small amount of baking soda paste to the cloth and gently scrub.
3. Address the Heating Element: This is a delicate part located at the top interior of the air fryer. Grease and crumbs can stick to it, causing smoke and odors. Turn the air fryer upside down for easier access. Use a soft brush or an old, clean toothbrush to gently brush off any loose food particles. For baked-on grease, you can carefully wipe it with a damp cloth lightly dipped in a mixture of water and a small amount of white vinegar. Be very careful not to spray or get excess liquid on the heating element. It must be completely dry before use. Never submerge or run water over the heating element.
4. Clean the Exterior: The outside of your air fryer also needs attention. Use a damp cloth with mild soap to wipe down the exterior casing. Pay attention to buttons and control panels. For stainless steel models, use a cleaner designed for stainless steel to avoid streaks. Always dry the exterior immediately to prevent water spots.
5. Clean the Air Vents: Air fryers have vents for air circulation. Use a soft brush or a vacuum cleaner with a brush attachment to remove dust and grease from these vents. Proper airflow is crucial for the air fryer to function correctly.
6. Final Wipe Down and Dry: After cleaning all parts, use a clean, dry cloth to wipe everything down again. Ensure every component is completely dry before reassembling your air fryer and plugging it back in. Any residual moisture can cause issues. A thorough deep clean ensures your air fryer operates efficiently and safely, free from hidden grime and odors.
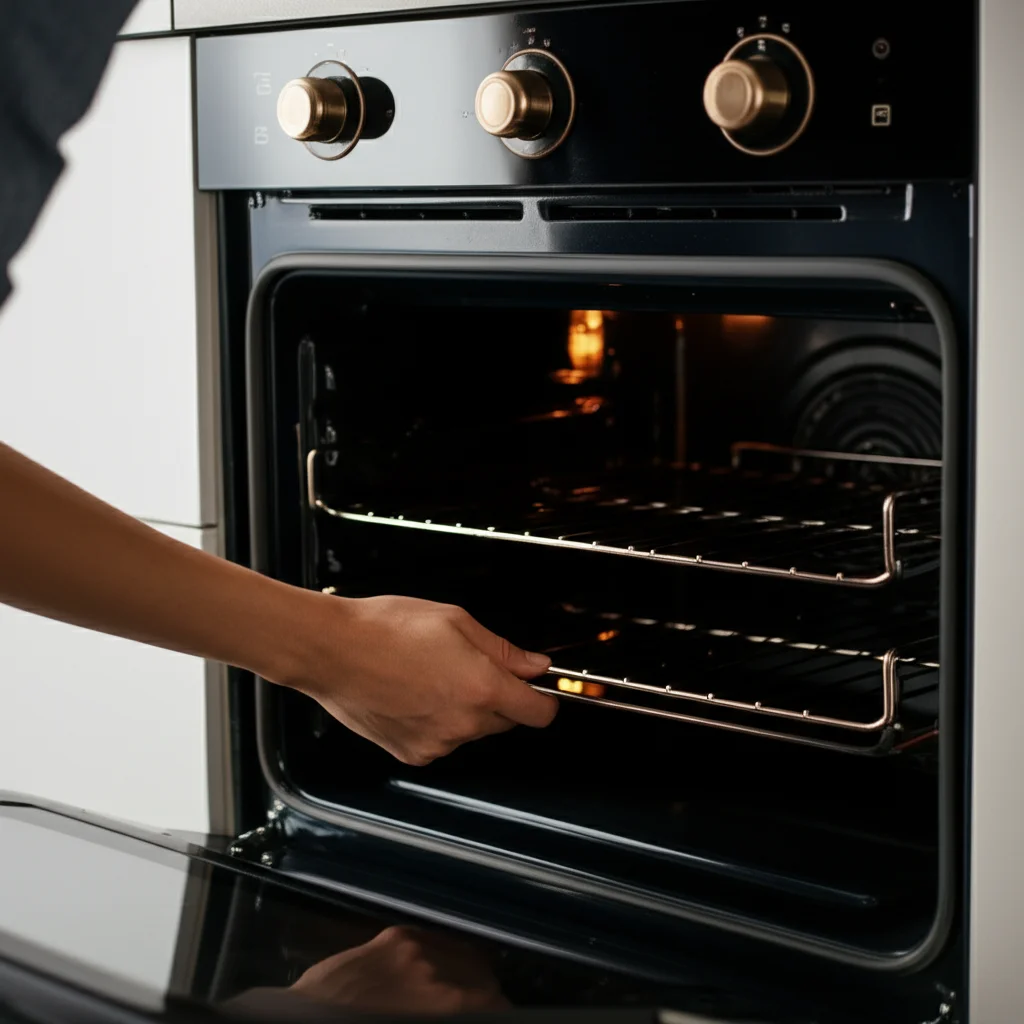
Cleaning Air Fryer Racks and Accessories
Many air fryers, especially the oven-style models, come with various accessories like racks, rotisserie spits, or baking pans. These accessories also accumulate grease and food residue. Cleaning them properly is important for their function and your food’s taste. I often use these accessories, so keeping them clean is a priority.
1. Understand Different Materials: Air fryer racks can be made of stainless steel, chrome, or non-stick coated metal. Identify the material to choose the right cleaning method. Non-stick coated racks require gentler care. For specific guidance on how to clean air fryer racks, check this article: how to clean air fryer racks.
2. Soaking for Easier Cleaning: For heavily soiled racks or accessories, soaking is your best friend. Fill a sink or a large basin with hot water and add a generous amount of dish soap. Submerge the racks and other accessories completely. Let them soak for at least 30 minutes, or even a few hours for very stubborn grime. The hot soapy water will loosen baked-on food and grease.
3. Scrubbing Away Residue: After soaking, use a non-abrasive sponge, a soft brush, or an old toothbrush to scrub the softened residue. For stainless steel racks, you can use a slightly stiffer brush, but avoid steel wool on any non-stick surfaces. A baking soda paste can be applied to stubborn spots. Let it sit for 10-15 minutes before scrubbing. This paste is effective for cutting through greasy buildup.
4. Handling Rotisserie Parts: Rotisserie spits and forks often have crevices where grease hides. Use a small bottle brush or an old toothbrush to reach into these tight spaces. Soaking is particularly beneficial for these items. Ensure all grease is removed to prevent smoke during future use.
5. Rinse and Dry: Rinse all accessories thoroughly under running water to remove all soap and residue. Just like with the basket and pan, complete drying is essential. Air dry them or use a clean towel. Store them only when they are fully dry. This prevents rust, mildew, and unwanted odors.
Regularly cleaning your air fryer accessories ensures they are always ready for use. It extends their lifespan and keeps your air-fried dishes tasting great.
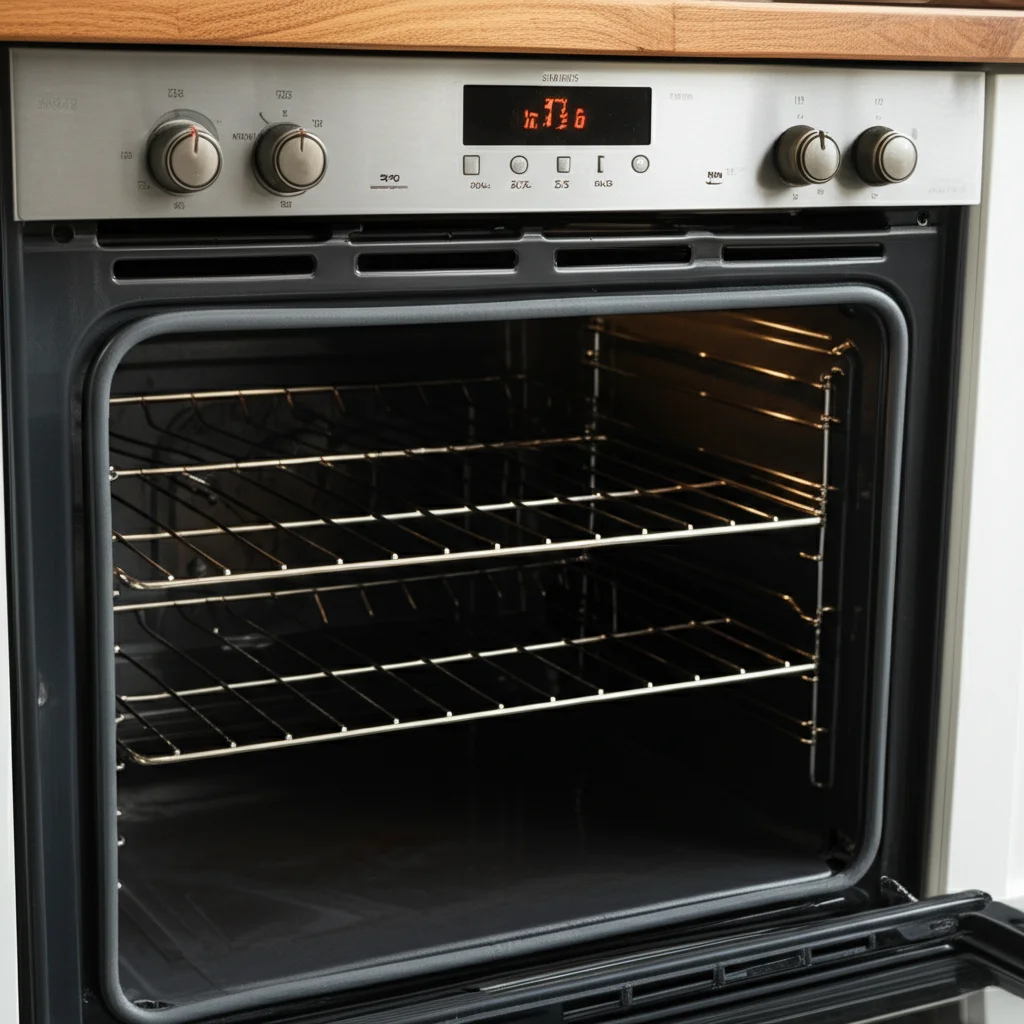
Specific Cleaning Tips for Air Fryer Oven and Toaster Oven Models
Air fryer ovens and toaster oven air fryers offer more cooking versatility, but they also have unique cleaning challenges. Their larger size and multiple components require a slightly different approach. I have experience with these larger models, and they need a bit more attention. For more information on cleaning these specific types, you can look up how to clean an air fryer oven and how to clean air fryer toaster oven.
1. crumb Tray is Key: Air fryer ovens typically have a removable crumb tray at the bottom. This tray catches falling food bits. Make it a habit to remove and clean this tray after every few uses. Simply slide it out, discard crumbs, and wash it with warm, soapy water. Rinse and dry thoroughly. A clean crumb tray prevents burning odors and keeps your oven clean.
2. Interior Walls and Door: The interior walls of these larger units can get splattered with grease. Use a damp cloth with mild soap or a white vinegar solution to wipe down the inside. For baked-on grease, create a paste using baking soda and a little water. Apply it to the stubborn spots, let it sit for 15-30 minutes, then gently scrub with a non-abrasive sponge. The oven door glass also needs attention. Use a glass cleaner or the vinegar solution to remove streaks and grease. Always dry surfaces well.
3. Heating Elements (Top and Bottom): Air fryer ovens often have top and bottom heating elements. These can accumulate grease. As with basket-style air fryers, never wet these elements directly. Unplug the unit and let it cool. Use a soft, dry brush or an old toothbrush to gently brush off any loose food particles. For stuck-on grease, you can carefully wipe the element with a cloth barely dampened with white vinegar, making sure it is completely dry before next use.
4. Rotisserie Rods and Baskets: If your air fryer oven has rotisserie functions, the rod and rotisserie basket will get greasy. Soak these in hot, soapy water immediately after use. This prevents food from hardening. Use a brush to clean crevices. Rinse and dry completely.
5. Exterior and Vents: Wipe down the exterior with a damp cloth. Pay attention to vents on the back or sides. Use a vacuum cleaner or a brush to clear dust and grease from these openings. Proper ventilation is vital for the appliance’s performance and safety. Maintaining these larger units takes a bit more time but ensures they function efficiently for all your cooking needs.
Tackling Greasy Air Fryer Messes and Burnt-On Food
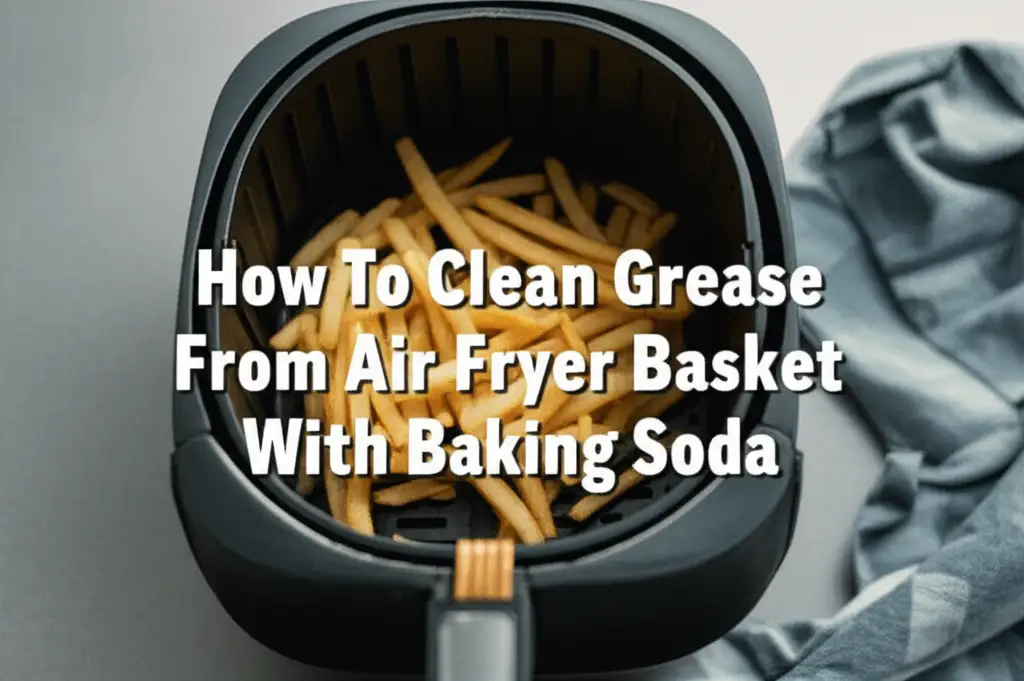
Grease and burnt-on food are the most challenging messes in an air fryer. They often require more than just soap and water. These can lead to smoke and bad odors during cooking. But do not worry, there are effective ways to handle them. When dealing with grease, knowing how to clean grease from air fryer is very helpful.
1. The Power of Baking Soda Paste: For stubborn, caked-on grease or burnt food, baking soda is incredibly effective. Mix a few tablespoons of baking soda with just enough water to form a thick paste. Apply this paste directly to the affected areas, such as the bottom of the basket or the pan. Make sure the surface is completely covered. Let the paste sit for at least 15-30 minutes. For very tough spots, you can leave it overnight. The baking soda works to break down the grease and loosen the burnt food.
2. Gentle Scrubbing After Soaking: After the baking soda has had time to work, use a non-abrasive sponge or a soft brush to gently scrub the area. You will find that the grime comes off much more easily. Avoid aggressive scrubbing, especially on non-stick surfaces, as this can cause damage. If needed, reapply the paste and let it sit longer.
3. Vinegar as a Degreaser: White vinegar is another powerful, natural degreaser. For greasy components, you can create a solution of equal parts white vinegar and warm water in a spray bottle. Spray the greasy areas, let it sit for 5-10 minutes, then wipe with a clean cloth. Vinegar also helps to neutralize odors. Remember to rinse thoroughly after using vinegar to avoid any lingering smell.
4. Hot Water Soak for Fresh Grease: If you notice fresh, greasy residue right after cooking, a hot water soak can do wonders. Fill the basket and pan with very hot water and a squirt of dish soap immediately after use (once cool enough to handle). Let it sit for 10-15 minutes. The heat helps to melt the grease, making it simple to wipe away with a sponge. This prevents grease from hardening and becoming a bigger problem.
5. What to Avoid: Never use harsh chemical cleaners, oven cleaner, or steel wool on your air fryer. These can damage the non-stick coating, interior finishes, or electrical components. Stick to mild, natural solutions to keep your air fryer safe and clean. Dealing with grease and burnt food is manageable with the right approach and patience.
Maintaining the Air Fryer Heating Element and Interior Cavity
The heating element and interior cavity are vital parts of your air fryer. They impact cooking performance directly. Neglecting these areas can lead to smoke, uneven cooking, and even damage to your appliance. Cleaning them requires care and precision. I always make sure these hidden areas are clean.
1. Heating Element Care: The heating element is usually located at the top interior of the air fryer. It often looks like a coil. Over time, grease and food splatters can accumulate here. This buildup can cause smoke and a burnt smell during cooking.
- Safety First: Always ensure the air fryer is unplugged and completely cool.
- Access: For basket-style air fryers, turn the unit upside down to easily access the heating coil. For oven-style air fryers, you might have enough space to reach it directly.
- Gentle Cleaning: Use a soft, dry brush (like a clean paint brush or an old toothbrush) to gently brush off any loose food particles or crumbs from the coil.
- For Stuck-on Grease: If there’s baked-on grease, lightly dampen a cloth with warm water and a tiny bit of dish soap, or a mixture of water and white vinegar. Carefully wipe the element, being extremely cautious not to get any moisture into the electrical connections. It is important to avoid excessive liquid.
- Dry Completely: This is crucial. Allow the heating element to air dry completely before turning the air fryer upright or plugging it back in. This could take a few hours. Any moisture can cause electrical issues.
2. Interior Cavity Cleaning: The main chamber where the basket slides in also collects splatters.
- Wipe Down Regularly: After removing the basket and pan, use a damp cloth to wipe the interior walls and floor of the cavity. Warm, soapy water or a vinegar-water solution works well.
- Tackle Stubborn Spots: For baked-on grease spots, apply a small amount of baking soda paste directly to the area. Let it sit for 15-30 minutes to loosen the grime. Then, gently wipe away with a damp cloth. You can also spray with a degreaser solution.
- Avoid Over-Wetting: Be very careful not to let water drip into the fan or motor area, usually located at the back or bottom of the cavity. Use a wrung-out cloth that is only damp.
- Corners and Crevices: Use a small brush or a cotton swab to reach into tight corners and crevices within the cavity. These hidden spots often collect forgotten crumbs.
- Final Dry: After cleaning, use a clean, dry microfiber cloth to wipe down the entire interior cavity. Ensure all surfaces are completely dry before reassembling your air fryer.
Regular maintenance of these internal components will prevent smoke, extend your air fryer’s life, and keep your meals tasting fresh.
Preventing Buildup and Keeping Your Air Fryer Pristine
Prevention is always better than cure. Taking a few simple steps can significantly reduce the amount of cleaning your air fryer needs. These habits keep your appliance looking and performing its best. I have learned these tricks over time, and they make a big difference.
1. Line the Basket (When Appropriate): For messy foods like marinated chicken wings or cheesy dishes, consider lining your air fryer basket or pan. You can use parchment paper specifically designed for air fryers. You can also use foil. Always ensure the liner does not block air circulation. Do not use liners when preheating or without food to weigh them down. Liners catch drips and crumbs, making cleanup a breeze.
2. Clean Immediately After Use (Once Cool): The easiest grease to remove is fresh grease. Once your air fryer has cooled down, remove the basket and pan. Wash them with warm, soapy water right away. If food has stuck, let them soak for 10-15 minutes. Delaying cleaning allows food and grease to harden, making removal much harder.
3. Use a Spritz of Oil, Not Excess: While air frying uses less oil, some recipes call for a light oil coating on food. Apply oil using a spray bottle or by tossing food in a bowl. Avoid pouring large amounts of oil directly into the air fryer basket. Excess oil can drip, burn, and create more mess.
4. Shake or Flip Food: When cooking items like fries or nuggets, shaking or flipping them halfway through helps even cooking. It also prevents food from sticking to the basket. Less sticking means less burnt-on residue.
5. Do Not Overcrowd the Basket: Overcrowding reduces air circulation. This can lead to uneven cooking and more moisture inside the air fryer. This moisture can mix with crumbs and grease, creating stickier messes. Cook in batches if necessary.
6. Regular Quick Wipes: After each use, even if you are not doing a full wash, quickly wipe down the interior cavity with a damp cloth. This removes any small splatters before they become baked-on. A quick wipe goes a long way.
7. Store Properly: Once your air fryer is completely clean and dry, store it in a clean, dry place. This prevents dust and grime from settling on it between uses.
By adopting these preventative measures, you will spend less time scrubbing and more time enjoying your perfectly air-fried meals. A little care regularly keeps your air fryer pristine. This makes cleaning simpler and less frequent.
When to Seek Professional Help or Replace Parts
Most air fryer cleaning can be done at home. However, sometimes issues arise that home cleaning cannot fix. Knowing when to seek professional help or consider replacing parts is important. This ensures your safety and keeps your appliance running efficiently.
1. Persistent Smoke or Burning Smell: If you consistently experience smoke or a burning smell even after a thorough deep clean, there might be an issue. This could indicate a problem with the heating element. It might have damaged areas or hidden buildup that is too difficult to reach safely. This is a sign to consider professional inspection.
2. Electrical Malfunctions: Any signs of electrical problems are serious. These include sparking, tripping breakers, or unusual noises. Do not attempt to fix these yourself. Unplug the air fryer immediately. Contact the manufacturer’s customer service or a qualified appliance repair technician. Electrical issues are a major safety concern.
3. Damaged Non-Stick Coating: The non-stick coating on the basket and pan is delicate. If it becomes severely scratched or flakes off, it is time to replace these parts. Ingesting non-stick particles is unhealthy. Plus, food will stick much more, making cleaning impossible. Many manufacturers offer replacement baskets and pans. This is often more cost-effective than buying a new air fryer.
4. Fan Issues: The air fryer relies on a powerful fan for circulation. If the fan sounds unusually loud, grinds, or does not spin properly, it impacts performance. This issue usually requires professional repair. Trying to fix it yourself could void the warranty or cause more damage.
5. Physical Damage: If the outer casing is cracked, or the door hinges are broken (for oven models), it compromises the appliance’s safety and functionality. Depending on the severity, repair might be possible. Otherwise, replacement is the safer choice.
6. Beyond Cleaning Capability: If there’s mold growth or severe, unremovable buildup in areas like the fan motor or internal wiring, it is likely time to replace the appliance. Mold can be hazardous, and deep internal cleaning of electrical parts is not safe for home users.
Always prioritize safety. If you are unsure about the nature of a problem, it is best to consult with experts or replace the unit. A well-maintained air fryer offers many years of service.
FAQ Section
How often should I clean my air fryer?
You should clean the air fryer basket and pan after every use. This prevents food and grease from sticking. A deep clean, including the interior cavity and heating element, is recommended monthly or every few weeks. This depends on how frequently you use your air fryer. Regular cleaning prevents stubborn buildup.
Can I put air fryer parts in the dishwasher?
Many air fryer baskets and pans are dishwasher safe, but always check your specific model’s manual. While convenient, hand washing often helps preserve the non-stick coating for longer. High heat and harsh detergents in dishwashers can degrade non-stick surfaces over time.
What cleaners are safe for air fryers?
Mild dish soap and warm water are the safest and most effective for regular cleaning. For tough grease, baking soda paste and white vinegar solutions are excellent natural alternatives. Avoid harsh chemical cleaners, oven cleaners, abrasive sponges, or steel wool, as they can damage your air fryer’s surfaces.
How do I remove burnt food from my air fryer?
For burnt-on food, first, let the affected part soak in hot, soapy water for 15-30 minutes. Then, apply a thick paste of baking soda and water to the burnt area. Let it sit for another 15-30 minutes or even longer for very stubborn spots. Gently scrub with a non-abrasive sponge until the food lifts off.
Why does my air fryer smell burnt?
A burnt smell usually comes from old food particles or accumulated grease on the heating element or inside the cavity. When heated, these residues burn and cause smoke and odors. A thorough deep clean, focusing on the heating element and interior, typically resolves this issue. Regular cleaning prevents recurrence.
Can I clean the heating coil in my air fryer?
Yes, you can clean the heating coil. First, ensure the air fryer is unplugged and completely cool. Turn the unit upside down for better access. Use a soft, dry brush or an old toothbrush to gently brush off loose food bits. For stubborn grease, lightly wipe with a barely damp cloth (water and a little vinegar). Ensure the coil is completely dry before plugging in the appliance. Never use excessive liquid.
Conclusion
Cleaning your air fryer does not have to be a dreaded chore. By following these simple, consistent steps, you can maintain your appliance effectively. From daily basket washes to monthly deep cleans, each action contributes to better performance and a longer lifespan for your air fryer. I hope this guide helps you feel confident about how to clean my air fryer thoroughly and safely.
Remember, a clean air fryer means healthier, tastier meals. It also removes any fire hazards from grease buildup. Regular maintenance protects your investment. It ensures your air fryer is always ready for your next culinary creation. So, gather your supplies, unplug your appliance, and get ready to make your air fryer sparkle. Your taste buds and your kitchen will thank you!
- air fryer cleaning
- kitchen appliance maintenance
- deep cleaning air fryer
- grease removal
- appliance care

Todd Martin
Senior Writer
With over 15 years of experience in home renovation and design, I started HEG to share what I’ve learned with homeowners who want to create spaces that are both beautiful and functional. I’ve always believed in a hands-on approach, and over the years, I’ve picked up practical solutions that actually work. Through HEG, I aim to make home improvement more approachable, sharing real tips that help you create a home you truly love.