· Todd Martin · Phone Maintenance · 18 min read
How To Clean Phone Charger Port
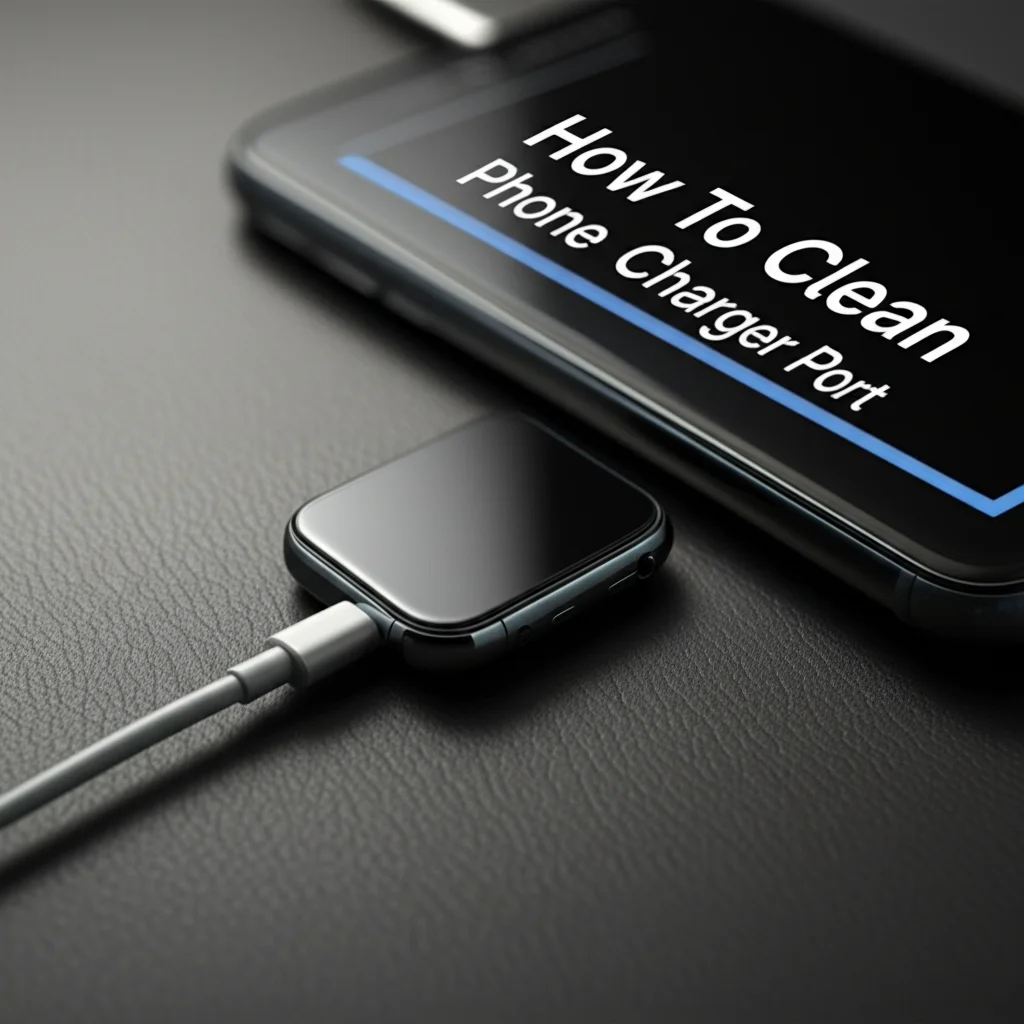
How to Clean Your Phone Charger Port for Better Charging
My phone refused to charge this morning, and I felt a pang of panic. A phone that does not charge is as good as a paperweight in today’s digital age. If you are experiencing similar frustrations, a dirty charging port might be the culprit. Dust, lint, and debris accumulate inside the port over time, blocking the connection between your charger and your phone. Learning how to clean phone charger port effectively can save you money and revive your device. This guide provides detailed steps and safety precautions to ensure your phone charges reliably again.
Takeaway
- Gather essential tools: Use non-conductive, thin tools like toothpicks or compressed air.
- Power down your device: Always turn off your phone before cleaning to prevent damage.
- Gently remove debris: Carefully extract lint and dust from the charging port.
- Avoid liquids and sharp objects: These can cause irreversible damage to sensitive components.
- Regular maintenance: Prevent future issues with routine checks and cleaning.
Your phone’s charging port often collects lint, dust, and other debris from pockets and bags. To clean phone charger port, you must power down your device, use a non-conductive tool like a wooden toothpick or compressed air, and gently remove any visible blockages. This simple process can often fix charging issues and restore your phone’s power connection.
Why Your Phone Charger Port Needs Cleaning
Your phone’s charging port is a tiny entryway for power. It is also an open invitation for dust, lint, and small particles. Every time you slip your phone into your pocket or bag, tiny fibers make their way into this delicate opening. Over time, these particles compact, forming a stubborn barrier. This barrier prevents your charging cable from making full contact with the internal pins.
This physical obstruction often leads to frustrating charging problems. You might notice your phone charges intermittently, or perhaps not at all. The cable might feel loose, or you may need to wiggle it to establish a connection. These are common signs that your charging port is dirty and needs attention. A blocked port can also place undue stress on the charging cable. This stress causes the cable to wear out faster. Cleaning your phone charger port regularly prevents these issues.
A clean port ensures a stable and efficient power transfer. This extends the lifespan of both your phone’s battery and your charging cables. Neglecting a dirty port can lead to more severe hardware damage over time. The constant forcing of the cable against compacted debris can bend or break the internal charging pins. This damage is often costly to repair. Therefore, knowing how to clean phone charger port is a basic but essential skill for any phone owner. I found that a quick clean often solves what seems like a major charging problem. Just like you would clean your phone’s speakers to ensure clear audio, keeping your charging port clear ensures reliable power. You can also explore how to clean out phone speaker for other maintenance tips.
Identifying the Right Tools for Charger Port Cleaning
Selecting the correct tools is crucial for safely cleaning your phone charger port. Using improper tools can cause permanent damage to the delicate pins inside the port. You need non-conductive, small instruments that can reach into tight spaces without scratching or bending anything. My go-to items are usually found around the house.
Here is a list of recommended tools:
- Wooden or Plastic Toothpick: These are excellent because they are soft enough not to scratch metal components. Their pointed tips allow you to dislodge compacted lint and debris effectively. Avoid metal paper clips or pins, as they can easily short-circuit or damage the port’s pins.
- Compressed Air Can: A can of compressed air is ideal for blowing out loose dust and smaller particles. Use it in short bursts, holding the can upright to prevent propellant from entering the port. Be cautious not to spray too hard, as this can force debris further in.
- Small, Soft-Bristled Brush: A clean, dry toothbrush or a small anti-static brush can help sweep away dust. Ensure the bristles are soft enough not to damage the port’s components.
- Magnifying Glass (Optional but Recommended): A magnifying glass helps you see inside the port more clearly. This allows for precise removal of debris and helps you identify any potential damage.
- Cotton Swabs (Optional, for Alcohol): Only use these if you plan to use a small amount of isopropyl alcohol for stubborn grime. Ensure the swab is minimally damp to avoid introducing excess moisture.
When gathering your tools, remember the goal is gentle, precise cleaning. Never use water or harsh chemical cleaners directly on the port. Even a tiny amount of liquid can short-circuit the electronics. If you’re looking for more general phone cleaning tips, you can also check out guides on how to clean cell phone screen or how to clean mobile phone touch screen. Remember, patience and proper tools are your best allies when you want to clean phone charger port.
Step-by-Step Guide: Safely Cleaning Your Phone’s Charging Port
Cleaning your phone’s charging port requires a careful and methodical approach. Follow these steps to ensure you clean your device safely and effectively. This process is similar whether you need to clean an iPhone charging port, a USB-C port, or an iPad charger port.
- Power Down Your Device Completely: This is the most critical first step. Turning off your phone prevents any accidental short circuits or electrical damage. You should also unplug your phone from any power source before you begin.
- Gather Your Tools: As discussed, retrieve a wooden or plastic toothpick, a small, soft-bristled brush, and a can of compressed air. A bright light source, like a flashlight or headlamp, will also be very helpful to see inside the tiny port.
- Inspect the Port: Use your light source to look deep inside the charging port. Look for any visible lint, dust, or other foreign objects. Note where the debris is concentrated. This visual inspection helps you target your cleaning efforts.
- Initial Debris Removal with a Toothpick: Gently insert the wooden or plastic toothpick into the port. Scrape along the bottom and sides of the port, being extremely careful not to touch the metal pins in the center. These pins are fragile and easily bent. The goal is to hook and pull out compacted lint or debris. You will often be surprised by how much material comes out. Continue this process until no more visible debris can be removed.
- Pro Tip: If you have an iPhone charging port, the lint often builds up on the flat side opposite the pins. For USB-C charging ports, debris can accumulate on any side of the oval-shaped opening.
- Use Compressed Air: After removing the larger debris with a toothpick, use short, controlled bursts of compressed air. Hold the can upright to prevent moisture from entering the port. Aim the nozzle directly into the port from a short distance (a few inches). This helps blow out any remaining loose dust particles. Avoid tilting the can, which can release liquid propellant that might damage your phone.
- Final Inspection and Testing: Once you have finished cleaning, use your light source to inspect the port again. Ensure it looks clean and free of obstructions. Then, plug in your charger. It should now fit snugly and your phone should begin charging without issues. If not, repeat the process carefully, or consider advanced methods. This systematic approach ensures a thorough and safe cleaning of your phone’s charging port.
Advanced Cleaning Methods for Stubborn Debris
Sometimes, standard toothpick and compressed air methods are not enough to clean phone charger port. Stubborn grime, corrosion, or deeply embedded particles might require a more advanced approach. This section outlines techniques for challenging cleaning scenarios. Always proceed with extreme caution when attempting these methods.
Using Isopropyl Alcohol for Tough Grime
Isopropyl alcohol (IPA) is a common choice for electronics cleaning due to its fast evaporation and non-conductive properties. It helps dissolve grease, oil, and some forms of corrosion.
- Choose the Right Concentration: Use 90% or higher concentration isopropyl alcohol. Lower concentrations contain more water, which increases the risk of moisture damage.
- Apply Sparingly: Dampen the very tip of a wooden or plastic toothpick or a lint-free cotton swab with a tiny amount of IPA. The goal is “damp,” not “wet.”
- Clean Gently: Carefully insert the dampened tool into the port. Gently rub the sides and bottom where grime is visible. Avoid soaking the internal pins. The alcohol helps loosen the dirt, allowing you to lift it out.
- Allow to Dry: After cleaning, let the port air dry completely for at least 30 minutes to an hour before attempting to charge your phone. Alcohol evaporates quickly, but ensuring total dryness is vital.
- Related Guide: For specific guidance on using alcohol for iPhone charging ports, you might find how to clean iPhone charging port with alcohol helpful.
Microfiber Cloth or Anti-Static Brush
For fine dust that resists compressed air, a microfiber cloth or an anti-static brush can be useful.
- Microfiber Tip: Take a small piece of a clean, lint-free microfiber cloth. Use a wooden toothpick to push a tiny corner of the cloth into the port. Gently rotate or slide it around to pick up fine dust. Ensure no fabric threads detach inside the port.
- Anti-Static Brush: An anti-static brush, often used for camera lenses or delicate electronics, has extremely fine bristles. Gently insert the brush into the port and sweep out dust particles. These brushes are designed not to create static electricity, which can harm electronics.
Utilizing a Vacuum Cleaner (Carefully)
For very loose, light dust, a vacuum cleaner with a very narrow nozzle attachment can sometimes be used.
- Low Suction Only: Set your vacuum to its lowest suction setting. High suction can damage internal components.
- Maintain Distance: Hold the nozzle a small distance away from the port, just enough to create airflow that might pull out loose particles. Do not press the nozzle directly against the port.
- Caution: This method is less recommended than others. It carries a higher risk if not performed with extreme care.
Always remember that precision and patience are key when using advanced methods. If you are unsure or uncomfortable, seeking professional help is always the safest option to clean phone charger port.
What to Avoid When Cleaning Your Phone Charger Port
While eager to fix a charging problem, it is crucial to know what not to do when you clean phone charger port. Improper cleaning techniques can cause irreversible damage to your device. My initial attempts often involved household items that seemed helpful but were actually risky.
Here are the key things to avoid:
- Metal Objects: Never use metal objects like paper clips, needles, tweezers, or sim ejector tools. The charging port contains delicate metal pins that connect to your charger. Metal tools can easily bend, scratch, or even break these pins. They can also short-circuit the electrical components within the port, leading to severe damage or even making your phone inoperable. Stick to non-conductive materials like wood or plastic.
- Water or Liquid Cleaners: Introducing any form of liquid into your phone’s charging port is a major risk. Water, cleaning solutions, or even excess isopropyl alcohol can short-circuit the delicate electronics. This can lead to corrosion, hardware failure, and void your phone’s warranty. Always keep liquids away from the port, even if your phone is “water-resistant.” Water resistance applies to accidental splashes, not intentional submersion or direct liquid application.
- Excessive Force: Applying too much pressure when cleaning can damage the internal components. The goal is gentle dislodging and removal, not forceful scraping. If debris is not coming out easily, do not try to force it. Repeated, forceful attempts can bend pins or break the port entirely.
- Blowing with Your Mouth: While it might seem intuitive, blowing into the port with your mouth is ineffective and potentially harmful. Your breath contains moisture, which can introduce condensation into the port. This moisture can cause corrosion over time. Additionally, your breath does not provide enough concentrated force to dislodge compacted lint effectively. Always use compressed air from a can.
- Cotton Swabs That Shed: While some specific, lint-free cotton swabs can be used with alcohol, standard cotton swabs are often problematic. They can leave behind tiny cotton fibers inside the port. These fibers can become new obstructions or wrap around the charging pins, making the problem worse. If using a swab, ensure it is compact and lint-free.
- Unsuitable Chemicals: Avoid using harsh chemicals like acetone, ammonia-based cleaners, or abrasive solvents. These can damage the plastic or metal components of your phone’s charging port. Stick to high-concentration isopropyl alcohol (90%+) if a liquid cleaner is absolutely necessary for grime.
By avoiding these common mistakes, you significantly reduce the risk of further damaging your phone. The aim is to clean phone charger port gently and precisely.
Preventative Measures: Keeping Your Charging Port Clean
Prevention is often the best cure, especially when it comes to delicate electronics like your phone’s charging port. Adopting a few simple habits can significantly reduce the amount of lint and debris that accumulates. This means less frequent cleaning and a more reliable charging experience. My own experience has shown that these small changes make a big difference.
Here are effective preventative measures:
- Use a Phone Case with a Port Cover: Many phone cases come with a small flap or plug that covers the charging port. This is an excellent way to prevent dust, lint, and moisture from entering the port when not in use. These covers are usually easy to open when you need to charge.
- Store Your Phone Properly: Avoid carrying your phone loose in pockets filled with lint, such as denim pockets. The constant friction generates and deposits fibers directly into the port. Consider a separate pocket for your phone or use a small pouch within your bag.
- Regular, Gentle Checks: Every few weeks, take a quick look at your charging port with a flashlight. If you see early signs of dust accumulation, a quick blast with compressed air can prevent it from compacting. This proactive approach saves you from dealing with stubborn blockages later.
- Clean Your Pockets and Bags: The source of most charging port lint is often your own pockets and bags. Regularly empty and clean out your pockets, purses, and backpacks. Removing the source of the lint directly reduces the amount that can enter your phone.
- Avoid Dusty Environments: If possible, try to limit your phone’s exposure to extremely dusty, sandy, or fibrous environments. Construction sites, workshops, or even just leaving your phone on a dusty counter can contribute to port contamination.
- Consider a Wireless Charger: If your phone supports wireless charging, using it frequently can reduce the wear and tear on your physical charging port. This keeps the port free from constant cable insertion and less exposed to external elements. This doesn’t completely eliminate the need to clean phone charger port, but it can reduce the frequency.
- Inspect Your Charging Cables: Sometimes, it is not the port but the cable that has debris. Check the metal end of your charging cable for any lint or dirt. A dirty cable can transfer debris directly into your clean port. Keeping your cables clean also contributes to better charging.
By incorporating these simple preventative measures into your routine, you can significantly prolong the life of your phone’s charging port and ensure consistent, reliable charging. It is easier to prevent lint buildup than to remove a compacted block.
Troubleshooting After Cleaning: When to Seek Professional Help
You have meticulously followed all the steps to clean phone charger port, but your phone still refuses to charge, or the connection remains unreliable. This can be frustrating, but it means the problem might be beyond a simple port blockage. It is time to troubleshoot further or consider professional intervention.
First, let’s re-evaluate after cleaning:
- Try a Different Charger and Cable: Before assuming the port is still faulty, test your phone with a known-good charging cable and wall adapter. Sometimes, the problem lies with worn-out accessories, not the phone itself. Cables can fray internally, and adapters can fail.
- Check for Bent Pins: Carefully inspect the inside of the charging port again with a bright light and magnifying glass. Look closely for any bent, broken, or corroded metal pins. Even a slightly misaligned pin can prevent a proper connection. If you see bent pins, do not try to fix them yourself, as this can cause more damage.
- Restart Your Phone: A simple software glitch can sometimes prevent charging. A quick restart can often resolve minor software conflicts that might interfere with charging.
When to seek professional help:
- Visible Damage: If you notice bent, broken, or corroded pins inside the port that you cannot safely fix, it is a clear sign to seek professional repair. Attempting to straighten bent pins yourself can easily snap them off, turning a repairable issue into a costly replacement.
- Still No Charge After Thorough Cleaning and Testing: If you have tried different cables/chargers, confirmed the port appears clean, and still experience no charging or intermittent connection, the issue is likely internal. This could be a deeper hardware problem with the charging port assembly itself, the charging IC (integrated circuit) on the logic board, or the battery.
- Phone Gets Hot While Charging (or Not Charging): Unusual heat from the charging port or battery area can indicate an electrical short or battery issue. Unplug the phone immediately and consult a professional.
- Uncomfortable with DIY: If you feel unsure or uncomfortable performing any of the cleaning steps, especially advanced ones, it is always safer to take your phone to an authorized service center or a reputable repair shop. They have specialized tools and expertise to diagnose and fix the issue without causing further damage. For instance, fixing an iPad charger port or a Mac charging port often requires specific expertise.
Remember, a professional assessment can pinpoint the exact problem and provide the safest, most effective solution. Sometimes, cleaning a phone charger port is only the first step in diagnosing a broader issue.
Frequently Asked Questions (FAQ)
Is it safe to use a needle to clean my phone charger port?
No, it is not safe to use a needle or any metal object. Metal can easily scratch the delicate metal pins inside the port, leading to permanent damage or short circuits. Always use non-conductive tools like a wooden or plastic toothpick to clean your phone charger port.
Can I use rubbing alcohol to clean my phone’s charging port?
Yes, you can use high-concentration isopropyl alcohol (90% or higher). Apply a very small amount to the tip of a wooden toothpick or a lint-free cotton swab. Ensure the tool is only damp, not wet. Allow the port to dry completely before charging. This helps dissolve grime and residue.
How often should I clean my phone’s charging port?
The frequency depends on your usage and environment. If you carry your phone in linty pockets or dusty areas, you might need to clean it every few months. If you notice your charger feeling loose or charging intermittently, it is time for a cleaning. Preventative measures can reduce the need for frequent cleaning.
What if my phone still doesn’t charge after cleaning the port?
If your phone still does not charge after cleaning the port, try a different charging cable and wall adapter to rule out accessory issues. Check for bent pins inside the port using a flashlight. If the problem persists or you see damage, it is best to seek professional repair.
Will cleaning my charging port void my phone’s warranty?
Generally, carefully cleaning your port with appropriate tools will not void your warranty. However, causing damage with improper tools or liquids certainly can. If you are unsure or fear causing damage, contacting an authorized service center is the safest option.
Can compressed air damage my phone’s charging port?
Compressed air is generally safe if used correctly. Use short, controlled bursts and hold the can upright to prevent propellant from entering the port. Avoid spraying too forcefully or holding the can upside down, which can release liquid propellants that can damage internal components.
Conclusion
A dirty charging port is a common yet frustrating problem that can render your phone unusable. Knowing how to clean phone charger port effectively is a valuable skill that can restore your device’s power connection and extend its lifespan. We have explored why these ports get dirty, the right tools to use, and a step-by-step process for safe cleaning. Remember to always power down your device, use non-conductive tools like wooden toothpicks and compressed air, and avoid metal objects or liquids that can cause irreversible damage.
By taking proactive steps to prevent debris accumulation and performing regular, gentle maintenance, you can ensure your phone charges reliably for years to come. If, after thorough cleaning and troubleshooting, your phone still faces charging issues, do not hesitate to seek professional help. A technician can diagnose deeper hardware problems and provide the necessary repairs. Take charge of your phone’s health today and keep its essential charging port clean and functional. Your fully charged phone will thank you.
- phone charging issues
- charging port cleaning
- DIY phone repair
- device cleaning

Todd Martin
Senior Writer
With over 15 years of experience in home renovation and design, I started HEG to share what I’ve learned with homeowners who want to create spaces that are both beautiful and functional. I’ve always believed in a hands-on approach, and over the years, I’ve picked up practical solutions that actually work. Through HEG, I aim to make home improvement more approachable, sharing real tips that help you create a home you truly love.