· Todd Martin · Home Cleaning · 20 min read
How To Clean White Grout On Tile Floors

How To Clean White Grout On Tile Floors
White grout brings a crisp, clean look to any tiled space. It makes your tile floors appear brighter and larger. However, white grout also shows dirt, grime, and stains very easily. Foot traffic, spills, and general dirt quickly turn bright white lines into dingy grey or brown strips. This discoloration can make your entire floor look dirty, even if the tiles themselves are clean.
Many homeowners struggle to keep their white grout sparkling. Dirt embeds itself deep within the porous surface of the grout. Regular mopping often pushes more dirt into the grout lines rather than lifting it out. Restoring that original brilliance requires specific cleaning techniques and products. This article will show you effective ways to clean white grout on tile floors. We will cover essential tools, powerful cleaning solutions, and a step-by-step cleaning process. You will also learn how to prevent future staining and maintain your floor’s beauty. Get ready to transform your tired-looking tile floors.
Takeaway
Keeping white grout bright on tile floors requires consistent effort and proper methods.
- Pre-treat grout lines to loosen dirt.
- Use a stiff brush to scrub thoroughly.
- Rinse well to remove all cleaning solution and lifted grime.
- Seal grout after cleaning to protect against future stains.
To clean white grout on tile floors, first clear the area and vacuum thoroughly. Apply a pre-treatment solution like baking soda paste or hydrogen peroxide. Let it sit for 10-15 minutes to penetrate the grime. Scrub the grout lines with a stiff-bristled brush. Rinse the area completely with clean water. Finally, dry the floor to prevent new dirt from settling.
Why White Grout Stains Easily on Tile Floors
White grout offers a clean, bright appearance for tile floors. Its light color highlights the tile patterns. However, white grout stains quickly. This happens because grout is a porous material. It has tiny holes that absorb liquids and dirt. Think of it like a sponge, but much harder. When spills occur or dirt is tracked in, these particles settle into the grout lines.
Foot traffic also plays a big role in discoloration. Shoes carry dirt, oils, and other grime. Each step presses this debris into the grout. Over time, this builds up, creating a dark, dingy look. Bathroom floors often see soap scum and mildew build-up. Kitchen floors collect grease and food spills. These elements all contribute to staining white grout.
Even regular cleaning can make the problem worse if done incorrectly. Mopping floors often pushes dirty water into the grout lines. This leaves behind a residue that darkens the white surface. Using too much soap or cleaner also leaves a sticky film. This film attracts more dirt. Understanding these causes helps you choose the right cleaning methods. It also guides your prevention efforts. You need specific strategies to clean white grout effectively.
Common Culprits Behind Grout Discoloration
Several factors make white grout turn dull or discolored. Knowing these helps in prevention and treatment.
- Dirt and Grime: This is the most common cause. Soil, dust, and debris from shoes track into the house. They settle into the grout lines, especially on high-traffic areas. Over time, these particles compact and darken the grout.
- Liquid Spills: Coffee, soda, wine, and food spills can deeply stain white grout. Their pigments absorb into the porous material quickly. If not cleaned immediately, these stains become permanent.
- Soap Scum and Mildew: In bathrooms, soap scum from showers and baths clings to grout. Mildew and mold also thrive in damp, warm environments. They appear as black or pink spots on the white grout. This creates an unsightly and unhealthy appearance.
- Improper Cleaning Products: Using harsh chemicals or abrasive cleaners can damage grout. They may strip away sealants. This makes the grout even more susceptible to staining. Some cleaners also leave residues that attract dirt.
- Lack of Sealing: New grout comes unsealed unless specifically treated. Grout sealing forms a protective barrier. Unsealed grout absorbs everything, leading to faster discoloration. Regular resealing is important to keep grout bright.
Understanding these culprits helps you protect your white grout. You can then select the best cleaning approach. This ensures your tile floors stay pristine. Proper cleaning prevents long-term damage and keeps grout looking new.
Essential Tools and Supplies for Cleaning White Grout
Before you start cleaning, gather all your necessary tools and supplies. Having everything ready saves time and effort. It also ensures you can complete the task efficiently. Using the right tools protects your tile and grout from damage. You will also get better results with the proper equipment.
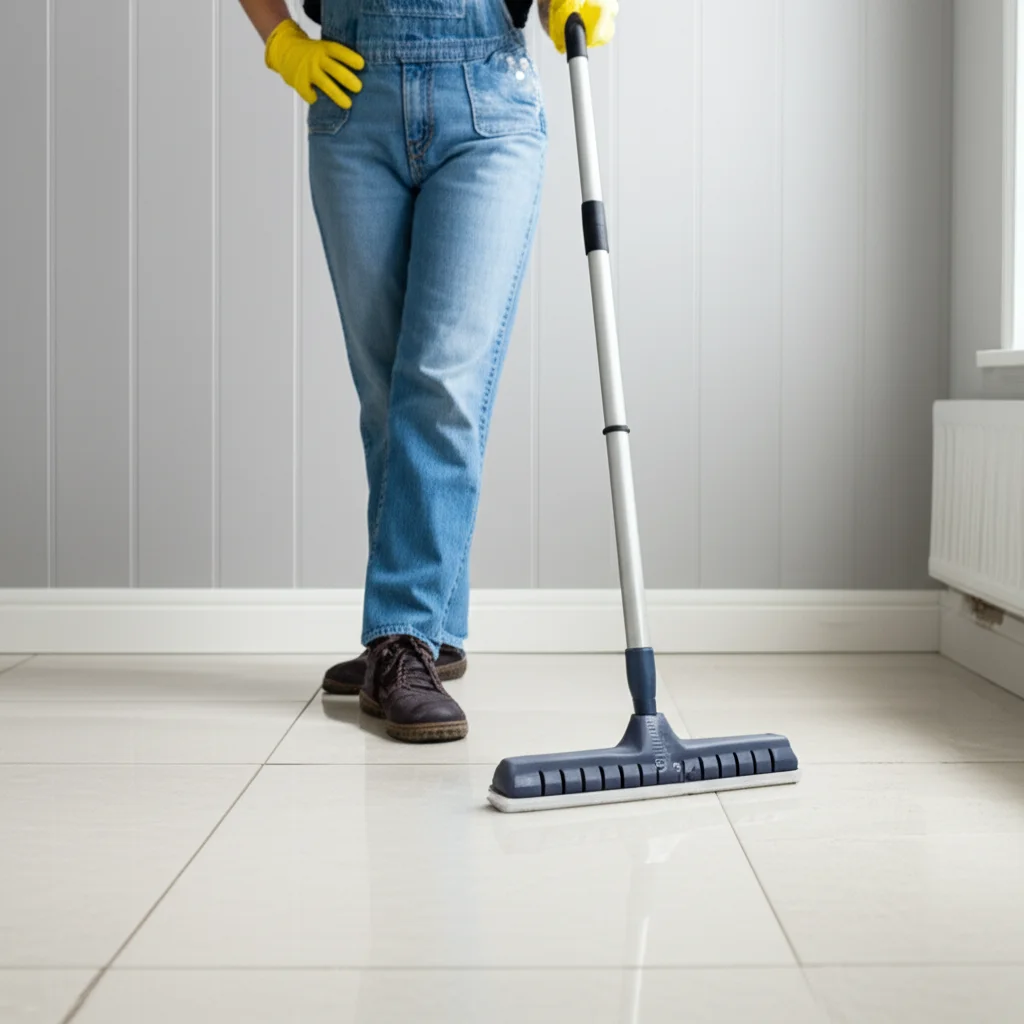
First, you need protective gear. Grout cleaning involves scrubbing and sometimes strong cleaners. Gloves protect your hands from chemicals and dirt. Knee pads make scrubbing on the floor much more comfortable. Safety glasses protect your eyes from splashes. Do not skip these important safety items.
Next, consider your scrubbing tools. A stiff-bristled brush is essential for cleaning grout. Old toothbrushes work well for small, detailed areas. Grout brushes have narrow heads designed to fit into grout lines. A drill brush attachment can save a lot of manual scrubbing time. These fit onto a power drill and rotate the brush for you. Always test these on an inconspicuous area first.
Finally, prepare your cleaning solutions and rinsing tools. You will need buckets for clean water and a mop. Microfiber cloths are useful for wiping and drying. A spray bottle helps apply solutions evenly. Having these items ready makes the cleaning process smooth. You can move from one step to the next without interruption.
Must-Have Cleaning Supplies
Selecting the right cleaning supplies is as important as having the right tools. Different stains respond to different solutions. Always read product labels. Test any new cleaner in a hidden spot first.
- Protective Gear:
- Rubber gloves: Protect hands from chemicals and grime.
- Knee pads: Provide comfort for extended scrubbing on floors.
- Safety glasses: Shield eyes from splashes and debris.
- Scrubbing Tools:
- Stiff-bristled grout brush: Designed to fit and clean grout lines effectively.
- Old toothbrush: Useful for tight corners and small, detailed areas.
- Drill brush attachment: For power scrubbing large areas, attaching to a standard drill.
- Nylon scrub brush: A general-purpose brush for broader scrubbing.
- Cleaning Agents (choose based on stain type and preference):
- Baking soda: A mild abrasive, good for light stains and odors.
- White vinegar: An acidic cleaner, effective for mildew and soap scum (avoid on natural stone grout).
- Hydrogen peroxide: A gentle bleach, good for whitening and sanitizing.
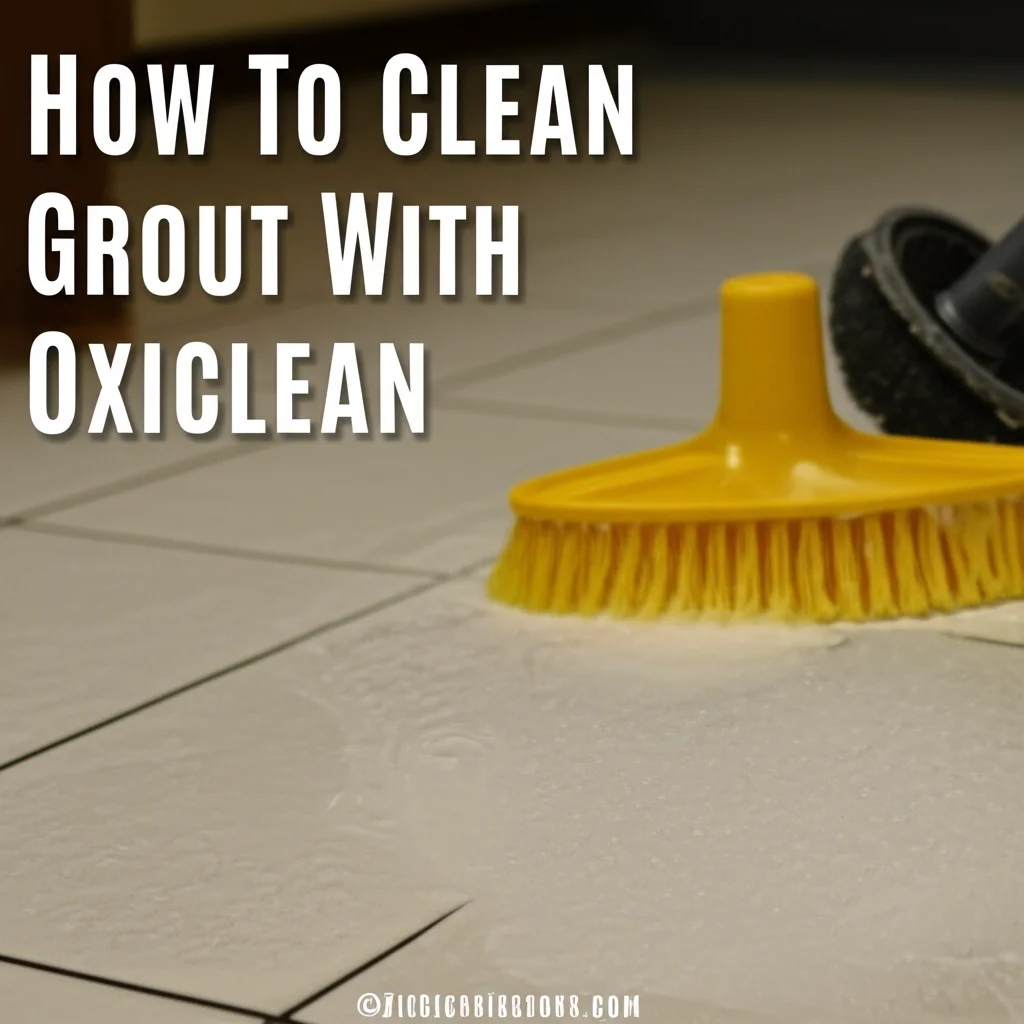
- Oxygen bleach (e.g., OxiClean): A powerful non-chlorine bleach for deep stains.
- Commercial grout cleaner: Formulated for tough grout stains, available at hardware stores.
- Warm water: For mixing solutions and rinsing.
- Rinsing and Drying Tools:
- Two buckets: One for dirty water, one for clean rinse water.
- Mop: For general floor cleaning and rinsing.
- Microfiber cloths or old towels: For wiping and drying the cleaned areas.
- Spray bottle: For applying cleaning solutions precisely.
- Optional but Recommended:
- Wet/dry vacuum: For efficient water pickup after rinsing.
- Grout sealer: To protect cleaned grout from future staining.
Gathering these items before you begin will make the cleaning process easier. It ensures you have everything needed for effective results. You can clean your tile floors with confidence. Make sure to have a dedicated brush for cleaning grout on tile floors easily.
Effective Cleaning Solutions for White Grout
Once you have your tools, it is time to choose your cleaning solution. Many effective options exist, from homemade remedies to strong commercial products. The best choice depends on how dirty your grout is. It also depends on the type of tile you have. Always remember to test any new cleaner on a small, hidden area first. This prevents potential damage or discoloration.
Homemade solutions are often gentler and cost less. Baking soda and vinegar create a fizzing action. This helps lift dirt from porous grout. Hydrogen peroxide is another good option. It brightens white grout without harsh chemicals. Oxygen bleach, like OxiClean, uses oxygen to break down stains. It is safe for most colored grouts and tiles.
For tougher stains, commercial grout cleaners provide stronger action. These products are specifically formulated to break down dirt and grime in grout lines. Always follow the manufacturer’s instructions carefully. Ensure proper ventilation when using these stronger cleaners. Some commercial cleaners contain harsh acids or bleach. Always check if they are safe for your specific tile and grout. Using the correct cleaner makes a big difference in the results.
DIY Cleaning Formulas
Homemade solutions are effective for most white grout cleaning tasks. They use common household items. They are also safer for your family and pets.
- Baking Soda and Water Paste:
- Mix baking soda with a small amount of warm water.
- Create a thick paste, like toothpaste.
- Apply the paste directly to the white grout lines.
- Let it sit for 10-15 minutes.
- Scrub with a stiff brush.
- Rinse thoroughly with clean water. This method provides a gentle abrasive action.
- Baking Soda and White Vinegar:
- First, apply the baking soda paste to the grout lines.
- Then, spray white vinegar directly onto the paste.
- The mixture will fizz. This reaction helps lift embedded dirt.
- Let it sit for 5-10 minutes while it fizzes.
- Scrub the grout with a stiff brush.
- Rinse the area well with clean water. This is a very popular and effective method for cleaning grout on tile floors.
- Caution: Avoid using vinegar on natural stone tiles (like marble or travertine). Vinegar’s acidity can etch or dull the stone surface.
- Hydrogen Peroxide:
- Pour hydrogen peroxide directly onto the grout lines.
- You can also mix it with baking soda to form a paste.
- Let it soak for 15-20 minutes.
- Hydrogen peroxide is a mild bleach. It helps whiten grout.
- Scrub with a stiff brush.
- Rinse well with clean water. Hydrogen peroxide is safer than chlorine bleach for many surfaces.
- Oxygen Bleach (e.g., OxiClean):
- Mix powdered oxygen bleach with warm water according to package directions.
- Apply the solution to the grout lines.
- Let it sit for 15-30 minutes. The longer it sits, the more it works.
- Scrub the grout with a stiff brush.
- Rinse the entire floor thoroughly with clean water. Oxygen bleach uses oxygen to remove stains. It is effective for deep cleaning tile floors.
Commercial Grout Cleaners
When DIY solutions are not enough, commercial grout cleaners offer stronger alternatives. These products are formulated for tough, embedded stains.
- Alkaline Cleaners:
- These are usually pH-neutral or slightly alkaline.
- They work by dissolving grease, oils, and general dirt.
- Many household grout cleaners fall into this category.
- They are generally safe for most tile and grout types.
- Follow product instructions carefully for application and dwell time.
- Acidic Cleaners:
- These cleaners contain mild acids.
- They are effective for soap scum, hard water stains, and rust.
- Crucial Caution: Never use acidic cleaners on natural stone tiles (marble, travertine, limestone, slate). They will cause irreparable damage and etching.
- Always test in an inconspicuous area.
- Ensure good ventilation when using acidic cleaners.
- Bleach-Based Cleaners:
- Some commercial cleaners contain chlorine bleach.
- These are powerful for whitening and killing mold/mildew.
- Use with extreme caution. Ensure proper ventilation.
- Do not mix with other cleaners, especially ammonia or acids. This creates dangerous fumes.
- Only use on white or light-colored grout to avoid discoloration.
- Always rinse thoroughly to remove all bleach residue.
- These can be effective for cleaning white grout in a bathroom.
Choose your cleaning solution based on your specific needs. Always prioritize safety and product compatibility with your floor materials.
Step-by-Step Guide: Deep Cleaning White Grout
Deep cleaning white grout on your tile floors requires a systematic approach. Following these steps ensures you remove embedded dirt effectively. It also protects your floors during the process. Take your time with each step for the best results. A good deep clean can make your entire floor look refreshed.
First, prepare the area. Clear all furniture and rugs from the tiled floor. This gives you full access to all grout lines. Then, thoroughly vacuum or sweep the entire floor. Remove all loose dirt, dust, and debris. This prevents you from turning dirt into mud during cleaning. It also keeps your cleaning solutions from getting overly dirty too quickly.
Once the floor is prepped, you apply your chosen cleaning solution. Work in small sections, about 3x3 feet at a time. This prevents the solution from drying before you can scrub it. Allow the solution to soak into the grout. This “dwell time” is important for the cleaner to loosen the dirt. Then comes the scrubbing. Use a stiff grout brush to work the solution into the lines. Rinse the section thoroughly before moving on. This method ensures every part of your white grout gets the attention it needs.
Detailed Deep Cleaning Process
Here is a step-by-step process for effectively cleaning white grout on your tile floors:
- Preparation is Key:
- Clear the Area: Remove all furniture, rugs, and obstructions from the tile floor.
- Vacuum or Sweep: Thoroughly vacuum or sweep the entire floor. Remove all loose dirt, dust, hair, and debris. This step prevents turning dry dirt into mud during the wet cleaning process.
- Protect Yourself: Put on rubber gloves, knee pads, and safety glasses.
- Apply Cleaning Solution:
- Work in Sections: Choose a small section of the floor, about 3x3 feet (1 square meter), to work on. This prevents the cleaning solution from drying out before you can scrub and rinse it.
- Apply Solution: Generously apply your chosen cleaning solution (baking soda paste, hydrogen peroxide, oxygen bleach mix, or commercial cleaner) directly onto the white grout lines. Use a spray bottle for liquid solutions or a spatula for pastes.
- Allow Dwell Time: Let the cleaning solution sit on the grout for the recommended time. This is typically 10-30 minutes, depending on the product and the level of staining. This allows the cleaner to penetrate and loosen the embedded dirt and grime.
- Scrub the Grout:
- Scrub Vigorously: Using your stiff-bristled grout brush, scrub the grout lines in the section you applied the solution to. Apply firm pressure. Scrub back and forth along the lines.
- Use Proper Technique: For very stubborn spots, use an old toothbrush for precise scrubbing. A drill brush attachment can greatly reduce effort for large areas. Make sure to scrub until you see the dirt lifting.
- Rinse Thoroughly:
- Initial Rinse: Use a clean, damp mop or microfiber cloth to wipe up the dirty solution from the scrubbed section.
- Bucket Rinse: Fill one bucket with clean, warm water. Use a clean mop or sponge to rinse the area thoroughly. Change the rinse water frequently to avoid spreading dirt.
- Wet/Dry Vacuum (Optional): For larger areas, a wet/dry vacuum is very efficient for sucking up the dirty water. This speeds up drying time.
- Dry the Floor:
- Wipe Dry: Use clean, dry microfiber cloths or towels to wipe the cleaned grout and tiles dry. You can also let the area air dry.
- Prevent Water Marks: Ensure no standing water remains. This prevents water marks or new dirt settling into damp grout.
- Repeat and Continue:
- Move to the next small section and repeat steps 2-5 until all white grout on your tile floor is clean.
- For very stubborn areas, you might need to repeat the application and scrubbing process.
- Consider Sealing (Optional but Recommended):
- Once the grout is completely dry (usually 24-48 hours), apply a grout sealer. This protects the grout from future stains and makes cleaning easier. This is especially important for how to clean kitchen floor tile grout, which sees a lot of spills.
- For more general floor cleaning tips, consider looking at articles on how to clean your floors. Also, understand how to clean grout before sealing to ensure proper adhesion.
Tackling Stubborn Stains on White Grout
Sometimes, regular deep cleaning is not enough for specific stubborn stains. White grout can develop various types of tough discoloration. These include mold, mildew, rust, or deep-set food and drink spills. Each type of stain may require a slightly different approach. Using the correct method ensures effective removal without damaging the grout or tile.
Mold and mildew are common in damp areas like bathrooms. They appear as black, green, or pink spots. Rust stains often come from metal objects left on the floor. Food and drink spills, especially dark ones like coffee or wine, can penetrate deeply. Knowing the stain type helps you choose the most effective treatment.
Always try the least aggressive method first. If a gentler cleaner does not work, then move to a stronger option. Remember to ventilate the area well when using stronger chemicals. Also, protect surrounding surfaces. Targeting specific stains can bring your white grout back to its original bright state.
Specific Stain Removal Strategies
Here are strategies for specific tough stains often found on white grout:
- Mold and Mildew:
- Hydrogen Peroxide: Apply hydrogen peroxide directly to the moldy grout. Let it sit for 10-15 minutes. Scrub with a stiff brush. Hydrogen peroxide is a good alternative to bleach. It does not produce harsh fumes.
- Oxygen Bleach Paste: Mix oxygen bleach powder with a little water to form a thick paste. Apply it to the mold. Let it sit for 30 minutes to an hour. Scrub and rinse. This is effective for widespread mold.
- Bleach Solution (Use with caution): Mix 1 part household bleach with 1 part water. Apply to the moldy grout using a cotton swab or a small brush. Let it sit for 5-10 minutes. Scrub and rinse thoroughly. Never mix bleach with vinegar or ammonia. Ensure the area is well-ventilated. This is a common method for cleaning mold from grout. Be careful when cleaning black mold in shower grout.
- Rust Stains:
- Lemon Juice and Salt: Mix lemon juice with enough salt to create a paste. Apply the paste to the rust stain. Let it sit for several hours or overnight. The acid in lemon juice helps dissolve rust. Scrub with a brush and rinse.
- Commercial Rust Remover: Look for a rust remover specifically designed for grout or ceramic tile. Follow product instructions carefully. These are often acidic, so check for tile compatibility.
- Deep-Set Food/Drink Stains (Coffee, Wine, Juice):
- Oxygen Bleach: This is often the best choice for organic stains. Apply a strong solution or paste of oxygen bleach. Let it soak for several hours or overnight. Keep the area damp by covering it with plastic wrap. Scrub and rinse. This is great for cleaning grout with OxiClean.
- Poultice Method: For very deep stains, create a poultice. Mix an absorbent material (like baking soda or talc) with a strong cleaning agent (like hydrogen peroxide or a commercial stain remover). Apply the paste thickly over the stain. Cover with plastic wrap and tape the edges. Let it sit for 12-24 hours. The poultice draws the stain out. Remove the poultice, scrub, and rinse.
- Paint or Grout Haze:
- Mineral Spirits or Paint Thinner (for paint): Apply a small amount to a cloth. Gently rub the paint stain on the grout. Test in an inconspicuous area first. Rinse thoroughly afterward.
- Grout Haze Remover (for haze): If you just finished tiling and have haze, use a specific grout haze remover. Follow product directions precisely. These are often acidic. Be careful with tile type. This is helpful for cleaning tile after grouting.
Always wear protective gear. Ensure proper ventilation when using strong chemicals. Always rinse the area thoroughly after treating stains.
Maintaining Clean White Grout: Prevention is Key
Cleaning white grout can be a big job. The best way to keep it looking good is to prevent it from getting dirty in the first place. Regular maintenance saves you from heavy deep cleaning later. Prevention also extends the life of your grout and keeps your tile floors looking fresh daily. A few simple habits can make a huge difference.
One of the most effective prevention methods is regular sealing. Grout is porous, meaning it absorbs liquids easily. A good quality sealer creates a protective barrier. This barrier repels water, dirt, and stains. Sealed grout is much easier to wipe clean. It resists absorption, keeping dirt on the surface.
Another key part of maintenance is daily cleaning. Sweep or vacuum your tile floors often. This removes loose dirt before it gets ground into the grout. Wipe up spills immediately. The faster you clean a spill, the less chance it has to stain. Using appropriate cleaning products for routine mopping also helps. Avoid harsh chemicals that can strip away sealants. Consistent, gentle care keeps your white grout bright for longer.
Grout Protection and Routine Care
Implementing these practices will keep your white grout cleaner for longer periods.
- Seal Your Grout:
- Importance: Grout sealer is your first line of defense. It forms a protective barrier over the porous grout. This barrier repels moisture and stains, making spills bead up rather than soak in.
- Application: Apply sealer after deep cleaning and once the grout is completely dry (24-48 hours). Use a small brush or applicator specifically for grout lines. Follow the product’s instructions.
- Frequency: Reapply grout sealer every 1-3 years, depending on traffic and product type. High-traffic areas or areas with more moisture (like bathrooms or kitchens) may need more frequent sealing.
- Regular Cleaning Habits:
- Daily Sweeping/Vacuuming: Sweep or vacuum your tile floors daily. This removes loose dirt, dust, and crumbs. If left, these can be ground into the grout lines by foot traffic.
- Wipe Spills Immediately: Attend to spills as soon as they happen. The longer a liquid sits, especially dark liquids like coffee or wine, the deeper it will penetrate the grout.
- Weekly Mopping: Mop your tile floors at least once a week. Use a pH-neutral cleaner mixed with warm water. Avoid using too much soap, as soap residue can attract dirt. Change your mop water frequently to avoid spreading dirty water. Learn more about how to clean white tile floors.
- Use the Right Cleaning Products:
- pH-Neutral Cleaners: For routine mopping, use pH-neutral floor cleaners. Harsh, acidic, or alkaline cleaners can strip away grout sealers. They can also damage certain types of tiles.
- Avoid Wax-Based Cleaners: Wax or oil-based cleaners can leave a sticky residue. This residue attracts and holds dirt in the grout lines.
- Entryway Mats:
- Place doormats inside and outside all entryways. These mats trap dirt and moisture from shoes. This significantly reduces the amount of grime tracked onto your tile floors and into the white grout.
- Address Specific Areas:
- Kitchens: Be extra vigilant with grease and food spills. Consider placing rugs in high-spill areas like in front of the sink or stove. This is important for cleaning grout in kitchen areas.
- Bathrooms: Ensure good ventilation to reduce humidity. This prevents mold and mildew growth. Regularly wipe down shower walls and floors to reduce soap scum buildup. This helps with cleaning bathroom grout and cleaning grout in shower.
- Protective Pads:
- Attach felt pads to the bottom of furniture legs. This prevents scratches on tiles and reduces friction on grout lines.
By following these prevention and maintenance tips, you can significantly reduce the need for intensive deep cleaning. Your white grout will stay brighter and cleaner for much longer.
When to Call the Professionals for Grout Cleaning
Even with the best DIY efforts, sometimes white grout on tile floors simply won’t come clean. This can happen for several reasons. Perhaps the grout is very old. It might have deep-set stains that have been there for years. Or, maybe your cleaning tools and products are not strong enough for the specific type of grime present. Knowing when to call in professional help can save you time, effort, and frustration.
Professionals have specialized equipment. They use high-pressure steam cleaners, commercial-grade cleaning solutions, and powerful extraction tools. This equipment can remove dirt and stains that household tools cannot. They also have experience with different types of grout and tile. This ensures they use the safest and most effective method for your specific floor.
Consider professional cleaning if your white grout remains discolored after multiple attempts. If you see signs of mold that keep returning, professionals can treat it effectively. Also, if your grout is damaged, cracked, or crumbling, a professional can assess if repair or regrouting is needed. Investing in professional cleaning can restore your floor’s appearance completely.
- white grout
- tile floors
- grout cleaning
- floor cleaning
- deep cleaning
- grout stains
- grout maintenance

Todd Martin
Senior Writer
With over 15 years of experience in home renovation and design, I started HEG to share what I’ve learned with homeowners who want to create spaces that are both beautiful and functional. I’ve always believed in a hands-on approach, and over the years, I’ve picked up practical solutions that actually work. Through HEG, I aim to make home improvement more approachable, sharing real tips that help you create a home you truly love.