· Todd Martin · Home Improvement · 15 min read
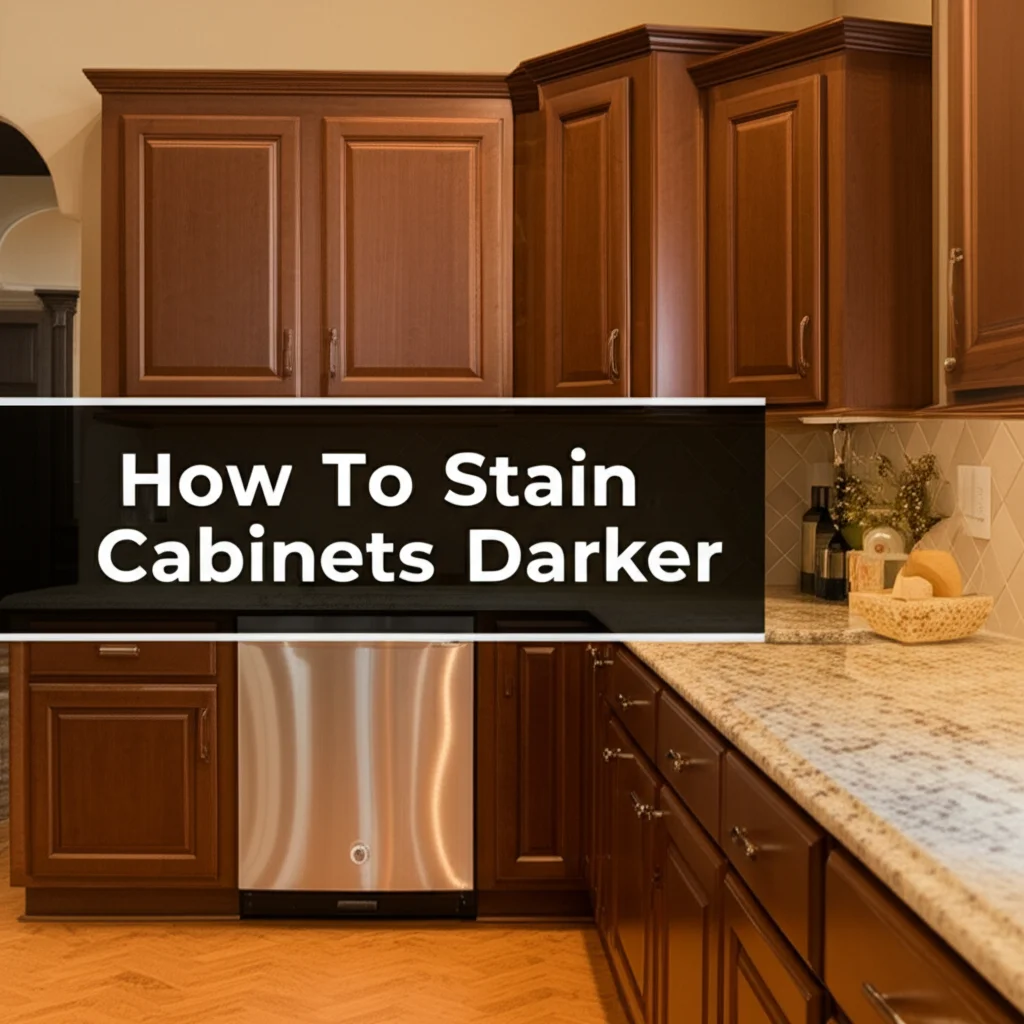
How To Stain Cabinets Darker
Stain Cabinets Darker: Your Complete How-To Guide
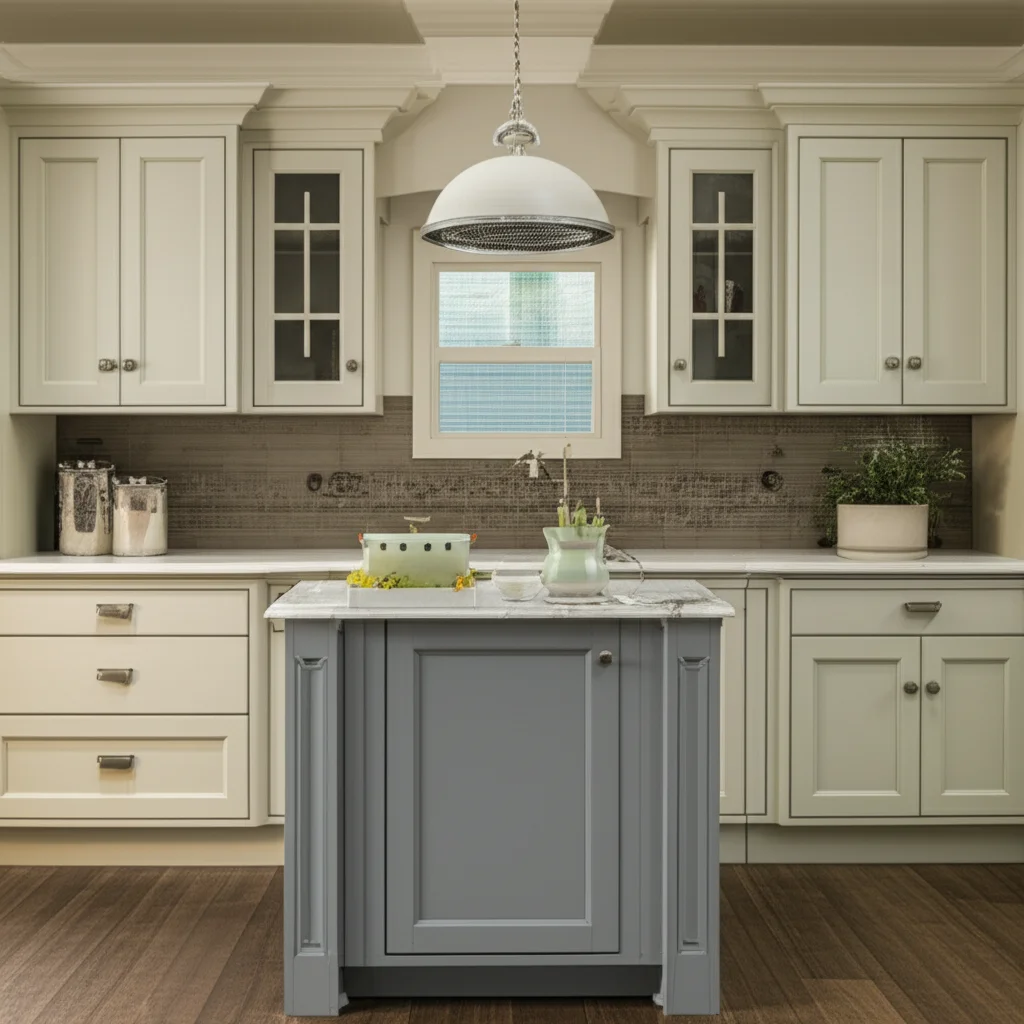
Do you look at your kitchen or bathroom cabinets and wish they had a richer, more contemporary look? Many homeowners desire a deeper wood tone to update their space. Luckily, you can achieve this striking transformation yourself. Learning how to stain cabinets darker is a rewarding DIY project. It brings a fresh, modern feel to any room without the cost of full replacement.
This guide will walk you through every step. We will cover preparing your existing cabinets for staining. We will discuss choosing the right stain and applying it correctly. Finally, we will talk about protecting your newly darkened cabinets. By following these instructions, you can give your cabinets a dramatic new appearance. Get ready to enjoy a sophisticated, updated home.
Takeaway
Staining cabinets darker requires careful preparation and proper technique.
- Thoroughly clean and sand existing cabinet surfaces.
- Choose the right stain type and color for your desired dark finish.
- Apply stain evenly, wiping excess for best results.
- Protect your newly stained cabinets with a durable topcoat.
- Patience during drying and curing ensures a long-lasting finish.
Clear, Concise Answer
To stain cabinets darker, you first clean and sand existing surfaces. This prepares the wood to accept new stain. Then, apply a suitable dark wood stain, wiping off excess. Finally, apply a protective topcoat to seal the rich new color and ensure durability.
Understanding Your Current Cabinets and Wood Type
Before you pick up a can of stain, understand your existing cabinets. The current wood type and its condition greatly affect how new stain applies. Not all wood takes stain in the same way. Different woods have varying porosity. This porosity determines how much stain the wood absorbs.
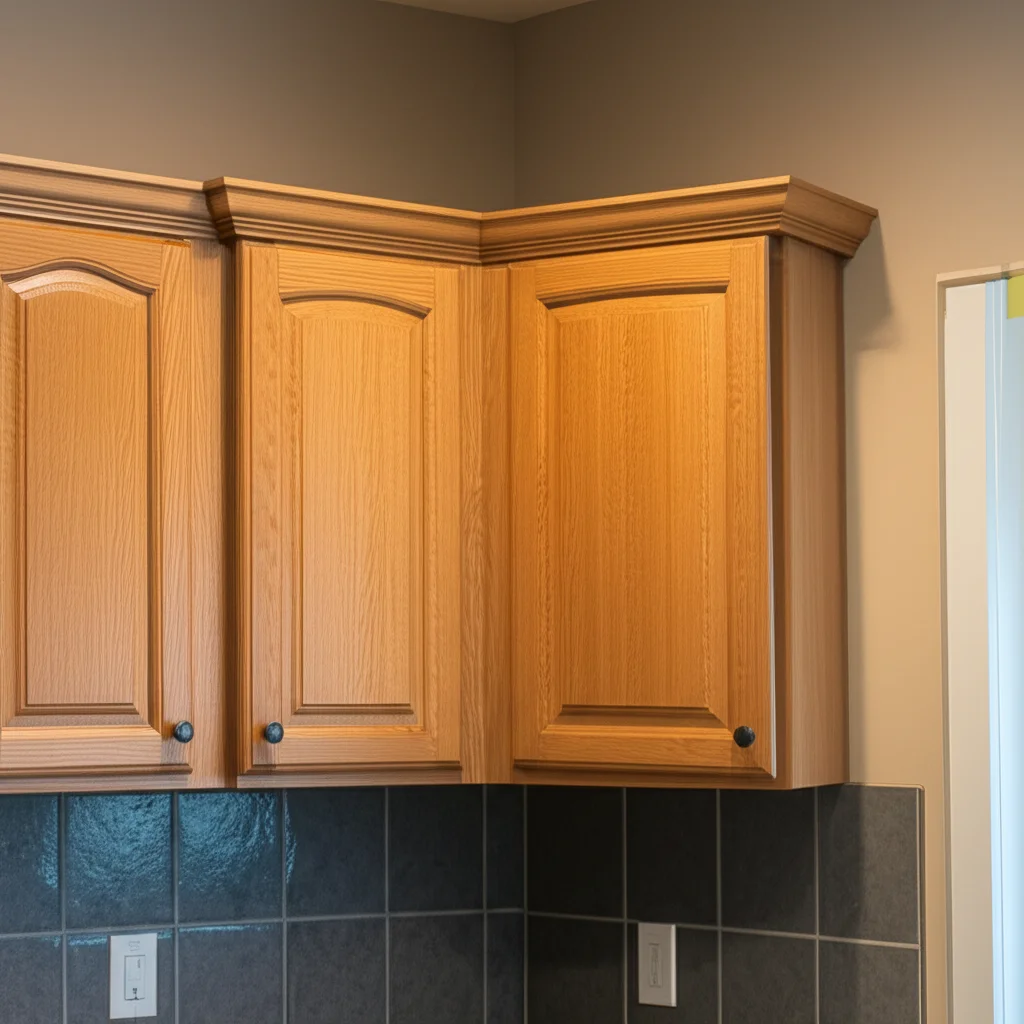
Hardwoods like maple and cherry are dense. They may not absorb stain as deeply as softer woods like pine or oak. Oak, with its open grain, often accepts dark stains beautifully. Maple can sometimes appear blotchy if not properly prepped. Knowing your wood type helps you choose the right products. It also helps you set realistic expectations for the final color.
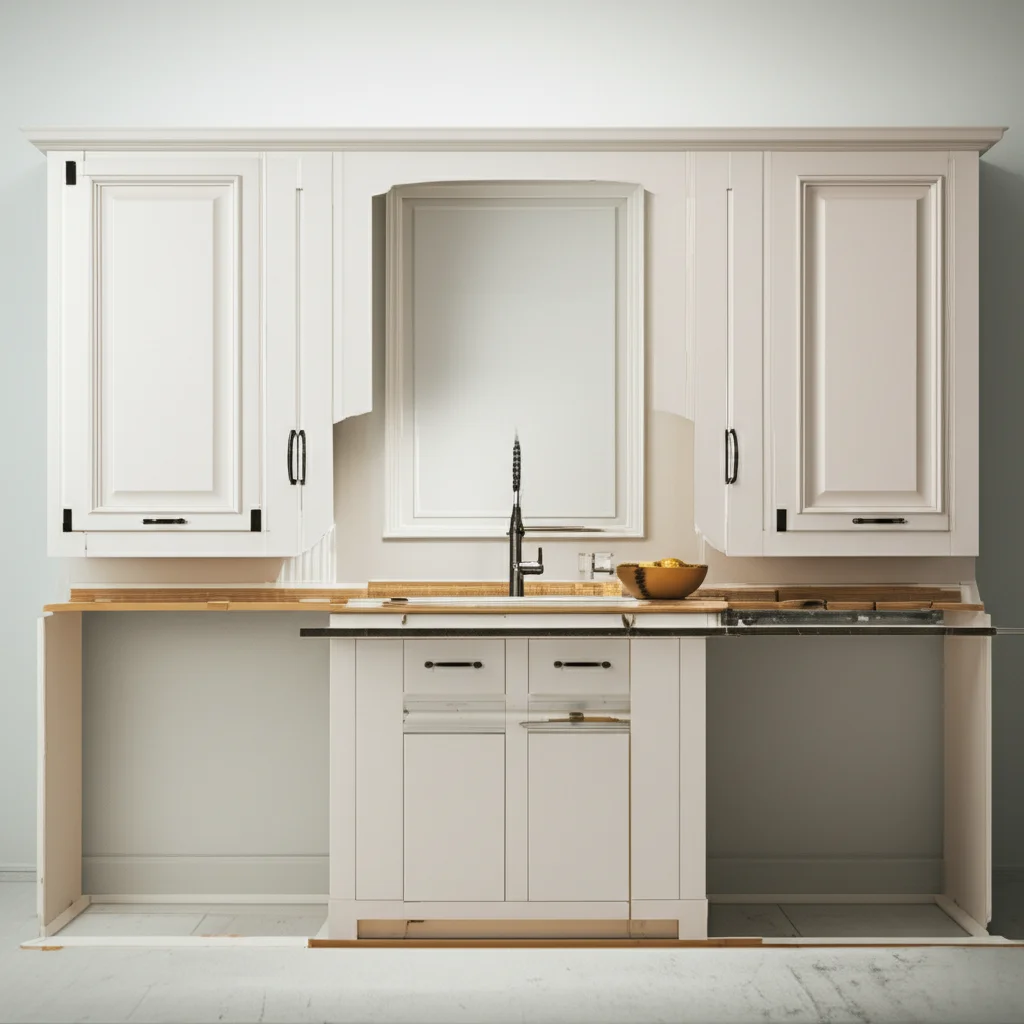
Inspect your cabinets for existing finishes. Most cabinets have a clear coat, like polyurethane or lacquer. This finish must be removed before staining. Stain cannot penetrate a sealed surface. If your cabinets are painted, you will need to strip the paint completely. Any remaining paint or sealer will prevent the new stain from soaking into the wood fibers. This causes uneven or splotchy results.
Consider any damage to your cabinets. Deep scratches or dents may need repair. Fill holes or large imperfections with wood filler. Choose a filler that accepts stain. Test it first to ensure it blends well with your chosen dark color. Addressing these issues now ensures a smooth, uniform surface for staining. A good foundation is crucial for a professional-looking dark finish.
Choosing the Right Stain and Tools for a Darker Finish
Selecting the right stain is a critical step to achieve a deep, rich color. Many types of stains are available. Each has unique characteristics. Oil-based stains offer deep penetration and rich color. They are durable and forgiving, with a longer working time. This makes them good for beginners. Water-based stains dry faster and have less odor. They offer good color but may raise the wood grain. Gel stains are thick and do not penetrate deeply. They sit on the wood surface. This makes them ideal for tricky woods or for staining over existing, light stains. Gel stains are also excellent for preventing blotchiness on woods like pine or maple.
When choosing your dark shade, consider samples. Different wood types will absorb the same stain differently. A dark walnut on oak will look different than on maple. Always test your chosen stain on an inconspicuous area of your cabinets. You can also test on a scrap piece of the same wood type. This step is vital to ensure you like the final dark color. It also lets you see how many coats you might need.
Gather all necessary tools before you begin. You will need high-quality natural bristle brushes for oil-based stains. Foam brushes or synthetic brushes work well for water-based stains. Clean, lint-free rags are essential for wiping off excess stain. You also need fine-grit sanding sponges and sandpaper. For preparation, have a good degreaser and wood cleaner ready. Safety gear is also important. Always use gloves to protect your hands. Wear a respirator mask, especially with oil-based stains, for proper ventilation. You might also want safety glasses.
Additionally, consider using a pre-stain wood conditioner. This is especially helpful for softwoods or blotch-prone woods. Wood conditioner helps the stain absorb more evenly. It prevents a splotchy appearance. Apply it before the stain according to product directions. This simple step can significantly improve your results.
Essential Preparation: Cleaning and Sanding Cabinets
Proper preparation is the most important step for a successful darker stain. It determines how well the stain adheres and how even the color becomes. Start by emptying all cabinets and removing all hardware. Take off doors and drawer fronts. Label them clearly to make reinstallation easy. Place hardware in a safe place.
Next, thoroughly clean all cabinet surfaces. Kitchen cabinets accumulate grease, grime, and food residue over time. These contaminants can prevent stain absorption. Use a strong degreaser or a mixture of warm water and dish soap. Scrub all surfaces well. For stubborn grease, specialized greasy cabinets how to clean or how to remove grease stains from cabinets cleaners work best. Rinse the surfaces thoroughly with clean water. Let them dry completely. This ensures no residues interfere with the staining process. My own experience taught me that skipping this step leads to headaches later.
After cleaning, the critical step is sanding. If your cabinets have an existing finish, you must remove it. Start with a medium-grit sandpaper, around 100-120 grit. This will effectively remove the old finish. Sand with the grain of the wood. Using a palm sander speeds up this process for large flat areas. For detailed areas and corners, how to sand cabinets by hand techniques will be necessary. Once the old finish is mostly gone, move to a finer grit sandpaper, like 150-180 grit. This smooths the wood surface. It opens the wood pores for better stain absorption. Do not sand past 180 or 220 grit. Sanding too finely can close the wood pores. This prevents the stain from penetrating properly.
After sanding, clean the surfaces again. Use a shop vacuum with a brush attachment to remove dust. Then, wipe down all surfaces with a tack cloth or a damp cloth. This ensures all fine dust particles are gone. Dust will show through a dark stain. Ensure the wood is completely dry before applying any pre-stain conditioner or stain. Preparing your cabinets correctly makes all the difference in achieving a beautiful, even dark finish. For a detailed guide on initial cleaning, consider reading how to clean cabinets before painting, as many steps are similar.
Applying the Stain for a Rich, Dark Finish
With your cabinets meticulously prepared, you are ready to apply the stain. This is where your desired dark finish begins to take shape. Always start by doing a test application. Use an inconspicuous area on one of your cabinet doors or a scrap piece of the same wood. This allows you to confirm the color and technique. You can adjust your approach if needed.
Before applying, stir the stain thoroughly. Do not shake it. Shaking creates bubbles, which can affect the finish. Use a natural bristle brush for oil-based stains or a foam/synthetic brush for water-based stains. Apply the stain generously along the wood grain. Work in small sections to maintain control. This prevents the stain from drying before you can wipe off the excess.
Allow the stain to penetrate for a few minutes. The exact time depends on the stain type and how dark you want the final color. Read the manufacturer’s instructions for recommended penetration times. Longer penetration results in a darker color. However, be careful not to let it dry completely on the surface. Use a clean, lint-free cloth to wipe off excess stain. Wipe with the grain. Removing excess is important to prevent a sticky finish and ensure even color. If you want a darker shade, apply a second coat after the first coat has dried completely. Always allow adequate drying time between coats. This can range from 4-8 hours for water-based stains to 24 hours or more for oil-based stains. My best advice here is always to check the product label.
When applying multiple coats, remember that each layer builds depth. The wood can only absorb so much stain. Subsequent coats primarily add pigment to the surface. This creates a deeper, richer hue. If you encounter any issues like uneven areas or if you need to match stain on cabinets later, addressing them now is easier. Continue applying thin, even coats until you achieve your desired dark look. Work carefully and patiently. This ensures a consistent, professional result across all your cabinet surfaces.
Protecting Your Newly Stained Cabinets: Sealing and Curing
Once your cabinets have achieved the perfect dark shade, the next crucial step is protection. Applying a durable topcoat seals the stain. It also protects the wood from daily wear and tear. This is essential for longevity and maintaining your beautiful new finish. Without a topcoat, your dark stain will be vulnerable to scratches, moisture, and fading.
Polyurethane is a popular choice for cabinet topcoats. It comes in oil-based and water-based formulas. Oil-based polyurethane is very durable and creates a slightly amber tint. This can deepen your dark stain further. Water-based polyurethane dries faster and is clearer. It has less odor. Varnish is another excellent option, offering good durability and resistance to chemicals. For a natural look, a clear lacquer or shellac can also work, but they may not offer the same level of protection as polyurethane or varnish. Choose a finish that matches your desired sheen: matte, satin, semi-gloss, or high-gloss.
Before applying the topcoat, ensure the stain is completely dry. This is often 24-48 hours, or even longer for very dark, multi-coat oil-based stains. Apply the topcoat in thin, even coats. Use a high-quality brush or a foam roller designed for smooth finishes. Avoid applying too thickly, as this can lead to drips, bubbles, or an uneven cure. Lightly sand between coats with a very fine-grit sandpaper (220-320 grit) for better adhesion and a smoother finish. Remove all dust after sanding. Apply 2-3 coats for optimal protection.
Curing time is different from drying time. Drying means the surface feels dry to the touch. Curing is when the finish fully hardens and reaches its maximum durability. This process can take several days or even weeks, depending on the product and humidity. Avoid heavy use of your cabinets during the curing period. Treat them gently. This ensures the finish fully hardens, providing maximum protection for your stunning dark cabinets.
Troubleshooting Common Staining Issues
Even with careful preparation, you might encounter issues when staining cabinets darker. Knowing how to address these problems can save your project. One common issue is uneven stain absorption, often called blotchiness. This happens when certain areas of the wood absorb more stain than others. It is particularly common with softwoods like pine or maple. To fix this, you can try applying another thin coat of stain. This might help to even out the tone. For prevention, always use a pre-stain wood conditioner before staining. It helps regulate absorption.
Sometimes, the stain might appear too dark. This can happen if you leave the stain on too long or apply too many coats. If the stain is still wet, you can try wiping it off more vigorously with a rag soaked in mineral spirits (for oil-based stains) or water (for water-based stains). This can lighten the color slightly. Once the stain is dry, lightening it becomes very difficult. You might need to sand down the entire area and reapply. This emphasizes the importance of testing your stain color first.
Another problem can be drips or streaks in the finish. These occur if you apply too much stain or do not wipe off the excess properly. If the stain is still wet, you can smooth them out by wiping gently with a clean rag. If they have dried, you will need to lightly sand the affected area. Then, reapply a thin coat of stain, feathering it into the surrounding area. Always work in manageable sections and wipe off excess promptly.
Dealing with cleanup is also part of the troubleshooting process. If you get stain on your brush, learning how to clean stain off a brush quickly prevents it from hardening. For oil-based stains, mineral spirits work well. For water-based stains, soap and water are usually sufficient. Addressing issues as they arise prevents small problems from becoming big ones. Patience and a willingness to correct mistakes are key to a successful dark stain project.
Maintaining Your Dark Stained Cabinets
Once you have successfully stained your cabinets darker, proper maintenance will keep them looking beautiful for years. Dark finishes can show dust and smudges more readily than lighter ones. Regular cleaning is important to preserve their deep, rich appearance. Establishing a cleaning routine helps keep them pristine.
For routine cleaning, use a soft, damp cloth. Wipe down the cabinet surfaces to remove dust, fingerprints, and light grime. Avoid using abrasive scrubbers or harsh chemical cleaners. These can dull or damage the stain and protective topcoat. A mild soap and water solution is usually sufficient for tougher spots. Always dry the cabinets immediately with a clean, dry cloth after wiping. Standing water can cause damage or water spots, especially on wood. For specific cleaning, you can refer to tips on how to clean wood cabinets for general care.
Periodically, you might want to give your dark cabinets a deeper clean. For kitchen cabinets, grease and cooking residues can build up. A specialized wood cleaner or a mixture of vinegar and water can cut through grease. Always dilute vinegar, and test it in an inconspicuous area first. Some cleaners might contain oils or waxes. These can help maintain the luster of your dark finish. Always ensure they are safe for stained wood surfaces. If you have chosen black cabinets, insights from how to clean black cabinets can also be helpful for maintaining a dark, uniform look.
Over time, your dark cabinets might experience minor wear and tear. Small scratches or nicks can be touched up. Use a stain pen or a small artist’s brush with a matching stain color. Apply sparingly and wipe off any excess. For deeper damage, you might need to lightly sand the area and reapply stain and topcoat. If your topcoat starts to show wear, a new clear coat can rejuvenate the finish. This adds another layer of protection. With consistent care, your newly darkened cabinets will remain a stunning focal point in your home.
FAQ Section
Can you stain light cabinets dark without stripping them completely?
You can sometimes stain existing light-stained cabinets darker without full stripping. Use a gel stain, as it adheres to existing finishes and builds color on the surface. However, for best results and uniform absorption, sanding down to bare wood is recommended. This ensures the new stain penetrates evenly.
How many coats of stain do I need to achieve a dark color?
The number of stain coats depends on the wood type and desired darkness. Typically, 1-3 coats are sufficient. Softer woods absorb more stain, often needing fewer coats. Denser woods may require more. Always apply thin coats and allow proper drying time between applications for best results.
What is the best type of stain for a really deep, dark finish?
Oil-based stains are often preferred for deep, rich dark finishes. They penetrate wood fibers effectively, offering excellent color saturation. Gel stains are also good for achieving dark colors on woods that might otherwise blotch. Always test your chosen stain on scrap wood first.
How long does it take for stained cabinets to dry and cure?
Stain typically dries to the touch within 4-24 hours, depending on the type (water-based dries faster). However, it needs 24-48 hours before applying a topcoat. The final topcoat itself can take days to weeks to fully cure and reach maximum hardness. Avoid heavy use during this curing period.
Do I need a pre-stain conditioner when staining cabinets darker?
A pre-stain conditioner is highly recommended, especially for softwoods like pine, maple, or birch. It helps the wood absorb stain more evenly, preventing blotchiness. For very dense woods or if using a gel stain, it might be less critical but can still improve consistency.
Can I stain cabinets that are already painted?
No, you cannot stain cabinets that are already painted. Paint forms a solid barrier on the wood surface, preventing stain from penetrating. You must completely strip all paint from the cabinets, sand them down to bare wood, and then proceed with the staining process.
Conclusion
Transforming your cabinets by learning how to stain cabinets darker is a truly rewarding home improvement project. You can achieve a sophisticated and modern look for your kitchen or bathroom. This process brings a new life to tired spaces. We covered the entire journey, from understanding your wood type to choosing the right stain and tools. We also went through essential preparation steps, including thorough cleaning and proper sanding.
Remember the importance of patient application. Apply stain evenly and wipe off excess for that deep, consistent color. Finally, protecting your hard work with a durable topcoat ensures longevity. This also keeps your beautiful dark finish looking fresh for years to come. Do not let the idea of staining seem daunting. With these clear steps and practical advice, you can tackle this project with confidence. Embrace the journey of giving your home a stylish update. Enjoy the stunning, rich cabinets you create yourself.
- cabinet staining
- darker cabinets
- wood finishing
- DIY cabinets
- home renovation
- kitchen refresh
- wood stain
- dark wood
- cabinet makeover

Todd Martin
Senior Writer
With over 15 years of experience in home renovation and design, I started HEG to share what I’ve learned with homeowners who want to create spaces that are both beautiful and functional. I’ve always believed in a hands-on approach, and over the years, I’ve picked up practical solutions that actually work. Through HEG, I aim to make home improvement more approachable, sharing real tips that help you create a home you truly love.