· Todd Martin · Home Improvement · 19 min read
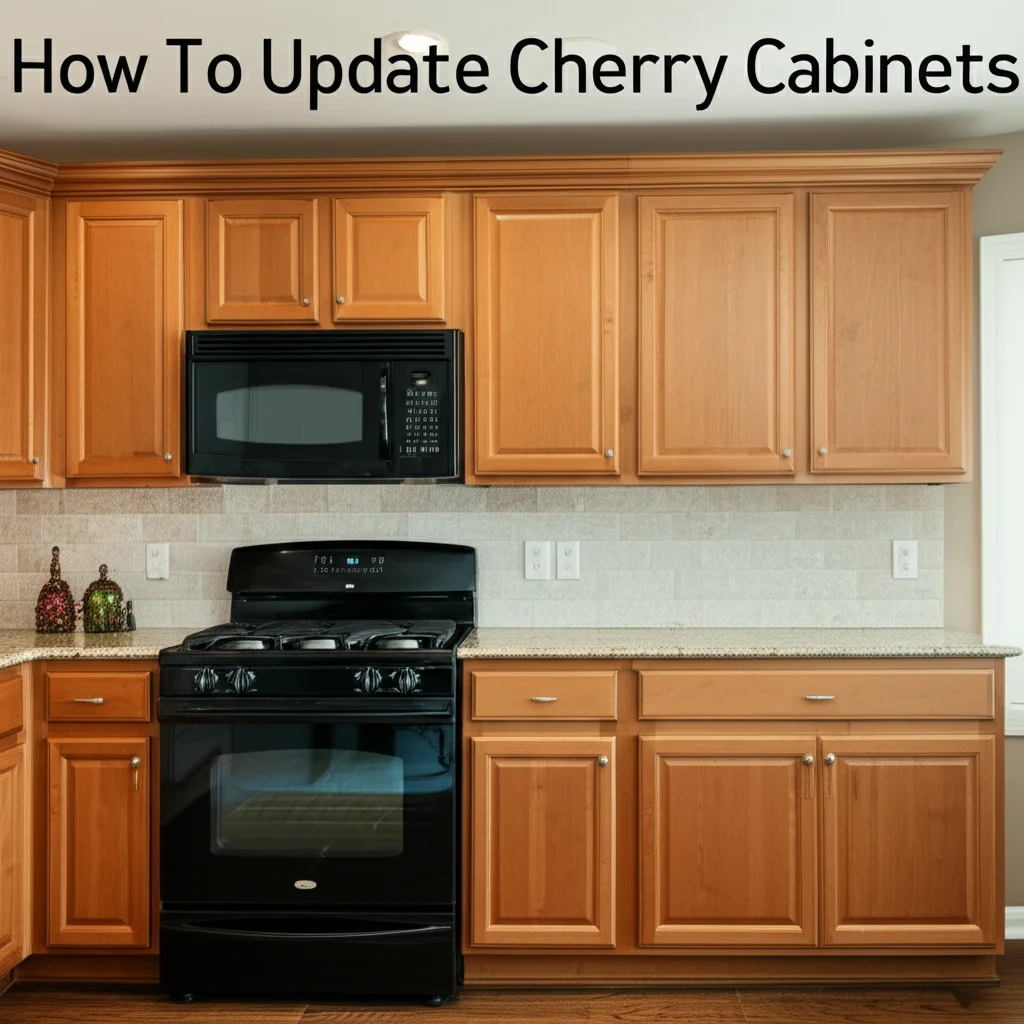
How To Update Cherry Cabinets
How to Update Cherry Cabinets for a Modern Look
Do you own a kitchen with cherry cabinets? Many homes feature these warm, rich wood tones. While beautiful, cherry cabinets can sometimes make a space feel dated. Their deep hues and traditional styles might clash with modern design preferences.
You can update cherry cabinets without a full replacement. This guide will show you several ways to refresh your kitchen. We will cover simple changes like hardware. We will also discuss bigger projects like painting or staining. Get ready to transform your space. You can make your cherry cabinets look new again.
Takeaway
- Change Hardware: Install new knobs and pulls for a quick, impactful update.
- Paint Cabinets: Apply light, neutral colors or bold shades to transform the look.
- Restain or Glaze: Deepen or lighten the wood tone while keeping the grain visible.
- Update Countertops/Backsplash: Choose materials that complement or contrast the cherry.
- Enhance Lighting: Add under-cabinet or pendant lights to brighten the area.
- Add Accessories: Use rugs, plants, and décor to style the space.
Answer to Main Query
You can update cherry cabinets by changing hardware, painting them in a fresh color, or restaining them for a renewed look. Consider new countertops, backsplashes, and improved lighting to complete the transformation. These changes will help your kitchen feel more modern.
Understanding Cherry Wood and Its Appeal
Cherry wood is popular for its natural beauty. It has a distinctive reddish-brown color. Over time, cherry wood darkens. This process is called “mellowing.” It creates a richer, deeper hue.
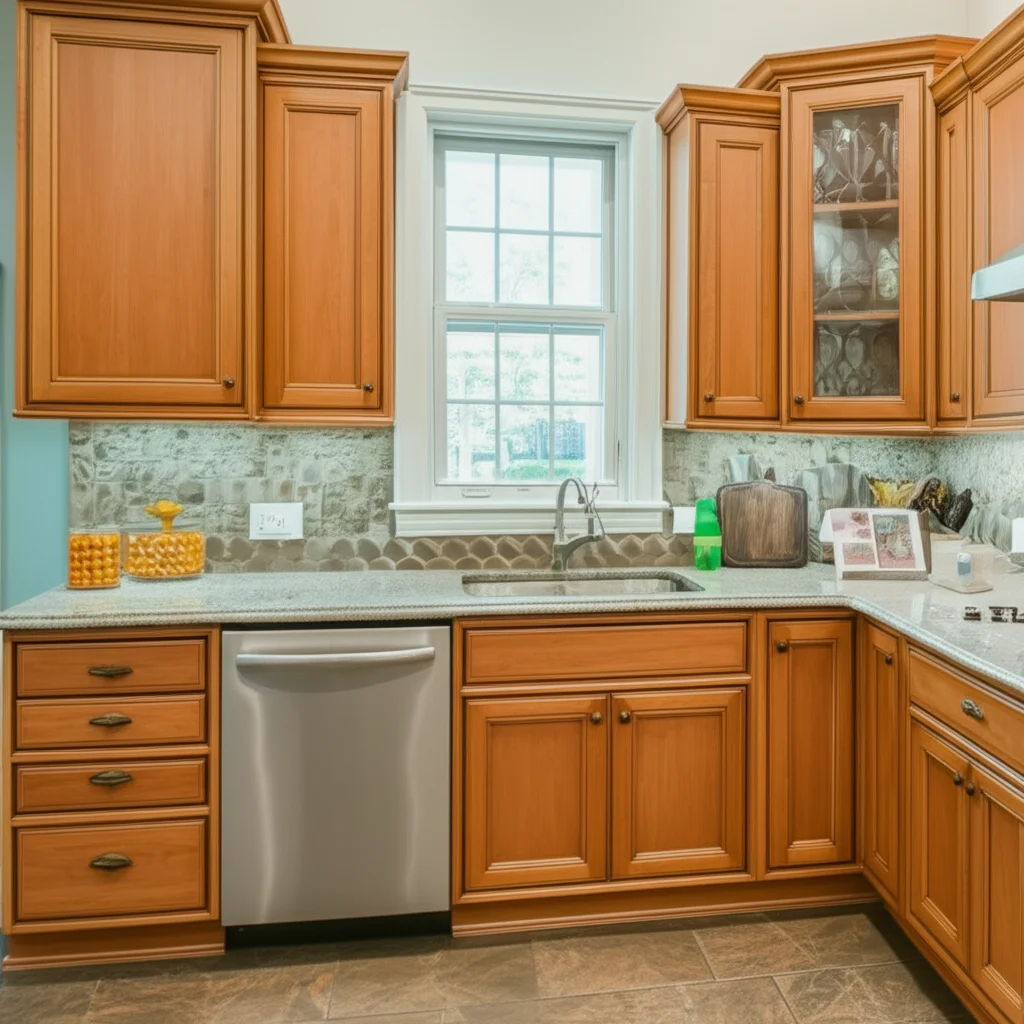
Many homes built in the 1990s or early 2000s feature cherry cabinets. They often have traditional styles. These can include raised panel doors or ornate details. While classic, these styles may not fit modern design trends. Homeowners might find their kitchens look dark or old-fashioned. They often want to lighten the space. They also want to achieve a more contemporary feel.
Updating cherry cabinets lets you keep good quality wood. You do not need to do a full renovation. This saves money and resources. You can choose different methods. These range from simple cosmetic changes to full refinishing. Each method offers a unique way to refresh your kitchen. The goal is to make the space feel bright and current.
Method 1: Transforming with Paint – A Bold Change
Painting cherry cabinets is one of the most dramatic ways to update them. Paint completely changes their color. This can lighten a dark kitchen. It can also introduce a modern color scheme. Many people choose light neutrals like white, gray, or off-white. These colors make kitchens feel open and airy. They also provide a clean backdrop.
Before painting, you must prepare the cabinets. This is a vital step. You need to clean them very well. Remove all grease and grime. Then, sand the surfaces lightly. This helps the primer stick. Applying a good primer is essential. It blocks the cherry’s natural red tones from bleeding through the paint. It also provides a smooth base. I always recommend using a shellac-based or oil-based primer. It gives the best coverage for wood.
After priming, apply two or three thin coats of paint. Use high-quality cabinet paint. A semi-gloss or satin finish is often durable and easy to clean. You can achieve a professional look with care. Take your time with each coat. Allow proper drying time between coats. This method can give your kitchen a completely new identity. For detailed instructions on preparing cabinets, see our guide on how to clean cabinets before painting.
Choosing the Right Paint Color
Selecting a paint color is a big decision. Light colors are popular for updating. Whites, creams, and light grays are common. They create a spacious, bright feel. You can also choose bold colors. Navy blue, deep green, or charcoal gray offer a sophisticated look. These colors work well in larger kitchens. They can add personality. Consider your wall color and natural light. Test samples on a few doors before painting everything. This helps you see how the color looks in your specific kitchen.
Painting Process Steps
- Remove Doors and Hardware: Take off all cabinet doors, drawer fronts, and hardware. Label them for easy reinstallation.
- Clean Thoroughly: Use a degreaser to clean all surfaces. This removes dirt and grease. Dirty cabinets lead to poor paint adhesion. Learn more about cleaning wood cabinets here: how to clean wood cabinets.
- Sand Lightly: Use fine-grit sandpaper (180-220 grit). Lightly scuff all surfaces. This creates a surface for the primer to grip.
- Prime: Apply an even coat of high-quality primer. Allow it to dry completely. Some cherry woods might need two coats of primer.
- Paint: Apply thin, even coats of cabinet paint. Use a good brush or roller. Paint cabinet frames first, then doors and drawers.
- Cure Time: Let the paint fully cure before reattaching hardware and hanging doors. This can take several days or weeks. Curing is different from drying.
Method 2: Renewing with Stain or Glaze – Enhancing the Wood
If you love the natural wood look, consider restaining or glazing your cherry cabinets. This method changes the tone of the wood. It still allows the beautiful grain to show through. You can lighten dark cherry. You can also deepen lighter cherry tones. This offers a more subtle transformation than painting.
Restaining involves stripping the old finish. This reveals the bare wood. Then you apply a new stain color. This is a labor-intensive process. It requires careful stripping and sanding. You must remove all old finish evenly. Any leftover finish will show through the new stain. After stripping, you apply the new stain. Then seal it with a clear topcoat. This protects the wood.
Glazing is an easier option. It adds a translucent layer of color over the existing finish. This changes the depth and tone. Glazes can add warmth, antique effects, or subtle shifts in color. They sit on top of the current finish. This means less prep work. You just need a clean, scuffed surface. It’s a great way to add character. It also refreshes the look without a full strip. Both options let you keep the wood’s inherent beauty. For more on refinishing, consider this guide: how to refinish cherry furniture.
Lightening Cherry Cabinets
Dark cherry can sometimes make a kitchen feel small. You can lighten the look without painting. One way is to use a pickling or liming wax. These products give a whitewashed effect. They make the wood appear lighter. The wood grain remains visible. This creates a soft, coastal, or farmhouse style. You can also use a light-colored gel stain. Gel stains sit on the surface more than traditional stains. This allows them to change the color without fully penetrating. It is less work than full stripping.
Another option is a cerusing technique. This highlights the wood grain with a light pigment. It gives a sophisticated, textured appearance. These methods require practice. Test them on an inconspicuous area first. They offer unique ways to brighten your existing cherry wood. They keep its natural character intact.
Darkening Cherry Cabinets
Sometimes, you want to deepen the cherry tone. Or you want to unify the color. A darker stain or glaze can achieve this. You can apply a darker gel stain directly over the existing finish. Make sure the cabinets are clean and lightly scuffed. This adds richness without heavy work. Dark glazes can create an aged look. They settle into the wood grain and details. This enhances the traditional beauty of cherry.
Consider using an espresso or walnut-toned stain. These colors can modernize the cherry. They provide a sleek, contemporary feel. Always test your chosen stain or glaze. Apply it on an unseen part of the cabinet. Or use a scrap piece of cherry wood. This ensures you like the final color before committing. Applying a clear topcoat after staining or glazing is vital. It protects the finish and makes it durable. If you need to fix mistakes, see how to get paint off cabinets.
Method 3: Upgrading Hardware and Fixtures – Small Changes, Big Impact
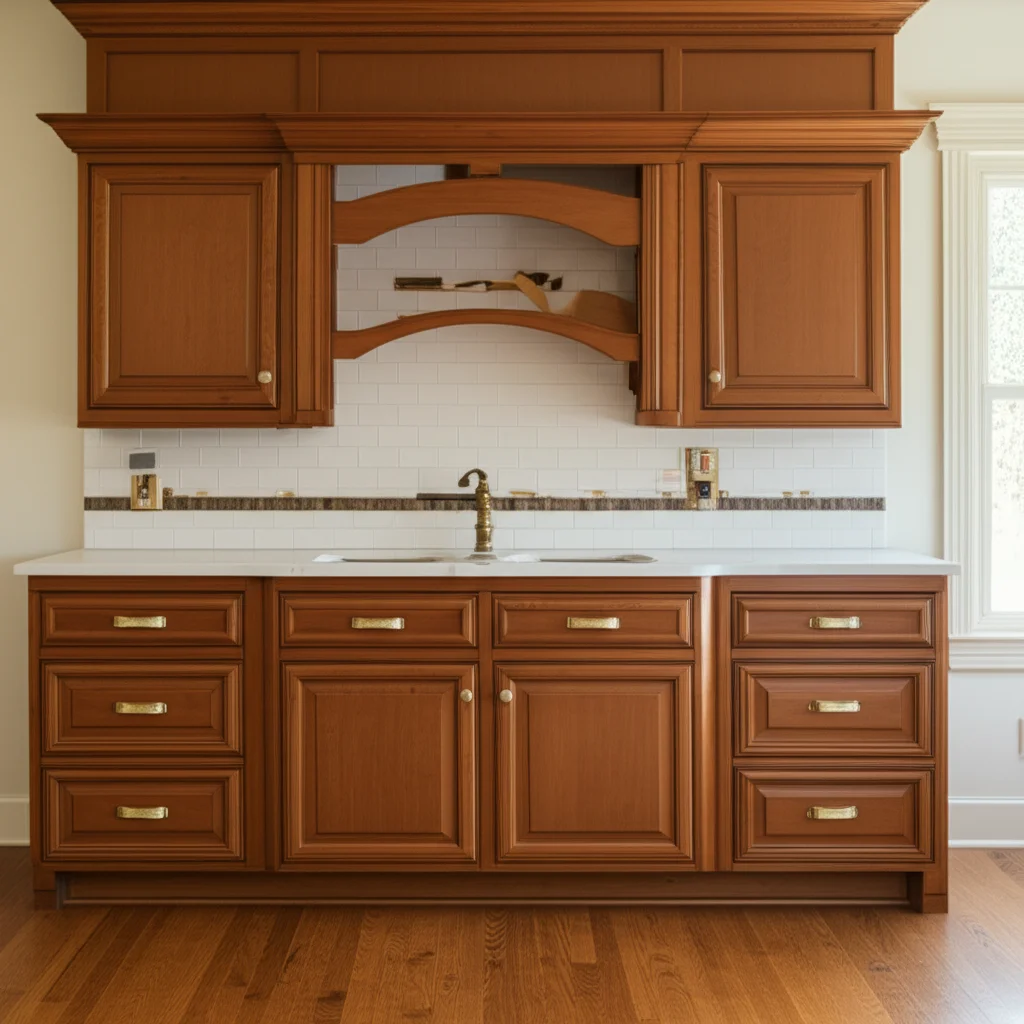
Changing cabinet hardware is the easiest and fastest way to update cherry cabinets. Old, ornate, or brass hardware can date a kitchen. New knobs, pulls, and hinges can instantly modernize the look. This small change makes a big impact. It requires no sanding or painting.
Consider different finishes for your new hardware. Brushed nickel and matte black are popular choices. They offer a contemporary feel. Polished chrome provides a sleek, reflective look. Gold or brass finishes can add warmth and elegance. These are coming back into style. Choose a style that matches your desired aesthetic. Simple bar pulls or sleek, minimalist knobs work well for modern kitchens. For a transitional style, try cup pulls or bin pulls. The choice of hardware can define your kitchen’s new personality.
Beyond hardware, updating light fixtures can also refresh the space. Old fixtures may cast poor light. They might look outdated. New pendant lights over an island or sleek ceiling lights can brighten the entire kitchen. Under-cabinet lighting is practical and adds ambiance. It highlights your new countertops or backsplash. These light changes make the kitchen feel current and inviting. They complement the updated cabinets.
Choosing New Knobs and Pulls
When selecting new hardware, consider several factors.
- Finish: Matte black provides a bold contrast. Brushed nickel or stainless steel offers a classic, versatile look. Champagne bronze or brushed gold brings warmth.
- Style: Simple bar pulls are modern. Round knobs are traditional. Cup pulls give a farmhouse vibe.
- Size: Make sure the size of the hardware fits the cabinet doors and drawers. Larger pulls can make a statement.
- Hole Spacing: Measure the distance between the holes on your current hardware. Try to find new hardware with the same spacing. This saves you from drilling new holes. If you choose different spacing, you will need to fill and re-drill.
New hardware is often affordable. It gives instant gratification. This is an excellent first step for any cabinet update project.
Enhancing with Lighting
Lighting plays a critical role in how a kitchen feels. Old, dim lighting makes cherry cabinets look even darker. Upgrading your light fixtures can completely change the atmosphere.
- Pendant Lights: Install stylish pendants over your kitchen island or peninsula. They add task lighting and visual interest.
- Under-Cabinet Lighting: LED strip lights or puck lights underneath upper cabinets illuminate your countertops. This provides practical task lighting and highlights your workspace. It also makes the cabinets appear lighter.
- Recessed Lighting: Add or update recessed lights in the ceiling. These provide general ambient light. They help brighten the entire room.
- Statement Chandelier: If your kitchen allows, a beautiful chandelier can serve as a focal point. It adds elegance and character.
Good lighting makes your updated cherry cabinets truly shine. It creates a welcoming and functional space.
Method 4: Integrating New Countertops and Backsplashes – Complementary Surfaces
Updating countertops and backsplashes can dramatically change the look of a kitchen. These surfaces cover large areas. They have a major visual impact. They also need to complement or contrast your cherry cabinets. Choosing the right materials and colors is important.
For cherry cabinets, lighter countertops work well. White or light gray quartz or granite can brighten the space. They provide a strong contrast to the warm wood. Marble patterns also look elegant. Darker countertops like black granite can create a sleek, dramatic look. They work best in kitchens with ample natural light. They also pair well with updated, lighter cabinet finishes if you chose to paint them.
The backsplash ties everything together. Subway tiles are a timeless choice. They come in many colors and finishes. White subway tile creates a clean, classic look. Glass tiles add sparkle and modernity. Patterned tiles can introduce texture and visual interest. Consider how the backsplash color interacts with both your cabinets and countertops. A continuous backsplash material can make a kitchen feel larger. A small, simple change can make a big difference.
Countertop Choices for Cherry Cabinets
- Quartz: Highly durable and non-porous. Available in many colors and patterns. White or light gray quartz with subtle veining looks excellent with cherry.
- Granite: Natural stone with unique patterns. Black, white, or light speckled granite can complement cherry. It adds natural beauty.
- Laminate: A budget-friendly option. Modern laminates offer convincing stone or wood patterns. They are easy to install.
- Butcher Block: Adds warmth and a natural element. It complements the wood of the cabinets. It needs regular maintenance.
Select a countertop that balances color and texture with your cabinets. It should also match your lifestyle.
Backsplash Ideas to Refresh
- White Subway Tile: Classic and clean. Provides a crisp contrast to cherry.
- Glass Tile: Adds a reflective, modern touch. Light blue, green, or gray glass can bring a cool tone.
- Patterned Tile: Hexagon, penny tile, or geometric patterns. These add visual interest and personality. Choose a pattern with colors that tie into your overall scheme.
- Simple Neutral Tile: Beige, cream, or light gray ceramic tiles. They offer a subtle backdrop. They let the cabinets or countertops be the focal point.
- Full-Height Backsplash: Extending the countertop material up the wall. This creates a seamless, luxurious look.
A well-chosen backsplash can elevate the entire kitchen design.
Method 5: Opening Up the Space – Shelving and Glass Inserts
Sometimes, updating cherry cabinets means changing more than just their color. You can open up the kitchen. This makes it feel larger and more modern. One way is to remove some upper cabinets. Replace them with open shelving. This creates an airy feel. It also provides a space for displaying decor.
Open shelves work well for showcasing beautiful dishes. They are also good for plants or cookbooks. Choose shelves that match your new kitchen style. Floating shelves in a light wood or white finish can look very contemporary. Make sure they are sturdy. They must hold your items securely. This change is perfect for kitchens that feel heavy or closed off.
Another idea is to replace solid cabinet door panels with glass inserts. This transforms traditional doors into display cases. It offers a sophisticated touch. You can use clear, frosted, or seeded glass. Clear glass allows you to showcase items inside. Frosted glass offers a more subtle display. It hides clutter while still lightening the visual weight. This small modification brightens the cabinets. It breaks up the uniform wood surface. It makes the kitchen feel more dynamic. These changes make the most of your existing cabinet structure.
Open Shelving Concepts
- Floating Shelves: Install shelves without visible brackets. They give a sleek, minimalist look. Choose a wood tone that complements the cherry or a contrasting color like white or black.
- Bracketed Shelves: Use decorative brackets. These can add to your kitchen’s style. Industrial metal brackets can offer a modern edge.
- Strategic Placement: Do not remove all upper cabinets. Remove just a few. This creates focal points. It also maintains storage space. Place shelves where they will look best. They should not feel cluttered.
- Styling: Arrange items thoughtfully. Use a mix of practical and decorative pieces. Vary heights and textures.
Open shelving transforms the kitchen. It makes it feel more welcoming.
Adding Glass Door Inserts
- Clear Glass: Ideal for displaying attractive dishware. Keeps the kitchen bright.
- Frosted Glass: Offers privacy for stored items. Still allows light to pass through. It creates a soft, diffused look.
- Seeded Glass: Has small air bubbles within the glass. Adds texture and a vintage charm.
- Mullions: Consider adding decorative grids (mullions) to the glass. These can add architectural detail. They give a classic or craftsman look.
Adding glass inserts is a custom project. You may need to hire a professional. It often involves routing out the existing door panel. Then the glass is inserted. This update elevates the cabinet’s appearance. It adds visual interest to your kitchen.
Method 6: Styling with Accessories and Decor – The Finishing Touches
After making big changes to your cherry cabinets, focus on the details. Accessories and decor complete the update. They tie everything together. These elements can significantly influence the overall feel of your kitchen. They do this without changing the cabinets themselves.
Start with textiles. Add a stylish rug to the kitchen floor. A runner in front of the sink or stove can add color and warmth. Choose a pattern or color that complements your new kitchen scheme. Kitchen towels and curtains also contribute to the aesthetic. They can soften the lines of cabinets. They bring in texture.
Bring in greenery. Plants add life and freshness to any space. A small herb garden on the windowsill or a trailing plant on an open shelf adds a natural touch. Use decorative objects. A collection of interesting pottery, a unique fruit bowl, or a stack of cookbooks can personalize your space. Choose items that reflect your style. Keep surfaces clutter-free. This creates a clean and intentional look. These small touches make your updated kitchen feel complete and inviting.
Incorporating Textiles and Rugs
- Kitchen Rugs: A well-placed rug adds comfort underfoot. It introduces color and pattern. Choose durable materials that are easy to clean.
- Window Treatments: Simple blinds or curtains can frame your windows. They soften natural light. Select fabrics that complement your new kitchen palette.
- Dish Towels and Linens: Choose towels in coordinating colors. They can add pops of accent color. They also add texture.
Textiles make a kitchen feel more lived-in and cozy. They complete the design.
Adding Greenery and Decorative Objects
- Live Plants: Small potted plants like herbs, succulents, or snake plants. They bring natural elements indoors. They improve air quality.
- Vases and Bowls: Use decorative vases with fresh flowers or a stylish fruit bowl. These add pops of color and organic shapes.
- Artwork: Hang small pieces of art on open walls. Or lean a framed print against the backsplash. This adds personality.
- Cookware and Utensils: Display attractive pots, pans, or wooden utensils. They can serve as functional decor.
Careful styling makes your kitchen feel professionally designed. It adds warmth and personality to the updated space.
Method 7: Deciding Between DIY and Professional Help – When to Call in Experts
You can update cherry cabinets yourself. Many DIY projects offer a rewarding experience. Painting, changing hardware, or adding open shelves are good DIY options. These tasks require patience and some basic tools. You can save a lot of money by doing the work yourself. Watching online tutorials and reading guides helps. Make sure you understand each step before you begin. For example, learning about how to renew wood cabinets can guide your DIY efforts.
However, some updates are better left to professionals. Full refinishing, which involves stripping and restaining, is very labor-intensive. It requires specific skills and equipment. Achieving an even, smooth finish on large surfaces is challenging. Installing new countertops often requires professional fabrication and installation. They ensure proper fit and sealing. Electrical work for new lighting should always be done by a licensed electrician for safety.
Consider your skill level, time commitment, and budget. If a project feels too complex, hire an expert. A professional can ensure a high-quality finish. They can also prevent costly mistakes. Get multiple quotes from different contractors. Ask to see their past work. Weigh the cost against the quality and convenience. Some updates are fine for DIY. Others need an expert. Knowing the difference helps you get the best results.
DIY Considerations
- Time: DIY projects often take longer than expected. Dedicate enough time for proper preparation, application, and drying.
- Skill Level: Assess your own abilities. Simple tasks like changing hardware are easy. Painting requires more precision. Refinishing needs a higher skill set.
- Tools: Do you have the necessary tools? Or will you need to buy or rent them?
- Cost Savings: DIY can save money on labor. However, quality materials are still an investment.
You can learn many DIY skills. Start with smaller projects. Build your confidence.
Professional Assistance
- Complex Projects: Large-scale painting jobs, full stripping and restaining, or custom cabinet modifications. These benefit from professional expertise.
- Countertop Installation: Countertops require precise measurements and heavy lifting. Professionals ensure a perfect fit and safe installation.
- Electrical Work: Always hire a licensed electrician for new lighting or electrical outlets. Safety is paramount.
- Quality Finish: Professionals often achieve a smoother, more durable finish. They have specialized equipment and experience.
Getting professional help ensures a high-quality outcome. It can also save you stress.
FAQ Section
Q1: Can I paint cherry cabinets without sanding them?
You can paint cherry cabinets without heavy sanding, but light sanding is best. Lightly scuffing the surface helps primer and paint stick. It is called “degreasing” or “deglossing.” You still need to clean the cabinets well. Use a good bonding primer. This ensures paint adhesion and durability. This method is faster but requires proper cleaning and primer use.
Q2: What are the best colors to paint cherry cabinets?
Light, neutral colors are popular choices. White, off-white, and light gray make kitchens feel brighter. They create a modern look. For a bold statement, deep blues, greens, or charcoal grays work well. These colors add sophistication. The best color depends on your kitchen’s light and overall style.
Q3: How do I update cherry cabinets on a small budget?
Update cherry cabinets on a small budget with new hardware. This is the cheapest and fastest change. You can also add peel-and-stick backsplash tiles. These are temporary and affordable. Improve lighting with LED strip lights under cabinets. Add new rugs or decor. These small changes make a big impact without major costs.
Q4: How long does it take to paint kitchen cherry cabinets?
Painting kitchen cherry cabinets takes several days. Preparation, like cleaning and sanding, takes one to two days. Priming and painting require two to three coats. Each coat needs drying time. The entire process might take a long weekend or a full week. Curing time for the paint takes longer, up to several weeks for full hardness.
Q5: Can I lighten cherry cabinets without painting them?
Yes, you can lighten cherry cabinets without painting. Use a pickling or liming wax to give a whitewashed look. This allows the wood grain to show through. You can also apply a light-colored gel stain. Gel stains sit on the surface. They change the tone without deep penetration. This keeps the natural wood visible.
Q6: What type of countertops pair well with cherry cabinets?
Lighter countertops pair well with cherry cabinets. White or light gray quartz, granite, or marble brightens the space. They provide a nice contrast. Darker countertops like black granite also work. They create a dramatic look. The best choice depends on your desired style. It also depends on the amount of natural light in your kitchen.
Conclusion
Updating your cherry cabinets can truly transform your kitchen. You do not need to replace them. You have many options. You can choose a fresh paint color or renew them with a new stain. Changing hardware offers an instant refresh. Adding new countertops and backsplashes gives a big visual impact. Even simple things like new lighting and decor make a difference.
Each step you take helps move your kitchen towards a modern look. Remember to prepare surfaces well for lasting results. Decide what projects you can do yourself. Know when to call a professional. You can create a kitchen that feels current and inviting. Start your cherry cabinet update today. Enjoy a refreshed and beautiful home.
- Cherry Cabinets
- Kitchen Renovation
- Cabinet Update
- DIY Home
- Cabinet Painting

Todd Martin
Senior Writer
With over 15 years of experience in home renovation and design, I started HEG to share what I’ve learned with homeowners who want to create spaces that are both beautiful and functional. I’ve always believed in a hands-on approach, and over the years, I’ve picked up practical solutions that actually work. Through HEG, I aim to make home improvement more approachable, sharing real tips that help you create a home you truly love.