· Todd Martin · Kitchen Maintenance · 12 min read
How To Deep Clean Air Fryer
Deep Clean Your Air Fryer: A Comprehensive Guide
Does your air fryer smell a bit off, or is it cooking food less efficiently? Over time, grease and food particles build up inside your appliance. This can affect its performance and even your food’s taste. Learning how to deep clean your air fryer ensures it runs well and lasts longer.
This guide provides simple, step-by-step instructions. We will cover everything from essential tools to tackling stubborn grime. You will also learn about specific methods for different parts and how to prevent future buildup. Let’s make your air fryer sparkle and cook like new.
Takeaway
- Gather Tools: Collect simple supplies like dish soap, baking soda, vinegar, and soft brushes.
- Disassemble Carefully: Separate all removable parts before starting.
- Soak for Success: Let greasy components soak in warm, soapy water to loosen grime.
- Target Stubborn Spots: Use baking soda paste for tough, caked-on residue.
- Clean Inside and Out: Pay attention to the heating element and interior cavity, avoiding excess moisture.
- Ensure Dryness: Fully dry all parts before reassembly to prevent mold and odors.
- Maintain Regularly: Perform light cleaning after each use to extend deep cleaning intervals.
To deep clean your air fryer effectively, first unplug and cool the unit. Then, remove all detachable parts like the basket and tray. Soak these in warm, soapy water. Use a baking soda paste for stubborn grime. Carefully wipe the interior and heating element with a damp cloth. Finally, dry all components completely before reassembly.
Why Deep Cleaning Your Air Fryer Matters
Your air fryer works hard to cook your favorite foods. Over time, cooking oils and food bits accumulate inside the unit. This buildup does more than just look unsightly. It can cause problems for your appliance.
A dirty air fryer can produce unpleasant odors during cooking. These smells may transfer to your food, affecting its flavor. You might also notice smoke coming from your air fryer. This often happens when old grease burns on the heating element.
Buildup also impacts the air fryer’s efficiency. Grease and crumbs can block airflow. This makes your air fryer work harder to reach desired temperatures. Food may not cook evenly or crisp up as well.
Regular deep cleaning helps your air fryer perform its best. It maintains consistent cooking temperatures. It also ensures proper air circulation. This results in tastier, healthier meals.
Moreover, deep cleaning extends the lifespan of your appliance. Accumulated grime can degrade internal components over time. Removing this buildup protects the heating element and fan. This saves you money on potential repairs or replacements. A clean air fryer is a happy, long-lasting air fryer. For general cleaning tips, learn how to clean an air fryer.
Essential Tools and Supplies for Air Fryer Deep Cleaning
Before you begin your deep cleaning process, gather all necessary tools and supplies. Having everything ready makes the job smoother. You likely already own most of these items. Preparation ensures a thorough and efficient clean.
You will need common household cleaning agents. Dish soap is essential for breaking down grease. White vinegar is excellent for cutting through grime and neutralizing odors. Baking soda forms a powerful paste for tough spots. You might also consider a mild degreaser for extreme grease buildup.
A variety of cleaning tools will help you reach every nook and cranny. A soft-bristled brush, like a dish brush, is perfect for scrubbing. Non-abrasive sponges or microfiber cloths are good for wiping surfaces without scratching them. An old toothbrush can reach tight spots and crevices. Cotton swabs are also useful for small areas around the heating element.
Safety is important when cleaning appliances. Always wear rubber gloves to protect your hands from cleaning solutions. Ensure your workspace is well-ventilated. This helps disperse any fumes from cleaning agents. With these items at hand, you are ready to make your air fryer spotless.
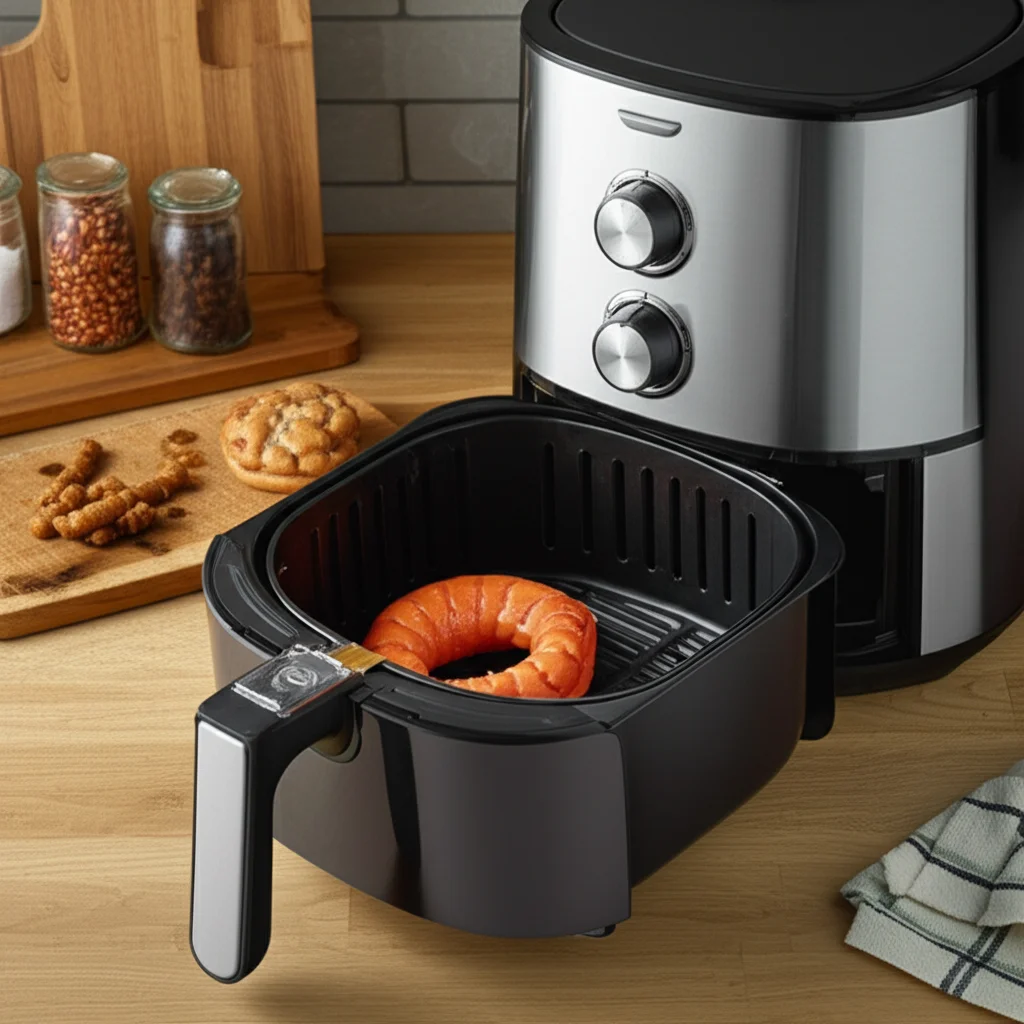
Step-by-Step Guide to Disassembling Your Air Fryer for Cleaning
Proper disassembly is the first real step in deep cleaning your air fryer. This allows you to access all the parts that collect grease and food residue. Always ensure your air fryer is completely cool and unplugged before you start. Safety comes first to prevent burns or electric shocks.
Begin by pulling out the air fryer basket. This is usually the main cooking compartment. Some models have a separate crisper plate or rack inside the basket. Remove this part as well. Many air fryers also have a drip pan that sits below the basket. Take this out too.
Look for any other removable trays or accessories your specific model might have. Some larger air fryer ovens include multiple racks or rotisserie parts. These often slide out easily. Check your air fryer’s user manual if you are unsure about which parts are removable. The manual provides specific instructions for your model.
Once all the detachable components are out, you can set them aside for separate cleaning. You will then have better access to the interior cavity and heating element. Remember to handle each part carefully to avoid damage. Knowing how to clean air fryer racks and how to clean your air fryer basket will be helpful here.
Tackling Grease and Food Residue on Removable Parts
Now that you have disassembled your air fryer, it is time to tackle the greasy components. The basket, pan, and racks usually accumulate the most stubborn grime. A good soak is often the best starting point for these parts. Fill your sink with warm water and a generous amount of dish soap. Submerge all the removable parts in this soapy water. Let them soak for at least 30 minutes, or even an hour for very greasy items. The warm water and soap will help loosen the hardened grease and food residue.
For particularly stubborn spots or baked-on food, a baking soda paste works wonders. Mix a few tablespoons of baking soda with just enough water to form a thick paste. Apply this paste directly to the problem areas. Let it sit for 15-20 minutes. The abrasive nature of baking soda, combined with its ability to absorb grease, helps lift tough stains. You can gently scrub with a non-abrasive sponge or a soft brush.
After soaking and treating with baking soda, scrub the parts thoroughly. Use a soft-bristled brush or a non-abrasive sponge. Pay close attention to corners and crevices where food might hide. Rinse each part completely under warm running water. Ensure all soap residue and baking soda are gone. Finally, dry each piece thoroughly with a clean towel. This prevents water spots and rust. This process is key to how to clean grease from an air fryer.
Cleaning the Air Fryer Interior and Heating Element
With the removable parts clean, turn your attention to the air fryer’s main body. This part requires a gentler approach. Never immerse the main unit in water. First, turn the air fryer upside down if possible. This gives you better access to the interior and the heating coil. You will often find grease splatter and crumbs here.
Use a damp, soft cloth to wipe down the interior walls. A solution of warm water and a tiny bit of dish soap works well. For stubborn spots inside, you can use a small amount of baking soda paste. Apply it to the area, let it sit for a few minutes, then gently wipe it away. Be careful not to let excess liquid drip into any electrical components.
The heating element is a critical area. It often collects baked-on grease that causes smoke. Use a soft-bristled brush or an old toothbrush to gently scrub the heating coil. Avoid using water directly on the element. For tougher residue, a slightly damp cotton swab can be effective. Make sure the swab is barely moist. Be very gentle to avoid bending or damaging the coil. This step helps maintain your air fryer’s efficiency. For larger air fryer models, understanding how to clean an air fryer oven can offer additional insights for comprehensive cleaning.
After cleaning the heating element and interior walls, use a clean, dry microfiber cloth. Wipe down all surfaces again. Ensure no moisture remains. Allowing the interior to air dry completely is also a good idea. This prevents mold growth and electrical issues. A clean interior ensures your air fryer performs safely and effectively.
Odor Removal and Prevention for a Fresh Air Fryer
Even after a thorough deep clean, some air fryers can retain lingering odors. These smells often come from old cooking oils or strong-smelling foods. Getting rid of these stubborn odors makes your air fryer truly fresh. This step ensures your next meal tastes exactly as it should.
One effective method involves natural deodorizers. Place a small bowl filled with white vinegar inside your air fryer. Close the drawer and let it sit for several hours or overnight. Vinegar is a powerful odor absorber. Alternatively, you can use a bowl of baking soda. Baking soda also works well to neutralize smells.
Another trick is to “air fry” some natural odor removers. Slice a lemon and place the slices in the air fryer basket. Add about a cup of water to the pan. Run the air fryer at a low temperature, around 300°F (150°C), for 10-15 minutes. The lemon steam helps to cleanse the air and leave a fresh scent. You can also try this with a few drops of vanilla extract in water.
To prevent future odors, good habits are key. Always wipe down your air fryer after each use. Pay attention to the basket and pan. Allow parts to cool completely before cleaning. Ensure everything is thoroughly dry before storing the air fryer. This prevents moisture buildup, which can lead to stale smells. Regular light cleaning significantly reduces the need for frequent deep odor removal. Consider specific cleaning tips if you have a combined unit, as how to clean an air fryer toaster oven might have slightly different considerations.
Reassembling and Maintaining Your Clean Air Fryer
Once all parts of your air fryer are spotless and completely dry, it’s time for reassembly. This step is crucial for safe and proper operation. First, double-check that every component is bone dry. Any residual moisture can lead to electrical hazards or mold growth. This simple check prevents future issues.
Start by carefully placing the drip pan back into the main unit. Ensure it sits correctly at the bottom. Next, insert the crisper plate or rack into the air fryer basket. Align it properly so it rests flat. Then, slide the assembled basket and pan back into the air fryer’s main cavity. Make sure it clicks securely into place, if your model has a locking mechanism.
After reassembly, your air fryer is ready for use. To keep it in top condition, establish a regular maintenance routine. After every use, wipe down the basket and pan with a paper towel or damp cloth once they cool. This prevents grease from hardening. You can also use parchment paper liners or silicone mats in the basket. These catch food drips and make cleanup easier.
Deep clean your air fryer every 1-2 months, depending on how often you use it. If you cook greasy foods frequently, deep cleaning might be needed more often. Consistent cleaning prolongs your air fryer’s life. It also ensures optimal performance and delicious, healthy meals every time. This proactive approach saves time and effort in the long run.
FAQ Section
Q1: How often should I deep clean my air fryer?
You should deep clean your air fryer every 1 to 2 months. This frequency depends on how often you use the appliance. If you cook greasy foods often, clean it more frequently. Regular deep cleaning prevents stubborn buildup. It also helps your air fryer perform better and last longer.
Q2: Can I use a dishwasher for air fryer parts?
Many air fryer baskets and pans are dishwasher safe. Always check your air fryer’s specific user manual first. Some parts may have non-stick coatings that could be damaged by harsh dishwasher detergents or high heat. Hand washing often ensures the longevity of these coatings.
Q3: What if my air fryer still smells after cleaning?
If your air fryer still has an odor, it usually means some residue remains. Try the lemon and water trick: air fry lemon slices with water for 10-15 minutes. You can also place a bowl of white vinegar or baking soda inside the air fryer overnight. Ensure all parts are completely dry after cleaning.
Q4: How do I clean the heating element without damaging it?
Clean the heating element gently. Use a soft-bristled brush or an old toothbrush to remove crumbs and grease. For stubborn spots, a slightly damp cotton swab can work. Never use abrasive scrubbers or excessive water directly on the heating coil. Always ensure the air fryer is unplugged and cool.
Q5: Are there any commercial air fryer cleaners I can use?
Yes, some commercial degreasers and appliance cleaners are available. Always choose products labeled as safe for non-stick surfaces and kitchen appliances. Test any new cleaner on an inconspicuous area first. Natural cleaners like baking soda and vinegar are often just as effective and safer.
Q6: Can I use abrasive cleaners on my air fryer?
No, avoid using abrasive cleaners, scouring pads, or steel wool on your air fryer. These materials can scratch the non-stick coating on the basket and pan. Scratches can lead to flaking and reduce the effectiveness of the non-stick surface. Always opt for soft cloths, sponges, or silicone brushes.
Conclusion
Deep cleaning your air fryer is a simple yet vital task. It ensures your appliance remains hygienic and performs optimally. By following these straightforward steps, you can effectively remove built-up grease and food residue. This process prevents unpleasant odors and potential smoke during cooking. It also extends the lifespan of your valuable kitchen tool.
Remember to gather your simple supplies, disassemble parts carefully, and tackle each component with appropriate methods. Pay special attention to the heating element and ensure thorough drying before reassembly. Regular maintenance after each use will make deep cleaning easier next time. Take pride in your clean air fryer. Enjoy perfectly cooked, delicious meals every time you use it. Your air fryer will thank you with years of faithful service.
- air fryer cleaning
- kitchen cleaning
- appliance maintenance
- grease removal
- deep cleaning tips

Todd Martin
Senior Writer
With over 15 years of experience in home renovation and design, I started HEG to share what I’ve learned with homeowners who want to create spaces that are both beautiful and functional. I’ve always believed in a hands-on approach, and over the years, I’ve picked up practical solutions that actually work. Through HEG, I aim to make home improvement more approachable, sharing real tips that help you create a home you truly love.