· Todd Martin · Home Improvement · 19 min read
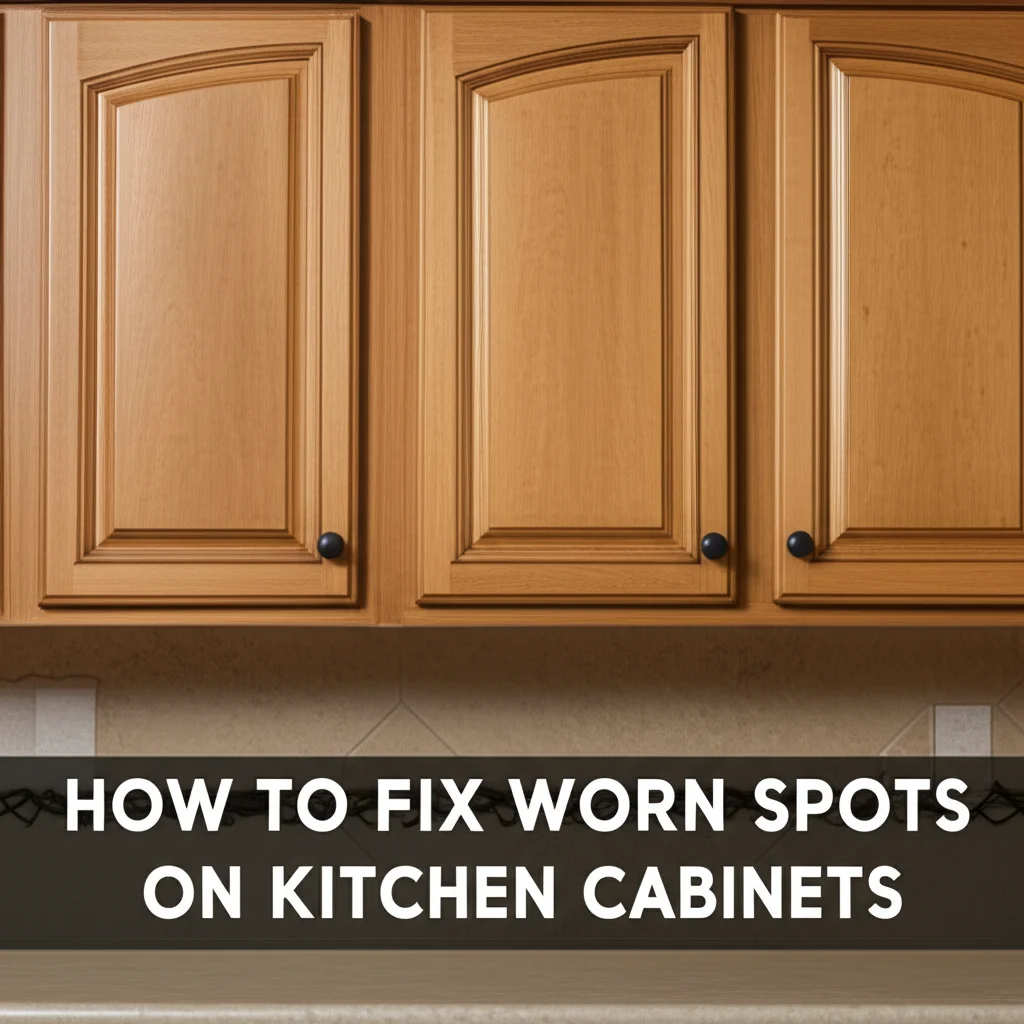
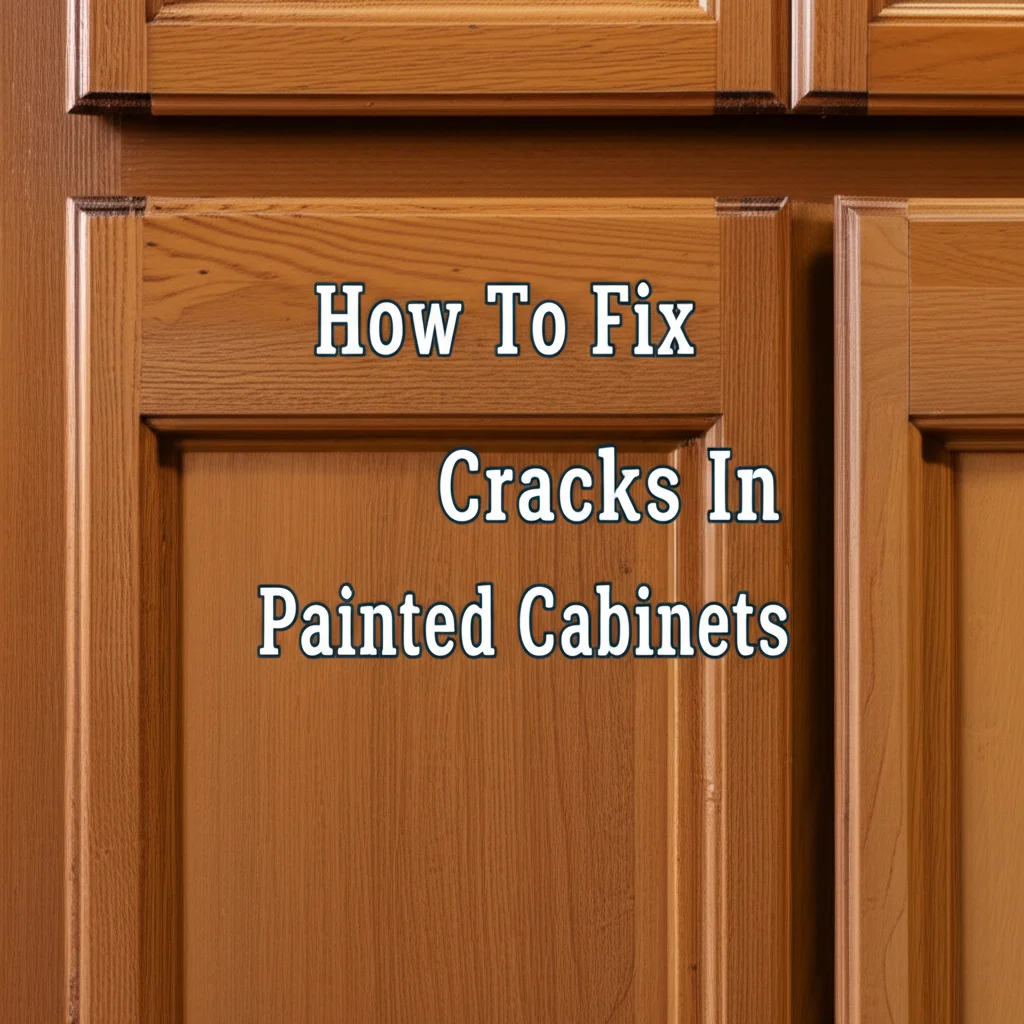
How To Fix Worn Spots On Kitchen Cabinets

How to Fix Worn Spots on Kitchen Cabinets
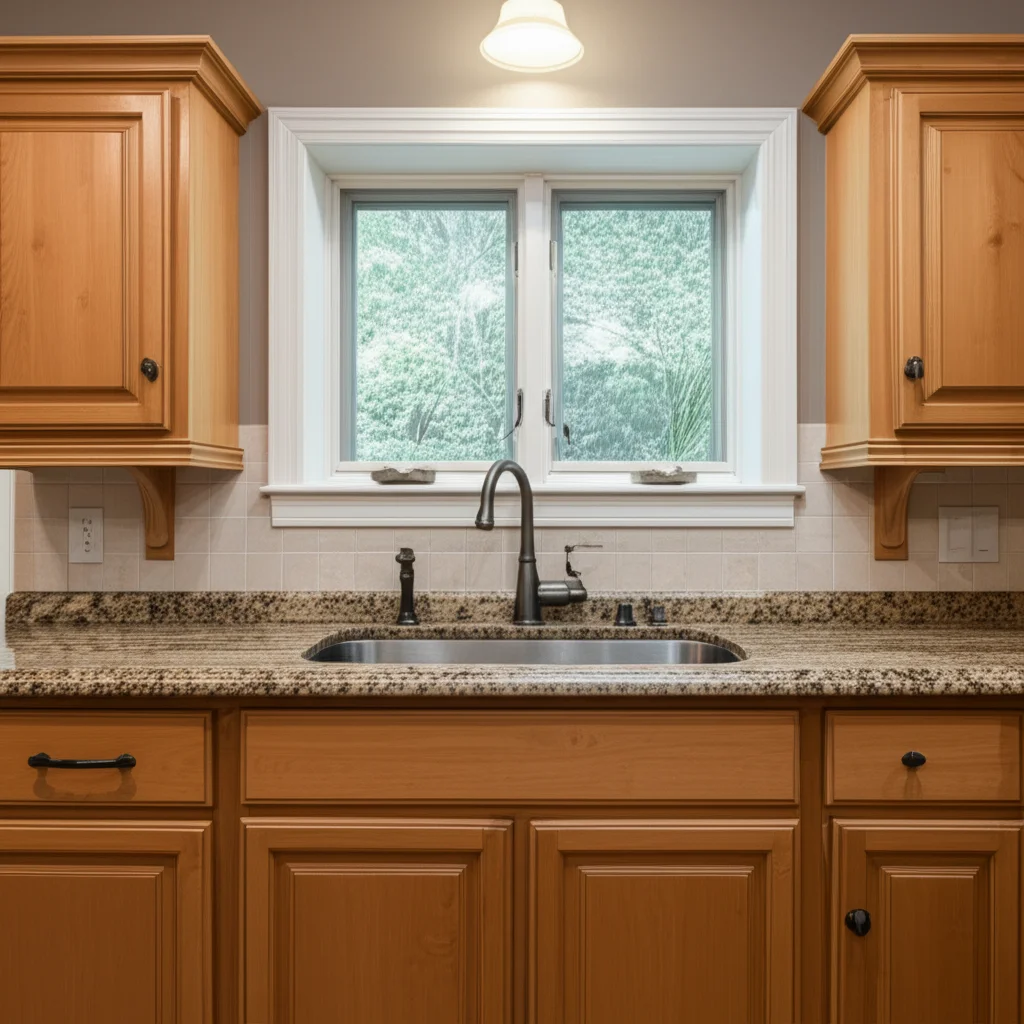
Kitchen cabinets are a central part of our homes. They see constant use, which means they often show signs of wear. Worn spots, faded areas, or chips can make your kitchen look tired. You do not need to replace all your cabinets to bring them back to life. I have found that a few simple repair techniques can make a big difference.
This guide will show you exactly how to fix worn spots on kitchen cabinets. We will cover identifying damage, preparing surfaces, and applying various repair methods for both wood and painted finishes. You will learn easy DIY solutions and know when to seek professional help. My goal is to help you restore beauty and function to your kitchen cabinets.
Takeaway:
- Identify the type of worn spot (scratch, chip, fade) to choose the right repair method.
- Clean cabinets thoroughly before any repair.
- Use touch-up pens, markers, or polish for minor wood imperfections.
- Patch and repaint small chips on painted cabinets for a seamless look.
- Address deeper damage with wood filler, sanding, and refinishing.
- Regular cleaning and preventative measures extend cabinet life.
To fix worn spots on kitchen cabinets, first clean the surface well. Then, identify the type of damage: for minor scratches on wood, use a touch-up pen or wood polish. For chips on painted cabinets, apply a small amount of paint. Deeper damage may require wood filler and sanding before matching the finish.
Understanding Common Cabinet Wear and Damage
Kitchen cabinets endure daily use, leading to various types of wear. Understanding these common problems helps you choose the right repair method. Different materials show wear in unique ways. Wood cabinets often display scratches or faded areas. Painted cabinets frequently show chips or peeling paint.
Knowing the specific issue is the first step in effective repair. We interact with cabinets many times each day. This constant contact causes friction and impact. Over time, these actions create noticeable damage.
Types of Worn Spots You Will Encounter
You will see several kinds of damage on kitchen cabinets. Each type requires a specific approach. Here are the most common worn spots.
- Scratches and Scuffs: These are surface marks. They appear from objects brushing against the cabinet. Keys, rings, or even cooking utensils can cause them. They are usually not deep.
- Faded Areas: Sunlight or cleaning products can cause fading. This often happens on cabinet doors or drawer fronts. The color looks dull compared to other parts.
- Chipped Paint or Finish: Hard impacts create chips. Paint or finish pieces break away. These spots expose the material underneath. This is common near handles or edges.
- Gouges and Dents: Heavier impacts cause gouges. These are deeper than scratches. Dents are indentations in the wood. They alter the surface texture.
- Water Marks or Stains: Splashes from the sink or spills leave marks. Water can penetrate the finish. This leads to discoloration or swelling. You can often fix these with specific treatments. Learn how to fix white spots on wood table for similar issues.
Identifying the damage correctly ensures a good repair. Do not guess the problem. Inspect the cabinet closely. Note the size, depth, and type of wear. This detailed assessment guides your repair strategy. My experience shows that a good diagnosis prevents further work.
Preparing Kitchen Cabinets for Repair
Proper preparation is vital before you fix any worn spot on your kitchen cabinets. Skipping this step can lead to a poor repair that does not last. Cleaning the surface removes dirt, grease, and grime. This allows repair materials to adhere correctly. A clean surface ensures a smooth, durable finish.
I always start with a thorough cleaning. It reveals the true extent of the damage. Sometimes, a good cleaning alone makes minor imperfections disappear. This step also prevents trapping dirt under new finishes.
Step-by-Step Cleaning Process
Cleaning your cabinets is simple. Gather your cleaning supplies first. You will need mild soap, warm water, and soft cloths. For tougher grease, consider a degreaser.
- Empty and Clear: Remove all items from inside the cabinets. Take off any hardware like knobs or pulls if they are in the way. This gives you full access to the surface.
- Initial Wipe Down: Use a damp cloth to wipe down the entire cabinet surface. This removes loose dust and crumbs.
- Degrease and Clean: Mix a small amount of mild dish soap with warm water. Dampen a soft cloth with this solution. Wipe down all cabinet surfaces, focusing on greasy or sticky areas. For stubborn grease, a dedicated kitchen degreaser works well. Always follow product instructions. You can find more tips on how to clean grease from kitchen cabinets.
- Rinse Thoroughly: Use a separate cloth dampened with plain water to wipe away all soap residue. Do not leave any soap film behind. It can affect the new finish.
- Dry Completely: Allow the cabinets to dry completely before proceeding. You can use a clean, dry cloth or let them air dry. Moisture can ruin a repair. This step is crucial for successful repairs. You want a dry, clean base.
Inspecting and Assessing Damage
After cleaning, carefully inspect the worn spots. This assessment determines the best repair method. Look at the type, depth, and location of each imperfection.
- Wood Cabinets: Look for surface scratches, deeper gouges, or areas where the stain has faded. Check for water rings or discolored patches. Pay attention to edges and corners, where wear is often most pronounced.
- Painted Cabinets: Identify chipped areas, peeling paint, or scuffs that have removed the top layer of paint. Note if the damage is only on the surface or if it goes down to the bare wood. For painted cabinets, a good cleaning is crucial, as described in how to clean painted cabinets.
Use good lighting for your inspection. A flashlight can help highlight subtle damage. My advice is to make a list of each damaged area. Note what type of repair each spot will need. This organized approach saves time and ensures you address every issue.
Fixing Minor Scratches and Scuffs on Wood Cabinets
Minor scratches and scuffs are common on wood kitchen cabinets. These superficial marks do not require extensive work. You can often make them disappear or blend in with simple products. This type of repair is quick and effective for surface-level damage. It preserves the natural beauty of the wood grain.
I find these fixes very satisfying. They restore the cabinet’s appearance without much effort. The key is to match the wood tone as closely as possible.
Using Touch-Up Pens and Markers
Touch-up pens and furniture markers are excellent for small scratches. They contain stain or pigment that blends with your cabinet color. These tools are easy to use. They are perfect for covering light scratches that do not penetrate deep into the wood.
- Choose the Right Color: Select a marker or pen that matches your cabinet’s stain or wood tone. Test it on an inconspicuous area first. The goal is to blend, not to stand out.
- Apply to the Scratch: Carefully draw along the scratch with the pen or marker. Use light, even strokes. Do not press too hard.
- Wipe Excess: Immediately wipe away any excess product with a clean, soft cloth. This prevents a darker line. Blend the color into the surrounding wood.
- Repeat if Needed: If the scratch is still visible, apply another thin layer. Build up the color slowly.
- Seal (Optional): For added durability, apply a thin coat of clear topcoat or furniture wax over the repaired area. This protects the repair.
Applying Wood Polish or Scratch Cover
For very light scuffs or faded areas, wood polish or scratch cover products work wonders. These products often contain dyes or oils that rejuvenate the wood. They can also fill in very fine scratches.
- Clean the Area: Ensure the cabinet surface is clean and dry. Dust or grime will hinder the polish.
- Apply Product: Put a small amount of wood polish or scratch cover liquid onto a soft cloth. Do not apply directly to the cabinet.
- Rub into Worn Area: Gently rub the cloth into the scratched or faded area. Use a circular motion. Apply light pressure.
- Buff: Use a clean, dry part of the cloth to buff the area. This brings out the shine. It also helps the product penetrate.
- Repeat: If the damage persists, apply another layer. Continue buffing until the scratch is less visible. This method works well for general wear. For general care, knowing how to clean wood cabinets is very helpful.
These methods are simple and cost-effective. They are ideal for quick fixes. They help maintain the appearance of your wood cabinets. My experience shows these are often enough for common wear.
Repairing Chipped Paint and Faded Areas on Painted Cabinets
Painted kitchen cabinets can suffer from chips and faded spots. These issues are often more noticeable than damage on stained wood. A chipped edge or a faded panel stands out. However, you can fix these problems with careful patching and painting. This restores a uniform look to your cabinets.
I have found that patience is key with painted finishes. A rushed repair looks messy. Take your time to achieve a smooth, blended finish.
Patching Chipped Paint Effectively
Chipped paint exposes the underlying material. This makes the chip highly visible. Patching helps fill the missing paint.
- Clean the Chipped Area: Ensure the chipped area is clean and dry. Gently remove any loose paint flakes around the chip. Use fine-grit sandpaper (220-grit) to lightly smooth the edges of the chip. This creates an even surface for new paint.
- Apply Wood Filler (if needed): If the chip is deep and exposes the bare wood or substrate, apply a small amount of wood filler. Use a putty knife to spread it thinly and evenly. Allow it to dry completely according to product instructions. Sand the dried filler smooth with fine-grit sandpaper.
- Prime the Spot: Apply a thin layer of primer to the patched area. This step is crucial for good paint adhesion and color consistency. Let the primer dry fully.
- Apply Touch-Up Paint: Use a small artist’s brush to apply a thin coat of matching cabinet paint. Apply only to the chipped area. Do not paint beyond the edges.
- Feather the Edges: Lightly feather the edges of the new paint into the existing paint. This helps blend the repair. Let the first coat dry.
- Apply Second Coat: Apply a second thin coat of paint if needed. Let it dry completely. The goal is to build up the paint layers to match the surrounding surface level.
Restoring Faded Painted Cabinets
Fading occurs when paint loses its vibrancy. Sunlight is a common cause. Regular use or certain cleaning products can also contribute. Restoring faded paint brings back the cabinet’s original color.
- Clean the Faded Area: Thoroughly clean the entire faded cabinet door or panel. Use a mild soap and water solution. Rinse and dry completely. This removes any film that might contribute to the dull appearance. For stubborn grime on painted surfaces, consider specific cleaning methods for how to clean kitchen cabinets without removing finish.
- Light Sanding (Optional): If the fade is significant or the surface feels rough, lightly sand the entire faded area with 220-grit sandpaper. This creates a better surface for new paint. Wipe away all dust.
- Apply Fresh Paint: Apply a thin, even coat of your matching cabinet paint to the entire faded panel or door. Use a high-quality brush or a small foam roller for a smooth finish. Painting the entire panel ensures an even color. Trying to just paint the faded spot will often result in a noticeable patch.
- Allow to Dry and Apply Second Coat: Let the first coat dry completely. Apply a second coat if necessary to achieve full coverage and color depth.
- Seal for Durability: Once the paint is dry, consider applying a clear topcoat. This protects the new paint and adds durability. It also provides a consistent sheen.
These steps help you restore painted cabinets effectively. They make chips disappear and bring faded areas back to life. A well-executed repair blends seamlessly with the rest of your kitchen.
Addressing Deeper Damage: Dents, Gouges, and Finish Loss
Sometimes, cabinet damage goes beyond surface scratches or chipped paint. Dents, deep gouges, or extensive finish loss require more involved repair techniques. These issues penetrate the wood or severely compromise the protective layer. Addressing them properly prevents further damage and restores the cabinet’s integrity.
I have found that deeper repairs need more patience and precision. The goal is to rebuild the damaged area and then seamlessly integrate it with the surrounding finish.
Repairing Dents and Gouges in Wood
Dents and gouges are mechanical damages to the wood. They deform the surface or remove wood material.
- Clean the Damaged Area: Thoroughly clean the dented or gouged area. Remove any loose wood fibers or debris. A clean surface ensures proper adhesion of repair materials.
- Steam Out Dents (for shallow dents): For shallow dents, place a damp cloth over the dent. Lightly iron over the cloth with a hot iron for a few seconds. The steam makes the wood fibers swell and rise. Repeat if necessary. Be careful not to burn the wood.
- Fill Gouges with Wood Filler: For deeper gouges or dents that do not steam out, use wood filler. Select a wood filler that matches or can be stained to match your cabinet color. Apply a small amount of filler to the gouge using a putty knife. Press it firmly into the void. Overfill slightly.
- Smooth and Dry: Smooth the filler with the putty knife. Ensure it is flush with the surrounding surface. Let the filler dry completely according to product instructions.
- Sand the Repaired Area: Once dry, sand the filled area with fine-grit sandpaper (220-grit, then 320-grit). Sand until it is smooth and level with the rest of the cabinet. Wipe away all dust.
- Match the Finish: If your cabinets are stained, apply a matching wood stain to the filled area. If they are painted, prime and paint the area as described in the previous section. For a perfect match, you might need to blend multiple stain colors. For more involved changes to cabinet color, consider how to change the colour of kitchen cabinets.
Restoring Extensive Finish Loss
Extensive finish loss means a large area of the cabinet has lost its protective topcoat or stain. This can be due to severe abrasion, chemical spills, or prolonged moisture exposure. Restoring it involves reapplication of the finish.
- Clean and Prepare: Clean the entire affected cabinet surface. Remove all dirt, grease, and loose finish. For areas with peeling or severely damaged finish, gently scrape away loose bits.
- Light Sanding: Lightly sand the entire area with 220-grit sandpaper. This creates a good surface for the new finish to adhere to. For very rough areas, start with a slightly coarser grit (e.g., 150-grit) then progress to finer grits. Smooth out any imperfections. Wipe away all sanding dust thoroughly.
- Reapply Stain (for stained cabinets): If your cabinets are stained, reapply a matching wood stain. Use a clean cloth or foam brush to apply an even coat. Wipe off excess stain according to product directions to achieve the desired depth of color. Let it dry completely.
- Apply Topcoat (for all cabinets): Once the stain is dry (if applicable), or directly after sanding for painted cabinets without full repaint, apply a clear protective topcoat. Options include polyurethane, lacquer, or varnish. Apply thin, even coats with a quality brush or sprayer. Follow the product’s recoat times. Multiple thin coats are better than one thick coat.
- Light Sanding Between Coats: For a super smooth finish, lightly sand between topcoats with very fine sandpaper (e.g., 400-grit). Always wipe away dust before applying the next coat.
- Final Cure: Allow the final topcoat to cure fully. This can take several days or even weeks, depending on the product. Avoid heavy use during this time.
These steps help tackle more significant damage. They require a bit more effort. However, the result is a beautifully restored cabinet surface that looks almost new.
Preventative Measures and Ongoing Cabinet Maintenance
Once you have invested time and effort into fixing worn spots on your kitchen cabinets, you want to keep them looking good. Preventative measures and regular maintenance are crucial. They stop new worn spots from forming. They also extend the life of your cabinet finish. This means less repair work for you in the future.
I always advise homeowners to adopt a proactive approach. It saves a lot of hassle down the line. A little effort consistently makes a big difference.
Protecting Cabinets from Future Wear
Protecting your cabinets involves simple habits and additions. These small changes guard against the most common causes of wear.
- Install Cabinet Bumpers: Place small, clear adhesive bumpers on the inside corners of cabinet doors and drawers. These absorb shock when the door closes. They prevent chipping and denting. They also reduce noise.
- Use Drawer and Shelf Liners: Line your drawers and cabinet shelves. This protects the interior finish from scratches by cookware or utensils. Liners are easy to replace.
- Be Mindful of Hot/Wet Items: Avoid placing hot pots directly on cabinet surfaces. Use trivets or cooling racks. Immediately wipe up any spills, especially water. Moisture causes swelling and finish damage.
- Handle with Care: Encourage everyone in the household to open and close cabinets gently. Avoid slamming doors. This reduces stress on hinges and the cabinet finish.
- Protect from Sunlight: If your kitchen gets direct, strong sunlight, consider window coverings. Prolonged sun exposure fades cabinet finishes over time.
Regular Cleaning and Care Routine
A consistent cleaning routine is the best defense against accumulated grime and minor damage. Regular cleaning keeps surfaces free from abrasive particles and corrosive substances.
- Daily Wipes: After cooking, quickly wipe down cabinet fronts near the stove and sink. Use a damp cloth to remove fresh splatters and fingerprints. This prevents grease buildup.
- Weekly Cleaning: Once a week, wipe down all cabinet surfaces with a mild, damp cloth. Use plain water or a very diluted, mild soap solution. This prevents dirt from hardening.
- Monthly Deep Clean: Every month, do a more thorough cleaning. Use a mild all-purpose kitchen cleaner or a solution specifically for your cabinet material (wood, painted, laminate). For wood cabinets, after cleaning, apply a good quality furniture polish or oil. This nourishes the wood and helps repel dust. You can learn more about how to how to clean kitchen cabinets wood DIY. For painted cabinets, a gentle cleaning agent is best to avoid stripping the finish.
- Avoid Harsh Chemicals: Do not use abrasive cleaners, scouring pads, or harsh chemical sprays. These can scratch or strip the cabinet finish. Always test new cleaning products on an inconspicuous area first.
- Immediately Address Spills: Do not let spills sit. Wipe them up right away. Acidic foods, like lemon juice or vinegar, can etch finishes if left too long.
By following these preventative and maintenance steps, your kitchen cabinets will stay looking fresh and free from worn spots for much longer. My personal experience confirms that consistent care saves significant repair work.
When to Consider a Full Cabinet Refinish or Replacement
While DIY repairs are great for minor worn spots, there comes a point when a full cabinet refinish or even replacement becomes the better option. Understanding this threshold saves you time, effort, and money in the long run. Continual patching of widespread damage can look patchy and never truly restore the cabinet’s original beauty.
I have seen many cases where a full overhaul was more cost-effective and aesthetically pleasing than endless small repairs. It is important to be realistic about the extent of the damage.
Signs a Full Refinish is Needed
A full cabinet refinish involves stripping the existing finish and applying a new one. This is a significant undertaking but can dramatically transform your kitchen.
- Widespread Fading or Discoloration: If large areas of your cabinets are faded unevenly due to sun exposure or general age, a uniform new finish is the best solution. Patching individual faded spots will not look cohesive.
- Extensive Chipping and Peeling Paint: When many cabinet doors and drawer fronts have chips or peeling paint, spot repairs become impractical. Stripping and repainting ensures a smooth, durable, and consistent new surface.
- Numerous Deep Scratches and Gouges: If your cabinets are covered in deep scratches, gouges, or dents that penetrate the wood, individual repairs are tedious. A full sanding and refinishing process addresses all these issues at once.
- Dated Color or Style: Sometimes, the issue is not just wear, but that the cabinet color or style no longer suits your taste. A refinish allows you to completely change the look. You can find more information on how to paint kitchen cabinets without brush marks if you decide on a full repaint.
- Water Damage to Multiple Panels: If several panels show significant water damage, such as swelling or discoloration, a full refinish can help. It allows for proper drying and sealing of the wood.
A full refinish is a good choice if the cabinet boxes are still structurally sound. It provides a “like-new” appearance at a lower cost than full replacement.
Deciding on Cabinet Replacement
Cabinet replacement is the most extensive and expensive option. It involves removing all existing cabinets and installing new ones. This is typically reserved for situations where refinishing is not enough or when you want a complete kitchen overhaul.
- Structural Damage: If cabinet boxes are rotting, severely warped, or falling apart, replacement is necessary. Repairs cannot fix compromised structural integrity.
- Extensive Water Damage or Mold: Widespread water damage that leads to mold growth or irreversible swelling makes replacement the safest option. Mold can be a health hazard.
- Poor Layout or Functionality: If your current kitchen layout is inefficient, lacks storage, or does not meet your needs, replacement allows for a complete redesign. You can optimize space and add modern features.
- Severe Wear on Internal Components: Drawers that constantly stick, broken slides, or shelves that sag repeatedly point to internal issues. These are often difficult to repair permanently.
- Desire for a Completely New Look: Sometimes, homeowners simply want a completely different style, material, or configuration that refinishing cannot provide. This is a preference-driven decision.
Consider the cost versus value. For minimal, isolated worn spots, DIY repair is ideal. For widespread but surface-level damage, refinishing offers a fresh look. For deep structural issues or a desire for a new layout, replacement is the answer. My advice is to get quotes for both refinishing and replacement before making a final decision.
FAQ Section
Q1: How often should I clean my kitchen cabinets to prevent wear
- kitchen cabinet repair
- cabinet refinishing
- DIY home repair
- wood restoration
- cabinet maintenance


