· Todd Martin · Home Improvement · 19 min read
How To Stain Cabinets Grey
Stain Cabinets Grey: A Comprehensive Guide
Do you dream of updating your kitchen or bathroom with a fresh, modern look? Staining cabinets grey offers a stylish and cost-effective way to transform your space. This popular color brings a calm and contemporary feel to any room. You do not need to replace all your existing cabinets to get this change. Learning how to stain cabinets grey allows you to achieve a designer look without the high cost of new installations.
This guide provides a detailed plan for successful cabinet staining. We will cover everything from initial preparation to the final protective coat. You will learn about selecting the right stain, applying it correctly, and fixing common problems. Get ready to give your cabinets a beautiful grey finish. This simple project can greatly improve your home’s appearance.
Takeaway
Staining cabinets grey provides a modern, affordable home update. Key steps include:
- Thorough cleaning and sanding for good stain adhesion.
- Careful selection of grey stain and pre-stain conditioner.
- Even application and proper wiping for consistent color.
- Sealing with a durable topcoat for protection.
- Patience throughout the drying and curing processes.
To stain cabinets grey, you first remove old finishes through cleaning and sanding. Then, apply a wood conditioner for even absorption. Next, brush or wipe on your chosen grey wood stain, following the wood grain. Allow proper drying time between coats. Finally, apply a clear protective topcoat to seal the finish.
Why Choose Grey for Your Cabinets?
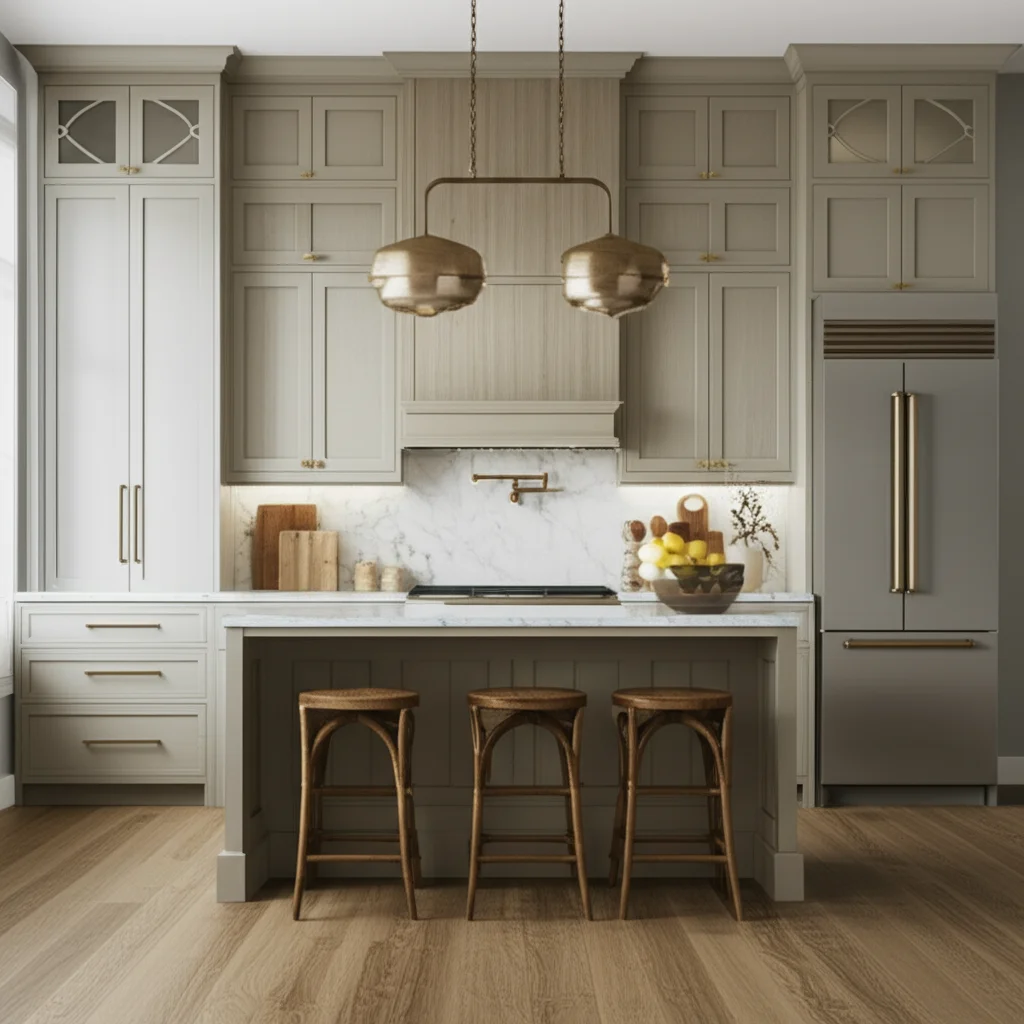
Grey has become a very popular color choice for home interiors. It offers a balance between traditional warmth and modern crispness. When you stain cabinets grey, you create a versatile backdrop for many decor styles. Grey cabinets can make a room feel larger and brighter. They also hide dirt and smudges better than very light or very dark colors.
This color provides a neutral base that pairs well with almost any other shade. You can easily update your wall color or accessories without needing to change your cabinets again. Grey comes in many shades, from light, airy tones to deep charcoal. This range allows you to pick the exact feel you want for your space. It gives your home a contemporary edge that remains timeless. Many people select grey cabinets for their modern appeal.
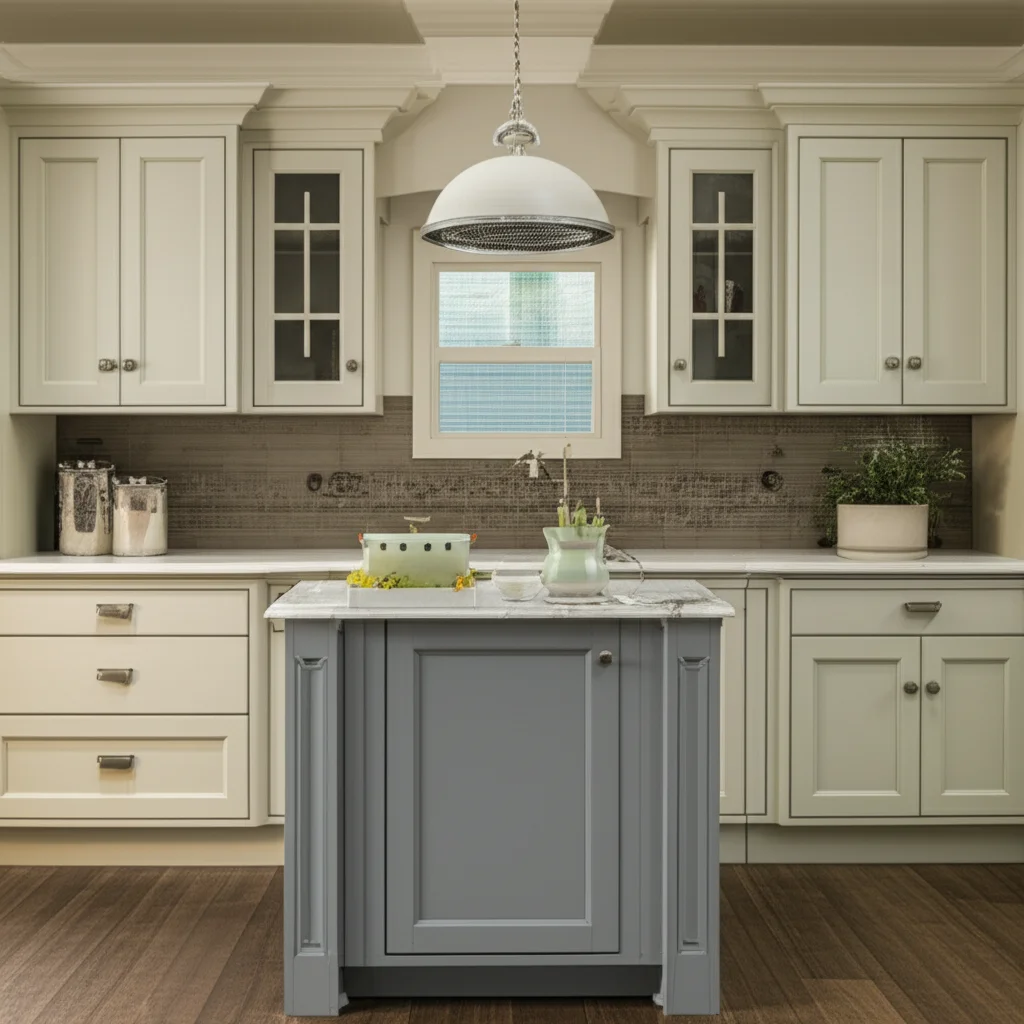
Grey also offers a sophisticated and elegant appearance. It works well in kitchens, bathrooms, and even laundry rooms. The choice of grey can increase your home’s appeal if you plan to sell it later. It is a color that appeals to many buyers. I find that grey often makes a room feel more put-together and clean. This is why it is a top choice for home renovations today. Staining cabinets grey is a smart investment in your home’s style.
Essential Preparation Before Staining Grey Cabinets
Proper preparation is the most important step when you stain cabinets grey. Skipping this part can lead to a poor finish that peels or looks uneven. Good preparation ensures the stain sticks well and looks smooth. I always tell people to spend extra time here. It makes the rest of the project much easier.
Gathering Your Materials and Tools
You need specific items to get the job done right. Prepare your workspace before you start. This list covers most of what you will need.
- Safety Gear: Gloves, eye protection, respirator mask (especially for sanding and staining).
- Cleaning Supplies: Degreaser, clean rags, bucket, scrub brush.
- Sanding Supplies: Sandpaper (120-grit, 150-grit, 220-grit), sanding block or orbital sander.
- Stain Application: Natural bristle brush or foam brush, clean lint-free rags for wiping.
- Stain & Sealer: Wood conditioner, grey wood stain, clear topcoat (polyurethane, polycrylic).
- Workspace Protection: Drop cloths, painter’s tape.
- Tools: Screwdriver (for hardware), small containers for hardware.
Having everything ready saves time and frustration. It also helps keep your work area clean and safe.
Thorough Cleaning and Degreasing
Cabinets, especially in kitchens, collect grease and grime. This dirt must go before you stain. Stain cannot stick to dirty surfaces. Use a strong degreaser to cut through the grease. Mix the degreaser according to its instructions. Wipe down all cabinet surfaces, inside and out. Pay close attention to areas around handles and edges. Rinse the cabinets with clean water and let them dry completely. This step is crucial for good stain adhesion. For very greasy cabinets, you might need to repeat this cleaning process. A clean surface is key to successful staining. You can find more tips on cleaning greasy cabinets here: greasy cabinets how to clean. I also recommend looking at general wood cabinet cleaning methods for a good foundation: how to clean wood cabinets.
Proper Sanding Techniques for Optimal Adhesion
Sanding removes old finish and smooths the wood. It also opens the wood grain for better stain absorption. Start with a coarser grit sandpaper, like 120-grit, to remove old varnish or paint. Sand in the direction of the wood grain. Never sand against the grain, as this leaves scratches. Move to finer grits, such as 150-grit, then 220-grit. The goal is a smooth, even surface. Remove all dust with a vacuum or tack cloth before staining. Dust can ruin your stain finish. This sanding prepares the surface to accept the grey stain evenly. It is a critical step for a professional look. Remember, good sanding makes the stain look consistent.
Protecting Your Work Area
Staining can be messy. Protect your floors, countertops, and walls from drips and spills. Lay down drop cloths or old sheets. Use painter’s tape to protect adjacent walls or appliances. Remove cabinet doors and drawers if possible. This makes it easier to work on each piece flat. Label each door and drawer with its location. This helps you put them back in the correct spot later. Cover any items you do not want stained. A clean workspace ensures a cleaner final project.
Selecting the Right Grey Stain for Cabinets
Choosing the right grey stain is important for the final look. Grey stains come in various shades, from light and airy to deep and dramatic. The type of wood also affects how the stain appears. Different woods absorb stain differently.
Water-Based vs. Oil-Based Stains
You will find two main types of wood stains: water-based and oil-based. Each has its own properties.
- Water-Based Stains: These dry faster and have less odor. They are easier to clean up with water. Water-based stains often give a lighter, more translucent grey finish. They may raise the wood grain, requiring light sanding after the first coat.
- Oil-Based Stains: These dry slower, giving you more time to work and blend. They produce a deeper, richer color and are generally more durable. Cleanup requires mineral spirits. Oil-based stains may have a stronger odor.
Consider drying time, cleanup, and the desired color depth when choosing. I often prefer oil-based for richness but water-based for quick projects.
Understanding Wood Species and Stain Absorption
The type of wood your cabinets are made from greatly affects the final grey color.
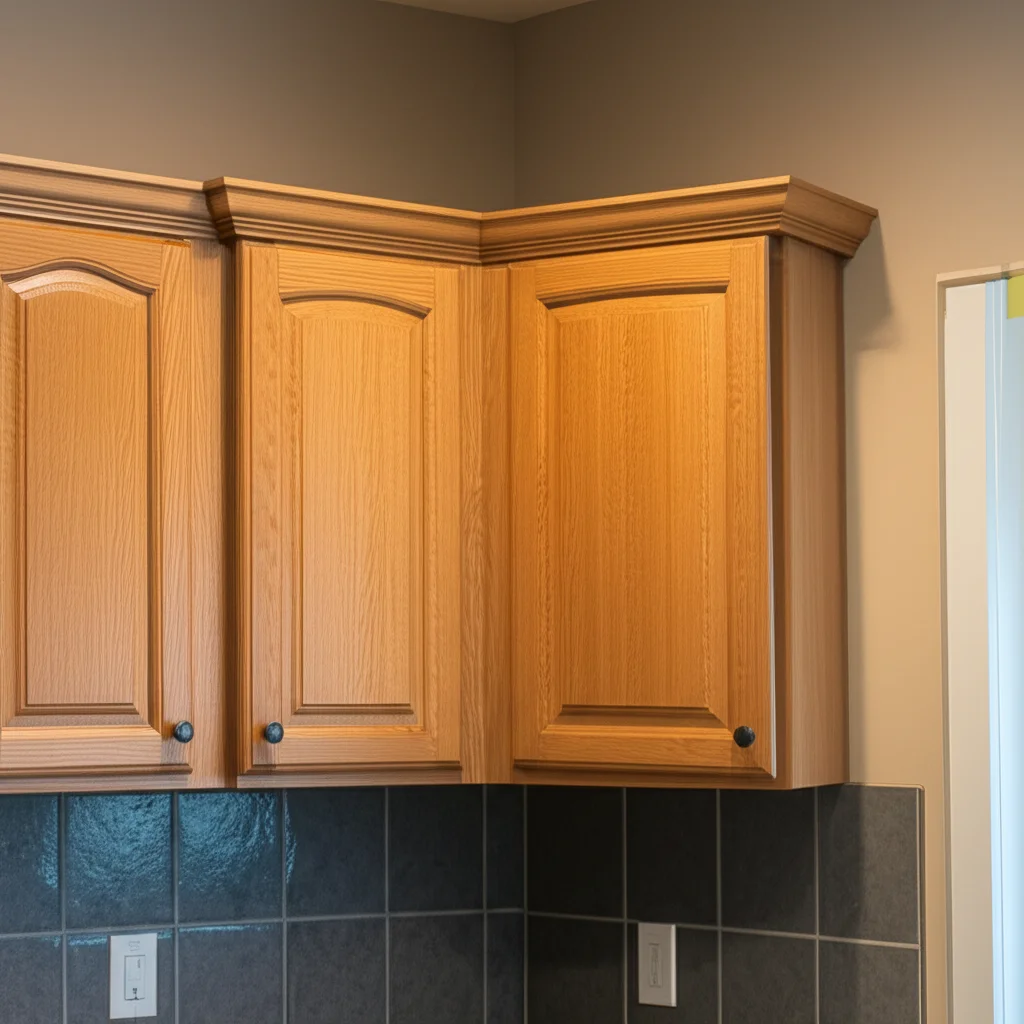
- Oak: Oak has a strong grain that takes stain well. The grey will highlight its distinct patterns. You can find specific tips for oak here: how to stain oak cabinets.
- Maple: Maple is a dense wood. It can absorb stain unevenly, leading to blotchiness. A pre-stain conditioner is very important for maple.
- Pine: Pine is soft and porous. It absorbs stain quickly and can also appear blotchy. Always use a pre-stain conditioner on pine.
- Cherry: Cherry is a harder wood that can be challenging to stain evenly. Its natural reddish tones can show through the grey.
Always use a pre-stain wood conditioner. This product helps the wood absorb stain more evenly. It prevents blotchy spots, especially on softer or more porous woods. Apply the conditioner according to its directions, usually 5-15 minutes before staining. This step is critical for a smooth, consistent grey finish.
Testing Stain on Scrap Wood
Never apply stain directly to your cabinets without testing first. The color on the can is often different from how it looks on actual wood. Find a hidden spot on your cabinet, like the back of a door, or use a piece of scrap wood of the same type. Apply the stain as you plan to do on the cabinets. Let it dry completely. Then, apply a topcoat. The topcoat can change the stain’s appearance. This test shows you the true final color. It helps you decide if it is the right shade of grey for your vision. If you are trying to match an existing grey or a specific design, this test is even more important. You can also explore general tips for matching stains on cabinets: how to match stain on cabinets.
The Step-by-Step Process to Stain Cabinets Grey
Once your cabinets are prepped and you have chosen your grey stain, it is time for the main event. Take your time with each step for the best results. Rushing can lead to mistakes that are hard to fix.
Applying Pre-Stain Conditioner
After sanding and cleaning, apply the pre-stain wood conditioner. This helps wood absorb stain evenly and prevents blotching. Apply a generous, even coat with a brush or rag. Wipe off any excess after a few minutes, following the product instructions. Do not let it dry completely; stain application usually follows within 15-30 minutes of conditioning. This step is especially vital for softwoods like pine or blotch-prone woods like maple. A good conditioner makes your grey stain look professional.
Staining Technique: Even Coats
Now, apply your chosen grey wood stain. Stir the stain well before and during use to ensure the color pigments are mixed. Use a natural bristle brush or a clean, lint-free rag.
- Apply generously: Work in small sections, applying the stain along the wood grain.
- Allow to penetrate: Let the stain sit for a few minutes. The longer it sits, the darker the grey color will be. Test on scrap wood to find your desired depth.
- Wipe off excess: Use a clean, lint-free rag to wipe off all excess stain. Wipe in the direction of the wood grain. If you leave too much stain on the surface, it will not dry properly and can remain tacky.
- Overlap sections: Slightly overlap each new section with the previously stained area to avoid harsh lines.
- Apply additional coats: If you want a darker grey, apply a second coat after the first coat has dried according to the manufacturer’s instructions. Always wipe off excess after each coat.
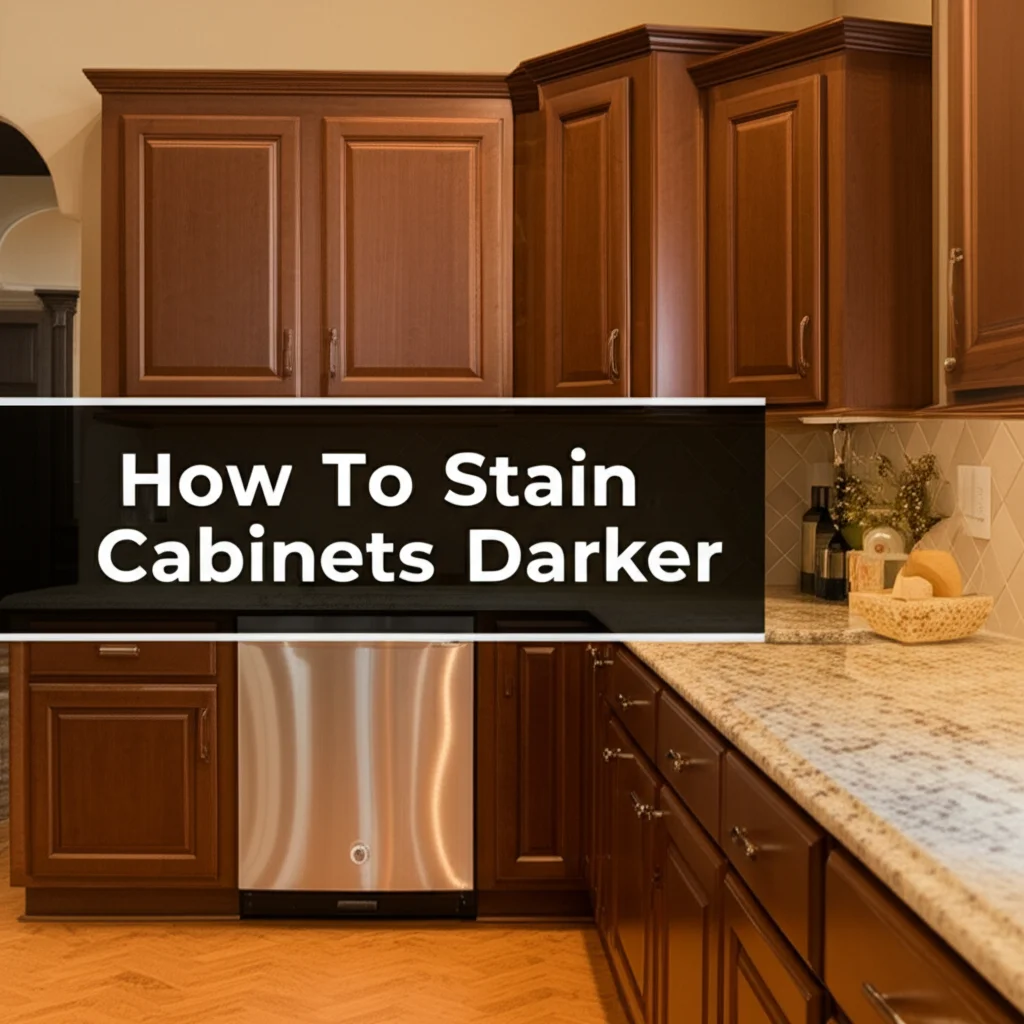
Keep your rags handy for immediate cleanup of drips. This process ensures an even grey finish across all cabinet surfaces. Remember, more coats make the grey darker. If you want to go for a very dark grey, you can explore general tips for darker stains: how to stain cabinets darker.
Dealing with Drips and Uneven Application
Drips and uneven spots can happen during staining. If you see a drip, wipe it away immediately with a clean rag before it dries. For uneven application, if the stain is still wet, quickly re-wipe the area with a clean rag. If it has started to dry, you might need to apply a bit more stain over the light spot, let it sit for a very short time, then wipe it off quickly. For dried uneven spots, you may need to lightly sand the area and reapply stain, but this can be tricky. Try to be very careful during the initial application to prevent these issues. Consistency in wiping is key.
Sealing and Protecting Your Newly Stained Grey Cabinets
After you stain cabinets grey and they are completely dry, you must protect them. A topcoat protects the stain from moisture, scratches, and daily wear. It also adds durability and can enhance the look of the grey.
Choosing the Right Topcoat
Several types of topcoats work well for cabinets:
- Polyurethane: This is a very durable option. It comes in oil-based and water-based formulas. Oil-based polyurethane yellows slightly over time, which might alter the grey color. Water-based polyurethane stays clear and dries faster.
- Polycrylic: This is a water-based product that is less durable than polyurethane but resists yellowing. It is easy to clean up.
- Varnish: Offers good durability and can be oil or water-based. It is known for its resistance to chemicals and moisture.
- Lacquer: Dries very fast and creates a hard, durable finish. However, it requires a sprayer for proper application and has strong fumes.
For home DIY projects, I usually recommend water-based polyurethane or polycrylic. They are easier to use and clean up. Choose a finish that matches your desired look: matte, satin, semi-gloss, or gloss. Satin is a popular choice for cabinets as it offers a subtle sheen without being too reflective.
Applying the Protective Finish
Apply the topcoat after the stain is fully dry. This can take 24-48 hours, depending on the stain type and humidity.
- Stir, do not shake: Stir the topcoat gently. Shaking creates bubbles, which can appear in your finish.
- Apply thin, even coats: Use a high-quality brush designed for clear coats. Apply thin, even coats in the direction of the wood grain. Thin coats prevent drips and allow for better adhesion between layers.
- Sand between coats: After each coat dries (check product instructions for drying times, usually 2-4 hours), lightly sand with 220-grit or 320-grit sandpaper. This creates a smooth surface for the next coat and helps adhesion. Remove all sanding dust with a tack cloth before applying the next coat.
- Apply multiple coats: Aim for at least 2-3 coats for good protection. Kitchen and bathroom cabinets see a lot of use, so more coats offer better durability.
Patience is key during this step. Let each coat dry fully. Do not rush the process. A properly applied topcoat makes your grey stained cabinets last for years.
Curing Time and Care
Drying time and curing time are different. The topcoat might feel dry to the touch in a few hours, but it needs weeks to fully cure and harden.
- Drying Time: The time until the finish is dry enough for another coat or light handling.
- Curing Time: The time until the finish reaches its maximum hardness and durability. This can take from 7 to 30 days.
During the curing period, handle your newly stained grey cabinets with care. Avoid harsh cleaning products or heavy use. Gently place items inside. Avoid resting wet items on the surface. Once fully cured, clean your cabinets with a mild soap and water solution. Use a soft cloth. Avoid abrasive cleaners or strong chemicals. This care helps maintain the beauty of your grey stained cabinets.
Troubleshooting Common Issues When Staining Cabinets
Even with careful planning, problems can arise. Knowing how to fix them saves your project. These common issues can be frustrating, but often have simple solutions.
Addressing Uneven Color
Uneven grey color often happens if the wood absorbed the stain inconsistently. This can be due to:
- Improper sanding: Areas that were not sanded enough or sanded too much.
- Skipping pre-stain conditioner: Especially on blotch-prone woods.
- Uneven application or wiping: Not applying enough stain or not wiping off excess thoroughly.
To fix: If the stain is still wet, try wiping the lighter areas with a damp, clean rag to remove more stain from darker spots, or quickly apply a very thin layer to lighter spots and wipe immediately. If the stain has dried, lightly sand the entire cabinet door or section with 220-grit sandpaper. Reapply the pre-stain conditioner. Then, apply another thin coat of grey stain. Be very careful with application and wiping this time. Sometimes, a second coat of stain, applied evenly, can help even out the color.
Preventing and Fixing Blotchiness
Blotchiness appears as darker, concentrated areas where the wood soaked up too much stain. This is common on softwoods like pine or maple.
- Prevention: Always use a pre-stain wood conditioner before applying grey stain. This equalizes the wood’s porosity. Apply the conditioner evenly. Do not over-saturate the wood with stain. Wipe off excess stain promptly and thoroughly.
- To fix: If blotches appear after staining, and it is still wet, try wiping the blotchy area more vigorously with a clean rag to remove excess stain. If the stain has dried and blotchiness is severe, you may need to strip the stain from the affected area, sand it lightly, apply conditioner, and re-stain. This is a difficult fix. It is always better to prevent blotchiness with proper preparation. For general stain issues, look at how to fix tacky stain. how to fix tacky stain.
Dealing with Tacky Finishes
A tacky or sticky finish means the stain or topcoat has not dried properly. This can happen for several reasons:
- Applying too much product: Thick coats cannot dry properly.
- Poor ventilation: Lack of airflow slows down drying.
- High humidity: Moisture in the air prolongs drying time.
- Old or expired product: Products lose their effectiveness over time.
- Not wiping off excess stain: This is a common cause for stain itself staying tacky.
To fix:
- Increase ventilation: Open windows, use fans, or a dehumidifier. This helps the finish cure faster.
- Wait: Sometimes, more time is all it needs. Give it several days, even a week, in good conditions.
- Wipe off excess (if stain): If the stain is tacky, it likely means you did not wipe off enough excess. Try wiping down the surface aggressively with rags slightly dampened with mineral spirits (for oil-based) or water (for water-based). This removes the uncured stain.
- Light sanding and reapplication (for topcoat): If the topcoat is tacky, and it has been long enough for it to dry, you might need to lightly sand the tacky areas with 220-grit sandpaper and reapply a very thin coat of the topcoat. If the tackiness is severe, you might need to strip the finish and start over. Always ensure stain is fully dry before applying topcoat.
Maintaining Your Grey Stained Cabinets
Once you successfully stain cabinets grey, keeping them beautiful requires simple, ongoing care. Proper maintenance protects your hard work and extends the life of your cabinet finish.
Regular Cleaning for Lasting Beauty
Dust and grime can accumulate on cabinet surfaces. Regular cleaning prevents build-up and keeps your grey cabinets looking fresh.
- Daily or Weekly Dusting: Use a soft, dry microfiber cloth to dust surfaces. This removes loose dirt before it sticks.
- Gentle Cleaning: For fingerprints or light spills, dampen a clean cloth with warm water. Add a drop of mild dish soap if needed. Wipe the surface gently.
- Avoid Harsh Cleaners: Never use abrasive cleaners, strong chemicals, or scouring pads. These can damage the stain and protective topcoat. Avoid products containing ammonia, bleach, or silicone.
- Wipe Spills Immediately: Liquids, especially acidic ones like vinegar or lemon juice, can etch or stain the finish if left to sit. Wipe up spills right away with a clean cloth.
For tougher grease, use a gentle degreaser designed for wood finishes. Always test any new cleaning product on a hidden spot first. This simple routine preserves the grey color and protects the wood underneath.
Protecting Against Wear and Tear
Beyond cleaning, you can take steps to prevent damage to your grey stained cabinets.
- Use Cabinet Bumpers: Apply small clear adhesive bumpers inside cabinet doors and drawers. These reduce impact and noise when closing, preventing dents or chips.
- Address Moisture: Use exhaust fans in kitchens and bathrooms to control humidity. Wipe down any condensation quickly. Prolonged moisture can cause swelling or damage to wood.
- Protect from Heat: Avoid placing hot appliances directly on cabinet surfaces without protection. Excessive heat can damage the finish.
- Handle with Care: Encourage family members to use cabinet handles and knobs, rather than grabbing the cabinet faces, to reduce grease and wear on the finish.
- Minor Touch-Ups: Keep a small amount of your chosen grey stain and topcoat. If small scratches or chips occur, you can carefully touch up the area. Apply stain with a fine artist’s brush, wipe off excess, then apply a thin layer of topcoat. This keeps your cabinets looking their best.
By following these maintenance tips, your grey stained cabinets will remain a beautiful and functional part of your home for many years.
Frequently Asked Questions About Staining Cabinets Grey
How long does it take to stain cabinets grey?
The entire process can take several days to a week. Preparation, including cleaning and sanding, is time-consuming. Staining involves multiple coats, each needing drying time. The topcoat also requires several layers and significant curing time. Patience ensures a good result.
Can I stain previously painted cabinets grey?
Yes, but it requires thorough preparation. You must strip all old paint completely. Sand the wood smooth afterwards. Then, apply wood conditioner before staining grey. This ensures the stain absorbs evenly. If you do not remove all paint, the stain will not adhere properly.
What type of wood is best for grey stain?
Woods with visible grain, like oak, ash, or hickory, often look great with grey stain. The grain patterns show through the grey for added texture. Softer woods like pine and maple can be stained grey, but they require a pre-stain conditioner to prevent blotchiness.
How do I clean grey stained cabinets?
Clean grey stained cabinets with a soft, damp cloth and a mild dish soap solution. Avoid abrasive cleaners, harsh chemicals, or scouring pads, as these can damage the finish. Wipe up spills immediately. Regular dusting also helps maintain their appearance.
What if my grey stain looks blotchy?
Blotchiness usually happens when wood absorbs stain unevenly. To fix it, you can lightly sand the entire piece, reapply a wood conditioner, and then re-stain evenly. Prevention is best: always use a pre-stain conditioner, especially on soft or porous woods, and wipe off excess stain thoroughly.
Is grey stain durable?
The durability of grey stained cabinets depends mostly on the protective topcoat applied over the stain. A high-quality clear topcoat, such as polyurethane or polycrylic, makes the finish very durable. It protects the stain from scratches, moisture, and daily wear. Proper application and curing are essential.
Conclusion
Staining cabinets grey offers a fantastic way to update your home with a fresh, contemporary look. It is a rewarding DIY project that can dramatically change the feel of your kitchen or bathroom. Remember that success depends on careful preparation, correct stain application, and a strong protective finish. You have learned about thoroughly cleaning and sanding, choosing the right grey stain, and applying it with precision. We also covered essential sealing steps and how to fix common problems.
By following the steps in this guide, you can confidently stain cabinets grey. Take your time, be patient with the drying process, and enjoy the transformation. Your refreshed grey cabinets will provide a stylish and inviting atmosphere for years to come. Start your cabinet staining project today and enjoy your beautiful new space!
- grey cabinet stain
- cabinet refinishing
- DIY staining
- kitchen cabinets
- wood stain
- home renovation

Todd Martin
Senior Writer
With over 15 years of experience in home renovation and design, I started HEG to share what I’ve learned with homeowners who want to create spaces that are both beautiful and functional. I’ve always believed in a hands-on approach, and over the years, I’ve picked up practical solutions that actually work. Through HEG, I aim to make home improvement more approachable, sharing real tips that help you create a home you truly love.