· Todd Martin · Home Improvement · 18 min read
How To Make Shaker Cabinet Doors From Old Flat Fronts
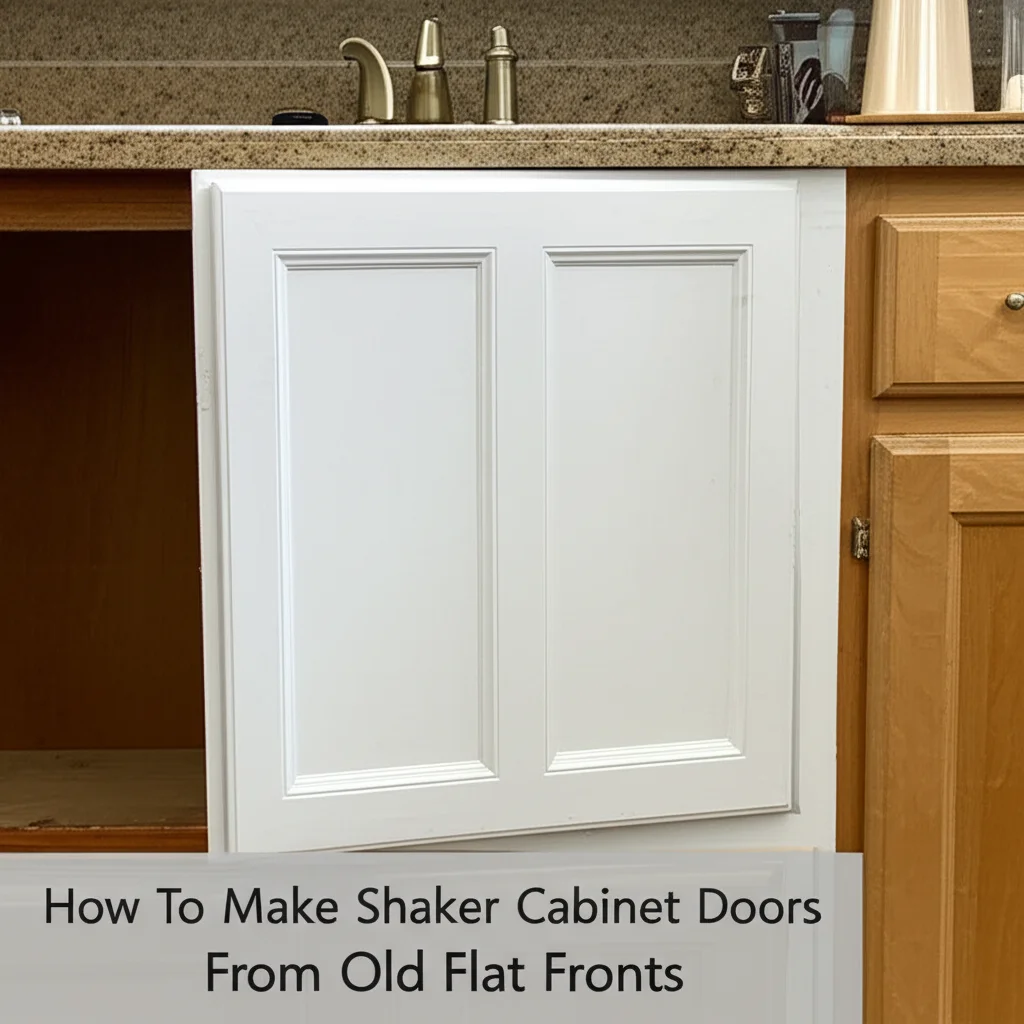
Transform Old Flat Fronts Into Shaker Cabinet Doors
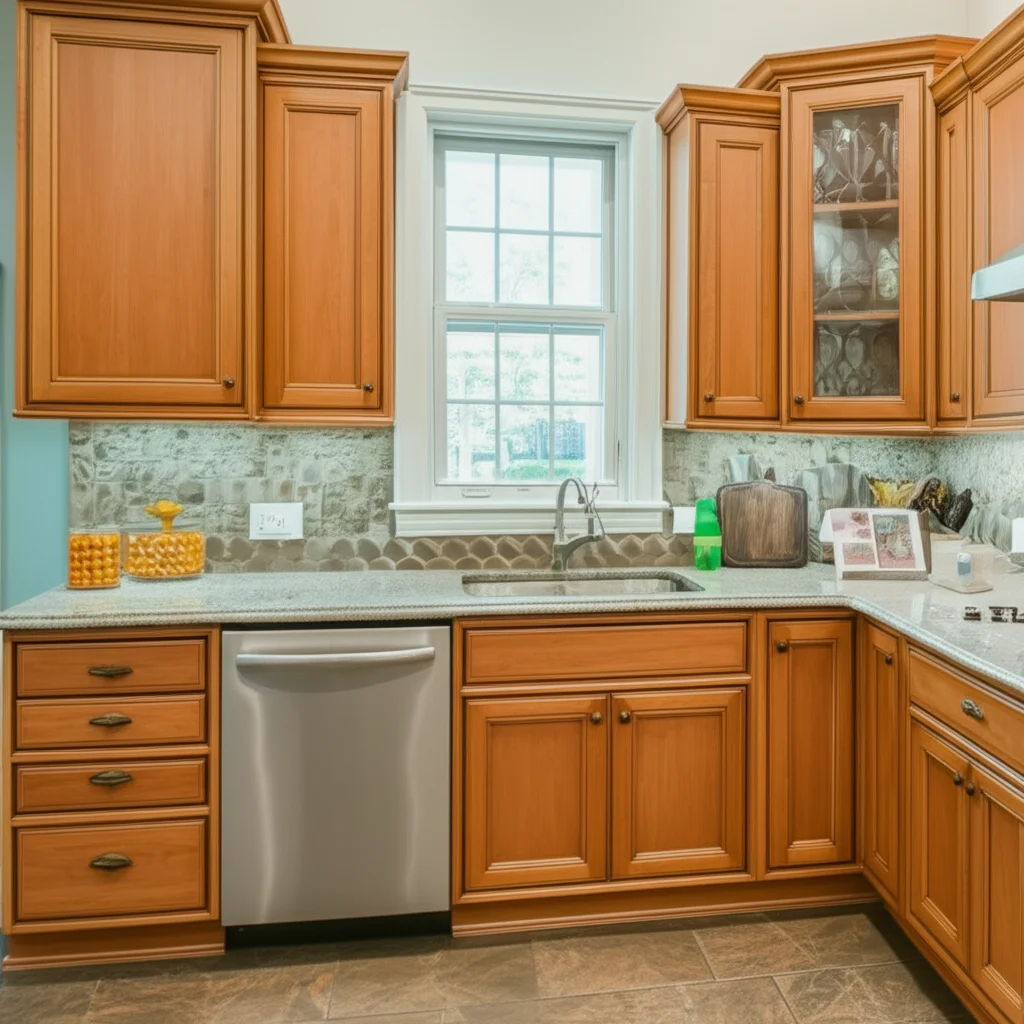
Have you looked at your kitchen cabinets lately and wished for a fresh, modern style? Many homes feature outdated flat-front cabinet doors. These doors often lack character and can make a kitchen feel drab. But you do not need to replace all your cabinets to achieve a new look.
You can easily learn how to make Shaker cabinet doors from old flat fronts. This DIY project saves money and adds significant value to your home. Shaker style offers clean lines and a timeless appearance. This article will guide you through each step. I will cover everything from assessing your existing doors to the final finish. Let’s start this rewarding transformation.
Takeaway
- Transform existing flat-front cabinet doors into stylish Shaker doors.
- Save money compared to buying new custom cabinets.
- Update your kitchen’s look with a classic, clean design.
- Gain valuable DIY skills for home improvement.
Making Shaker cabinet doors from old flat fronts involves attaching a frame of wood strips (rails and stiles) directly onto the surface of your existing flat doors. This creates the signature recessed panel look of Shaker style. You achieve a modern aesthetic without replacing entire cabinet boxes.
Understanding the Shaker Style
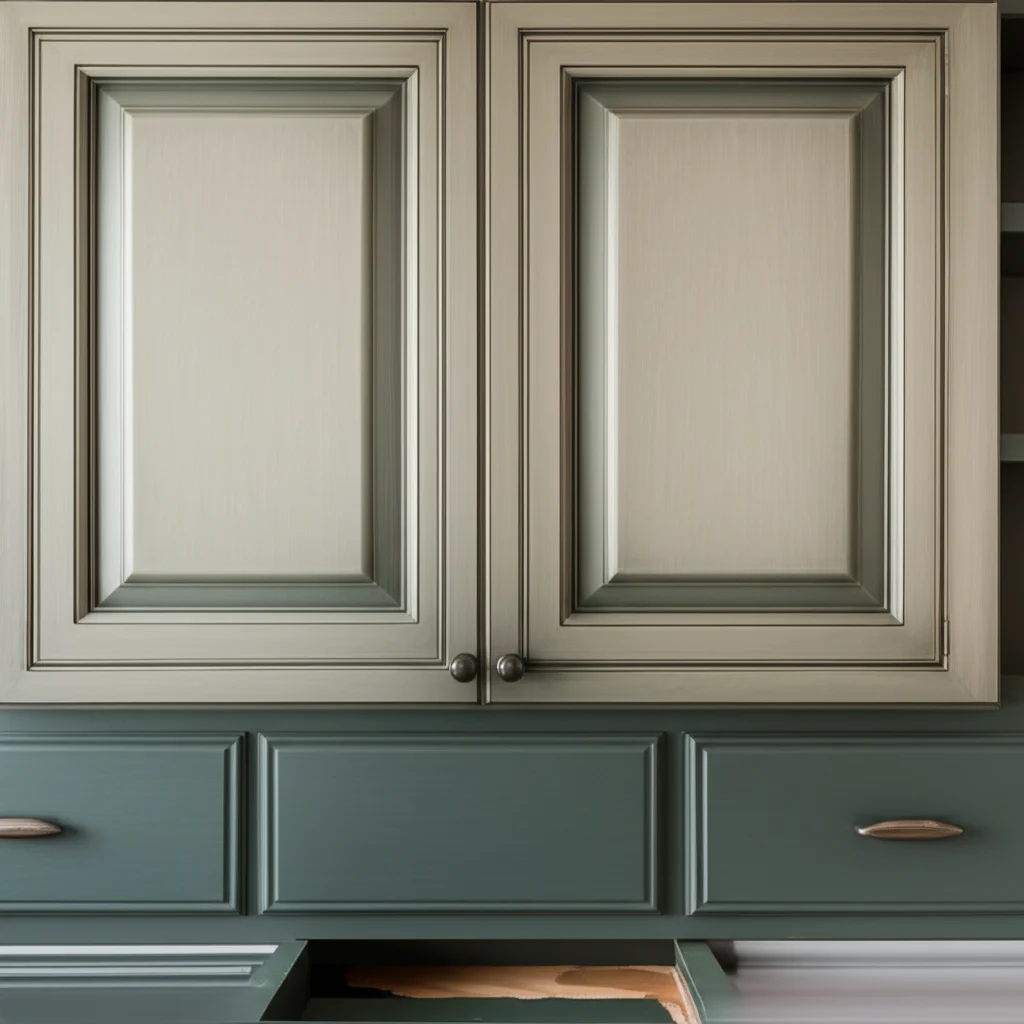
Shaker cabinet doors have a distinct, simple design. They feature a flat central panel surrounded by a raised frame. This frame consists of two horizontal pieces called rails and two vertical pieces called stiles. The style is clean. It has no excessive ornamentation.
Many homeowners prefer Shaker cabinets for their versatility. They fit well in traditional, transitional, and modern kitchens. This style offers a timeless appeal that avoids trends. Its simplicity makes it easy to clean and maintain. We want to achieve this simple, framed look on your current doors.
Why Shaker Style Remains Popular
Shaker design began with the Shaker religious community in the 18th century. They emphasized utility, honesty, and simplicity in all their creations. Their furniture and cabinetry reflect these values. The clean lines and minimal ornamentation were a direct contrast to the more decorative styles of their time.
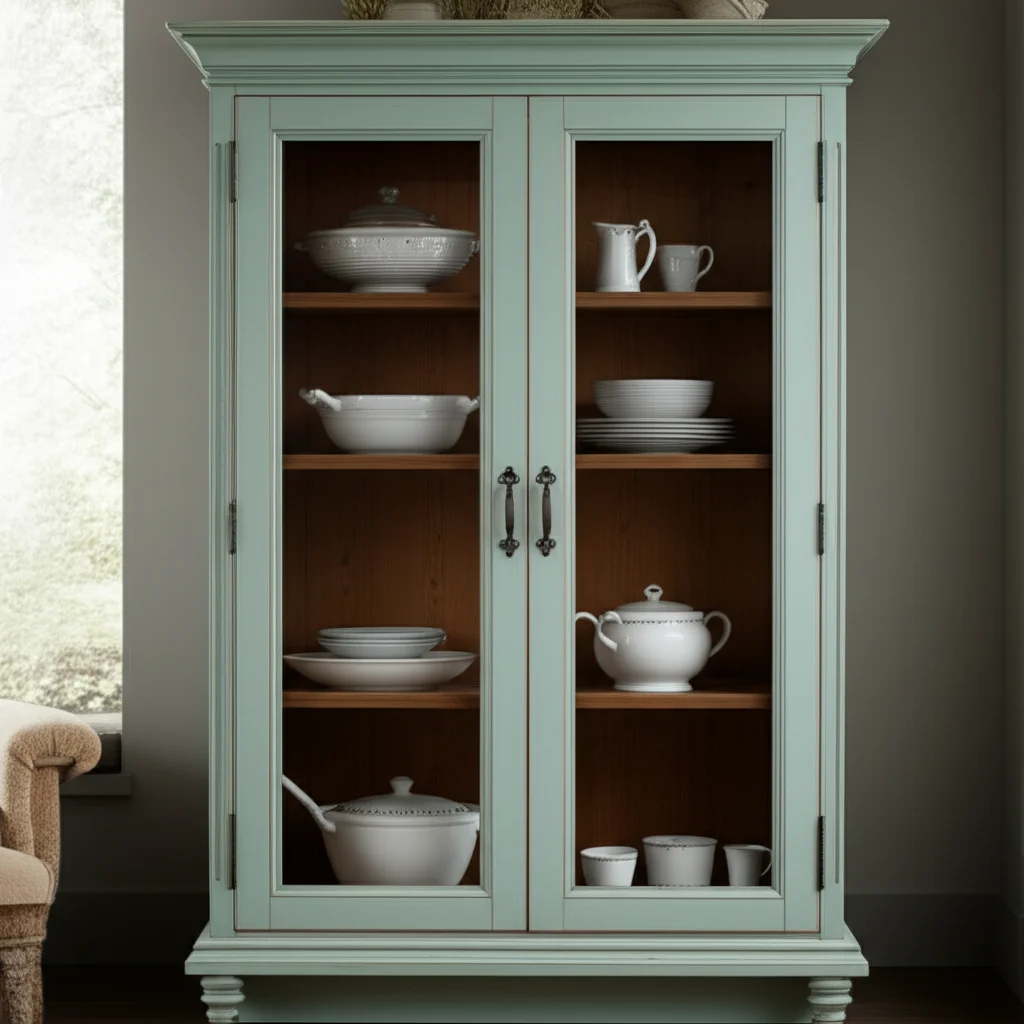
The enduring popularity of Shaker cabinets comes from their adaptability. They offer a blank canvas for various kitchen themes. You can paint them white for a classic farmhouse look or charcoal gray for a contemporary vibe. This style also makes small kitchens feel larger and more open. It reduces visual clutter, which helps rooms feel spacious. Many people find the look appealing.
Assessing Your Existing Doors for Conversion
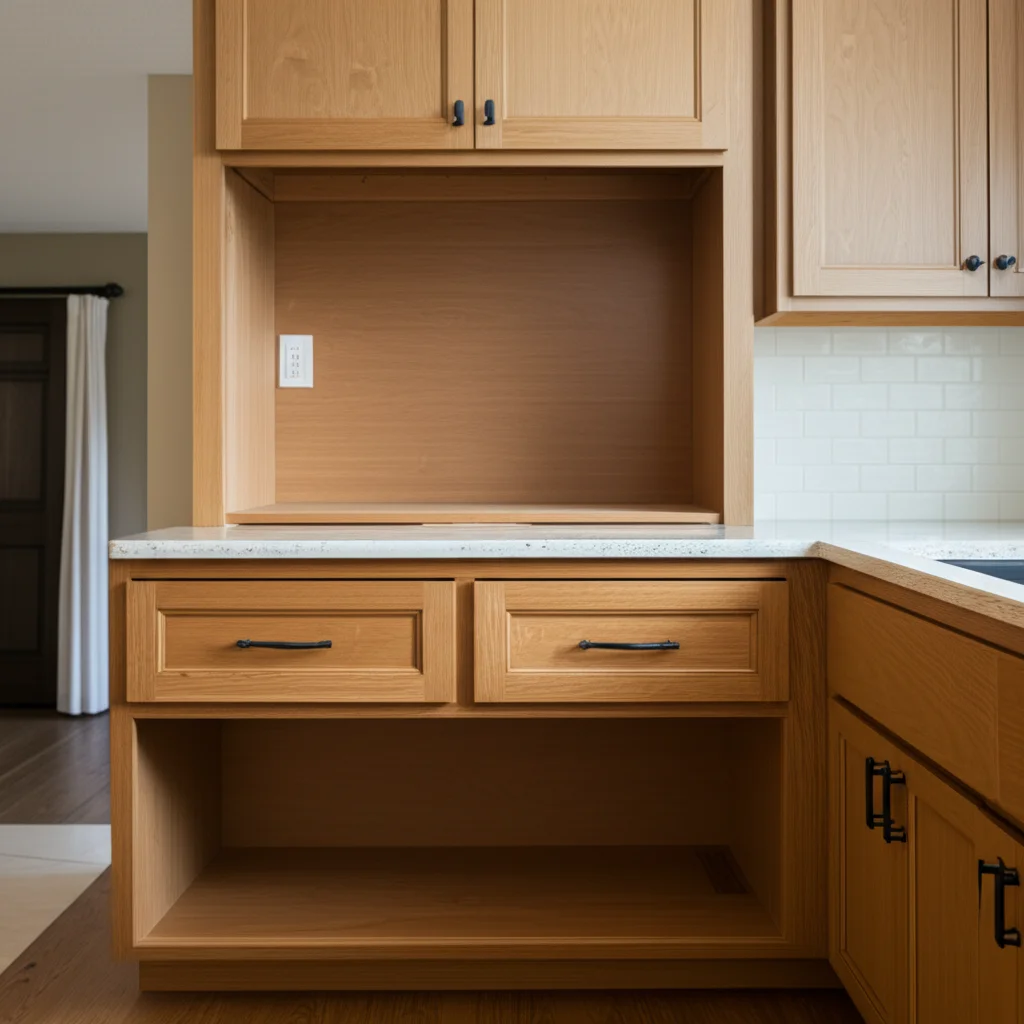
Before you start cutting wood, you must evaluate your current cabinet doors. Not all flat-front doors are suitable for this conversion. The best candidates are solid wood or high-quality MDF doors. They must have a flat, smooth surface. Any existing decorative trim or routered edges will need removal or sanding flush.
Check the thickness of your doors. Most standard cabinet doors are 3/4 inch thick. This thickness provides enough stability for the new frame. Thinner doors might not support the added weight or allow for proper attachment of the new wood pieces. You want a sturdy base for your project.
Inspecting Door Material and Condition
First, determine the material of your existing doors.
- Solid Wood: These are ideal. They offer good adhesion for glue and screws.
- MDF (Medium-Density Fiberboard): Good quality MDF doors also work well. MDF provides a smooth surface and takes paint nicely.
- Particle Board/Laminate: These doors are often too weak or have surfaces that do not bond well with adhesives. You may find conversion difficult or unreliable. I suggest avoiding these materials.
Next, examine the condition of your doors.
- Are they warped? A warped door will not become flat by adding a frame. You will end up with an uneven new Shaker door.
- Are there deep gouges or damage? Minor imperfections can be filled, but significant damage might make conversion too challenging.
- Is the surface smooth? If your doors have a textured finish or peeling laminate, you must address this first. You might need to sand heavily or remove loose material. A smooth base is essential for a clean finish.
Consider the existing hardware. You will remove all hinges and handles. Inspect the hinge holes. If you plan to reuse the old hinges, ensure the holes remain strong. If you will use new hardware, you might need to fill existing holes later.
Tools and Materials You Will Need
Embarking on this DIY project requires a specific set of tools and materials. Having everything ready before you start saves time and frustration. Some items are essential for precise measurements and cuts. Other items are for assembly and finishing.
I recommend good quality tools. They make the job easier and improve the final result. Safety gear is also a must. You will work with wood and power tools.
Essential Tools for the Project
- Measuring Tape: A sturdy, accurate tape measure is crucial for all dimensions.
- Pencil: For marking cuts and layout lines.
- Straight Edge or Ruler: For drawing straight lines.
- Circular Saw or Table Saw: For cutting wood strips. A table saw offers better precision for ripping long, consistent strips.
- Miter Saw: For cutting precise 45-degree or 90-degree angles for the frame pieces.
- Router (Optional, but Recommended): With a straight bit or rabbeting bit if you want to create a true recessed panel effect or modify edges.
- Power Drill: For pre-drilling holes and driving screws.
- Clamps: Essential for holding wood pieces while glue dries. Bar clamps or parallel clamps are best for doors.
- Orbital Sander: For smoothing wood surfaces and preparing for paint.
- Safety Glasses: Protect your eyes from sawdust and flying debris.
- Dust Mask: Protect your lungs from sawdust.
- Ear Protection: Reduce noise from power tools.
Necessary Materials
- Wood Strips: This is your main material for the Shaker frame. You will need straight, good-quality wood. Poplar, maple, or birch are good choices. They are stable and take paint well. Select pieces with no warping or knots.
- Dimensions: Typically, the strips will be 1/4 to 1/2 inch thick and 2 to 2.5 inches wide. This thickness adds enough depth for the Shaker look without making the door too heavy.
- Wood Glue: High-quality wood glue for strong bonds.
- Wood Filler: For filling any gaps or imperfections.
- Sandpaper: Various grits (80, 120, 180, 220) for progressive smoothing.
- Primer: A good quality wood primer, especially if painting.
- Paint or Stain: Your chosen finish for the doors.
- Paint Brushes/Rollers: For applying primer and paint.
- Painter’s Tape: For masking areas if needed.
- New Hardware (Optional): New hinges and cabinet pulls can complete the refreshed look. Consider if you want to reuse existing hardware.
- Screws (Optional): Small finishing screws for extra reinforcement, if desired.
When selecting wood, consider buying slightly more than you calculate. This allows for mistakes or unexpected cuts. Buying longer pieces and cutting them yourself often results in better value and consistency.
Preparing Your Old Flat Fronts
Preparation is a critical step. A well-prepared surface ensures your new Shaker frame adheres properly and your final finish looks professional. This stage involves cleaning, sanding, and removing anything that might hinder the transformation. Do not rush this part.
Start by removing all cabinet doors from their hinges. Lay them flat on a stable workbench or saw horses. Remove all existing hardware: hinges, handles, and pulls. If you plan to reuse the old hardware, keep it organized in labeled bags. This prevents losing small parts.
Cleaning and Sanding for a Smooth Base
Your doors might have years of grease, grime, or old paint. You must clean them thoroughly.
- Degrease and Clean: Use a strong degreaser or a mixture of dish soap and warm water. Wipe down every surface of the door. Pay attention to corners and edges where dirt can accumulate. Rinse well and allow the doors to dry completely. For stubborn dirt on older kitchen cabinets, you might need a stronger solution. You can find tips on how to clean old kitchen cabinets here.
- Inspect for Damage: Look for any dings, scratches, or small holes. Fill these with wood filler. Apply the filler, let it dry, and then sand it smooth.
- Sanding: This is perhaps the most important step for adhesion and finish.
- Start with a medium-grit sandpaper (around 120-150 grit) using your orbital sander. Sand all surfaces of the door, especially where the new frame will sit. You want to scuff up the surface of any existing finish to create a “tooth” for the glue and primer to grab onto.
- If your doors have a thick, glossy finish or peeling paint, you might need to start with a coarser grit (80-100) and work your way up.
- After the initial sanding, switch to a finer grit (180-220) for a smoother finish. This prepares the surface for prime and paint.
- Wipe down the doors with a tack cloth or a damp cloth to remove all sawdust. Any dust left behind will affect glue adhesion and paint finish.
If your doors have old hardware, especially hinges, you might want to clean old cabinet hardware while they are off the doors. This can make them look new again. Proper cleaning of the door itself is key, and if you’re not sure how to clean a cabinet thoroughly, take your time with this step.
Measuring and Cutting Rails and Stiles
Precision in measuring and cutting the wood strips is crucial for a professional-looking Shaker door. Slight inaccuracies will be very noticeable. The “rails” are the horizontal pieces, and the “stiles” are the vertical pieces of your new frame.
You will need to measure each door individually. Do not assume all your doors are the same size. Even small variations in cabinet construction are common. Take precise measurements for each specific door.
Calculating Dimensions and Making Cuts
Determine Frame Width: Decide how wide you want your rails and stiles. A common width is 2 to 2.5 inches. This width provides a balanced look on most cabinet doors. The thickness should be 1/4 inch to 1/2 inch.
Measure Door Dimensions:
- Measure the full height and full width of each flat-front door.
- Decide on the desired reveal or margin for your Shaker panel. This is the distance from the edge of the door to the inside edge of your new frame. A common reveal is 1.5 to 2 inches. This creates the recessed panel effect.
Calculate Rail Lengths: The two horizontal rails (top and bottom) will be shorter than the door’s full width.
- Rail Length = (Door Width) - (2 x Desired Reveal).
- For example, if your door is 12 inches wide and you want a 2-inch reveal, your rails will be 12 - (2 * 2) = 8 inches long.
Calculate Stile Lengths: The two vertical stiles (left and right) will run the full height of the door, overlapping the ends of the rails.
- Stile Length = Door Height.
- For example, if your door is 30 inches high, your stiles will be 30 inches long.
- Correction/Clarification: In a traditional Shaker door, the stiles run the full height and the rails fit between them. For this conversion method (adding a frame onto a flat door), the stiles are cut to the full height of the door, and the rails are cut to fit between the stiles. This means the rails will indeed be shorter than the door width minus twice the stile width. Let’s re-state this simply for clarity:
- Stile Length: This is the full height of your existing flat door. Cut two stiles for each door.
- Rail Length: This is the width of your existing flat door minus twice the width of your chosen wood strips. Cut two rails for each door.
- Example: Door is 12” wide x 30” high. Your strips are 2.5” wide.
- Stile Length = 30 inches.
- Rail Length = 12 inches - (2 * 2.5 inches) = 12 - 5 = 7 inches.
Cut the Wood Strips:
- Use a miter saw to cut the lengths for your rails and stiles. Make sure cuts are perfectly square (90 degrees). Even a slight angle will create gaps.
- When cutting, always cut one piece, measure it, and then use it as a template for identical pieces if possible. This helps maintain consistency.
- Double-check all measurements before making a cut. “Measure twice, cut once” is a common and valuable woodworking rule.
Assembling the Shaker Frame
Once your wood strips are cut to precise measurements, it is time to assemble the Shaker frame onto your prepped flat-front doors. This step involves gluing the pieces in place. Proper clamping is essential to ensure a strong and lasting bond.
Lay your prepped door flat on your workbench. Make sure it is clean and free of dust. Arrange the two stiles (vertical pieces) and two rails (horizontal pieces) on the door surface. Do a dry fit first. Place the stiles along the full height of the door edges. Then, fit the rails between them, flush with the top and bottom edges. Confirm the fit is tight and the reveal is consistent around the interior opening.
Gluing and Clamping for a Strong Bond
- Apply Wood Glue: Apply a thin, even bead of wood glue to the back of each wood strip. Focus on the areas that will make contact with the flat door surface. Do not apply too much glue. Excess glue will squeeze out and create extra cleanup. A good spread ensures maximum surface contact.
- Position the Stile Pieces: Carefully place the two stiles first. Align them perfectly with the side edges of the door. Ensure they run the full height.
- Position the Rail Pieces: Place the top and bottom rails between the stiles. They should fit snugly. Ensure the outside edges of the rails align perfectly with the stiles to form crisp corners.
- Clamp Securely: Use plenty of clamps to hold the wood strips in place. Apply gentle, even pressure. Do not over-tighten the clamps. Too much pressure can squeeze out all the glue, weakening the bond. Ensure the clamps do not mar the wood. You might use small wood scraps under the clamp jaws.
- Clean Excess Glue: Immediately wipe away any excess glue that squeezes out with a damp cloth. Dried glue is much harder to remove and can affect paint adhesion.
- Allow to Dry: Let the glue dry completely according to the manufacturer’s instructions. This usually takes several hours or overnight. Do not rush this step. The bond strength depends on proper drying time.
- Optional Reinforcement: For extra strength, you can carefully pre-drill small pilot holes and use thin finishing screws from the back of the door into the new frame pieces. This is not always necessary if you used strong glue and good clamping. If you do this, ensure the screws are short enough not to penetrate the front surface.
After the glue dries, remove the clamps. Your Shaker frame is now firmly attached. You have completed a major step. The doors now have their new, classic look.
Finishing Your New Shaker Doors
Once the Shaker frames are securely attached and the glue has dried, the doors are ready for their finishing touches. This stage transforms the raw wood and old door into a polished, new cabinet front. Proper finishing makes all the difference in the final appearance.
The finishing process typically involves sanding, priming, and then painting or staining. Each step requires patience and attention to detail.
Sanding, Priming, and Painting/Staining
Final Sanding:
- Even though you sanded the doors before, a light final sanding is needed after assembly. Use a fine-grit sandpaper (220 grit) to smooth out any rough spots or raised wood grain from the glue-up.
- Pay close attention to the new joints between the rails and stiles. Ensure they are perfectly smooth.
- Wipe down the entire door with a tack cloth or a damp cloth to remove all dust. Dust will show through paint.
- For a professional look, ensuring a smooth base is critical. This also applies when considering how to clean cupboard doors that have been recently painted or finished.
Priming:
- Apply a high-quality wood primer to all surfaces of the door. This includes the new frame and the old flat panel. Primer helps the paint adhere better, provides a uniform base, and seals the wood.
- Use a brush for corners and edges, and a small foam roller for flat surfaces. This combination gives a smooth finish.
- Apply thin, even coats. Avoid thick coats, as they can cause drips and unevenness.
- Allow the primer to dry completely according to the manufacturer’s instructions. Lightly sand with 220-grit sandpaper after the first coat of primer if there are any raised fibers or imperfections. Wipe clean.
Painting or Staining:
- Painting: If painting, apply your chosen paint color. Again, use a brush for detailed areas and a foam roller for flat surfaces.
- Apply multiple thin coats rather than one thick coat. This prevents drips, provides better coverage, and results in a more durable finish.
- Lightly sand with very fine-grit sandpaper (320-400 grit) between coats for a super smooth finish. Remove all dust after sanding.
- Allow each coat to dry fully before applying the next.
- Staining: If staining, apply the stain evenly according to the product instructions. Wipe off excess stain. After the stain dries, apply several coats of a protective topcoat, such as polyurethane or clear coat. Lightly sand between topcoats for smoothness.
- Keep the doors flat during painting or staining to prevent drips and ensure even coverage.
- Once painted, keeping painted surfaces clean is easy. Learn how to clean painted doors to maintain their fresh look.
- Painting: If painting, apply your chosen paint color. Again, use a brush for detailed areas and a foam roller for flat surfaces.
Reinstall Hardware:
- Once the doors are fully dry and cured, you can reinstall your hinges and new or cleaned pulls/knobs.
- If you are installing new hardware and the old holes do not match, you will need to fill the old holes with wood filler, sand smooth, and then drill new pilot holes for the new hardware.
- Attach the doors back onto the cabinet frames. Adjust hinges as needed for proper alignment and spacing between doors.
Your newly transformed Shaker cabinet doors are now ready to impress. The final result will be a beautifully updated kitchen that feels entirely new.
Troubleshooting Common Issues
Even with careful planning, DIY projects can sometimes present challenges. Knowing how to troubleshoot common issues can save you time and frustration. I will address a few problems you might encounter when converting flat-front doors to Shaker style.
It is important to remain patient. Many issues have simple solutions. Do not get discouraged if something does not look perfect on the first try. This is part of the learning process.
Addressing Gaps, Uneven Cuts, and Adhesion Problems
Gaps at Joints (Rails and Stiles):
- Cause: This usually happens from inaccurate cuts. Even a tiny angle off 90 degrees becomes noticeable when pieces join. It can also occur if clamps were not tight enough or placed unevenly during gluing.
- Solution: For small gaps, use wood filler. Apply the filler, let it dry, then sand it perfectly smooth. If the gaps are large, you might need to re-cut the problematic piece or add a small amount of wood shims if feasible, then fill. Ensure your miter saw is calibrated accurately before cutting.
Uneven or Misaligned Frame:
- Cause: The new wood strips might not be perfectly parallel or square on the old door. This often results from rushing the dry fit or not using enough clamps.
- Solution: If the glue is still wet, quickly adjust the pieces. If the glue has dried, fixing this is harder. For minor misalignment, you might use a sanding block to gently level very small height differences. For larger issues, you might need to carefully remove the frame pieces (if glue allows) and re-attach them. This is why careful dry fitting and clamping are essential.
Poor Adhesion (Frame Coming Loose):
- Cause: This happens if the original door surface was not cleaned and sanded properly. Dirt, grease, or a very slick finish prevents the glue from bonding. Not enough glue or insufficient clamping pressure can also be culprits.
- Solution: If a section lifts, try to get more glue underneath, then clamp it again. Ensure the surfaces are clean. If the entire frame detaches, you must remove it, thoroughly clean and sand both the door and the wood strips, and re-glue. Make sure you use enough quality wood glue and sufficient clamping pressure across the entire length of the strips.
Paint Adhesion or Finish Issues:
- Cause: Bubbling, peeling, or uneven paint is often due to improper surface preparation (not sanding, not cleaning, not priming) or incorrect paint application (too thick, wrong temperature, not enough drying time).
- Solution:
- Bubbling/Peeling: Sand the affected area down to a smooth, uniform surface. Clean thoroughly, re-prime, and then repaint.
- Unevenness: Lightly sand the entire door with fine-grit sandpaper (220-320). Clean and apply another thin, even coat of paint. Remember, multiple thin coats are better than one thick coat.
Warping of the Finished Door:
- Cause: This can happen if the original flat door was already slightly warped. It can also occur if moisture levels change drastically during the project or if one side of the door is finished but the other is not, causing uneven drying and tension.
- Solution: If the warp is minor, sometimes re-hanging and adjusting hinges can help. For more significant warping, it is very difficult to correct. Prevention is key: start with flat doors, ensure even finishing on all sides (even the back and edges), and control humidity in your workspace.
By paying close attention to preparation, precise measurements, and proper gluing and finishing techniques, you can avoid most of these common issues. If they arise, use these solutions to get your project back on track.
Conclusion
You have successfully learned how to make Shaker cabinet doors from old flat fronts. This project is a rewarding way to update your kitchen or any space with dated cabinets. You transform ordinary flat doors into classic Shaker style fronts. This DIY approach not only saves significant money compared to buying new custom doors, but it also gives you a sense of accomplishment.
By following the steps laid out in this guide—from careful assessment and precise measurements to thorough preparation, assembly, and meticulous finishing—you can achieve a professional-looking result. Your renovated cabinet doors will add timeless elegance and increased value to your home. Are you ready to give your kitchen the fresh, modern look it deserves? Start your Shaker door transformation today and enjoy the beauty of your handiwork.
- cabinet renovation
- DIY kitchen update
- Shaker style doors

Todd Martin
Senior Writer
With over 15 years of experience in home renovation and design, I started HEG to share what I’ve learned with homeowners who want to create spaces that are both beautiful and functional. I’ve always believed in a hands-on approach, and over the years, I’ve picked up practical solutions that actually work. Through HEG, I aim to make home improvement more approachable, sharing real tips that help you create a home you truly love.