· Todd Martin · Home Improvement · 19 min read
How To Paint Fake Wood Cabinets
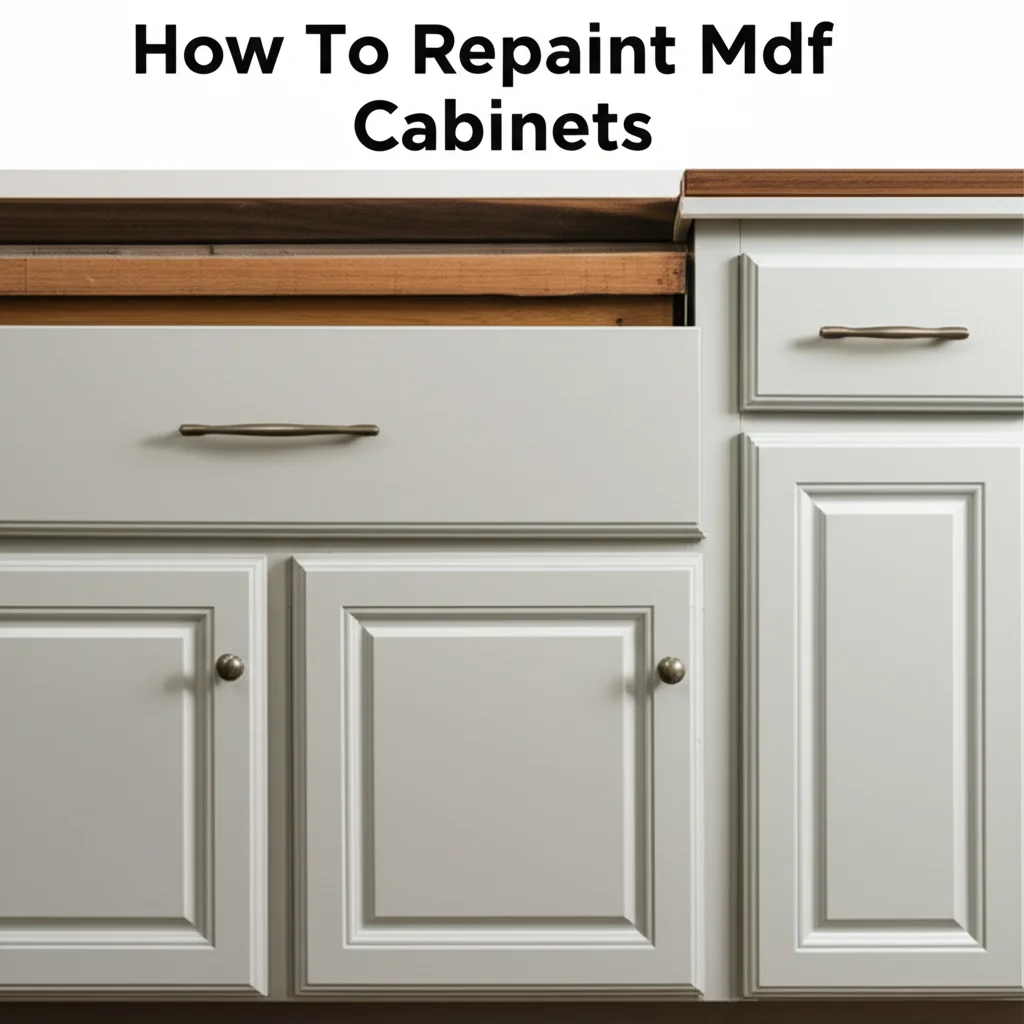
Revamp Your Kitchen: How To Paint Fake Wood Cabinets
Are your kitchen or bathroom cabinets looking tired and dated? You might have “fake wood” cabinets, like those made from laminate, thermofoil, or melamine. These materials mimic the look of real wood but often come with a more affordable price tag. Instead of a costly replacement, painting them offers a budget-friendly way to completely transform your space.
Painting fake wood cabinets is a smart DIY project. It updates your home without major demolition. This guide will walk you through each step. You will learn the correct preparation, priming, and painting techniques. Get ready to give your cabinets a fresh, new look.
Takeaway
- Identify your fake wood cabinet material (laminate, thermofoil, melamine).
- Thoroughly clean and degrease surfaces for paint adhesion.
- Use a high-quality bonding primer for a durable finish.
- Apply multiple thin coats of paint for a smooth look.
- Allow proper curing time before heavy use.
You can paint fake wood cabinets by thoroughly cleaning and degreasing them, making minor repairs, applying a specialized bonding primer, and then painting with a durable cabinet-grade paint. This process creates a fresh, updated look that is much more affordable than replacing old cabinets.
Understanding Your Fake Wood Cabinets
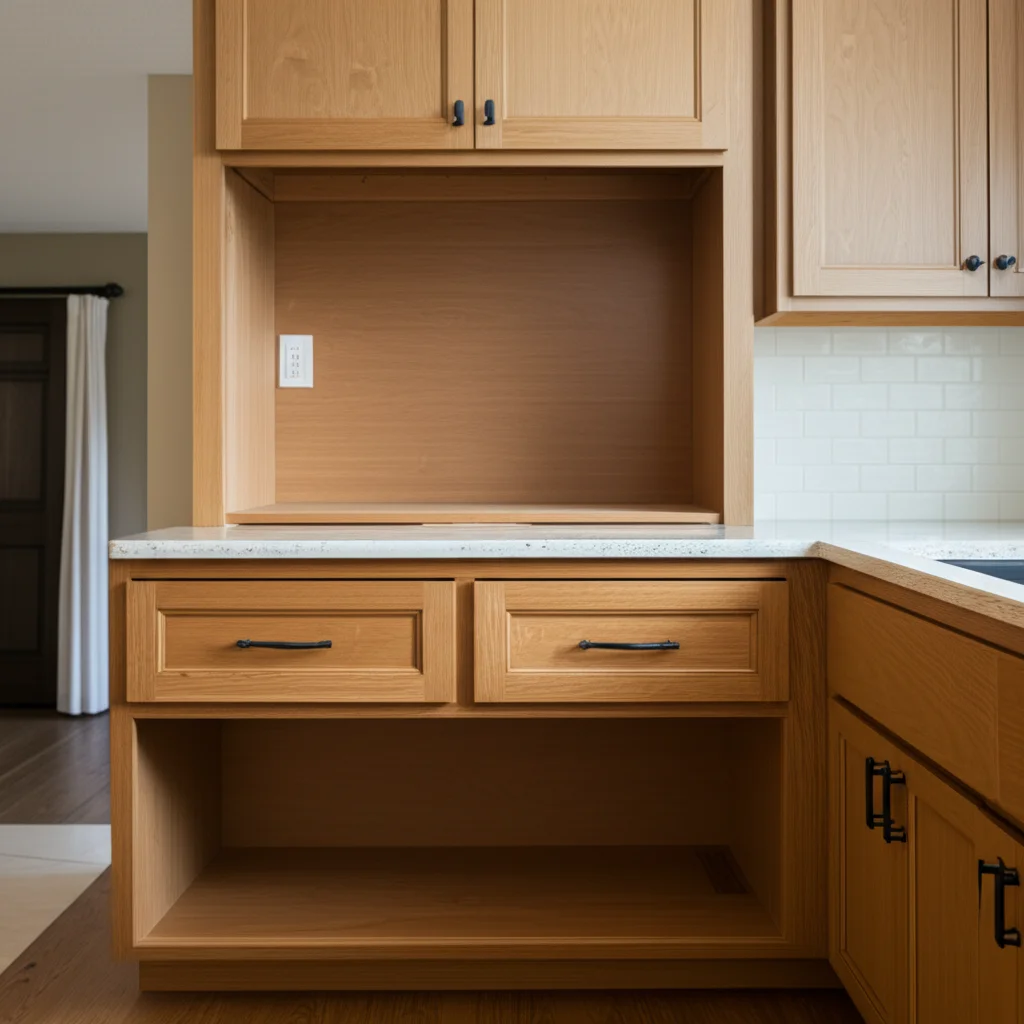
Many homes feature cabinets that appear to be wood but are not. These are often called “fake wood” cabinets. They are typically made from engineered wood products covered with a decorative layer. Knowing what material your cabinets are made from helps you choose the right approach.
Different types of fake wood cabinets exist. Common materials include laminate, thermofoil, and melamine. Each material has unique properties that affect how paint adheres. You must understand these differences for successful painting.
Identifying the Material for Faux Wood
Laminate cabinets have a thin, decorative layer applied over a particle board or MDF core. This layer is often plastic or paper-based. It is designed to look like wood grain. Laminate surfaces can be very smooth.
Thermofoil cabinets feature a vinyl film applied with heat and pressure over an MDF core. This creates a seamless, durable surface. Thermofoil can sometimes peel or delaminate over time, especially near heat sources. Melamine is similar to laminate but often has a harder, more brittle surface. It is a paper layer saturated with a plastic resin, then fused to a particleboard core.
You need to know your cabinet material because some primers work better on certain surfaces. For example, a strong bonding primer is essential for very smooth, non-porous surfaces. These primers help paint stick to the otherwise slick cabinet face. Picking the right primer prevents peeling and chipping later.
Why Proper Prep Matters for Faux Wood
Prepping fake wood cabinets is the most important step in painting. Unlike real wood, fake wood surfaces do not absorb paint. The paint sits on top. This means the surface must be perfectly clean and slightly textured for paint to bond. If you skip steps, your paint job will fail.
Adhesion is a big concern with fake wood. Grease, grime, or a slick surface will prevent paint from sticking. Paint will simply scratch or peel off. A well-prepared surface ensures the primer has something to grip.
This preparation work ensures durability. A durable finish will last for many years. It resists daily wear and tear in busy areas like kitchens. Do not rush this stage. Time spent preparing saves you time and frustration later.
Essential Tools and Materials for Painting
Gathering the right tools and materials makes your painting project much smoother. You will avoid interruptions and achieve a better finish. Before you start, create a checklist of everything you need. This helps ensure you have all supplies on hand.
Having good quality items also affects the final look. Cheap brushes or low-grade paint can lead to streaks or poor coverage. Invest in decent supplies. They will make your work easier and the results more professional.
Gathering Your Painting Arsenal
You will need screwdrivers to remove cabinet doors and hardware. Labeling bags for screws for each door is helpful. Painter’s tape protects areas you do not want painted. Drop cloths or old sheets protect your floors and countertops. A good quality degreaser and cleaner are vital for prepping the surface.
For actual painting, you will need a small foam roller for smooth surfaces. A high-quality angled brush works well for corners and details. Sanding sponges or fine-grit sandpaper (220-grit or higher) are useful for light scuffing. Gloves protect your hands from chemicals and paint. Safety glasses shield your eyes.
Other useful items include a plastic sheeting or painter’s plastic to create a dust barrier if sanding. Tack cloths remove dust after sanding. Small containers or paint trays make it easy to work with primer and paint. Always have cleaning rags available for spills.
Choosing the Right Primer and Paint
Selecting the correct primer is critical for fake wood cabinets. You need a bonding primer. These primers are formulated to adhere to challenging, non-porous surfaces. Look for primers specifically labeled for laminate, melamine, or slick surfaces. Zinsser B-I-N Shellac-Base Primer or a good quality oil-based bonding primer are excellent choices. They provide a strong base for your topcoat.
For the paint itself, choose a durable, cabinet-grade paint. Alkyd-urethane or enamel paints are good options. These paints offer a hard, resilient finish. They stand up well to cleaning and daily use. Semi-gloss or satin finishes are common for cabinets. They are easy to clean and hide imperfections better than high-gloss.
Consider low-VOC (volatile organic compound) options if you are sensitive to fumes. You can find excellent water-based alkyd paints that clean up with water. They still provide a hard, durable finish. Avoid standard latex wall paint. It is too soft and will not hold up to the demands of cabinet use.
Thorough Cleaning and Degreasing Prep
Cleaning your cabinets before painting is not just about making them look nice. It is about creating a perfectly clean surface for the paint to bond. Any grease, grime, or residue will cause adhesion issues. The paint will bubble, peel, or chip quickly. This step is non-negotiable for a lasting finish.
Think of it as preparing a clean canvas for your masterpiece. A proper cleaning ensures the primer has nothing blocking its bond. This leads to a beautiful, durable result. Take your time with this important stage.
The Critical First Step: Removing Dirt and Grime
First, remove all cabinet doors, drawers, and hardware. Place them on a protected surface like sawhorses. Use a general all-purpose cleaner to wipe down all surfaces. This removes loose dirt, dust, and light smudges. Pay attention to inside corners and decorative moldings.
A soft cloth or sponge works well for this initial cleaning. Rinse the surfaces with clean water. Allow them to dry completely. Even tiny bits of moisture can cause problems with paint adhesion. Make sure the cabinets are thoroughly dry before moving on.
If you find a sticky residue, a stronger cleaner may be needed. Sometimes old polish or grime builds up. Address these areas directly. You want a uniformly clean surface for the next step.
Degreasing for Optimal Adhesion
Kitchen cabinets collect grease from cooking. This grease is often invisible but can ruin a paint job. A dedicated degreaser is essential for this step. Products like TSP (trisodium phosphate) substitute or a strong cabinet cleaner work best. Follow the product instructions carefully.
Mix the degreaser according to directions. Use a clean sponge or cloth to scrub all cabinet surfaces. Focus on areas around the stove and sink where grease tends to accumulate. You might be surprised how much grime comes off. This step is especially important if your cabinets have a sticky feel. For very greasy cabinets, you might consider linking to How To Clean Greasy Cabinets.
After degreasing, rinse the cabinets thoroughly with clean water. Use a damp cloth to wipe away all degreaser residue. This is important as residue can interfere with paint adhesion. Let the cabinets dry completely before sanding. For comprehensive guidance on preparing your cabinets, you can also refer to How To Clean Cabinets Before Painting.
Repairing Damage and Light Sanding
Even fake wood cabinets can show signs of wear and tear. Small chips, scratches, or peeling areas are common. Addressing these imperfections before painting is crucial. Paint will highlight flaws, not hide them. Taking the time to repair ensures a smooth, professional finish.
Sanding is another vital step. While you do not heavy sand fake wood, a light scuffing creates tooth. This tooth helps the primer grip the slick surface. It is a subtle but effective way to improve adhesion.
Patching Imperfections
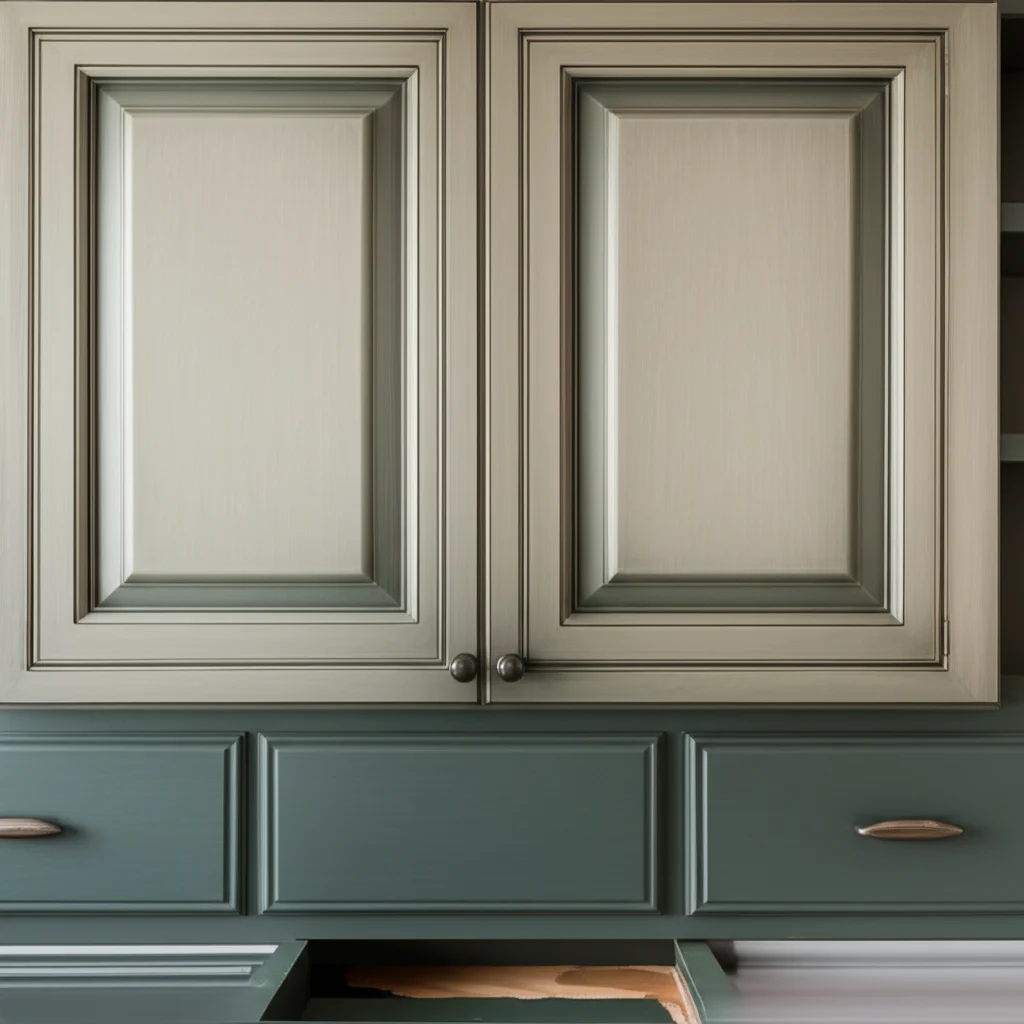
Inspect all cabinet surfaces closely for damage. Look for chips in the laminate, scratches, or areas where the fake wood veneer is lifting. For small chips and scratches, use a wood filler or spackle. Apply a small amount with a putty knife. Smooth it flush with the surface.
If the fake wood veneer is peeling, especially with thermofoil, you have a few options. If it is a small, contained peel, you might try re-adhering it with contact cement. For larger or more widespread peeling, the best option may be to remove the delaminated material entirely. You then fill the exposed MDF or particle board with wood filler. Build it up in thin layers, allowing each to dry. Sand smooth after it dries. This ensures a consistent surface for painting. For fixing general paint issues on furniture that can be applied to fake wood, consider reading How To Fix Chipped Paint On Wood Furniture.
Allow all filler to dry completely according to product instructions. Drying times vary based on the thickness of the application. Do not rush this stage. Proper drying prevents cracks or shrinking later.
Why Sanding Is Still Important (Even if Light)
Sanding fake wood cabinets is different from sanding real wood. You are not trying to remove the finish. You are simply scuffing the surface. This creates microscopic scratches. These scratches give the primer something to grab onto. It is often called “creating a tooth.”
Use 220-grit sandpaper or a fine-grit sanding sponge. Gently sand all surfaces in the direction of the grain, if there is one. Do not press hard. Your goal is to dull the shiny finish. A dull, matte appearance means you have successfully created tooth. Avoid sanding through the fake wood layer to the particle board or MDF underneath. This can create an uneven surface.
After sanding, thoroughly wipe down all surfaces with a tack cloth. Remove all dust. Any remaining dust will create bumps in your paint job. You can also use a vacuum with a brush attachment. Then, follow up with a damp cloth and allow to dry. This ensures a clean, dust-free surface for priming.
Priming for Lasting Adhesion
Priming is the most crucial step when painting fake wood cabinets. You cannot skip it. Fake wood surfaces are typically non-porous and slick. Without a special primer, your paint will not stick. It will chip or peel off easily, ruining all your hard work.
A good primer creates a bridge. It bonds to the challenging cabinet surface on one side. It provides a perfect base for your paint to adhere to on the other. This ensures durability and a smooth finish. Do not use a general-purpose primer.
The Role of a High-Quality Bonding Primer
You need a bonding primer specifically designed for slick surfaces. Look for products that state they work on laminate, thermofoil, glass, or glossy surfaces. Brands like Zinsser B-I-N Shellac-Base Primer or STIX Bonding Primer are highly recommended. These primers contain special resins. These resins grab onto difficult materials.
Shellac-based primers dry very fast. They also block stains and odors. Oil-based bonding primers also work well and offer excellent adhesion. They might have a longer drying time and require mineral spirits for cleanup. Water-based bonding primers are available too. They are easier to clean up and have fewer fumes. Make sure any water-based option is specifically designed for high adhesion to challenging surfaces.
Always read the primer can instructions. Some require stirring. Others need specific application temperatures. Using the correct primer ensures your topcoat paint performs as expected. It also adds to the overall durability of your cabinet finish.
Application Techniques for Primer
Before you start, apply painter’s tape to areas you do not want painted. This includes cabinet interiors if you are not painting them, and walls or countertops. Lay down drop cloths to protect your workspace. Ensure the area is well-ventilated.
Apply the primer in thin, even coats. Avoid applying it too thick. Thick coats can lead to drips and a longer drying time. Use a high-quality foam roller for flat surfaces. This provides a smooth, even application. For corners and detailed areas, use a good angled brush. My personal preference is often to use a foam roller as much as possible to avoid brush marks.
Allow the first coat of primer to dry completely. Refer to the product’s recommended drying time. This can range from 30 minutes to several hours. Once dry, lightly scuff the primed surface with 220-grit sandpaper or a fine sanding sponge. This creates a smoother base for the next coat. Wipe away all dust with a tack cloth. Apply a second thin coat of primer if desired or if the surface still shows through. Two thin coats are often better than one thick coat for adhesion. For general guidance on primer cleanliness, you can also review How To Clean Primer Before Paint.
Painting Your Fake Wood Cabinets
Now comes the fun part: applying the color. After all the careful preparation and priming, you are ready for the transformation. The key to a professional-looking finish is applying thin, even coats. Patience here pays off immensely.
Rushing the painting step can undo all your hard work. Drips, uneven coverage, or poor adhesion can happen. Take your time, and enjoy seeing your cabinets come to life with a fresh coat of paint.
Applying Your Chosen Paint
Before painting, stir your chosen cabinet paint thoroughly. Do not shake it, as this can create bubbles. Pour a small amount into a paint tray. Use a high-quality foam roller for flat surfaces like door fronts and cabinet boxes. Roll in long, overlapping strokes. This ensures even coverage.
For detailed areas, edges, and corners, use a good quality angled paintbrush. “Feather” the edges where the brush meets the roller marks. This helps blend the paint smoothly. Avoid applying too much paint at once. Thin coats are always better than one thick coat. Thick coats drip easily and take longer to dry.
Aim for consistent coverage. Do not worry if the first coat looks a bit transparent. This is normal. The goal is to build up the color gradually with multiple thin coats. Make sure to paint the backs of the doors first if you plan to paint them. Then, move to the front.
Achieving a Smooth, Professional Finish
After applying the first coat of paint, allow it to dry completely. Drying times vary depending on humidity, temperature, and paint type. Refer to your paint can for specific recommendations. Typically, it is 4-6 hours or more. Do not touch the surface before it is dry to the touch.
Once dry, lightly scuff the entire painted surface with 220-grit or finer sandpaper. This smooths out any minor imperfections or dust nibs. It also creates a better surface for the next coat to adhere. Wipe away all sanding dust thoroughly with a tack cloth. You might be surprised how much smoother the surface feels after this light sanding.
Apply a second thin coat of paint using the same methods. Repeat the drying, light sanding, and dusting process. Most cabinet projects require two to three coats for full, opaque coverage and durability. Sometimes even a fourth coat might be needed for very light colors over dark bases. This multi-coat approach is critical for a long-lasting, beautiful finish. For tips on avoiding unwanted marks, consider reading How To Paint Kitchen Cabinets Without Brush Marks.
Curing, Reassembly, and Final Touches
You are almost done! The painting is complete, but your cabinets are not ready for immediate heavy use. The paint needs time to “cure.” Curing is different from drying. Drying means the paint feels dry to the touch. Curing means the paint has hardened completely. This process can take several days or even weeks.
Patience during curing is vital for a durable finish. Rushing this stage can lead to scratches, dents, or peeling. Protect your hard work by allowing proper cure time. Then, reassembly is the final step.
Patience is Key: Curing Time
Most paints dry to the touch within a few hours. This means you can handle the doors and apply a second coat. However, full curing, where the paint achieves maximum hardness and durability, takes longer. This period can range from 7 to 30 days, depending on the paint type and environmental conditions. Always check the paint manufacturer’s instructions for exact curing times.
During the curing period, treat your newly painted cabinets with care. Avoid harsh cleaning. Do not place heavy objects on shelves. Try to minimize bumping or scraping the surfaces. This allows the paint to fully harden without damage. If you notice any issues with the paint adhering, you might refer to How To Fix Paint Peeling Off Cabinets for troubleshooting.
Good ventilation helps speed up the curing process. Keep windows open if possible. Avoid high humidity. The harder the paint cures, the more resistant it will be to scratches, dings, and moisture. This step is as important as the painting itself for long-term success.
Reinstalling Hardware and Doors
Once your cabinets are fully cured, you can reinstall the hardware. Attach hinges to the doors first. Use the labeled bags of screws you prepared earlier. This ensures each set of screws goes back to its original location. Be gentle when tightening screws. Overtightening can strip the wood or crack the paint.
Next, hang the doors back on the cabinet boxes. You might need a helper for this step. Adjust the hinges to ensure the doors align properly and close smoothly. Some hinges have adjustment screws. These screws allow you to fine-tune the door position. Take your time to get the alignment right.
Finally, reinstall drawer fronts and pulls or knobs. Stand back and admire your new cabinets. They should look completely transformed. Your space will feel fresh and updated. This last step brings the whole project together.
Maintaining Your Newly Painted Cabinets
Proper maintenance helps your newly painted fake wood cabinets last for many years. Regular cleaning is essential. Use a soft cloth and a mild, non-abrasive cleaner. Dish soap mixed with water often works well. Avoid harsh chemicals, abrasive sponges, or scouring pads. These can dull the finish or scratch the paint.
Wipe up spills immediately. Especially acidic liquids like vinegar or citrus juices. They can etch or stain the paint if left for too long. For general cleaning of cabinets, even if they are wood, some principles apply, for example, How To Clean Wood Cabinets. Always dry the cabinets after cleaning to prevent water spots or damage.
Consider adding felt pads to the inside of cabinet doors and drawers. This prevents them from slamming shut. It also protects the paint from impact damage. With a little care, your painted fake wood cabinets will continue to look fantastic. You will enjoy your updated space every day.
FAQ Section
Can you paint over fake wood cabinets?
Yes, you can paint over fake wood cabinets, like those made from laminate, thermofoil, or melamine. The key is thorough preparation. This includes cleaning, degreasing, and lightly scuffing the surface. You must use a high-quality bonding primer designed for slick, non-porous materials. This ensures proper paint adhesion and a durable finish.
What kind of paint do you use on fake wood cabinets?
For fake wood cabinets, use a durable, cabinet-grade paint. Alkyd-urethane or enamel paints are excellent choices. These types of paints create a hard, resilient finish that stands up to daily wear and tear. Semi-gloss or satin finishes are popular. They are easy to clean and hide imperfections well. Avoid standard latex wall paints, as they are not durable enough.
Do I need to sand fake wood cabinets before painting?
You do not need to sand fake wood cabinets heavily. However, a light “scuff sanding” with 220-grit or finer sandpaper is essential. This process creates tiny scratches on the slick surface. These scratches give the bonding primer something to grip onto. This step is crucial for good adhesion and prevents the paint from peeling later.
How long does painted fake wood last?
With proper preparation, high-quality primer, and durable cabinet paint, your painted fake wood cabinets can last for many years. Expect them to maintain their fresh look for 5-10 years or even longer. Durability also depends on daily use and proper maintenance. Regular gentle cleaning extends their lifespan.
Is it worth painting fake wood cabinets?
Yes, painting fake wood cabinets is definitely worth it. It is a cost-effective way to update your kitchen or bathroom without replacing entire cabinet units. This DIY project can save you thousands of dollars. It provides a significant visual impact, making your space feel new and modern. It boosts your home’s appearance.
How to prepare fake wood cabinets for paint?
To prepare fake wood cabinets for paint, first remove all doors, drawers, and hardware. Clean all surfaces thoroughly with a degreaser to remove grease and grime. Make any necessary repairs to chips or peeling areas. Lightly scuff all surfaces with fine-grit sandpaper to create tooth for the primer. Finally, wipe away all dust with a tack cloth before priming.
Conclusion
Painting your fake wood cabinets is a rewarding project. It transforms your home without breaking the bank. You have learned the essential steps. Understanding your cabinet material is the first step. Proper cleaning and degreasing follow this. Using the right bonding primer is critical. Applying durable cabinet-grade paint ensures a beautiful finish.
Patience is a virtue throughout this process, especially during sanding and curing. Each step contributes to a long-lasting and professional result. Do not be afraid to tackle this project. You now have the knowledge to achieve stunning results.
Ready to give your kitchen or bathroom a fresh, new look? Gather your supplies and start painting your fake wood cabinets today! Your revitalized space awaits.
- cabinet painting
- laminate cabinets
- faux wood
- kitchen makeover
- DIY home
- thermofoil cabinets
- cabinet renovation

Todd Martin
Senior Writer
With over 15 years of experience in home renovation and design, I started HEG to share what I’ve learned with homeowners who want to create spaces that are both beautiful and functional. I’ve always believed in a hands-on approach, and over the years, I’ve picked up practical solutions that actually work. Through HEG, I aim to make home improvement more approachable, sharing real tips that help you create a home you truly love.