· Todd Martin · Home Improvement · 14 min read
How To Refinish Mid Century Furniture

Refinish Mid Century Furniture: A Step-by-Step Guide
Do you own a beautiful mid-century modern furniture piece that has lost its shine? Perhaps it carries scratches, water rings, or a dull finish from years of use. Giving a new life to these iconic designs through refinishing is a rewarding project. You can restore their original beauty and make them focal points in your home again. This guide explains how to refinish mid century furniture properly. We cover everything from evaluation to the final protective coat. Get ready to transform your vintage treasures.
Takeaway:
- Carefully assess your mid-century piece for wood type and damage.
- Gather the correct tools and materials before you begin work.
- Clean, strip, and sand the furniture meticulously for best results.
- Choose a finish that complements the wood and style of the era.
- Apply protective coats to ensure lasting beauty and durability.
Refinishing mid-century furniture involves cleaning, stripping the old finish, sanding to create a smooth surface, and then applying a new stain, oil, or protective topcoat. This process revitalizes the wood, removes damage, and restores the piece to its original aesthetic while preserving its historical value.
Understanding Your Mid-Century Furniture Piece
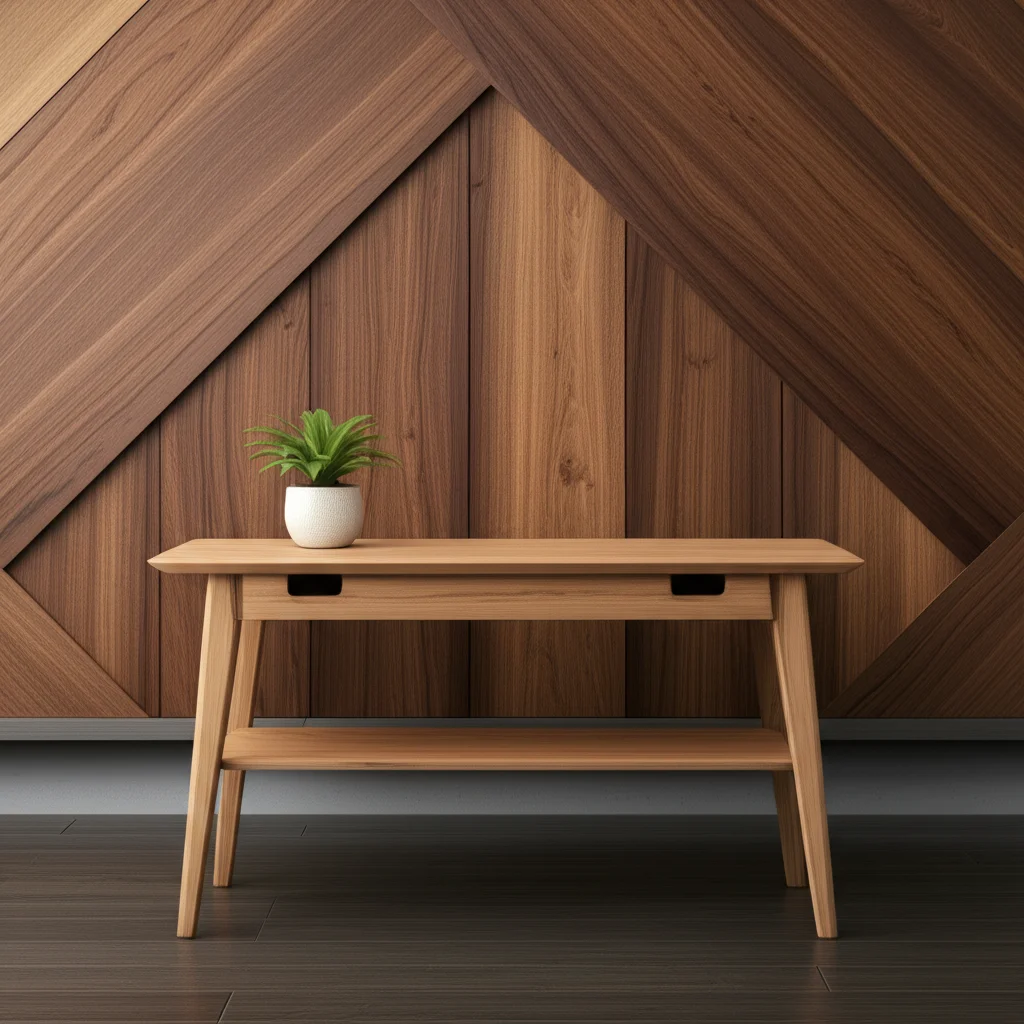
Before you begin to refinish mid century furniture, assess the item. Mid-century modern furniture often uses specific wood types. Teak, walnut, rosewood, and oak are common choices. Each wood type has unique characteristics. Understanding these helps you choose the right refinishing approach. Some pieces may also feature veneers. Veneers are thin layers of wood glued onto a base.
Inspect the furniture for damage. Look for deep scratches, dents, or water stains. Check the structural integrity of the piece. Loose joints need repair before you start the finish work. You must know what you are working on. This step prevents mistakes during the refinishing process.
Determine the existing finish. Many mid-century pieces had a simple oil finish, lacquer, or varnish. Knowing the old finish helps you choose the correct stripper or sanding method. An original oil finish is easier to remove than a thick lacquer. This initial inspection sets the stage for a successful restoration.
- Common Mid-Century Wood Types:
- Teak: Often used in Scandinavian designs, known for its rich color and natural oils.
- Walnut: A popular choice for American mid-century pieces, prized for its dark grain.
- Rosewood: Valued for its striking grain patterns, though less common due to sourcing.
- Oak: Durable and stable, often seen in more robust designs.
Careful examination saves time and effort later. Consider the historical value of your item. Sometimes, minor imperfections add to the character. Only refinish if the damage detracts significantly from the piece’s beauty or function.
Gathering Your Essential Tools and Materials
Having the right tools is important to refinish mid century furniture effectively. You will need safety gear first. This includes gloves, eye protection, and a respirator mask. These items protect you from chemicals and dust. Your project needs a well-ventilated area. This setup keeps you safe.
Next, collect materials for stripping. You will need a chemical stripper designed for wood finishes. Choose one suitable for your specific furniture. Gather plastic scrapers and steel wool. These help remove the old finish without damaging the wood. Always read the stripper’s instructions carefully.
For sanding, you need sandpaper of various grits. Start with coarser grits like 100 or 120. Finish with fine grits like 220 or 320. A sanding block or an orbital sander makes the work easier. Have tack cloths on hand to clean dust. These cloths pick up fine particles before you apply new finishes.
Finally, prepare your new finish. Decide if you want a stain, an oil, or a clear topcoat. Common choices for mid-century furniture include Danish oil, tung oil, or a satin polyurethane. Brushes or clean rags will apply the finish. Have mineral spirits or paint thinner available for cleanup, if needed.
- Required Supplies:
- Safety Gear (gloves, eye protection, respirator)
- Chemical Stripper (paste or liquid)
- Plastic Scrapers and Putty Knives
- Steel Wool (#000 or #0000)
- Sandpaper (100, 120, 150, 180, 220, 320 grit)
- Sanding Block or Orbital Sander
- Tack Cloths
- Wood Stain, Danish Oil, Tung Oil, or Polyurethane
- Applicator Brushes or Clean Rags
- Mineral Spirits or Paint Thinner (for cleanup)
- Drop Cloths or Plastic Sheeting
- Small containers for stripper or finish
Gathering everything beforehand saves trips to the store. This preparation ensures a smooth and efficient refinishing process. You are now ready for the next steps.
Cleaning and Preparing the Furniture for Refinishing
Proper cleaning is a vital first step to refinish mid century furniture. Begin by removing all hardware from the piece. This includes pulls, hinges, and any decorative elements. Store these items in a safe place. You can clean the hardware separately later. How to clean furniture hardware can guide you on this task.
Next, give the furniture a thorough cleaning. Use a mild soap solution and a soft cloth. Wipe down all surfaces. This removes dirt, grime, and grease. For stubborn build-up, a mixture of vinegar and water can be effective. This step is important for proper adhesion of new products. You can find more tips on how to clean wooden furniture for a good foundation.
Allow the furniture to dry completely. Any moisture can interfere with the refinishing process. Inspect the wood again after cleaning. Look for any remaining residue or spots you missed. A clean surface ensures better results.
Address any repairs needed before stripping. Fill small gouges or dents with wood filler. Use a color that matches the wood if you plan to stain. Tighten any loose joints with wood glue and clamps. Let the glue dry fully before proceeding. Taking time here prevents issues later on.
- Pre-Refinishing Cleaning Steps:
- Remove all hardware and set aside.
- Wipe down the entire piece with a damp cloth and mild soap.
- For stubborn grime, use a 1:1 vinegar and water solution.
- Allow the furniture to air dry completely.
- Inspect for any remaining dirt or residue.
- Make minor repairs like filling gouges or tightening joints.
A clean, sound piece makes the stripping and sanding much easier. This prepares the surface for the next stage. It lays a solid foundation for your restoration project.
Stripping the Old Finish Safely
Stripping the old finish is often necessary to refinish mid century furniture. This removes old varnish, lacquer, or paint. Start by working in a well-ventilated area. Lay down drop cloths to protect your workspace. Wear your safety gloves, eye protection, and a respirator mask.
Apply the chemical stripper according to the product instructions. Use a cheap paintbrush or applicator. Apply a thick, even layer over a small section of the furniture. Let the stripper work. It will cause the old finish to bubble or soften. This usually takes 15-30 minutes, but check your product’s specific time.
Once the finish softens, gently scrape it off. Use a plastic scraper or a putty knife. Avoid metal scrapers that can gouge the wood. Work with the grain of the wood. For detailed areas, use steel wool (#000 or #0000) or an old toothbrush. These tools help remove finish from crevices.
Repeat the process until all the old finish is gone. You may need multiple applications for thick or stubborn finishes. After stripping, clean the surface. Use mineral spirits or a stripper wash. This removes any residue left by the stripper. Let the wood dry completely before moving on.
- Safe Stripping Practices:
- Work in a well-ventilated space.
- Wear full safety gear (gloves, eye protection, respirator).
- Apply stripper in an even, thick layer.
- Allow adequate time for the stripper to work.
- Scrape gently with plastic tools, going with the grain.
- Clean residue with mineral spirits or a stripper wash.
Stripping properly prepares the wood for sanding. It ensures you have a clean slate. This step is critical for achieving a beautiful new finish.
Sanding for a Smooth Surface
Sanding is a crucial step to refinish mid century furniture. It smooths the wood and removes imperfections. Start with a medium-grit sandpaper, like 120 or 150. Use a sanding block or an orbital sander for flat surfaces. Always sand with the grain of the wood. Sanding against the grain creates noticeable scratches.
Gradually move to finer grits. After 120/150, use 180-grit sandpaper. Then progress to 220-grit. For a very smooth finish, especially on hardwoods like walnut or teak, you can go up to 320-grit. Each step removes the scratches left by the previous, coarser grit. How to clean furniture after sanding is an important part of this process.
Wipe away dust frequently with a tack cloth or vacuum. Dust can clog sandpaper and create scratches. Pay close attention to corners and edges. Hand sand these areas for better control. Ensure all previous finish traces are gone. The wood should feel smooth and uniform to the touch.
- Sanding Progression:
- Start with 120 or 150-grit sandpaper.
- Progress to 180-grit sandpaper.
- Finish with 220 or 320-grit sandpaper.
- Always sand with the wood grain.
- Remove dust with a tack cloth after each grit.
If your piece has veneer, sand with extreme caution. Veneers are thin and can be sanded through easily. Use light pressure and fine grits only on veneer. Some pieces, like a teak dining table, may have specific sanding needs due to their size and material. Proper sanding ensures the new finish adheres well and looks flawless.
Staining or Oiling for the Desired Look
After sanding, you are ready to apply a new finish to refinish mid century furniture. Your choice depends on the desired look and the wood type. Mid-century pieces often benefited from a natural oil finish or a light stain. These options highlight the wood’s inherent beauty.
Applying Stain: If you choose stain, test it on an inconspicuous area first. This helps you see the true color on your wood. Apply stain with a clean cloth or foam brush. Wipe off excess stain after a few minutes, following the manufacturer’s instructions. Work in small sections to avoid patchy results. Let the stain dry completely before applying a second coat. Always work in a well-ventilated space.
Applying Oil Finish (Danish Oil, Tung Oil): Many mid-century items, especially teak or walnut pieces, originally had an oil finish. These oils penetrate the wood, enhancing its natural grain and color. They provide a warm, soft luster. Apply oil generously with a clean cloth. Let it soak into the wood for 15-30 minutes. Then, wipe off all excess oil thoroughly with a clean, dry cloth. Buff the surface to a soft sheen. Allow ample drying time between coats, often 12-24 hours. Repeat for 2-3 coats or until you achieve the desired depth. Consider how to refinish teak indoor furniture for detailed steps on this common MCM wood.
- Key Considerations for Finishing:
- Test first: Always try stain or oil on a hidden spot.
- Apply evenly: Use consistent strokes or saturation.
- Wipe excess: Crucial for both stains and oils to prevent stickiness or unevenness.
- Dry time: Allow full drying between coats for best results.
- Ventilation: Work in a well-ventilated area.
The right finish brings out the best in your mid-century piece. It protects the wood and gives it a fresh appearance. Take your time with this step.
Applying a Protective Topcoat
After staining or oiling, applying a protective topcoat is vital to refinish mid century furniture. This layer seals the wood and finish. It protects against moisture, scratches, and daily wear. The choice of topcoat affects the final look and durability.
Common Topcoats:
- Polyurethane: This is a very durable option. It comes in oil-based and water-based formulas. Water-based polyurethane dries faster and cleans up with water. Oil-based offers a warmer tint and stronger protection. Apply thin, even coats with a quality brush. Sand lightly with 320-grit sandpaper between coats for maximum smoothness and adhesion. Wipe away dust with a tack cloth.
- Lacquer: Often used on original mid-century pieces, lacquer dries very fast and provides a high-gloss, durable finish. It is typically applied with a spray gun. It requires more skill and proper ventilation due to strong fumes.
- Varnish: Offers good protection and is durable. It can be brushed on. Varnish provides a slightly softer finish than polyurethane.
Apply the topcoat in a dust-free environment. Use long, even strokes with your brush. Avoid overworking the finish, which can cause bubbles. Apply 2-3 coats for good protection. Follow the manufacturer’s recommendations for drying times between coats.
- Topcoat Application Tips:
- Choose a topcoat suitable for your furniture’s use.
- Apply thin, even coats to avoid drips and bubbles.
- Lightly sand between coats with fine-grit sandpaper (320-400).
- Clean dust thoroughly with a tack cloth after sanding.
- Ensure proper ventilation during application and drying.
A well-applied topcoat gives your mid-century piece a lasting beautiful finish. It ensures your hard work stands the test of time. This step completes the transformation process. You can apply similar principles when working on a wood vanity or other indoor furniture pieces.
Final Touches and Ongoing Care
Once the final topcoat is dry, you are almost done to refinish mid century furniture. Allow the furniture to cure fully. This can take several days or even weeks, depending on the finish type. Consult the product label for specific curing times. During this period, handle the piece gently. Avoid placing heavy objects on it.
Reattach all hardware carefully. Ensure screws are tight but do not overtighten. Clean any hardware you removed earlier. How to clean hardware on old furniture provides good guidance. Buff the surface lightly with a clean, soft cloth if desired. This enhances the sheen.
Now your refinished mid-century piece is ready for use. Proper care will help maintain its new look. Dust regularly with a soft cloth. Avoid using harsh chemical cleaners. These can damage the finish over time. Use coasters under drinks to prevent water rings.
- Maintaining Your Refinished Furniture:
- Allow the finish to cure fully before heavy use.
- Reattach all hardware carefully.
- Dust with a soft, dry cloth regularly.
- Wipe spills immediately.
- Use coasters and placemats to protect surfaces.
- Avoid direct sunlight and extreme temperature changes.
For oiled finishes, you may need to reapply oil periodically. This nourishes the wood and refreshes the luster. Teak furniture, for instance, benefits from regular oiling. Knowing how to clean indoor teak furniture can help extend the life of your specific piece. With these final touches and care tips, your mid-century furniture will remain beautiful for many years.
Frequently Asked Questions
Q: Can all mid-century furniture be refinished? A: Most wood mid-century furniture can be refinished. However, pieces with thin veneers require extreme care during sanding. Some pieces may have original finishes, like melamine or laminate, that cannot be stripped and must be painted over. Always assess the material carefully before starting.
Q: What kind of wood is common in mid-century furniture? A: Common wood types include teak, walnut, oak, and rosewood. Teak and walnut are particularly prevalent in Danish and American mid-century designs, respectively. Each wood has distinct grain patterns and color tones that influence the final look after refinishing.
Q: How do I know if my mid-century piece has veneer or solid wood? A: Look at the edges of the furniture. If the grain pattern wraps around the edge or if the grain on the top surface does not match the grain on the edge, it likely has veneer. You can also check for consistent grain patterns across large surfaces. Solid wood shows continuous grain.
Q: What’s the best finish for mid-century furniture? A: The best finish depends on the original style and desired durability. Oil finishes like Danish oil or tung oil are popular for their natural look and ability to nourish the wood. Polyurethane provides durable protection, while lacquer offers a classic, high-gloss appearance.
Q: How long does refinishing mid-century furniture take? A: The time frame varies significantly. It depends on the size and condition of the piece, as well as the chosen finish. A small side table might take a weekend. A large dresser or dining table could take several days or even a week, accounting for drying and curing times.
Q: Can I paint mid-century furniture instead of refinishing it? A: Yes, you can paint mid-century furniture. However, it is often recommended to refinish to preserve the original wood beauty and value. Painting is an option if the wood is severely damaged or if you prefer a modern aesthetic. Ensure proper cleaning and priming before painting.
Bringing new life to a treasured mid-century piece is a rewarding project. You now understand how to refinish mid century furniture effectively. From initial assessment to the final protective coat, each step is important. You have learned about proper cleaning, safe stripping, and meticulous sanding. Choosing the right stain or oil highlights the wood’s natural character. Applying a durable topcoat ensures lasting beauty. Take your time with each stage. Enjoy the process of transforming your vintage furniture. This careful approach restores your piece. It also adds significant value and beauty to your home.
- mid century modern
- furniture restoration
- wood refinishing
- vintage furniture

Todd Martin
Senior Writer
With over 15 years of experience in home renovation and design, I started HEG to share what I’ve learned with homeowners who want to create spaces that are both beautiful and functional. I’ve always believed in a hands-on approach, and over the years, I’ve picked up practical solutions that actually work. Through HEG, I aim to make home improvement more approachable, sharing real tips that help you create a home you truly love.