· Todd Martin · Furniture Painting · 18 min read
How To Use Fusion Paint On Furniture
Mastering Fusion Paint: Transform Your Furniture Easily
Have you ever looked at an old piece of furniture and wished it had a new life? Transforming tired furniture into stunning showpieces is simple with the right approach. Many people find Fusion Paint on furniture a perfect solution for DIY makeovers. This paint is known for its durability and built-in topcoat, often requiring minimal preparation.
This article will guide you through the entire process of using Fusion Paint on furniture. We will cover choosing the right piece, preparing surfaces, applying the paint, and adding a protective finish if desired. You will learn practical steps to achieve a professional-looking result every time. Get ready to give your furniture a fresh, modern look without much effort.
Takeaway
- Fusion Paint offers a durable, built-in topcoat finish.
- Minimal preparation is often required before painting.
- Clean surfaces thoroughly for best adhesion.
- Apply thin, even coats for a smooth result.
- Allow proper cure time for maximum durability.
To use Fusion Paint on furniture, start by cleaning the surface well. Apply thin, even coats of paint with a quality brush or roller. Fusion Paint offers excellent adhesion and durability, often needing no primer or topcoat. Let each coat dry fully before adding the next one.
Understanding Fusion Paint for Furniture Makeovers
Fusion Mineral Paint stands out as a unique product for furniture painting. It is an acrylic-based paint known for its matte finish and built-in topcoat. This means you often do not need to prime or seal your furniture piece separately. I find this feature makes the painting process much faster and simpler.
The paint offers excellent adhesion to most surfaces. You can paint wood, laminate, metal, and even plastic with good results. Its self-leveling properties help minimize brush marks, giving you a smooth, professional look. This paint is also low in VOCs, making it a safer choice for indoor projects.
What Makes Fusion Paint Different?
Fusion Paint contains a high concentration of pigment. This means you often need fewer coats to achieve full coverage. Its unique formula includes a built-in topcoat, which provides a durable, non-yellowing finish. This eliminates the extra step of applying a separate sealer.
I appreciate how well it covers existing finishes, even dark ones. The paint cures to a very hard, scrubbable finish over time. This makes it ideal for high-traffic furniture pieces.
Benefits of Using Fusion Paint
Using Fusion Paint on furniture provides many advantages. Its all-in-one formula saves both time and money. You do not need to buy separate primers or topcoats. The paint dries quickly to the touch, allowing for faster project completion.
Its durability means your painted furniture will stand up well to daily use. The low VOC formula also improves air quality in your home. This paint simplifies the painting process while delivering beautiful, long-lasting results.
Choosing the Right Furniture Piece
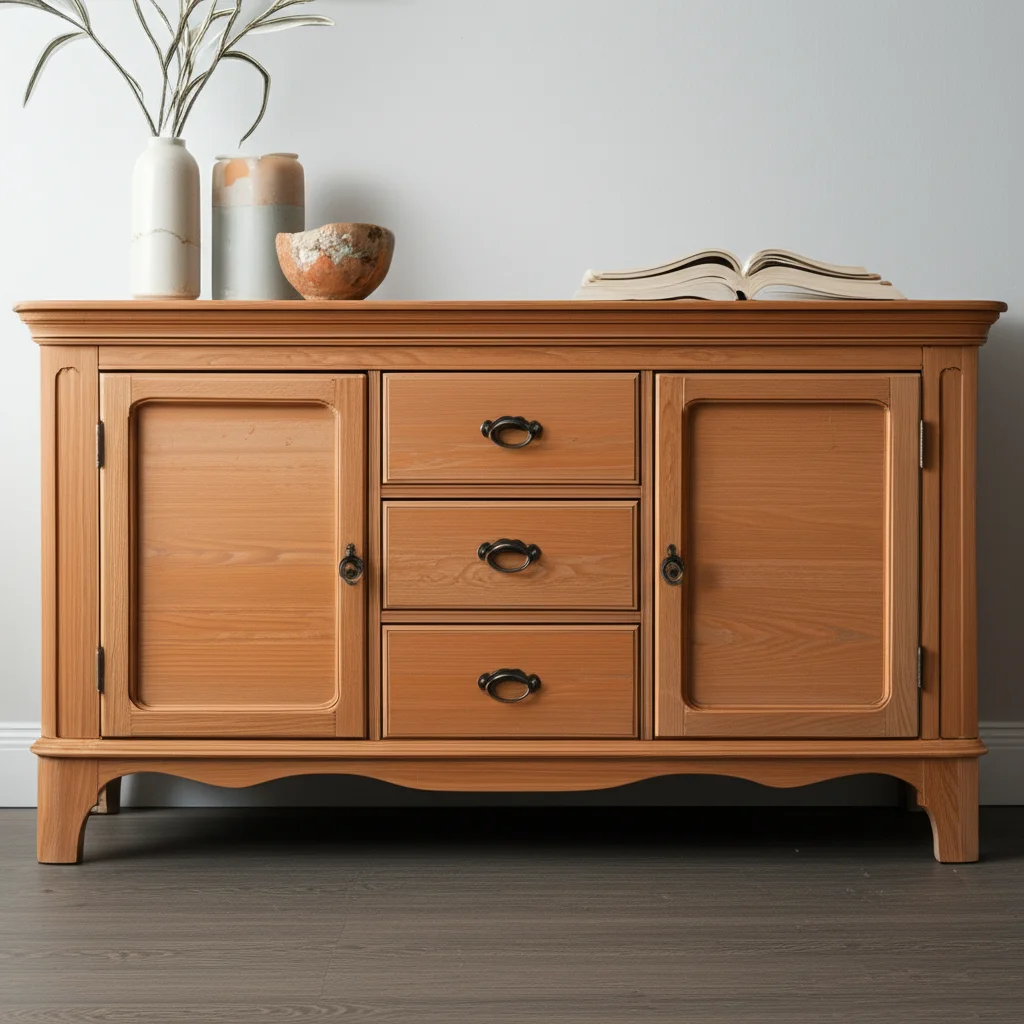
Selecting the right furniture is the first step in a successful painting project. Almost any piece can benefit from a fresh coat of Fusion Paint. Consider items like dressers, tables, chairs, or even small decorative accents. I often pick pieces with good bones, even if their current finish is outdated.
Think about the overall design and structure of the furniture. Is it sturdy? Does it have interesting details that paint can highlight? Avoid pieces with severe damage or extensive repairs needed. Painting can cover minor flaws, but it will not fix major structural issues.
Evaluating Furniture Material
Fusion Paint adheres well to many surfaces. This includes solid wood, veneer, laminate, and even metal. If your piece has a very slick or glossy finish, a light scuff sand might improve adhesion. For most average finishes, you can often skip sanding entirely.
For pieces made of particle board or MDF, ensure they are in good condition. These materials can swell if they get too wet during cleaning. If you plan to paint kitchen cabinets, Fusion Paint is an excellent choice for a durable finish.
Considering the Furniture’s Purpose
Think about how the furniture piece will be used. A dining table will experience more wear and tear than a decorative side table. Fusion Paint offers excellent durability, making it suitable for high-traffic items. However, for extreme durability, you might consider an additional clear coat or wax later.
I always consider the end use before I start. If it’s a frequently used piece, I pay extra attention to proper curing. For example, a dresser for a child’s room needs a very tough finish. Fusion Paint performs very well in these situations.
Essential Preparation Steps for Painting Furniture
Even with a no-prep paint like Fusion, some steps are essential for success. Proper preparation ensures the paint adheres well and lasts for years. My rule of thumb is to always clean furniture thoroughly. This removes dirt, grease, and grime that can prevent good paint adhesion.
Gather all your supplies before you begin. This includes cleaning solutions, rags, painter’s tape, and protective drop cloths. A little preparation saves a lot of trouble later. It helps you avoid frustrating issues like peeling or uneven paint.
Cleaning the Furniture Surface
Cleaning is the most important prep step. Start by wiping down the entire piece with a damp cloth to remove loose dust. Next, use a good degreaser or a mild soap and water solution. I prefer a product like TSP (trisodium phosphate) substitute or a dedicated furniture cleaner. Make sure to rinse the surface thoroughly to remove any cleaning residue.
Allow the furniture to dry completely before moving on. Any moisture left on the surface can affect paint adhesion. For more detailed guidance on getting your pieces ready, you can learn how to clean furniture before painting. A truly clean surface is key to a lasting finish.
Addressing Imperfections and Repairs
Inspect your furniture for any damage before painting. Fill any holes or deep scratches with wood filler. Let the filler dry completely, then sand it smooth with fine-grit sandpaper. For existing chipped paint, light sanding can smooth rough edges. This prevents the old damage from showing through your new paint.
If you have a piece with a very slick or glossy finish, a light scuff sand is recommended. Use a fine-grit sandpaper (220-grit or higher) to gently abrade the surface. This creates a bit of “tooth” for the paint to grip onto. After sanding, wipe away all dust with a tack cloth or damp rag. A clean, smooth surface provides the best canvas for your Fusion Paint. Sometimes, you might need to address more significant issues, like how to fix chipped paint on wood furniture before applying new paint.
Deciding on Sanding or Not
Fusion Paint often boasts a “no-sanding” feature. This is true for many surfaces like previously painted, raw wood, or lightly varnished pieces. However, for very glossy, slick, or laminate surfaces, a light scuff sand can dramatically improve adhesion. I always do a quick test spot if I am unsure. This ensures the paint sticks well and prevents future peeling.
A quick scuff sand involves using 220-grit sandpaper or a sanding sponge. You just need to dull the shine, not remove the entire finish. After sanding, vacuum and wipe down the piece to remove all dust. If you are painting a piece like Ikea furniture, you might find specific tips on how to paint Ikea furniture without sanding useful, even with Fusion.
Applying Fusion Paint Effectively
Once your furniture is clean and prepped, it is time for the fun part: painting! Fusion Paint is easy to work with, but good application techniques make a big difference. I always aim for thin, even coats rather than thick ones. This prevents drips and ensures a smooth finish.
Stir your paint thoroughly before you begin. Do not shake the can, as this can introduce air bubbles. Pour a small amount into a paint tray or container. This helps control the amount of paint on your brush or roller.
Choosing the Right Applicator
The type of applicator you choose impacts your finish. A high-quality synthetic brush works well for detailed areas and edges. For larger, flat surfaces, a foam roller or a short-nap microfibre roller provides a very smooth finish. I often use a combination of both. A good brush helps get into corners, while a roller quickly covers broad areas.
Ensure your brushes are clean before use. Dirty brushes can leave streaks or lint in your paint. After you finish painting, promptly clean your paint brushes to keep them in good condition for future projects. This simple step extends the life of your tools.
Painting Techniques for a Smooth Finish
Apply Fusion Paint in thin, even coats. Overloading your brush or roller can lead to drips and uneven coverage. Work in small sections, moving in the direction of the wood grain if painting wood. For rollers, use light, consistent pressure. I find that two thin coats generally provide better coverage and a smoother finish than one thick coat.
Allow each coat to dry to the touch before applying the next one. Fusion Paint typically dries quickly, usually within an hour or two. However, temperature and humidity can affect drying times. Always check the paint can for specific recommendations. Lightly sand between coats with 220-grit or higher sandpaper if you notice any bumps or imperfections. This creates an even smoother surface for the next coat.
Layering and Additional Coats
One of Fusion Paint’s advantages is its excellent coverage. Often, two thin coats are enough to achieve full, opaque coverage. If you are painting a dark piece a very light color, you might need a third coat. Always let each coat dry completely before adding the next one. This prevents peeling and ensures proper adhesion between layers.
Inspect your piece in good lighting after each coat. This helps you identify any missed spots or areas needing more coverage. If you are unsure about the ideal color for your furniture, explore resources on how to decide what color to paint furniture before you commit. Taking your time with layers ensures a beautiful, long-lasting finish.
Sealing and Curing Fusion Painted Furniture
Fusion Mineral Paint has a built-in topcoat, which means it is very durable on its own. For most furniture pieces, you do not need to apply an additional sealer. This is one of the main reasons I love using it. The paint cures over time, becoming very hard and resistant to wear.
However, there are situations where an extra layer of protection might be beneficial. High-traffic surfaces, like dining table tops or kitchen cabinets, can benefit from an additional topcoat. This provides maximum durability against scratches and daily use.
Understanding Fusion’s Built-In Topcoat
The strength of Fusion Paint comes from its unique acrylic resin formula. As the paint dries and cures, the resin polymers cross-link. This creates a very strong and durable finish. The full cure time for Fusion Paint is typically 21 days. During this period, the paint continues to harden.
I advise being gentle with your freshly painted piece during the first three weeks. Avoid placing heavy objects or allowing excessive moisture on the surface. After the 21-day cure period, your furniture will be ready for regular use.
When to Consider Additional Protection
While Fusion Paint is durable, some situations call for extra protection:
- High-Traffic Surfaces: Dining tables, coffee tables, or kitchen countertops that see heavy daily use.
- Wet Areas: Bathroom vanities or pieces that might be exposed to frequent moisture.
- Desired Sheen: If you prefer a glossier finish than Fusion’s standard matte, you can apply a topcoat in your desired sheen.
- Enhanced Durability: For ultimate protection against scratches and impacts.
For these cases, Fusion offers specific topcoats like Tough Coat or Stain and Finishing Oil. These products are designed to work seamlessly with Fusion Paint.
Applying a Topcoat (Optional)
If you decide to apply an additional topcoat, choose one that is compatible with Fusion Paint. Fusion’s Tough Coat is a water-based, non-yellowing clear coat. Apply it in very thin, even layers using a foam applicator or a synthetic brush. Two thin coats are usually sufficient for added protection.
Allow the topcoat to dry completely between layers. Follow the manufacturer’s instructions for drying and cure times. For a different look, you might consider how to use white wax on furniture as a decorative finish, though it offers less protection than a clear topcoat. This final step, if chosen, truly maximizes the lifespan of your painted furniture.
Creative Techniques and Design Ideas
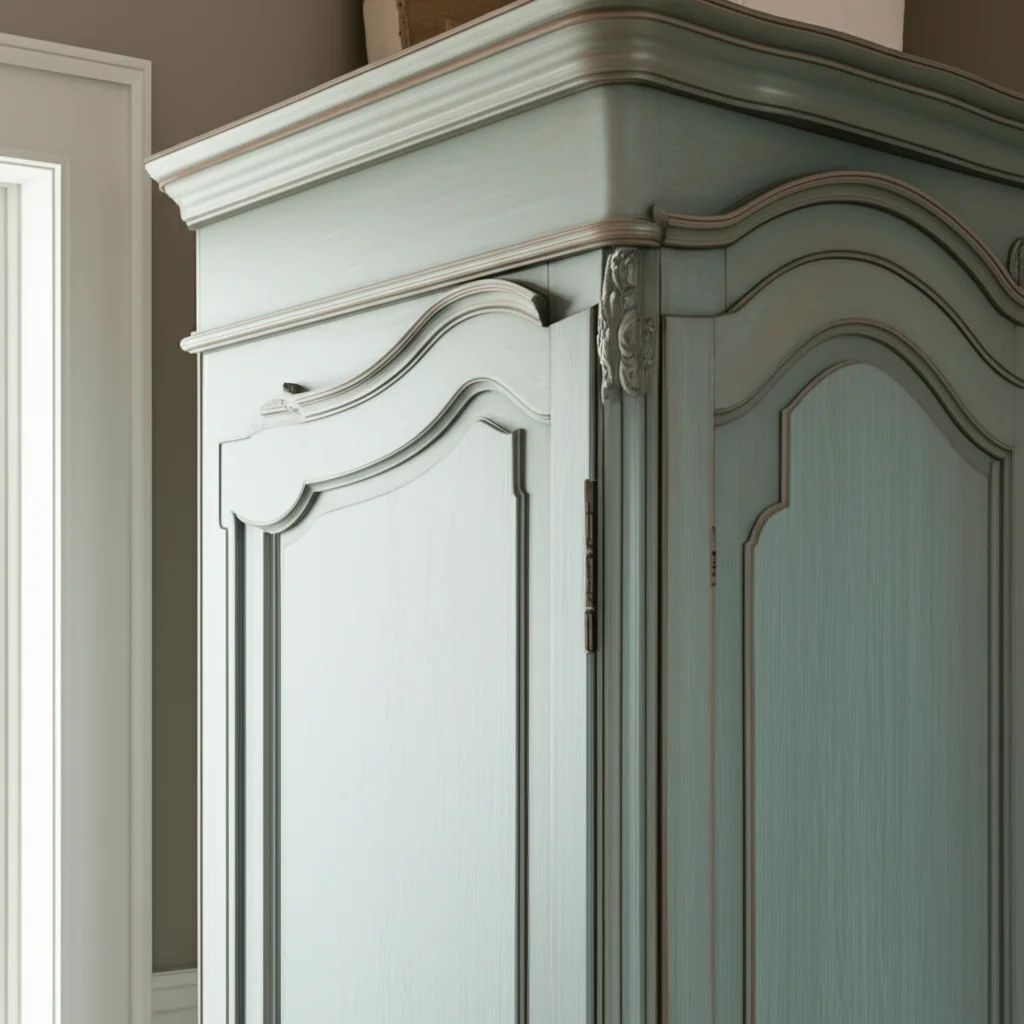
Fusion Paint is not just for solid colors; it opens up a world of creative possibilities. You can achieve various looks, from distressed farmhouse style to sleek modern finishes. Experimenting with techniques can truly personalize your furniture. I love seeing how different colors and methods completely change a piece.
Think about the overall aesthetic you want to achieve. Do you want a subtle accent or a bold statement piece? Fusion Paint’s smooth finish makes it versatile for many design styles.
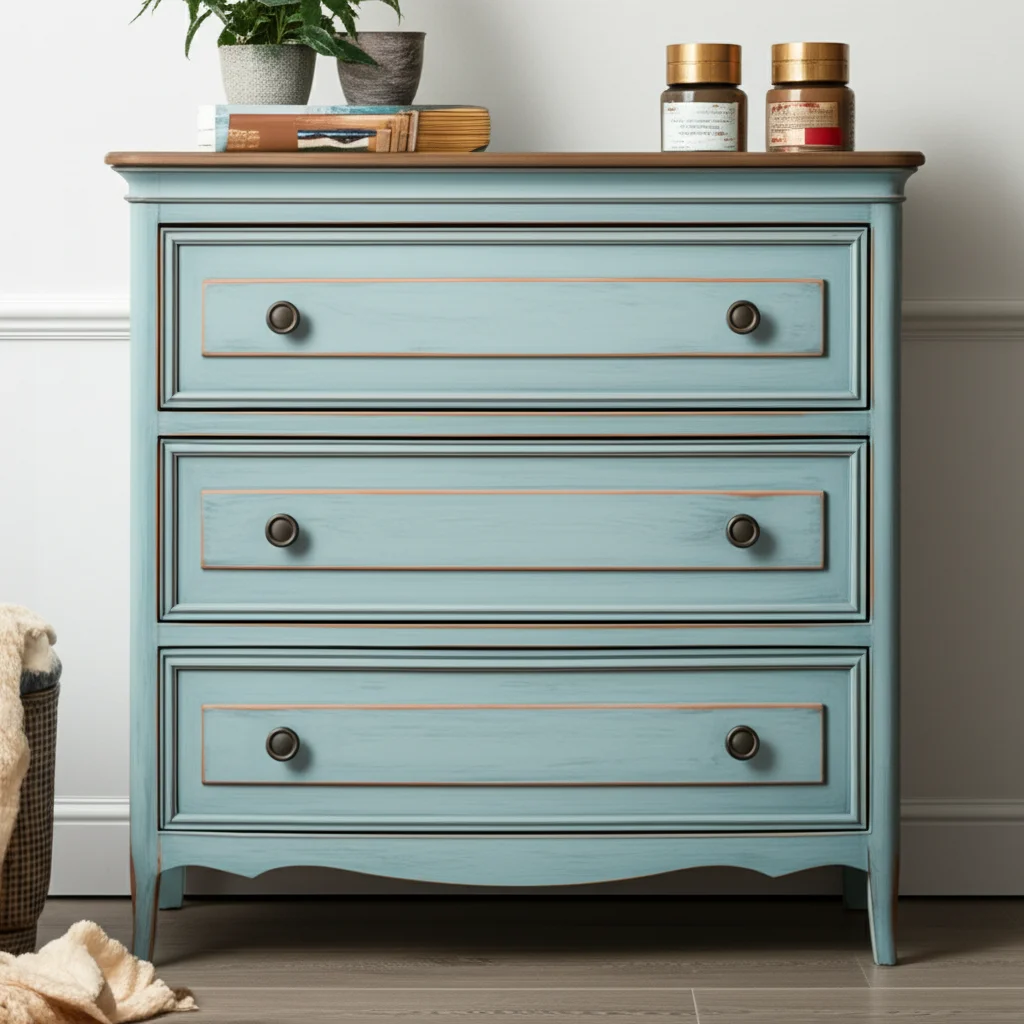
Distressing for a Worn Look
If you love the distressed or farmhouse look, Fusion Paint works well. Once the paint is dry, use fine-grit sandpaper (220-grit or higher) to gently sand edges and raised areas. This exposes the original finish or wood underneath, creating a naturally aged appearance. I focus on areas that would naturally show wear over time.
You can also use a damp cloth to lightly rub away wet paint before it fully cures for a more subtle distress. Practice on a scrap piece first to get the feel for it. This technique adds character and history to your furniture.
Adding Depth with Glazes or Waxes
While Fusion has a built-in topcoat, you can add decorative glazes or waxes for depth and visual interest. A dark wax applied over a light color can settle into crevices, highlighting details and giving an antique look. Clear wax can deepen colors slightly and add a soft sheen.
Apply glazes or waxes sparingly with a brush or cloth. Wipe away excess immediately to avoid a heavy build-up. This adds a subtle layer of dimension to your painted piece.
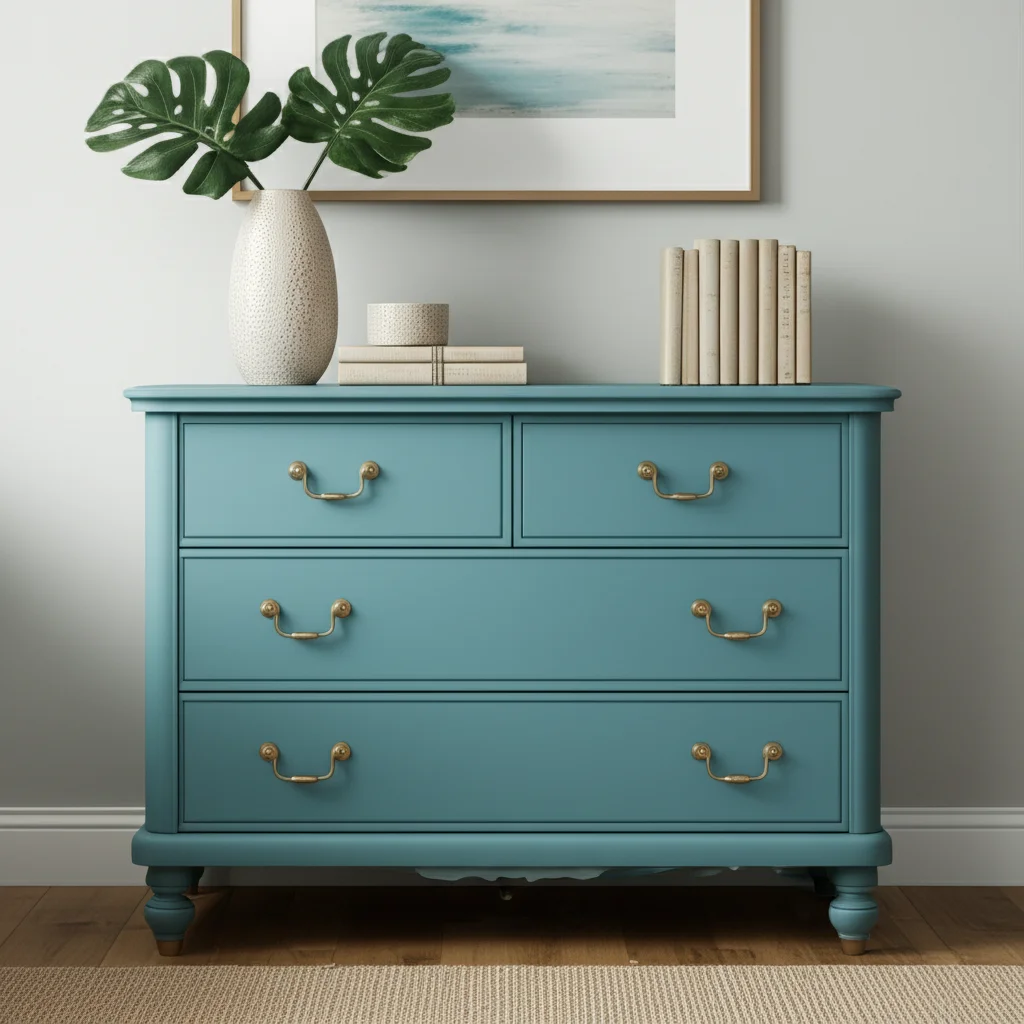
Two-Tone and Ombre Effects
Fusion Paint is perfect for multi-color projects. Consider a two-tone piece, perhaps with one color on the frame and another on the drawer fronts. You can also try an ombre effect by blending two or more colors seamlessly from dark to light. This creates a striking visual impact.
To achieve an ombre effect, work quickly with two brushes, blending the edges of the colors while they are still wet. This requires a bit of practice but yields beautiful results. Painting a piece with a contrasting interior or drawers can also add a delightful surprise.
Troubleshooting Common Fusion Paint Issues
Even with the best products, sometimes unexpected issues arise. Understanding common problems and their solutions can save you time and frustration. Most Fusion Paint issues stem from improper preparation or application. I have encountered a few myself, and knowing how to fix them makes a big difference.
Do not panic if something goes wrong. Most problems are easily fixable. The key is to identify the cause and address it systematically.
Preventing and Fixing Peeling Paint
Peeling paint is usually a sign of poor adhesion. This often happens if the surface was not clean enough. Grease, wax, or silicone residue can prevent the paint from sticking. To prevent peeling:
- Clean thoroughly: Always degrease and clean your furniture.
- Scuff sand: For very glossy surfaces, a light scuff sand is crucial.
If your paint is peeling, you will need to scrape off the peeling areas. Then, clean and lightly sand the exposed surface again. Reapply the paint to those areas. Sometimes, you may need to strip the paint completely if the peeling is widespread. If you previously painted with chalk paint, know how to remove chalk paint from furniture before attempting a new finish.
Dealing with Brush Strokes and Uneven Coverage
Brush strokes occur from using too much paint, too little paint, or applying it too slowly. To get a smooth finish:
- Use thin coats: Apply paint in thin, even layers.
- Quality brush/roller: Use a good quality synthetic brush or foam/microfibre roller.
- Work quickly: Do not overwork the paint; it starts to dry fast.
If you have brush strokes, wait for the paint to dry completely. Lightly sand the area with fine-grit sandpaper (320-grit or higher) to smooth it out. Wipe away dust and apply another thin coat. Uneven coverage can often be fixed with an additional thin coat of paint.
What to Do About Drips and Runs
Drips and runs happen when too much paint is applied in one area. They also occur if the paint is too thick or if you are painting on a vertical surface without properly evening out the paint. To avoid them:
- Thin coats: Always apply thin layers.
- Even application: Spread the paint evenly across the surface.
- Check for drips: After applying paint, quickly check for any drips, especially on edges and underneath.
If you spot a drip while the paint is wet, gently smooth it out with your brush. If the paint is dry, you will need to sand the drip smooth. Use a fine-grit sanding block until the drip is level with the rest of the surface. Then, clean off the dust and reapply a thin coat of paint to that area. Patience and thin layers are your best friends here.
Maintaining Your Fusion Painted Furniture
Once your furniture is painted and fully cured, proper maintenance helps it look great for years. Fusion Paint creates a durable surface, but it still benefits from gentle care. I treat my painted pieces with respect, and they continue to look beautiful.
Regular cleaning prevents dirt buildup and maintains the finish’s integrity. Knowing how to care for your furniture ensures your hard work lasts.
Cleaning Your Painted Furniture
For daily cleaning, simply wipe down your Fusion painted furniture with a damp cloth. Use a mild soap and water solution for any sticky spots or marks. Avoid harsh abrasive cleaners or chemical solvents. These can dull the finish or even remove the paint.
Always test any new cleaning product in an inconspicuous area first. This prevents accidental damage to your beautiful finish. Gentle cleaning is always the best approach for painted furniture.
Protecting from Wear and Tear
While Fusion Paint is tough, some common sense protection helps preserve it.
- Use coasters: For table tops, use coasters under drinks to prevent water rings or heat damage.
- Placemats/Tablecloths: On dining surfaces, placemats or tablecloths offer an extra layer of protection.
- Lift, don’t drag: When moving objects on the surface, lift them rather than dragging them. This prevents scratches.
- Sunlight: Prolonged direct sunlight can cause any paint color to fade over time. Position furniture accordingly if possible.
Taking these simple precautions will significantly extend the life and beauty of your Fusion painted furniture. Your piece will continue to look fresh and new for much longer.
Touch-Ups and Repairs
Life happens, and occasionally your painted furniture might get a chip or a scratch. The good news is that Fusion Paint is easy to touch up.
- Clean the area: Wipe the damaged spot with a damp cloth.
- Lightly sand (if needed): For rough edges around a chip, lightly sand with fine-grit sandpaper.
- Apply thin coat: Use a small artist’s brush or a cotton swab to apply a very thin coat of Fusion Paint to the damaged area.
- Blend: Gently feather the edges of the new paint into the existing finish.
Allow the touch-up to dry and cure fully. Often, these repairs blend in seamlessly, making the damage almost invisible. Having a small container of leftover paint is always a good idea for future touch-ups.
Frequently Asked Questions About Using Fusion Paint on Furniture
Is sanding always necessary before using Fusion Paint on furniture?
No, sanding is often not necessary. Fusion Paint is designed to adhere to most surfaces with minimal preparation, thanks to its built-in primer. However, a light scuff sand is recommended for very glossy or slick surfaces, like laminate or high-gloss varnish, to improve adhesion and ensure durability.
How many coats of Fusion Paint do I need for furniture?
Typically, two thin coats of Fusion Paint are sufficient for full, opaque coverage on most furniture pieces. If you are painting a very dark piece a very light color, or if the surface is highly absorbent, you might need a third thin coat. Always allow proper drying time between coats.
Does Fusion Paint require a topcoat or sealer?
Fusion Paint has a built-in topcoat that cures to a very durable finish, so an additional sealer is generally not required for most furniture. For high-traffic surfaces like dining table tops or kitchen cabinets, an extra layer of clear topcoat, such as Fusion’s Tough Coat, can provide enhanced durability.
How long does Fusion Paint take to dry and cure?
Fusion Paint is typically dry to the touch within 1-2 hours. You can recoat after about 2-4 hours, depending on humidity and temperature. The paint reaches its full hardness and durability, or “cures,” over a period of 21 days. Be gentle with your piece during this curing time.
Can I paint outdoor furniture with Fusion Paint?
Yes, Fusion Paint is durable enough for outdoor furniture, offering excellent UV resistance and a waterproof finish once cured. For outdoor pieces, especially those exposed to direct elements, an additional coat of Fusion’s Tough Coat or a similar outdoor-rated topcoat is highly recommended for maximum protection and longevity.
What kind of finish does Fusion Paint have?
Fusion Paint dries to a smooth, matte finish. This provides a modern and sophisticated look. If you prefer a different sheen, you can apply an optional topcoat in a satin, semi-gloss, or gloss finish once the Fusion Paint has fully dried.
Conclusion
Giving your furniture a fresh lease on life with Fusion Paint is a rewarding project. We have explored every step, from selecting the right piece and preparing it properly to applying the paint with confidence. You now know that Fusion Paint on furniture offers a durable, beautiful finish, often without the need for extensive sanding or separate topcoats. Its ease of use and long-lasting results make it a favorite among DIY enthusiasts.
Remember, the key to success lies in thorough cleaning and applying thin, even coats. Do not be afraid to experiment with colors and techniques to create a truly unique piece. Now, grab your brushes and transform your next furniture project. Your home will thank you for the beautiful update.
- Fusion Mineral Paint
- furniture makeover
- DIY furniture
- no-sanding paint
- painting furniture
- durable paint

Todd Martin
Senior Writer
With over 15 years of experience in home renovation and design, I started HEG to share what I’ve learned with homeowners who want to create spaces that are both beautiful and functional. I’ve always believed in a hands-on approach, and over the years, I’ve picked up practical solutions that actually work. Through HEG, I aim to make home improvement more approachable, sharing real tips that help you create a home you truly love.