· Todd Martin · Computer Maintenance · 15 min read
How To Clean Cpu Cooler
Mastering CPU Cooler Cleaning: Boost Your PC Performance
Is your computer running hotter than usual? Do you hear your fans spinning loudly, even when you are just browsing the internet? These are clear signs your CPU cooler might be choked with dust. Learning how to clean your CPU cooler is essential for maintaining your PC’s health and performance. A dirty cooler can lead to overheating, which slows down your computer and can even cause permanent damage to components.
This comprehensive guide will walk you through every step of CPU cooler cleaning. We will cover why it matters, what tools you need, and how to safely disassemble, clean, and reassemble your cooler. You will also learn about reapplying thermal paste, a critical step for efficient cooling. By the end, you will have the knowledge to keep your PC running cool, quiet, and fast. Let’s get your computer breathing freely again!
Takeaway
- Regular CPU cooler cleaning prevents overheating and extends PC life.
- Gather specific tools like compressed air, isopropyl alcohol, and thermal paste.
- Always disconnect power and ground yourself to prevent static damage.
- Carefully remove the cooler, clean dust from fins and fans, and apply new thermal paste.
- Reassemble components with precision and test for optimal performance.
Clear, Concise Answer
To clean a CPU cooler, first power off and unplug your PC. Open the case, disconnect the cooler, and carefully remove it. Use compressed air and a soft brush to remove dust from fins and fan blades. Clean old thermal paste from the CPU and cooler, apply new paste, then reassemble and test.
Why Your CPU Cooler Needs Regular Cleaning
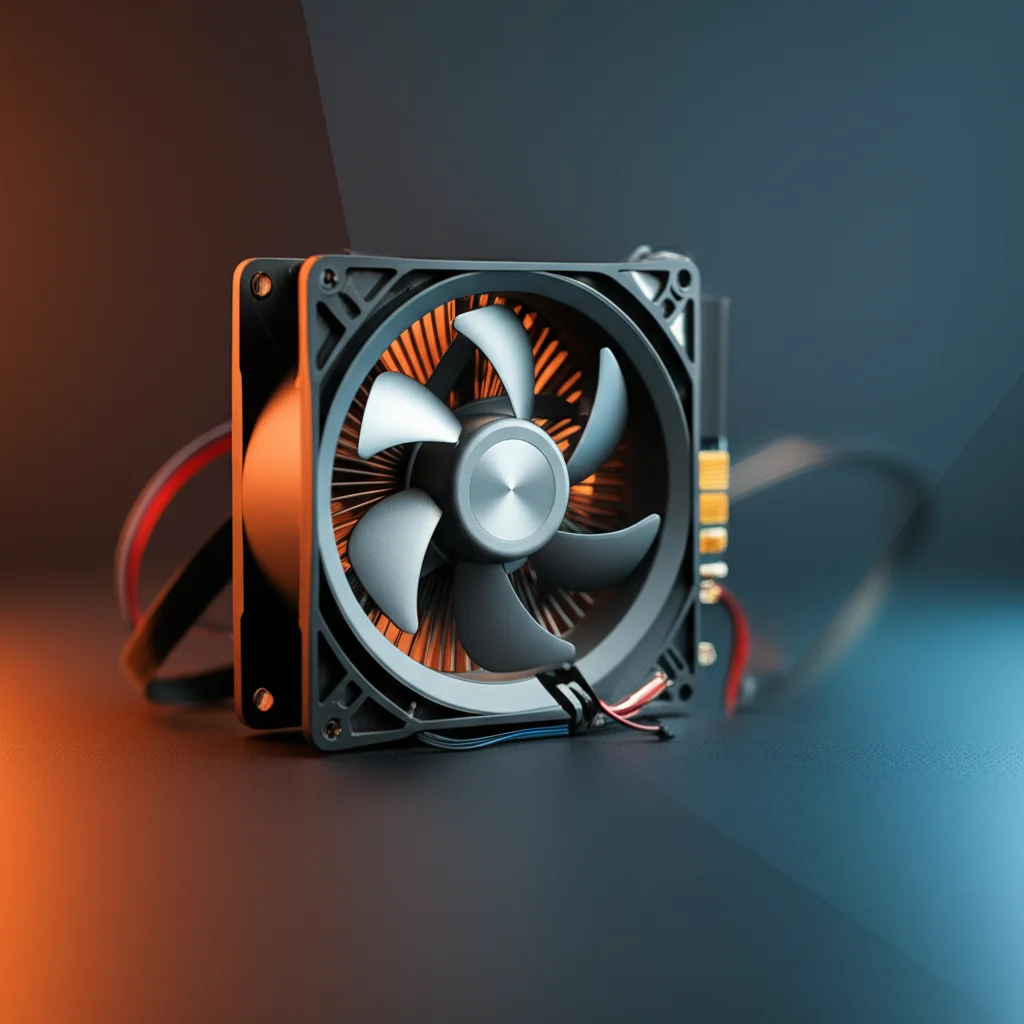
Your computer’s Central Processing Unit (CPU) is like its brain. It generates a lot of heat during operation. The CPU cooler works to dissipate this heat, keeping your processor at a safe temperature. Without effective cooling, your CPU can overheat, leading to performance issues and potential damage. Dust is the CPU cooler’s worst enemy. It accumulates on the cooler’s fins and fan blades, forming a thick blanket. This dust acts as an insulator, trapping heat instead of allowing it to escape.
When dust builds up, the cooler struggles to do its job. The fans must spin faster to compensate, creating more noise. Your CPU then “throttles,” meaning it automatically reduces its speed to prevent overheating. This results in slower performance, frustrating lags, and even sudden system crashes. Regular cleaning ensures cool operation. It extends the lifespan of your CPU and other components, saving you money on repairs or replacements. Think of it as preventative maintenance for your most important computer part.
Ignoring a dusty CPU cooler can lead to serious problems. Over time, sustained high temperatures can degrade the silicon within your CPU. This reduces its efficiency and shortens its overall life. It can also affect other parts of your computer, like your motherboard and graphics card, which also rely on good airflow within the case. Maintaining a clean CPU cooler is not just about performance; it’s about safeguarding your entire system. A small effort now saves big headaches later. Keeping all your system’s coolers clean is vital, whether it’s your CPU or even an oil cooler radiator in another device, ensuring efficient heat transfer.
Essential Tools and Safety Precautions
Before you begin cleaning your CPU cooler, gather all the necessary tools. Having everything ready saves time and ensures a smooth process. You will need a can of compressed air, which is perfect for blowing dust out of tight spaces. A soft-bristle brush, like a clean paintbrush, can help loosen stubborn dust without damaging components. Isopropyl alcohol (90% or higher purity) is crucial for removing old thermal paste. You will also need lint-free cloths or coffee filters for applying the alcohol. New thermal paste is essential for reinstallation. Never reuse old paste.
For safety, a Philips head screwdriver is typically sufficient for opening most PC cases and removing cooler mounts. You might also need a flathead screwdriver for specific cooler types. Always use an anti-static wrist strap. This strap grounds you, preventing static electricity from damaging sensitive components. Even a small static shock can fry electronics. Work in a well-lit, clean area. Avoid cleaning on carpeted floors where static charges build easily.
Always power off your computer completely and unplug it from the wall outlet. Press the power button a few times after unplugging to drain any residual power from the system. This ensures no power runs through the motherboard during cleaning. Take your time with each step. Rushing can lead to mistakes or damage. Remember, patience is key when working inside your computer. These simple precautions protect both you and your valuable hardware.
Disassembly: Accessing Your CPU Cooler
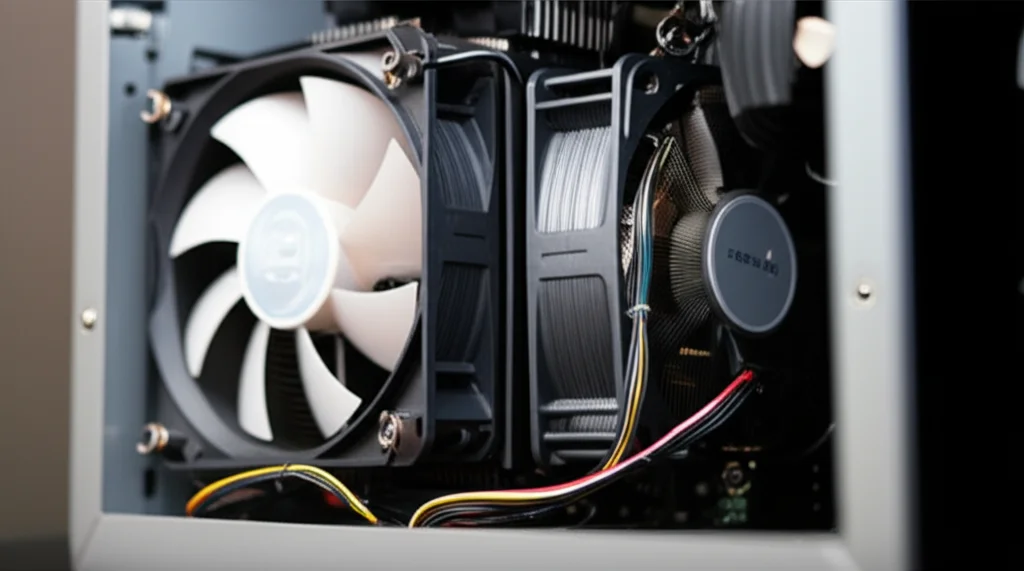
Accessing your CPU cooler requires opening your computer case and carefully disconnecting components. First, place your PC tower on a flat, stable surface. Remove the side panel of your computer case. Most cases have thumb screws or regular screws at the back that hold the side panel in place. Once removed, set the panel aside safely. This gives you clear access to the internal components.
Locate your CPU cooler. It is usually a large fan and heatsink assembly mounted directly over the CPU, which sits on the motherboard. Before touching anything inside, ground yourself using your anti-static wrist strap. Connect the strap to an unpainted metal part of your PC case. This prevents static discharge, which can damage sensitive electronics. Look for the cooler’s power cable. It connects the fan to a header on the motherboard, usually labeled “CPU_FAN.” Gently unplug this cable.
Now, you need to detach the cooler from the motherboard. The method varies depending on your cooler type. Stock Intel coolers use push-pin mechanisms; you rotate each pin 90 degrees counter-clockwise and then pull up gently. AMD stock coolers often use a lever or clip system; you typically unclip a lever and lift. Aftermarket coolers use various mounting brackets with screws. You will need your Philips head screwdriver to loosen these screws. Loosen screws in a diagonal pattern to distribute pressure evenly. Once unscrewed or unclipped, gently twist the cooler slightly to break the seal of the old thermal paste. Then, carefully lift the cooler straight up. Avoid wiggling it too much, as this can damage the CPU pins or socket. With the cooler off, you can proceed to the cleaning phase.
The Core Cleaning Process: Fans, Heatsink, and Vents
With your CPU cooler removed, you can now begin the primary cleaning process. This stage focuses on removing all dust and debris from the cooler’s fan and heatsink. Start with the fan. If your cooler has a detachable fan, carefully unclip or unscrew it from the heatsink. This allows for more thorough cleaning of both parts. Use a can of compressed air to blow dust out of the fan blades. Hold the can upright and use short bursts. Do not tilt the can too much, as it can release propellants that leave residue. Hold the fan blades in place with your finger while blowing. This prevents the fan from spinning too fast, which can damage its bearings or generate back power into the motherboard if still connected (though it should be unplugged).
Next, turn your attention to the heatsink. The heatsink consists of many thin metal fins designed to maximize surface area for heat dissipation. These fins often trap the most dust. Use compressed air to blow through the fins. Blow from different angles to ensure all dust is dislodged. You can also use a soft-bristle brush, like a clean paintbrush, to gently sweep dust from between the fins. Be careful not to bend the delicate fins. For stubborn grime, you can use a cotton swab lightly dampened with isopropyl alcohol to clean the surface of the heatsink or fan blades, but avoid getting it on any electrical connectors. Ensuring all cooling components are clear of obstruction is critical for proper airflow, much like cleaning honeycomb pads in an air cooler.
While the cooler is out, take a moment to inspect your PC case vents. These are the openings on your case where air enters and exits. Dust often builds up on these mesh filters or grilles. Use compressed air to blow this dust away from the outside of the case. A vacuum cleaner with a brush attachment can also be effective here, but do not use a vacuum inside the PC itself due to static electricity risks. Clean case fans in the same manner as the CPU cooler fan. Proper case ventilation works with your CPU cooler to keep the entire system cool. If you also need to clean your air conditioner, similar principles of dust removal apply for optimal air circulation.
Reapplying Thermal Paste and Reassembly
After thoroughly cleaning your CPU cooler, reapplying thermal paste is a crucial step. Thermal paste fills tiny microscopic gaps between the CPU’s integrated heat spreader (IHS) and the cooler’s base. These gaps trap air, which is a poor conductor of heat. The paste ensures maximum heat transfer from the CPU to the cooler. First, use a lint-free cloth or coffee filter dampened with 90% or higher isopropyl alcohol to gently wipe away all old thermal paste from both the CPU’s surface and the base of the CPU cooler. Be very gentle with the CPU. Do not press hard or touch the pins. For a more detailed guide on how to clean CPU paste, you can refer to our dedicated article on how to clean CPU paste. Make sure both surfaces are spotless and dry before applying new paste.
Now, apply new thermal paste. A small amount is all you need. Most manufacturers recommend applying a pea-sized dot directly onto the center of the CPU’s IHS. Some prefer a thin line or an X-pattern. The pressure from the cooler will spread the paste evenly. Do not spread it manually with your finger or a spreader, as this can trap air bubbles. Less is often more; too much paste can be counterproductive. Check your thermal paste instructions for specific recommendations, but the dot method is generally safe and effective.
With the new thermal paste applied, carefully place the CPU cooler back onto the CPU. Align the cooler precisely with the mounting holes or clips on the motherboard. For screw-down coolers, tighten the screws in a diagonal pattern, a few turns at a time, until all are snug. This ensures even pressure distribution. For push-pin coolers, press down on each pin until it clicks into place. For lever/clip systems, re-engage the clip. Reconnect the CPU fan power cable to the “CPU_FAN” header on the motherboard. Double-check all connections to ensure they are secure. Your cleaner CPU and cooler are now ready to work together efficiently.
Maintaining Optimal Cooling: Tips for the Future
Cleaning your CPU cooler is a great start, but ongoing maintenance prevents future dust buildup and ensures lasting performance. Regular checks are key. I recommend checking your PC’s internal cleanliness every 3 to 6 months, depending on your environment. If you live with pets, or in a dusty area, you might need to check more frequently. Even if you don’t perform a full disassembly each time, a quick blast of compressed air through the case vents and cooler fins can make a big difference. This proactive approach stops dust from becoming a major issue.
Good airflow within your PC case is paramount for optimal cooling. Ensure your case fans are correctly oriented to create a clear path for air. Typically, front fans should bring cool air in, while rear and top fans should exhaust warm air out. Make sure no cables are obstructing airflow inside the case. Cable management not only looks tidy but significantly improves cooling efficiency by allowing air to move freely. Consider adding dust filters to your case’s intake vents if they don’t already have them. These filters capture dust before it enters your system, making internal cleaning much easier and less frequent.
Your PC’s environment also plays a role in dust accumulation. Keep your computer elevated off the floor if possible. Floors are often the dustiest areas in a room. Place your PC on a desk or a stand. Ensure there is enough space around your computer for air to circulate freely. Do not push it tight against a wall or corner, as this restricts airflow. Regularly dust the area around your computer. A clean environment means less dust getting drawn into your PC’s cooling system. By following these simple maintenance tips, you can extend the life of your CPU cooler and keep your computer running smoothly for years to come. Just like keeping your Xbox One free of dust for better gaming performance, your PC needs consistent care.
Troubleshooting Common Cleaning Issues
Even after a thorough cleaning, you might encounter issues. One common problem is the PC still running hot. This could indicate insufficient thermal paste application. If the paste was too thin, too thick, or had air bubbles, heat transfer will be poor. You might need to remove the cooler again, clean both surfaces, and reapply the paste carefully. Ensure you are using high-quality thermal paste designed for CPUs. Sometimes, the cooler itself might not be seated correctly. Check that all screws or clips are fully engaged and that the cooler sits flush against the CPU.
Another issue could be fan noise or failure. If your CPU fan is making unusual noises or not spinning at all after cleaning, check its power connection. Ensure the cable is securely plugged into the “CPU_FAN” header on the motherboard. Sometimes, dust can get into the fan’s bearings, causing noise. A small drop of lubricating oil (specifically designed for electronics, not WD-40) can sometimes help a noisy fan, but often, fan replacement is the best solution for persistent noise or failure. Fan failures can lead to rapid overheating, so address them promptly.
If your computer refuses to boot after cleaning, do not panic. This is often due to a loose connection. Double-check every cable you disconnected and reconnected, especially the CPU fan header, RAM modules, and graphics card. Ensure RAM sticks are fully seated in their slots. Sometimes, static electricity can temporarily affect components. Try discharging residual power by holding the power button for 30 seconds with the PC unplugged. If the issue persists, consider re-seating the CPU itself, but only if you are comfortable doing so and have checked all other connections first. A systematic approach helps diagnose and fix these problems effectively.
FAQ Section
How often should I clean my CPU cooler?
You should clean your CPU cooler every 6 to 12 months for average users. If you have pets, smoke, or live in a very dusty environment, more frequent cleaning, perhaps every 3 to 6 months, is recommended. Regular checks help you decide based on visible dust buildup.
Can I clean my CPU cooler without removing it?
You can remove some dust from the CPU cooler without complete removal. Use compressed air to blow dust through the fins from different angles. However, this method will not remove deeply embedded dust or allow for thermal paste reapplication. For a thorough clean, removal is necessary.
What kind of thermal paste should I use?
Use a high-quality thermal paste specifically designed for CPUs. Brands like Arctic MX-4, Noctua NT-H1, or Thermal Grizzly Kryonaut are popular choices. Avoid generic or cheap pastes, as their performance can vary. A good paste is crucial for efficient heat transfer.
Is isopropyl alcohol safe for cleaning PC parts?
Yes, isopropyl alcohol (IPA) with a purity of 90% or higher is safe for cleaning PC parts. It evaporates quickly and leaves no residue. Use it to clean old thermal paste from the CPU and cooler. Apply it with lint-free cloths or coffee filters, never directly spray it onto components.
What happens if I don’t clean my CPU cooler?
If you don’t clean your CPU cooler, dust will accumulate, leading to reduced cooling efficiency. Your CPU will run hotter, causing performance throttling, slower speeds, system instability, and potential crashes. Long-term overheating can permanently damage your CPU and motherboard, shortening their lifespan.
Can I use a vacuum cleaner to clean inside my PC?
Using a household vacuum cleaner inside your PC is not recommended. Vacuum cleaners can generate significant static electricity, which can damage sensitive electronic components. They can also create suction strong enough to dislodge or damage small components. Stick to compressed air and anti-static tools.
Conclusion
Cleaning your CPU cooler is a vital task for any PC owner. It directly impacts your computer’s performance, stability, and lifespan. By following the steps outlined in this guide, you have learned how to safely and effectively remove dust, reapply thermal paste, and ensure your CPU operates at optimal temperatures. This seemingly small maintenance step yields significant returns in terms of PC health and user experience. My own experience has shown me how much smoother a clean system runs.
Remember, a clean CPU cooler means a cooler CPU, which translates to a faster, more reliable computer. You have now gained valuable skills to keep your machine running efficiently. Don’t let dust silently degrade your system’s capabilities. Make CPU cooler cleaning a regular part of your PC maintenance routine. Take control of your computer’s health today! Your PC will thank you with years of smooth, high-performance operation. Regular cleaning saves you from costly repairs and frustrating slowdowns.
- CPU cooler cleaning
- PC maintenance
- computer cooling
- thermal paste
- dust removal

Todd Martin
Senior Writer
With over 15 years of experience in home renovation and design, I started HEG to share what I’ve learned with homeowners who want to create spaces that are both beautiful and functional. I’ve always believed in a hands-on approach, and over the years, I’ve picked up practical solutions that actually work. Through HEG, I aim to make home improvement more approachable, sharing real tips that help you create a home you truly love.