· Todd Martin · Home Maintenance · 20 min read
How To Clean Maytag Dryer
Unlock Peak Performance: How to Clean Your Maytag Dryer
Your Maytag dryer works hard, day in and day out, to keep your clothes fresh and dry. However, over time, lint, dust, and debris build up in various parts of the appliance. This accumulation affects performance, increases energy consumption, and can even create fire hazards. Learning how to clean your Maytag dryer properly is not just about aesthetics; it is about safety, efficiency, and extending the life of your valuable appliance.
This comprehensive guide will walk you through every step of a thorough Maytag dryer cleaning. We will cover the simple daily tasks and more involved annual maintenance. From the lint trap to the deep recesses of the dryer vent system, I will explain exactly what you need to do. Get ready to give your Maytag dryer the care it deserves, ensuring it continues to perform its best for years to come.
Takeaway:
- Regularly clean the lint screen after every load.
- Deep clean the lint trap housing periodically.
- Inspect and clean dryer ducts and exterior vents at least annually.
- Clean the dryer drum and moisture sensors to maintain efficiency.
- Prioritize safety by disconnecting power before deep cleaning.
To clean your Maytag dryer, regularly remove lint from the lint screen after each use. Periodically, deep clean the lint screen housing and wipe down the interior drum. Annually, disconnect power and thoroughly clean the dryer vent system from the back of the dryer to the exterior vent cap.
Why Regular Maytag Dryer Cleaning Matters So Much
Keeping your Maytag dryer clean is more than just a chore; it is an essential part of home maintenance. Many people overlook dryer cleaning beyond simply emptying the lint trap. However, lint and debris can accumulate in hidden areas, leading to several significant problems. This build-up impacts your dryer’s performance and poses serious risks.
First, a dirty dryer struggles to dry clothes efficiently. When airflow is restricted by lint, your dryer takes longer to dry laundry. This means you run cycles for extended periods, consuming more electricity. Over time, this leads to higher utility bills and unnecessary wear on your appliance. Proper cleaning ensures optimal airflow, allowing your Maytag dryer to work as intended.
Second, and most critically, lint is highly flammable. Accumulated lint in the dryer’s exhaust system or inside the dryer cabinet can ignite from the heat produced during drying cycles. This makes dirty dryers a leading cause of household fires. Regularly cleaning all parts of your Maytag dryer drastically reduces this fire risk, keeping your home and family safe. It is a simple step that offers immense peace of mind.
Finally, regular cleaning extends the lifespan of your Maytag dryer. When a dryer runs inefficiently due to lint buildup, its components, such as the heating element and motor, have to work harder. This excessive strain can lead to premature breakdowns and costly repairs. By maintaining a clean dryer, you help these parts function optimally, ensuring your appliance lasts longer and provides reliable service for many years. Preventative cleaning saves you money in the long run.
Gathering Your Tools and Prioritizing Safety
Before you begin any cleaning task on your Maytag dryer, it is important to gather the necessary tools. Having everything ready beforehand makes the process smoother and more efficient. You likely already have most of these items around your home. A simple set of cleaning supplies and some specialized brushes will make a big difference.
More importantly, safety must be your absolute top priority. Working with an appliance that uses electricity and heat requires careful attention. Ignoring safety steps can lead to injury or damage to your dryer. Always take a moment to ensure you are working safely before you start disassembling or cleaning any part of your Maytag dryer. This ensures both your well-being and the longevity of your appliance.
Here is a list of tools you will need for a comprehensive clean:
- Vacuum cleaner with hose attachments: A narrow crevice tool is especially useful.
- Lint brush or dryer vent cleaning kit: These kits come with flexible brushes for deep cleaning ducts.
- Microfiber cloths: For wiping down surfaces.
- All-purpose cleaner or mild soap and water: For cleaning the drum and exterior.
- Small, soft brush or cotton swabs: For moisture sensors.
- Phillips head screwdriver or nut driver: May be needed for access panels or vent clamps.
- Work gloves: To protect your hands.
- Flashlight: To see into dark areas.
Safety precautions you must follow:
- Unplug the dryer: This is the most crucial step. Always disconnect the dryer from its power source before performing any internal or vent cleaning. For electric dryers, pull the plug from the wall. For gas dryers, turn off the gas supply valve and then unplug the unit. Never work on a dryer that is connected to power.
- Allow cooling time: If your dryer was recently in use, wait for it to cool down completely before starting to clean. Hot surfaces can cause burns.
- Wear protective gear: Gloves protect your hands from dust, sharp edges, or cleaning solutions.
- Ensure ventilation: If using any cleaning sprays, make sure the area is well-ventilated.
- Read your Maytag manual: Your specific Maytag dryer model may have unique cleaning instructions or components. Always consult your appliance’s user manual for model-specific advice.
By preparing your tools and strictly adhering to these safety guidelines, you can ensure a thorough and safe cleaning process for your Maytag dryer.
Cleaning the Maytag Dryer Lint Trap and Housing
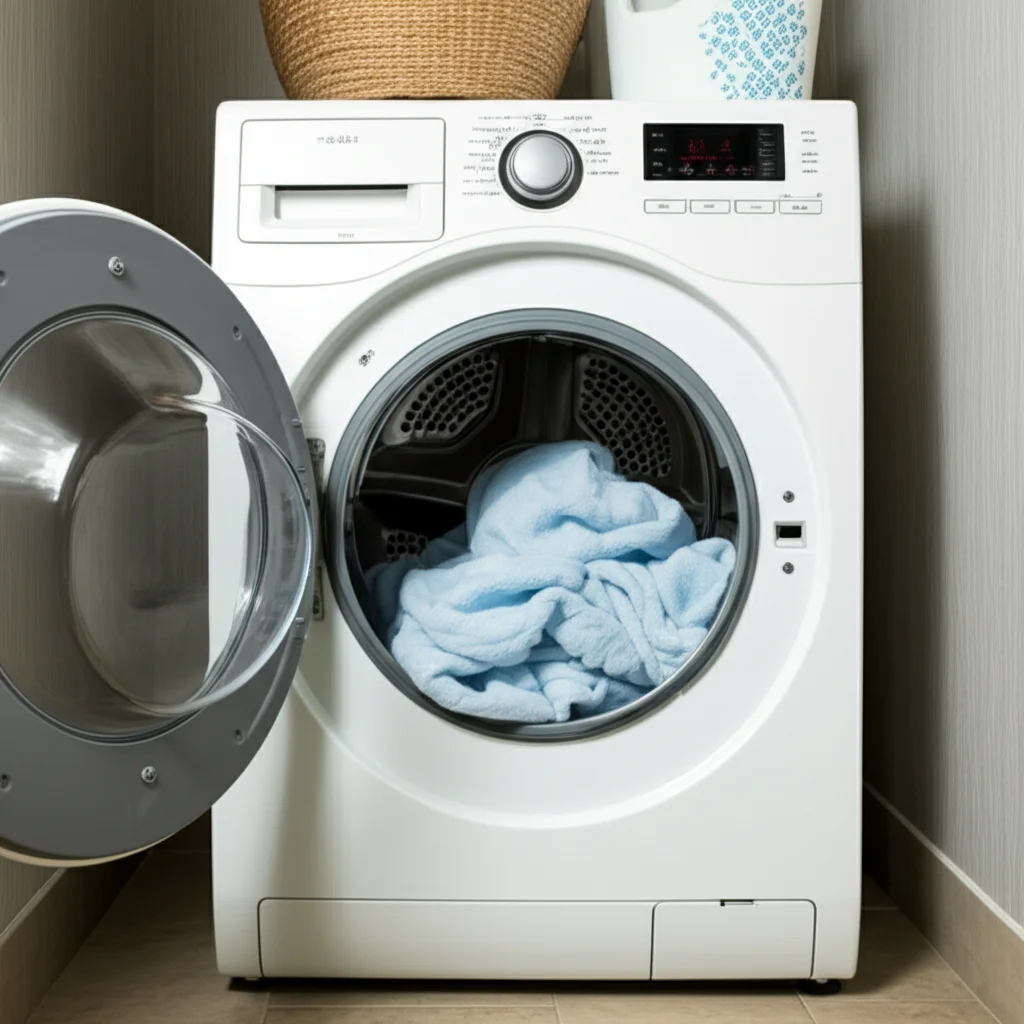
The lint trap is your dryer’s first line of defense against lint buildup. It is arguably the most important part to clean regularly. Most Maytag dryers have a removable lint screen, usually located just inside the dryer door opening. Cleaning this screen after every load is a simple habit that significantly boosts efficiency and safety.
To clean the lint screen, pull it out from its slot. You will see a layer of lint collected on the mesh. Simply peel this lint off with your fingers. Dispose of the lint in a trash can. Do not flush lint down the toilet, as it can cause plumbing issues. This quick step prevents lint from accumulating further in the dryer system, which helps your dryer work better and dry clothes faster.
However, just removing the visible lint is not enough. Over time, fabric softener residue and tiny lint particles can bypass the screen and accumulate in the lint screen housing. This housing is the slot where the lint screen slides in. This residue can clog the mesh screen itself, even after you remove the visible lint, reducing airflow. A clogged screen means your dryer works harder and less efficiently.
About once a month, you should deep clean the lint screen and its housing. For the screen, you can wash it with warm, soapy water. Use a soft brush to gently scrub both sides of the mesh. Rinse it thoroughly to ensure all soap and residue are gone. Make sure the lint screen is completely dry before placing it back into the dryer. A damp screen can trap more lint.
To clean the lint trap housing, first, make sure the dryer is unplugged for safety. Use a vacuum cleaner with a crevice tool attachment to reach into the slot where the lint screen sits. Carefully vacuum out any lint, dust, or debris that has accumulated inside. You might be surprised how much lint collects in this area. A narrow brush from a dryer vent cleaning kit can also help dislodge stubborn lint before vacuuming it out. This ensures unrestricted airflow, making your Maytag dryer operate at its best.
Deep Cleaning Your Maytag Dryer Vent System
While cleaning the lint trap is crucial, it only catches a portion of the lint produced during drying. A significant amount of lint travels past the trap and into your dryer’s vent system. This system consists of the ductwork directly behind the dryer and the exterior vent cap on your home’s wall or roof. Cleaning this entire system is the most critical step for fire safety and dryer efficiency.
Lint buildup in the vent system restricts airflow dramatically. When airflow is poor, your dryer’s heating element can overheat, potentially igniting the trapped lint. This is a common cause of house fires. Beyond safety, poor airflow also leads to longer drying times, increased energy consumption, and premature wear on your Maytag dryer. You should deep clean your dryer vent system at least once a year, or more often if you use your dryer frequently.
Accessing the Vent Hose
Begin by unplugging your Maytag dryer from the wall outlet. If it is a gas dryer, also turn off the gas supply valve. Carefully pull the dryer away from the wall to access the back. You will see a flexible or rigid duct connected from the dryer’s exhaust port to the wall vent. This is the vent hose. Loosen the clamp that holds the vent hose to the dryer and the clamp attaching it to the wall. Carefully disconnect the hose from both ends.
Cleaning the Dryer Vent Hose
Once disconnected, take the vent hose outside. Use a dryer vent cleaning brush kit, which typically includes long, flexible brushes that connect to a drill or can be pushed manually. Insert the brush into one end of the hose and push it through, rotating it to dislodge lint. Repeat this process from both ends until no more lint comes out. You might be shocked by the amount of lint you find. For more stubborn clogs, you can use methods like those described in articles about how to clean dryer vent from outside with drill or even use a powerful airflow method, as detailed in how to clean dryer vent with a leaf blower. After brushing, use a vacuum cleaner to suck out any remaining loose lint from inside the hose.
Cleaning the Dryer’s Rear Exhaust Port
With the vent hose removed, you now have access to the dryer’s exhaust port at the back of the appliance. Use your vacuum cleaner’s crevice tool or a narrow brush to clean out any lint accumulated around and inside this port. Reach as far as you can to remove all debris. Be gentle to avoid damaging internal components. This area is a common spot for lint to gather.
Cleaning the Wall Vent Duct
Next, focus on the wall duct that leads from where the dryer was to the outside of your home. Use your long dryer vent cleaning brush to push through this duct from the inside. Try to reach as far as possible. If you have an outdoor vent cover, you might need to clean that from the outside as well. Refer to guides like how to clean dryer vent on roof if your vent terminates on the roof. Ensure the vent flap on the exterior opens and closes freely, as blockages here will trap lint and moisture. Remove any debris, bird nests, or leaves that might be obstructing the flap.
Once all parts of the vent system are clean, reattach the vent hose securely to both the dryer and the wall duct using the clamps. Push the dryer back into place, ensuring the hose is not crimped or kinked. Reconnect the power and gas (if applicable). This thorough vent cleaning significantly improves your Maytag dryer’s performance and enhances home safety.
Cleaning the Maytag Dryer Drum Interior
The inside of your Maytag dryer’s drum can also get dirty over time, even though it primarily tumbles clean laundry. Residue from fabric softeners, dryer sheets, or even accidental items like crayons or pens left in pockets can leave marks and film on the drum’s surface. This buildup can transfer onto your freshly washed clothes, leaving them with streaks, stains, or a dull appearance. A clean drum ensures your clothes come out truly clean and fresh.
Before you begin, ensure your dryer is completely cool and unplugged for safety. This prevents accidental starts and protects you from heat. It is always best practice to disconnect power when cleaning inside any appliance. You will need a few simple cleaning supplies for this task.
To clean the interior of your Maytag dryer drum, start by wiping it down with a damp microfiber cloth. You can use a mild all-purpose cleaner diluted in water or a solution of equal parts white vinegar and water. Spray the solution onto the cloth, not directly into the drum, to avoid excess moisture. Wipe down all surfaces of the drum, paying attention to any visible stains or residue. For stubborn spots, you may need to apply a bit more pressure or let the solution sit for a few minutes.
Sometimes, unusual items can cause specific stains. If you have accidentally left a crayon in a pocket, resulting in waxy residue, follow specific instructions like those found in how to clean crayon out of dryer. Similarly, sticky gum can be challenging, but guides on how to clean gum out of a dryer offer solutions. For ink stains, which can be particularly stubborn, consider methods detailed in articles like how to clean pen ink out of a dryer. If your dryer grate or interior has dark, burnt-on marks, resources like how to clean burnt dryer grate can provide targeted advice.
After cleaning, use a clean, dry microfiber cloth to wipe down the entire drum surface. Ensure no cleaning solution residue remains. You want the drum to be completely dry before you run another load of laundry. If any strong odors persist after cleaning, you can run a cycle with a few old towels to air out the dryer. Keeping the drum clean not only prevents stains on clothes but also contributes to the overall efficiency of your dryer. It is an often-overlooked step that makes a noticeable difference in your laundry results. For a comprehensive guide on just this topic, you can always refer to how to clean inside dryer drum.
Maintaining Your Maytag Dryer’s Moisture Sensor
Many modern Maytag dryers come equipped with moisture sensors. These small metal bars or strips are usually located inside the dryer drum, often near the lint trap opening or along the front bulkhead. Their purpose is important: they detect the moisture level in your clothes and tell the dryer when the load is dry. This allows the dryer to automatically shut off, preventing over-drying and saving energy.
However, these sensors can become coated with residue from fabric softener sheets, dryer sheets, or even mineral deposits from water. When this happens, the sensors lose their ability to accurately detect moisture. This can lead to clothes that are still damp at the end of a cycle, or conversely, cause the dryer to run longer than necessary, wasting energy. Cleaning these sensors ensures your Maytag dryer functions efficiently and accurately.
You should clean your Maytag dryer’s moisture sensors regularly, typically every few months or if you notice your clothes are not drying properly. First, always make sure the dryer is unplugged from its power source. This is a critical safety step before touching any internal components. Locate the metal strips inside the drum. There are usually two or three of them, often running parallel to each other.
To clean the sensors, use a soft cloth or cotton swab dampened with rubbing alcohol or white vinegar. Gently wipe down each sensor bar. Do not scrub too hard, as you do not want to damage the surface. You may see a grayish film come off on your cloth; this is the residue that was causing issues. Make sure to wipe all sides of the metal strips. Avoid using abrasive cleaners or steel wool, as these can scratch the sensors and impair their function.
After cleaning, allow the sensors to air dry completely before plugging the dryer back in. The alcohol or vinegar will evaporate quickly. Once dry, your sensors should be able to accurately detect moisture again, ensuring your clothes come out perfectly dry every time. For more specific guidance on moisture sensor cleaning, you might find articles on how to clean moisture sensor on Samsung dryer or Bosch dryer moisture sensor useful, as the principles for cleaning these sensors are generally similar across brands. Regular sensor maintenance contributes significantly to energy efficiency and the overall performance of your Maytag dryer.
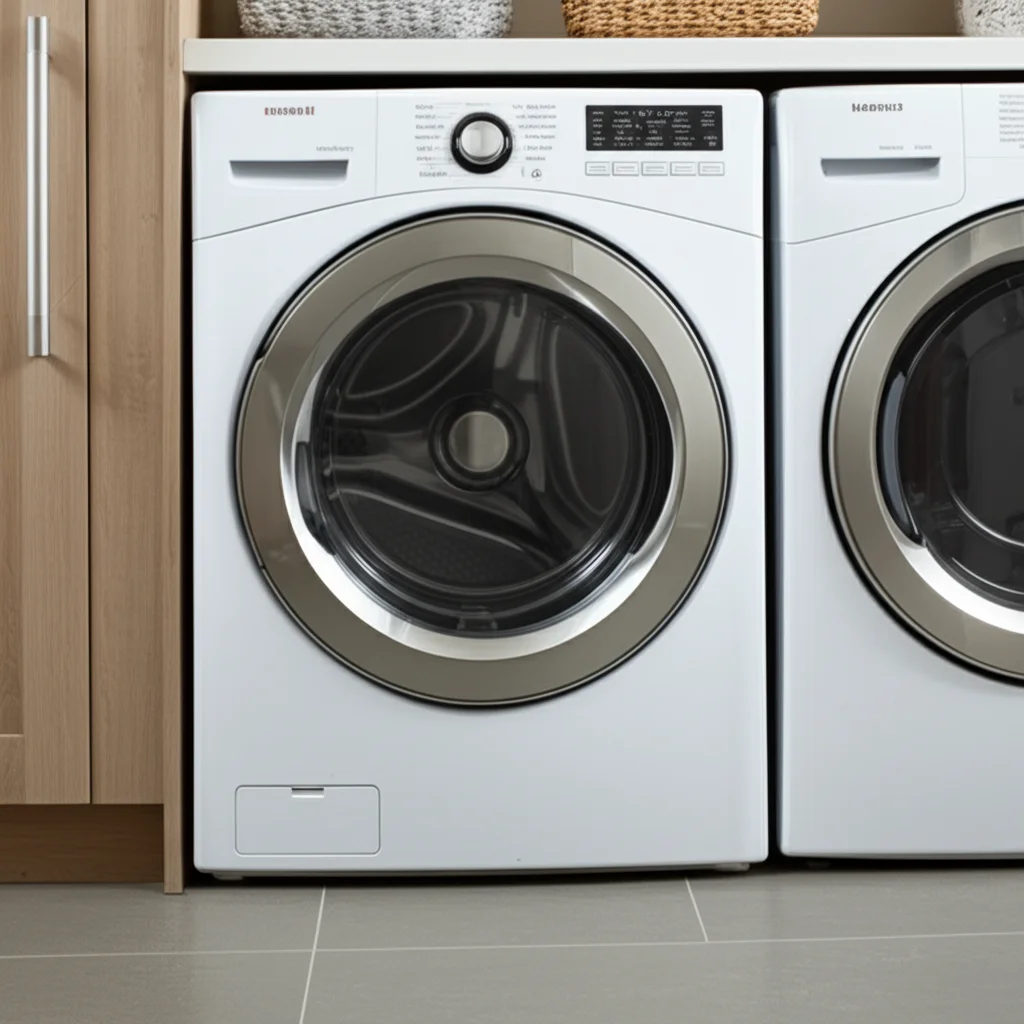
External Care: Cleaning Your Maytag Dryer’s Exterior
While internal cleaning focuses on performance and safety, keeping the exterior of your Maytag dryer clean contributes to its overall appearance and hygienic condition. The dryer’s outer surfaces can accumulate dust, spills, and grime from laundry products, just like any other appliance in your home. A clean exterior reflects well on your laundry area and keeps your appliance looking new.
Regularly wiping down the exterior of your Maytag dryer prevents dirt and residue from building up. This also makes deeper cleaning less frequent and easier. It is a simple habit that keeps your laundry space tidy. A quick wipe-down after each laundry day can make a big difference.
To clean the exterior, first, ensure the dryer is unplugged from the wall. This is a good habit, even for external cleaning, to prevent accidental starts. Use a soft, damp cloth or a microfiber towel. You can dampen the cloth with warm water and a few drops of mild dish soap, or a gentle all-purpose cleaner. Avoid abrasive cleaners, harsh chemicals, or scouring pads, as these can scratch or damage the finish of your Maytag dryer.
Wipe down all external surfaces, including the top, sides, front panel, and control knobs. Pay special attention to areas around the door handle and controls, where fingerprints and spills tend to accumulate. For stainless steel finishes, wipe in the direction of the grain to avoid streaks. After cleaning with a damp cloth, use a clean, dry cloth to wipe away any moisture or cleaner residue. This helps prevent water spots and leaves a streak-free shine.
Don’t forget the back of the dryer, especially if it’s visible or accessible. Dust and lint can settle on the rear panel. A quick vacuum with a brush attachment can remove this dust. Regularly cleaning the exterior of your Maytag dryer helps maintain its appearance. It ensures your appliance looks as good as it performs. This simple maintenance step contributes to a cleaner, more pleasant laundry environment.
Troubleshooting Common Cleaning-Related Dryer Issues
Even with regular cleaning, you might sometimes encounter issues with your Maytag dryer that relate to cleanliness or maintenance. Recognizing these signs and knowing how to address them can save you time and frustration. Many common dryer problems stem from inadequate cleaning. Understanding these connections helps you diagnose and fix issues quickly.
If your Maytag dryer is taking too long to dry clothes, the first suspect is often airflow restriction. This means lint buildup is likely the cause. Check the lint trap first; it should be cleaned after every load. If the screen is clear, the problem probably lies deeper in the vent system. A partially clogged vent forces the dryer to work harder and longer, leading to damp clothes. Revisit the vent cleaning steps, including the hose, the dryer’s exhaust port, and the exterior wall cap. Ensure the vent hose is not kinked or crushed behind the dryer.
If your clothes are coming out feeling damp or clammy, even after a full cycle, it could indicate an issue with your moisture sensors. As discussed, these sensors can get coated with residue, preventing them from accurately detecting dryness. Clean the metal sensor bars inside the drum with rubbing alcohol or white vinegar. After cleaning, your dryer should be able to sense moisture levels correctly, allowing it to shut off when clothes are truly dry. This helps prevent over-drying and saves energy.
Unusual smells coming from your dryer also point to a need for cleaning. A musty smell can mean there is a buildup of lint or moisture in the drum or vent that is not fully drying. This can lead to mold or mildew growth. Clean the drum thoroughly and ensure the vent system is clear and allowing proper air circulation. A burnt smell usually indicates a more serious lint buildup, potentially igniting small lint particles. If you smell burning, immediately unplug the dryer and perform a thorough vent cleaning. Do not use the dryer again until you have identified and resolved the source of the smell.
If you find stains on your clothes that weren’t there before drying, the dryer drum itself might be dirty. This is common if items like pens, markers, or crayons were accidentally dried. Inspect the drum for any residue or marks. Clean the drum with appropriate solutions depending on the type of stain, as outlined in the drum cleaning section. Regularly inspecting your Maytag dryer for these signs and addressing them with proper cleaning ensures optimal performance and safety.
Frequently Asked Questions About Cleaning Your Maytag Dryer
How often should I clean my Maytag dryer’s lint trap?
You should clean the lint screen after every single load of laundry. This is the most crucial and frequent cleaning step. Deep clean the lint trap housing, the area where the screen slides in, about once a month using a vacuum cleaner. This prevents hidden lint buildup and ensures proper airflow.
How often should I clean my Maytag dryer’s vent system?
It is recommended to deep clean your entire dryer vent system at least once a year. This includes the flexible hose behind the dryer and the rigid ductwork leading to the outside vent cap. If you use your dryer very frequently, have pets that shed a lot, or notice clothes taking longer to dry, consider cleaning it more often, perhaps every 6 months.
What are the signs that my dryer vent needs cleaning?
Key signs include clothes taking much longer to dry than usual, clothes feeling unusually hot to the touch after a cycle, the dryer itself feeling very hot, a burning smell during operation, or excessive lint accumulating around the dryer vent opening outside. Any of these symptoms indicate a restricted airflow due to lint buildup.
Can I use water to clean the inside of my Maytag dryer drum?
Yes, you can use a damp cloth with water and a mild cleaner or vinegar solution to wipe down the inside of the drum. However, avoid pouring water directly into the drum or saturating it. Always ensure the dryer is unplugged and the drum is completely dry before using the dryer again to prevent issues.
Why do my clothes still feel damp after a cycle, even after cleaning the lint trap?
If your clothes remain damp, even after emptying the lint trap, the issue likely lies with the moisture sensors or a deeper clog in the dryer vent system. Clean the moisture sensor bars inside the drum with rubbing alcohol. If that doesn’t help, a thorough cleaning of the entire vent hose and ductwork to the outside is necessary.
Is it safe to clean my dryer vent myself?
Yes, cleaning your dryer vent yourself is generally safe if you follow proper safety precautions. Always unplug the dryer first. Use appropriate tools like a dryer vent cleaning kit. If your vent system is very long, complex, or terminates in a hard-to-reach area like a roof, consider hiring a professional.
Conclusion: Empower Your Maytag Dryer with Regular Cleaning
Taking the time to properly clean your Maytag dryer is a simple yet incredibly impactful habit. It goes beyond just keeping your appliance looking good. Regular and thorough cleaning directly impacts your home’s safety, your dryer’s energy efficiency, and its overall lifespan. You have learned how to clean your Maytag dryer step-by-step, from the crucial lint trap to the often-neglected vent system and even the sensitive moisture sensors.
By consistently performing these maintenance tasks, you prevent dangerous lint fires, cut down on your energy bills, and ensure your clothes come out perfectly dry every time. A clean Maytag dryer means fewer breakdowns and more years of reliable service, saving you money on repairs and replacements. I encourage you to integrate these cleaning routines into your home maintenance schedule. Start cleaning your Maytag dryer today and experience the benefits of a well-maintained appliance!
- Maytag dryer cleaning
- dryer maintenance
- lint trap cleaning
- dryer vent cleaning
- appliance care

Todd Martin
Senior Writer
With over 15 years of experience in home renovation and design, I started HEG to share what I’ve learned with homeowners who want to create spaces that are both beautiful and functional. I’ve always believed in a hands-on approach, and over the years, I’ve picked up practical solutions that actually work. Through HEG, I aim to make home improvement more approachable, sharing real tips that help you create a home you truly love.