· Todd Martin · Woodworking · 14 min read
How To Make An Arched Cabinet
Build a Beautiful Arched Cabinet: A Step-by-Step Guide
Adding an arched cabinet to your home can transform any room. These cabinets offer a distinct style, bringing elegance and a touch of unique craftsmanship. If you have wanted to build custom furniture, this project is a great choice. Making an arched cabinet might seem like a big task. However, you can achieve it with clear steps and the right tools.
This guide will walk you through the entire process. I will cover everything from planning your design to the final finishing touches. You will learn how to create accurate templates for the arch, cut curved components, assemble the cabinet, and make it shine. Get ready to build a piece that adds character and charm to your living space.
Takeaway
- Plan your arched cabinet design carefully, considering its use and location.
- Create an accurate arch template using basic geometry or flexible materials.
- Cut curved components precisely with the right tools.
- Assemble the cabinet frame and arched elements securely.
- Apply a quality finish for durability and appearance.
How do you make an arched cabinet?
Making an arched cabinet involves several key steps. You start by designing the cabinet and creating a precise template for the arch. Then, you cut the curved pieces for the cabinet frame and doors. Next, you assemble the main cabinet box and integrate the arched components. Finally, you sand, paint, or stain the cabinet for a finished look.
Planning Your Arched Cabinet Design
Every successful project begins with a good plan. When you make an arched cabinet, design is key. Think about where your cabinet will go and what you will store inside it. This helps you determine the size, depth, and overall style. Consider the room’s existing decor. This will guide your material and finish choices.
Draw a sketch of your desired cabinet. Include dimensions like height, width, and depth. Decide if the arch will be on the top of the cabinet, the doors, or both. A simple arch at the top of the cabinet face frame is a common starting point. You can also incorporate arches into the cabinet doors themselves for a more complex look.
Choosing the right wood is important. Hardwoods like oak, maple, or cherry are durable and take finishes well. Pine or poplar are good for painted cabinets and cost less. Select wood that is straight and free of large knots. This ensures structural integrity and a clean appearance for your finished arched cabinet.
Gather your tools. You will need standard woodworking tools like a table saw, miter saw, router, and drill. For the curved parts, a jigsaw or band saw is essential. Sanding tools and clamps are also critical. Having all your tools ready before you start saves time and makes the building process smoother.
Creating the Arch Template
The arch is the defining feature of your arched cabinet. Creating an accurate template is a critical step for a clean curve. You can make templates from thin plywood, MDF, or even stiff cardboard. The precision of your template directly impacts the look of your finished cabinet. I always take my time on this part.
First, draw your arch shape on the template material. You can use a large compass or a flexible strip of wood to draw the curve. For a perfect half-circle, find the center point along the bottom edge of your arch. Use a string and pencil to draw the curve. For a shallower arch, use the three-point method: mark two outer points and a center point at the desired height, then use a flexible strip to connect them.
After drawing the arch, carefully cut it out. Use a jigsaw or a band saw to follow your line precisely. Smooth the cut edge with sandpaper or a sanding block. This template will be your guide for cutting all the arched components of your cabinet. A smooth template means smooth finished curves.
Test your template. Place it against a piece of scrap wood and trace the arch. Cut this test piece to check if the curve is what you want. Make any adjustments to your template now, before cutting your actual cabinet parts. This simple step prevents waste and ensures satisfaction with your arched cabinet.
You can also use a router with a template guide collar to make exact duplicates of your arch. Attach your template to your workpiece with double-sided tape or clamps. Then, use the router to follow the template’s edge. This method provides very consistent and smooth curves, especially for identical arched doors or frames.
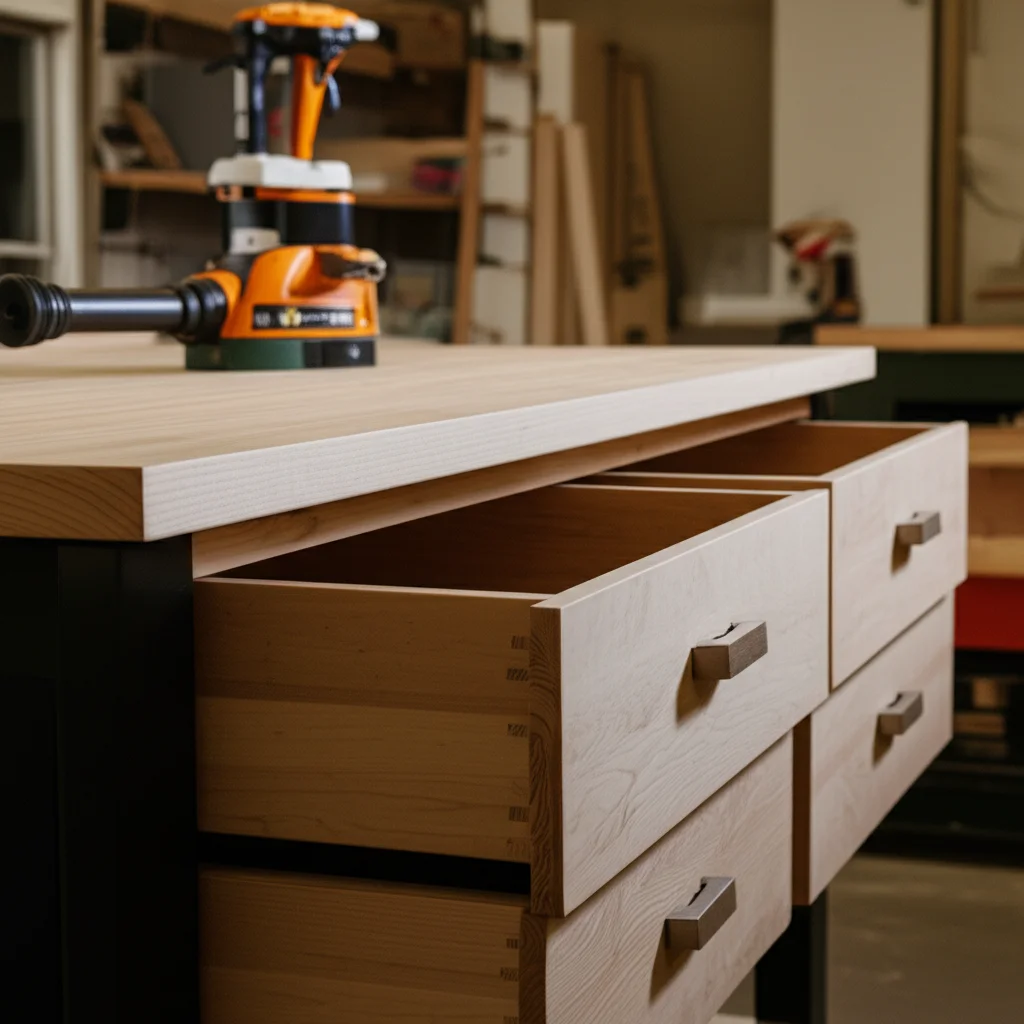
Building the Cabinet Carcass
The carcass is the main box of your arched cabinet. It provides the structure and defines the cabinet’s overall dimensions. Building a strong, square carcass is essential. If the box is out of square, your doors and drawers will not fit correctly. I always double-check my measurements before cutting.
Start by cutting your side panels, top, bottom, and back pieces to size. Use a table saw for straight, accurate cuts. For most cabinets, I use ¾-inch plywood or MDF. These materials offer good stability. Measure twice and cut once to prevent mistakes.
Assemble the box using screws, glue, or joinery methods like dados or rabbets. Dados are grooves cut into one piece of wood to accept the end of another. Rabbets are cuts along the edge. Both provide strong joints. For a simple build, pocket hole screws are fast and effective. Apply wood glue to all mating surfaces before fastening.
Ensure the cabinet carcass is square. Use a large framing square to check all corners as you assemble. Clamps hold the pieces together while the glue dries and you insert fasteners. This prevents the cabinet from twisting. A square cabinet box makes the rest of the building process much easier.
Consider internal shelving. You can add adjustable shelf pins or fixed shelves. For adjustable shelves, drill a series of holes on the interior sides of the cabinet before assembly. This allows you to change shelf height later. How to add extra shelf in cabinet explains this in more detail. A sturdy carcass forms the foundation for your elegant arched cabinet.
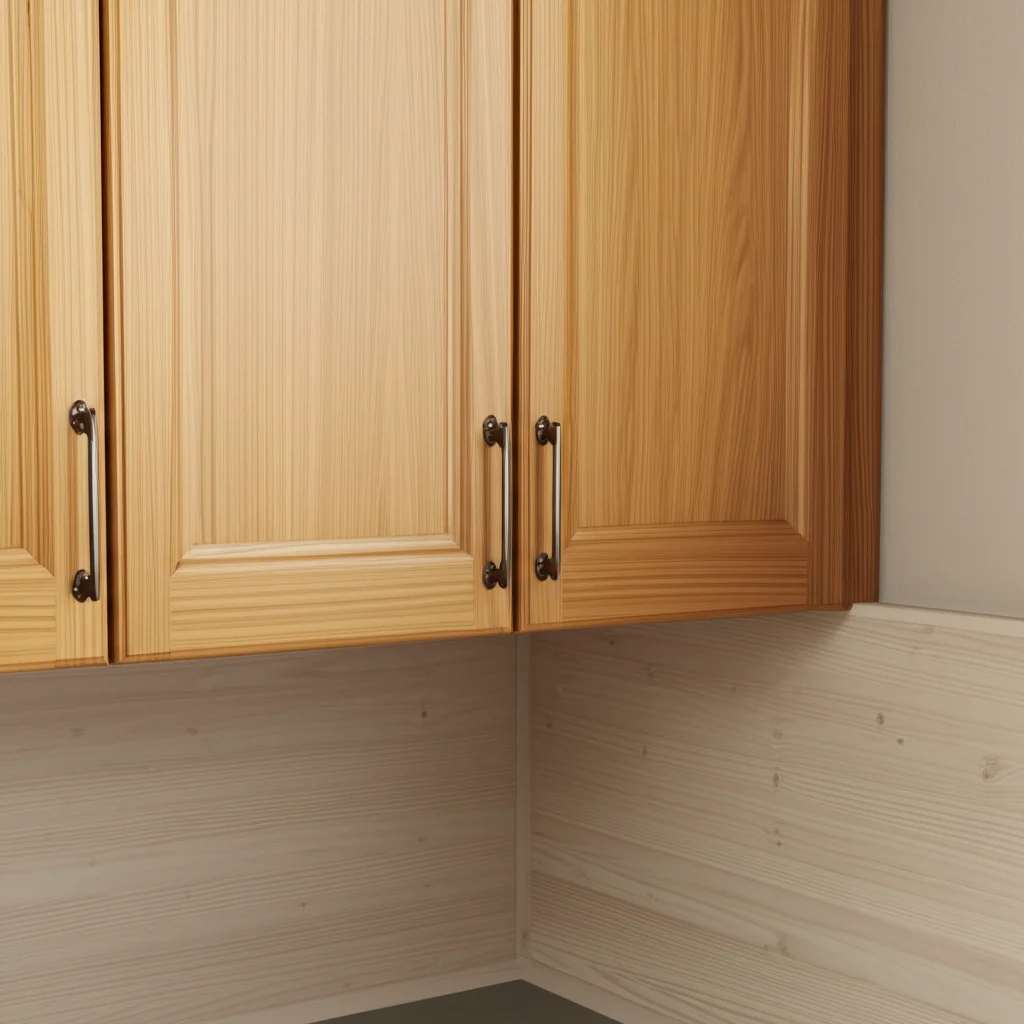
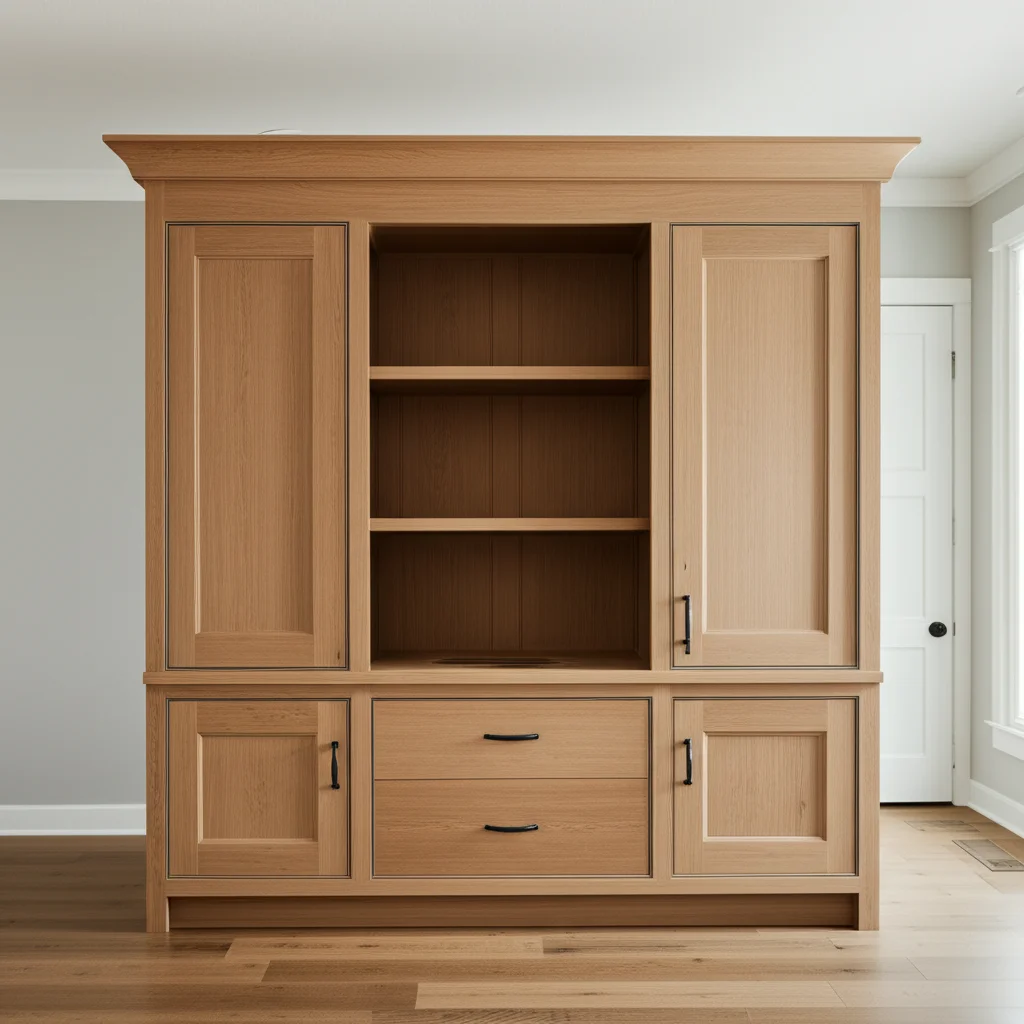
Crafting the Arched Doors and Face Frame
This part of making an arched cabinet requires precision. The arched doors and face frame are what give the cabinet its unique character. The face frame is the decorative front frame that hides the raw edges of the cabinet box. If your cabinet will have an arched top opening, you will make an arched face frame. If it has arched doors, you will craft the doors with the arch.
First, cut the straight pieces for your face frame (stiles and rails). Then, cut the top rail extra wide. You will cut the arch into this wider piece. Using your arch template, trace the curve onto the top rail. Carefully cut along the line with a band saw or jigsaw. Finish the cut edge with a sander to make it smooth.
Assemble the face frame. Use pocket hole screws or mortise and tenon joints to connect the stiles and rails. Attach the arched top rail last. Glue and clamp the face frame together. Ensure it is flat and square. Once dry, attach the face frame to the front of your cabinet carcass. This often involves glue and brad nails or screws from the inside. How to attach cabinet end panels offers similar advice for attaching parts to your cabinet.
For arched doors, you have a few options. One way is to cut the entire door panel with an arch at the top. Another is to make a standard door frame and create a separate arched top rail for it, similar to the face frame. Then you fit a panel into the frame. For a more advanced method, you can try bending thin strips of wood to create a truly curved door frame, but this is more complex.
If your arched cabinet will feature glass, you will need to create openings in the doors. This involves routing out a rabbet or groove to hold the glass panel. How to make glass cabinet doors provides detailed instructions on handling glass inserts. Ensure your arched doors fit perfectly within the arched opening of the face frame. Test the fit often.
Assembling the Arched Cabinet
With the individual components ready, it is time to assemble your arched cabinet. This stage brings all your hard work together into a functional piece of furniture. Proper assembly ensures the cabinet is strong, stable, and looks great. I always use plenty of clamps and check for squareness.
Begin by attaching the face frame to the cabinet carcass. Apply wood glue to the edges of the carcass where the face frame will sit. Carefully position the face frame and secure it with clamps. Use screws driven from inside the cabinet into the face frame. You can also use brad nails from the front of the face frame, which you can later fill and sand. Ensure the face frame is flush with the cabinet sides.
Next, install any interior components like fixed shelves or drawer slides. If you plan to add adjustable shelves, now is a good time to drill the shelf pin holes. Measure carefully to ensure the holes are level and evenly spaced. This allows your shelves to sit flat.
Now, attach the doors. Use quality hinges appropriate for your cabinet style. Concealed hinges offer a clean look, while exposed hinges can add a decorative touch. Position the doors in the arched opening, ensuring an even gap around all sides. This gap, typically 1/8 inch, allows the doors to open and close freely. Use shims if needed to get the perfect alignment. How to hang cabinet doors with exposed hinges offers guidance on this step.
Test the doors. Open and close them several times. Check for any binding or uneven gaps. Adjust the hinges as necessary to achieve smooth operation. This attention to detail ensures your arched cabinet is not just beautiful but also fully functional.
Finishing Your Arched Cabinet
Finishing is where your arched cabinet truly comes to life. A good finish protects the wood and enhances its beauty. This stage requires patience and careful work. Skipping steps here can ruin the overall appearance of your custom piece. I always prepare the surface well.
Start with thorough sanding. Begin with a coarse grit sandpaper, like 80 or 100 grit, to remove any major imperfections or glue squeeze-out. Progress to finer grits, such as 150, 180, and finally 220 grit. Sand with the grain of the wood. This removes scratches and prepares the surface for the finish. Wipe away dust with a tack cloth between each grit.
Decide on your finish. Options include stain, paint, clear coat (lacquer, polyurethane, shellac), or oil. Stains enhance the natural wood grain. Paints provide a solid color and can hide wood imperfections. Clear coats offer protection without changing the wood color much. Oils penetrate the wood for a natural look. Your choice depends on the desired aesthetic for your arched cabinet.
If staining, apply the stain evenly with a brush or rag. Wipe off excess stain according to the product directions to avoid blotchiness. Let it dry completely. For painting, apply a primer first, especially on porous woods or MDF. Then, apply several thin coats of paint, sanding lightly between coats for a smooth finish. How to put trim on cabinet doors or general finishing tips can be useful here, as the same principles apply to the entire cabinet.
Apply your protective topcoat. Polyurethane or lacquer are common choices for durability. Apply thin, even coats. Sand lightly with very fine sandpaper (320 or 400 grit) between coats. This helps to create a smooth, professional-looking surface. Follow the drying times recommended by the product manufacturer. Multiple thin coats provide better protection than one thick coat. A well-finished arched cabinet will last for many years.
Customizing and Installing Your Arched Cabinet
Once the finish is dry, it is time for the final touches. These details personalize your arched cabinet and prepare it for its place in your home. Adding hardware and deciding on the placement are important steps. I love this part, as the cabinet really starts to look finished.
Install the cabinet hardware. This includes knobs, pulls, and any latches or catches for the doors. Choose hardware that matches your cabinet’s style and your home’s decor. Mark the positions for your hardware carefully. Drill pilot holes to prevent the wood from splitting. Attach the hardware securely. This simple step can dramatically change the look of your arched cabinet.
Consider adding interior accessories. Adjustable shelves are already in place if you drilled the pin holes earlier. You might also want to add LED lighting inside the cabinet to highlight items, especially if you have glass doors. Small decorative items can enhance the interior space.
Decide where to place your arched cabinet. Will it be a freestanding piece, or will you anchor it to a wall? For safety, especially if the cabinet is tall or holds heavy items, I recommend anchoring it to the wall studs. Use appropriate hardware like anti-tip kits or L-brackets. This prevents the cabinet from accidentally tipping over, protecting both the cabinet and those around it. How to build a simple wall cabinet box provides insights into securing cabinet structures.
Clean the cabinet thoroughly before use. Wipe down all surfaces to remove any dust or debris from the finishing process. Place your desired items inside. Step back and admire your handiwork. You have successfully created a beautiful, functional arched cabinet. This custom piece will serve as a testament to your woodworking skills and add charm to your home for years to come.
Frequently Asked Questions
What tools do I need to build an arched cabinet?
You will need basic woodworking tools like a table saw, miter saw, and drill. For the curved parts, a jigsaw or band saw is essential. A router with a template guide collar helps for precise duplicates. Sanding tools, clamps, and measuring tapes are also necessary.
How do I make the arch perfect?
Making the arch perfect requires a good template. Use a large compass, string and pencil, or a flexible strip of wood to draw your curve. Cut the template carefully with a jigsaw or band saw. Smooth the edges well. Use this template to guide your cuts on the actual cabinet pieces.
What wood is best for an arched cabinet?
For durability and appearance, hardwoods like oak, maple, or cherry are good choices. If you plan to paint the cabinet, pine or poplar are more affordable and work well. Select straight, knot-free boards. The choice often depends on your budget and desired finish.
Is building an arched cabinet difficult for beginners?
Building an arched cabinet can be challenging for beginners due to the curved cuts. However, with clear instructions and patience, it is achievable. Start with a simpler arch design. Focus on precision in cutting and assembly. Practice on scrap wood before cutting your main pieces.
How long does it take to make an arched cabinet?
The time it takes to make an arched cabinet varies widely. It depends on your skill level, the complexity of the design, and the tools you have. A simple design might take a few weekends. A more complex cabinet could take several weeks. Proper planning speeds up the process.
Can I buy pre-made arched cabinet components?
Yes, some specialty woodworking suppliers offer pre-made arched face frame parts or door components. This can save time and simplify the curved cutting process. Check with cabinet parts manufacturers or online woodworking stores for available options. This can make the project easier.
Conclusion
Building an arched cabinet is a rewarding project. It allows you to create a unique piece of furniture that reflects your personal style. By following these steps, you have learned how to plan, cut, assemble, and finish a beautiful arched cabinet. This process requires patience and precision. However, the result is a functional and artistic addition to your home.
You started with a design idea and ended with a custom cabinet. This piece now stands as a testament to your woodworking skills. Imagine the conversations it will start. You can display cherished items or organize belongings within its graceful form. Feel proud of what you built. Now, consider what other custom pieces you might create for your home. Your journey in woodworking has just begun.
- arched cabinet
- DIY cabinet
- woodworking project
- curved furniture
- cabinet building
- custom cabinets
- home improvement

Todd Martin
Senior Writer
With over 15 years of experience in home renovation and design, I started HEG to share what I’ve learned with homeowners who want to create spaces that are both beautiful and functional. I’ve always believed in a hands-on approach, and over the years, I’ve picked up practical solutions that actually work. Through HEG, I aim to make home improvement more approachable, sharing real tips that help you create a home you truly love.