· Todd Martin · Outdoor Living · 13 min read
How To Make Patio Table
Craft Your Outdoor Oasis: How To Make Patio Table
Imagine warm summer evenings, good company, and a beautiful table you built with your own hands. Creating your own patio table is a rewarding project. It adds personal style to your outdoor space. You can design it to fit your exact needs and tastes. This guide will show you how to make a patio table that is both functional and attractive. We cover everything from design ideas to finishing touches. Get ready to transform your patio.
Takeaway:
- Building your own patio table saves money.
- You get a table that fits your specific style.
- The process involves planning, cutting, assembling, and finishing.
- Choosing weather-resistant materials is very important.
- Proper care extends the life of your handmade table.
To make a patio table, you plan the design, gather materials and tools, cut and assemble the base, build and attach the tabletop, and then apply protective finishes. This DIY project provides a custom, durable piece of outdoor furniture that enhances your living space.
Why Build Your Own Patio Table? Unlock Customization and Value
Making your own patio table offers many benefits beyond just having a place for drinks and snacks. First, you gain complete control over the design. You choose the exact size, shape, and style to match your outdoor area. This means no more searching for a store-bought table that almost fits. You get a perfect fit every time.
Building a table yourself often saves a lot of money. Store-bought patio furniture can be expensive. By sourcing your own materials and investing your time, you reduce costs significantly. This leaves more money for other outdoor improvements or activities. You also learn new skills during the building process.
A DIY patio table is unique. It shows your personal touch and craftsmanship. Guests will admire the effort you put in. This table becomes a true reflection of your home’s style. You also ensure the quality of construction. You select durable, weather-resistant materials from the start. This leads to a table that lasts for many years.
Think about the satisfaction you feel. Completing a project like this brings a great sense of accomplishment. You built something useful and beautiful. Your outdoor space feels more inviting and comfortable. It truly becomes an extension of your home.
Choosing the Right Design and Materials for Your Table
Selecting the right design and materials is the first big step when you make a patio table. Your choice impacts how the table looks and how long it lasts. Consider the size of your patio or deck. A large table might overwhelm a small space. A small table might get lost in a big area. Think about how many people will use the table regularly.
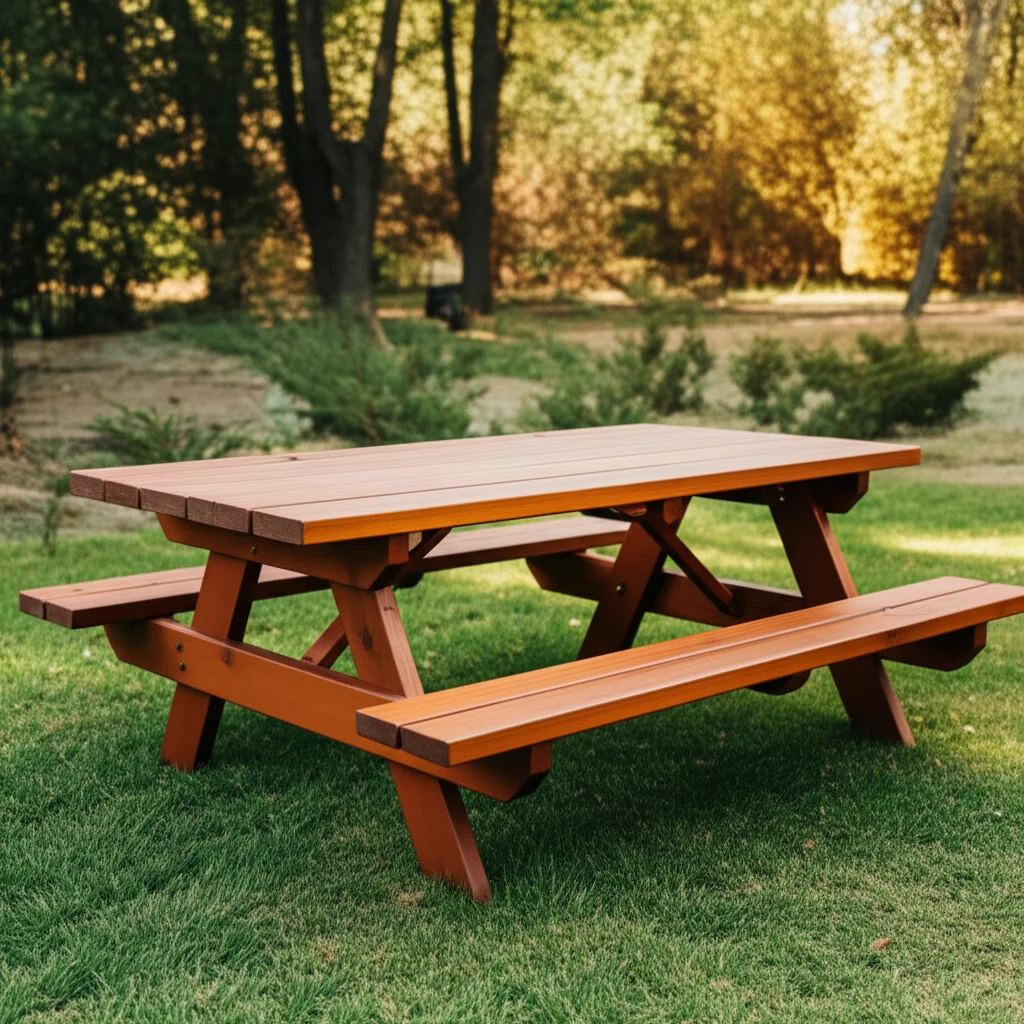
There are many designs to consider. A simple rectangular table is popular and easy to build. You might prefer a square or round table for specific gatherings. Pedestal bases offer more legroom. Trestle bases provide a rustic look. I have seen many clever designs that fit unique spaces. You can even design specific leg styles, such as angled table legs or a cylinder table base, to make your table truly stand out.
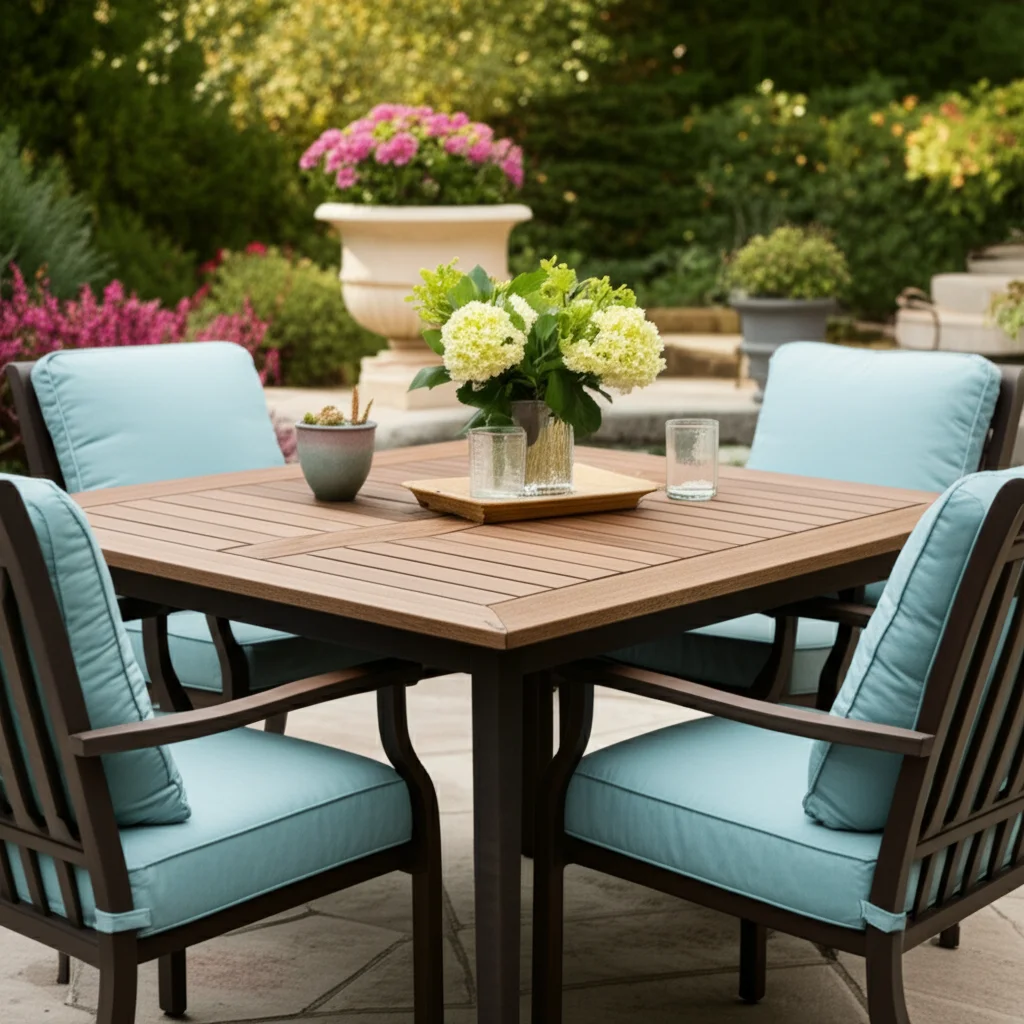
Wood is a popular material for patio tables. Cedar, redwood, and teak are naturally resistant to rot and insects. Pressure-treated pine is a more budget-friendly option. It requires proper sealing. Metal, like aluminum or steel, offers modern aesthetics. These materials need specific finishes to prevent rust. Composites or recycled plastics are low-maintenance. They come in various colors. When you think about the tabletop, remember you can also make an outdoor table top from different materials like concrete or tile. Each material offers a different look and level of durability. Choose what fits your budget and design vision best.
Essential Tools and Supplies for Table Construction
Before you start to make a patio table, gathering all your tools and supplies is important. Having everything ready saves time and prevents frustration. Safety should always be your top priority. Wear safety glasses to protect your eyes from flying debris. Use work gloves to prevent splinters and cuts. Always read the instructions for any power tools you use. Make sure your work area is clear and well-lit.
You will need some basic hand tools. A tape measure is essential for accurate cuts. A pencil helps mark your cutting lines. A carpenter’s square or speed square ensures straight lines and perfect angles. A level checks that your table is flat. Clamps hold pieces together while glue dries or screws are driven. A mallet helps tap joints into place.
Power tools make the job easier and faster. A miter saw or circular saw allows for precise cuts on lumber. A drill is necessary for creating pilot holes and driving screws. Orbital sanders smooth surfaces quickly. A router can create decorative edges if you desire. I find that using the right tool for the job makes a huge difference in the final product.
Here is a general list of supplies:
- Lumber: Choose your desired wood type (cedar, redwood, treated pine, etc.). Calculate the needed board feet based on your design plans.
- Fasteners: Exterior-grade screws or bolts are essential. These resist rust.
- Wood Glue: Use waterproof wood glue for strong joints.
- Sanding Supplies: Various grits of sandpaper (80, 120, 220).
- Finishing Products: Exterior wood stain, sealer, or paint. Consider how to repaint a patio table if you decide on a painted finish down the line.
- Brushes/Rollers: For applying finishes.
- Cleaning Supplies: Rags, mineral spirits for cleanup.
Having these items on hand ensures a smooth building process.
Step-by-Step Guide to Building Your Patio Table Base
Building the table base is a crucial step when you want to make a patio table. This structure provides stability and support for the tabletop. Start by cutting all the leg pieces to your desired height. Remember to account for the thickness of your tabletop in your overall table height. For most dining tables, a height between 28 and 30 inches is standard. Use a miter saw for clean, square cuts. Even a slight error can make the table wobbly.
Next, cut the apron pieces. The apron forms the frame that connects the legs and supports the tabletop. You will need four pieces: two long sides and two short ends. Ensure these pieces are perfectly straight and cut to the correct length based on your table dimensions. Accuracy here prevents gaps and ensures a sturdy frame. I always double-check my measurements before making the final cut. This prevents wasted material.
Assemble the apron first. Apply waterproof wood glue to the ends of the short apron pieces. Then, join them to the long apron pieces using screws. Predrill pilot holes to prevent wood splitting. Use a carpenter’s square to ensure all corners are at perfect 90-degree angles. Clamps help hold the frame together while the glue dries and you drive the screws. This creates a strong, rectangular or square frame for your base.
Attach the legs to the assembled apron frame. You can use various joinery methods. Pocket hole screws are a popular and strong option. Use a pocket hole jig to drill angled holes into the apron ends. Then, attach the legs to the inside corners of the apron frame using pocket hole screws and wood glue. Make sure the legs are flush with the apron’s outer edges. Check for squareness at every joint. This step forms the main support structure. Building a sturdy base is vital for a lasting patio table.
Crafting and Attaching the Perfect Outdoor Table Top
Once your table base is complete, the next important step is crafting and attaching the perfect outdoor table top. This is the part of your table that will see the most use and attention. The material you choose for the tabletop greatly affects its look and durability. If you’re using wood, consider wider planks for a seamless look or narrower ones for a farmhouse style. Make sure all wood planks are straight and free of major defects. You can find detailed instructions on how to make an outdoor table top using various materials.
Cut the tabletop planks to the desired length. For a smooth surface, run the edges through a jointer or use a straight edge and circular saw to get perfectly flat edges. This ensures a tight fit when you join the boards. Next, arrange your planks on a flat surface. Use clamps to hold them tightly together. Apply waterproof wood glue along the edges of each plank. Glue-ups create a strong, solid tabletop. Make sure to wipe away any excess glue that squeezes out.
Reinforce the glued planks with battens or breadboard ends underneath. Battens are pieces of wood attached perpendicular to the main planks. They help prevent warping and provide extra stability. Attach them with screws that allow for wood movement. Drill oversized pilot holes in the battens for the screws. This allows the wood to expand and contract with humidity changes. This is important for outdoor furniture.
Finally, attach the finished tabletop to the table base. Center the tabletop on the apron frame. Use Z-clips, tabletop fasteners, or angle brackets to secure the top to the base. These methods allow the wood to expand and contract without cracking. Avoid directly screwing the tabletop down through the apron if using solid wood. This can cause the wood to split over time. Proper attachment ensures your table remains sturdy and flat for years.
Finishing Touches and Weather Protection for Your Table
After you assemble your patio table, apply the finishing touches and provide weather protection. This step is vital for the table’s longevity and appearance. Start by sanding all surfaces thoroughly. Begin with a coarse-grit sandpaper (like 80 or 100-grit) to remove any major imperfections, glue squeeze-out, or rough spots. Then, move to a medium grit (120 or 150-grit) to smooth the surface further. Finish with a fine-grit sandpaper (220-grit) for a silky-smooth feel. Always sand in the direction of the wood grain. This prevents unsightly scratches.
After sanding, clean the table to remove all dust. Use a tack cloth or a damp cloth. Let the wood dry completely before applying any finish. Your choice of finish depends on the material you used and the look you want. For wood tables, an exterior-grade stain enhances the natural grain and adds color. Apply it evenly with a brush or rag. Follow the manufacturer’s instructions for drying times. You can also refinish wood patio furniture if it already has an old finish.
A good sealer or topcoat provides the main protection against the elements. Exterior spar urethane, outdoor clear coat, or marine varnish work well. These finishes create a barrier against moisture, UV rays, and temperature changes. Apply multiple thin coats, sanding lightly between coats with fine-grit sandpaper for better adhesion and a smoother finish. This step significantly extends the life of your table. If your table eventually shows wear, knowing how to clean a wood table will help keep it looking new.
For metal tables, apply a rust-inhibiting primer before painting with an exterior-grade metal paint. If you used composite materials, they usually require minimal finishing. Regular maintenance, like cleaning and re-applying protective coats every few years, ensures your table remains beautiful and functional. Protect your investment by properly finishing it.
Customizing Your Patio Table for Unique Style
Once you make a patio table, you have a blank canvas for customization. This allows you to truly express your unique style. You can add functional features or decorative elements. Think about how you use your outdoor space. Do you host many dinners? Do you enjoy casual gatherings? Your table can reflect these needs.
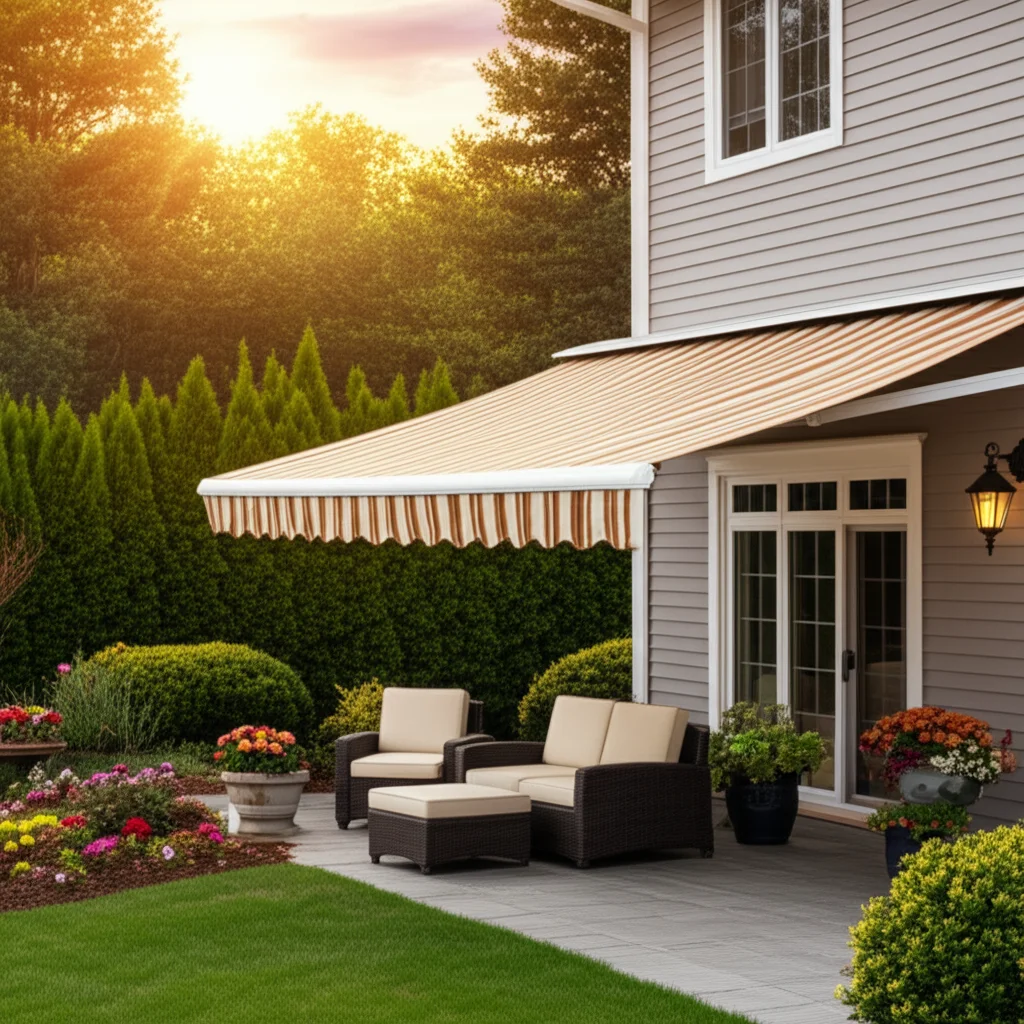
One popular customization is adding an umbrella hole. If your design permits, drill a hole in the center of the tabletop for an umbrella pole. Ensure the hole is the correct size for your umbrella. This provides much-needed shade on sunny days. You can also install a plug for the hole when not in use.
Consider adding storage. You can build small shelves or cubbies underneath the tabletop. These can hold outdoor essentials like placemats, napkins, or small games. Some people integrate small planters into the tabletop design. This adds greenery and a natural touch to your dining experience. For specific needs, you might even consider building a specialized table, such as a bar table for entertaining or a fire table for warmth and ambiance.
Decorating the table itself can also personalize it. Paint the table in a bold color or a soft, neutral tone. You might add stenciled designs to the tabletop or legs. Consider tiling the top for a mosaic effect. This adds texture and color. You can also build a table with unique leg designs, such as tapered table legs, for a distinct look.
Your custom patio table can become the focal point of your outdoor living area. It reflects your personality. It serves your specific needs. Take the time to consider these unique touches. They elevate your handmade table from functional to truly special.
Frequently Asked Questions About Making Patio Tables
What is the best wood to use for a DIY patio table? The best woods for a DIY patio table are naturally weather-resistant. Cedar, redwood, and teak are excellent choices. They resist rot and insects well. Pressure-treated pine is a more affordable option. Always seal or paint treated pine for outdoor use. These choices ensure your table lasts.
How long does it take to build a patio table? Building a patio table usually takes one to three weekends. This depends on your skill level and the complexity of your design. Simple designs might take less time. More intricate plans or larger tables require more hours. Allow extra time for glue to dry and finishes to cure.
What tools are essential for building a patio table? Essential tools include a tape measure, pencil, carpenter’s square, miter saw or circular saw, and a drill. You will also need clamps, wood glue, and exterior-grade screws. Sanding supplies and brushes for finishing are also necessary. Safety glasses and gloves are a must.
How do I protect my homemade patio table from the weather? Protect your table by applying a durable exterior-grade finish. This includes stain, sealer, or paint. Spar urethane or marine varnish offers good protection against UV rays and moisture. Reapply the finish every few years. Store the table or cover it during harsh weather.
Can I build a patio table with a glass top? Yes, you can build a patio table with a glass top. Design the base with a frame that can securely hold the glass. You might need to route a rabbet or use glass clips. Ensure the glass is tempered for safety. This adds a modern look.
How much money can I save by building my own patio table? You can save a significant amount of money, often 30-70% compared to buying a new table. The savings depend on the materials you choose. Reclaimed wood or salvaged materials can increase your savings. Your labor costs nothing, making DIY a cost-effective choice.
Your Custom Patio Table Awaits!
You now have a clear path on how to make a patio table. We covered everything from choosing materials to applying the final protective coat. Building your own outdoor table is a rewarding project. It brings a unique piece of furniture to your home. This table will serve your family and friends for many seasons.
Remember to plan carefully. Measure accurately. Take your time with each step. Do not rush the process. The effort you put in now ensures a durable and beautiful table. You create a functional piece of art for your backyard.
Are you ready to start your woodworking journey? Gather your tools and materials. Imagine the memories you will make around this custom piece. Your perfect outdoor dining space is within reach. Start building your dream patio table today!
- DIY patio table
- outdoor furniture
- build table
- woodworking
- patio table plans
- home improvement
- custom table
- outdoor dining
- backyard DIY

Todd Martin
Senior Writer
With over 15 years of experience in home renovation and design, I started HEG to share what I’ve learned with homeowners who want to create spaces that are both beautiful and functional. I’ve always believed in a hands-on approach, and over the years, I’ve picked up practical solutions that actually work. Through HEG, I aim to make home improvement more approachable, sharing real tips that help you create a home you truly love.