· Todd Martin · Home Improvement · 15 min read
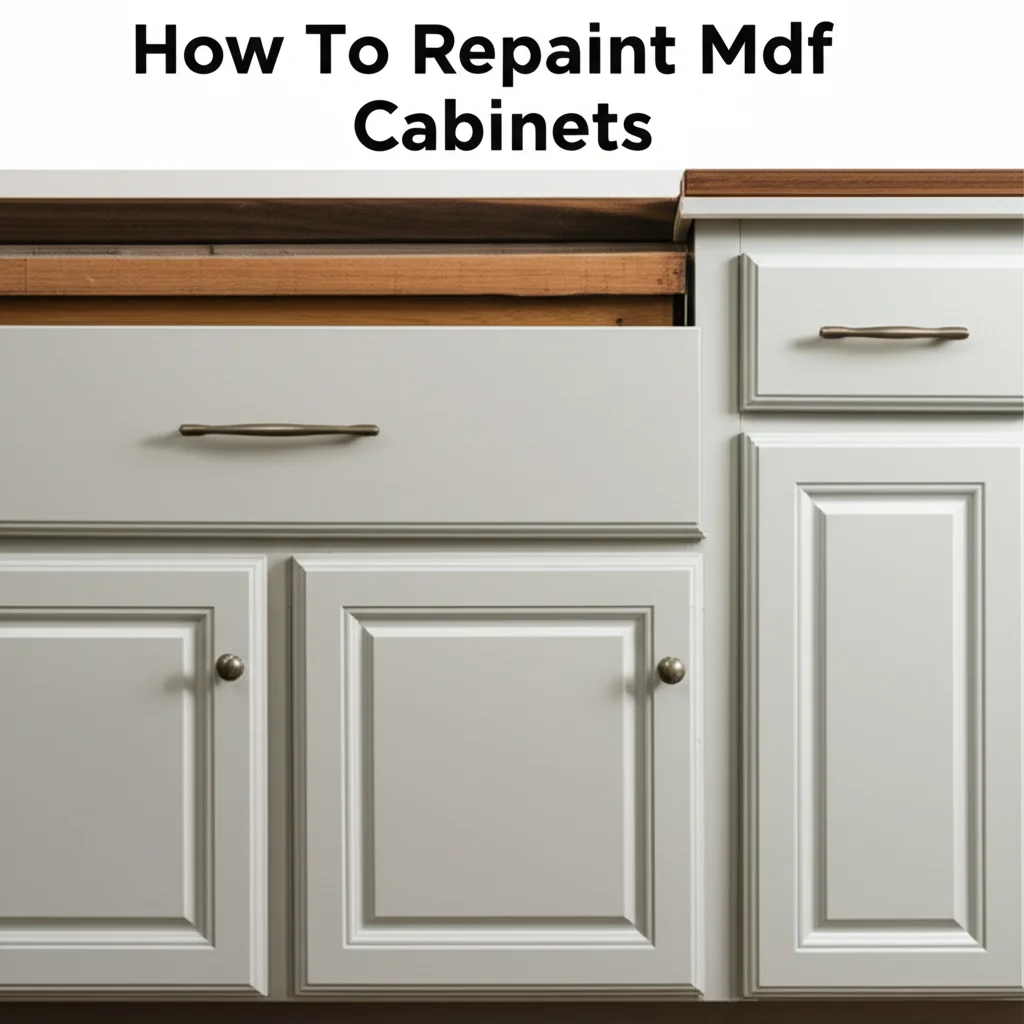
How To Repaint Mdf Cabinets
Transform Your Kitchen: How to Repaint MDF Cabinets
Are your MDF cabinets looking tired? Perhaps they show signs of wear, or their color no longer matches your home’s style. You are in luck. Giving them a fresh coat of paint can revitalize your entire space without the cost of a full replacement. Learning how to repaint MDF cabinets is a rewarding project. It improves your kitchen or bathroom and adds value to your home.
This article guides you through the entire process. We cover everything from gathering your tools to the final reassembly. You will learn important preparation steps. You will understand how to choose the right products. We will share techniques for a smooth, lasting finish. Get ready to give your MDF cabinets a beautiful new look.
Takeaway
To successfully repaint MDF cabinets, focus on these key steps:
- Thorough Preparation: Clean, degrease, and lightly sand all surfaces.
- Correct Priming: Use a high-quality primer specifically designed for MDF to seal and create a bond.
- Quality Paint Application: Apply thin, even coats of durable paint for a smooth finish.
- Patience: Allow proper drying and curing times between each step.
Repainting MDF cabinets requires careful work. Start by cleaning the surfaces. Then, sand them lightly for paint adhesion. Apply a specialized primer to seal the MDF. Finish with thin, even coats of high-quality paint. This process ensures a durable and attractive result.
Gathering Your Arsenal: Essential Tools and Materials
Before you begin to repaint MDF cabinets, gather all necessary tools and materials. Having everything ready saves time and ensures a smooth process. Proper tools make the job easier and improve the final look. Do not skip any item on this list. Each plays a key role in achieving a professional finish.
Here is what you will need:
- Screwdriver set: For removing cabinet doors, drawers, and hardware.
- Cleaner/Degreaser: A strong, alkaline cleaner to cut through kitchen grease and grime. TSP (trisodium phosphate) substitute is a popular choice.
- Sandpaper: Various grits, including 150-grit, 220-grit, and possibly 320-grit for final smoothing. Sanding sponges can also be helpful.
- Tack cloths: To wipe away fine dust after sanding.
- Painter’s tape: For protecting surfaces you do not want to paint.
- Drop cloths or plastic sheeting: To cover floors and countertops.
- Protective gear: Gloves, safety glasses, and a respirator mask (especially when sanding or spraying).
- High-quality primer: Specifically designed for MDF or a shellac-based or oil-based primer. These primers seal the MDF surface.
- High-quality paint: A durable paint like an acrylic-alkyd hybrid, enamel, or lacquer. These paints withstand daily use.
- Paint brushes: A good-quality synthetic brush for cutting in corners and details. Angled brushes work best.
- Paint rollers: Small foam rollers or fine-nap rollers for smooth surfaces. These minimize brush marks.
- Paint tray or bucket: For holding paint.
- Paint sprayer (optional): For the smoothest finish, a paint sprayer gives a factory-like look. This requires practice.
- Wood filler/putty: For filling any holes or imperfections in the MDF.
- Damp rags: For general cleaning.
Each item on this list contributes to a successful project. Using the right tools protects you and your home. Quality primer and paint ensure your new finish lasts a long time. Take the time to collect everything before you start. This preparation makes a big difference.
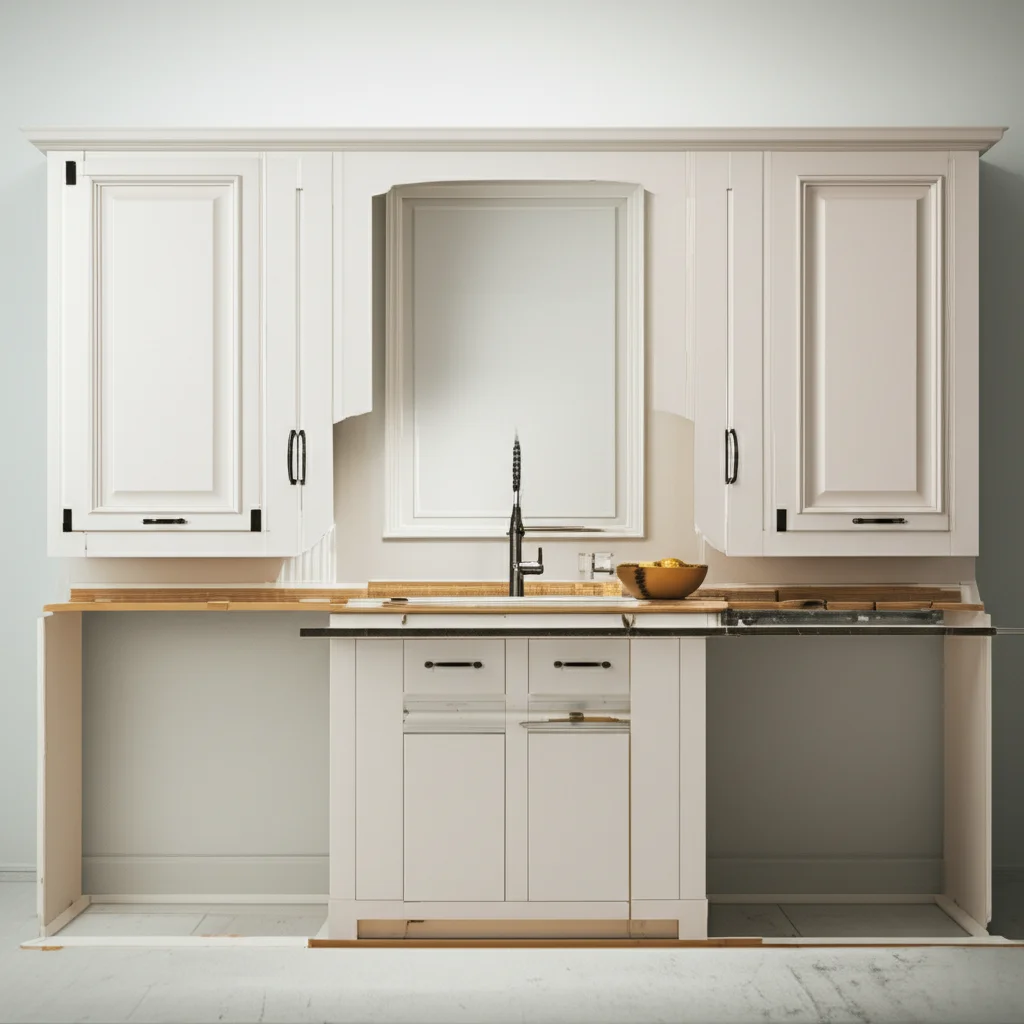
Preparation is Paramount: Disassembly and Cleaning
Starting a cabinet repainting project requires careful preparation. This is perhaps the most important stage. Proper prep ensures your new paint adheres well and looks great. Neglecting these steps leads to paint peeling or a poor finish. We begin by disassembling the cabinets. Then, we clean them thoroughly.
First, remove all cabinet doors and drawer fronts. Use your screwdriver to take off hinges, handles, and any other hardware. Place all hardware in labeled plastic bags. This helps you remember where everything goes during reassembly. Label each door and drawer with its corresponding cabinet opening. You can use painter’s tape on the inside edge for labeling. This prevents confusion later.
Next, it is time to clean. Kitchen cabinets, especially, accumulate grease, dirt, and grime over time. This layer prevents new paint from sticking. Mix your chosen cleaner or degreaser with water according to its instructions. Wipe down all cabinet surfaces thoroughly. This includes the frames, doors, and drawer fronts. Pay close attention to areas around handles and knobs. These spots often collect more dirt. You can learn more about how to clean greasy cabinets effectively for this step. how to clean greasy cabinets
After cleaning, rinse the surfaces with clean water. Use a damp cloth to remove all cleaner residue. Let the cabinets dry completely. Any moisture left behind can affect paint adhesion. This step is critical for successful paint application. If you need more general tips, consider reading about how to clean cabinets before painting. Proper cleaning removes hidden grime, ensuring a better paint bond. For older kitchens, a guide on how to clean old kitchen cabinets might also offer valuable advice. Your goal is a perfectly clean, dry surface for the next steps.
Sanding for Adhesion: Creating the Perfect Surface
Once your MDF cabinet parts are clean and dry, sanding is the next essential step. Many people wonder if they can skip this part. Sanding is important for several reasons. MDF often has a smooth, slick surface. This surface does not allow paint to bond well. Sanding creates a micro-texture. This texture gives the primer something to grip onto.
Start with 150-grit sandpaper. Lightly sand all surfaces you plan to paint. This includes the cabinet frames, doors, and drawer fronts. Do not press too hard. You are not trying to remove the existing finish. You are simply scuffing the surface. This creates tiny scratches that help with adhesion. Work in the direction of any grain if there is one, or in a consistent pattern on flat surfaces. For detailed areas, use a sanding sponge. These conform to curves and edges better.
After using 150-grit, switch to 220-grit sandpaper. Go over all surfaces again. This step smooths out any marks left by the coarser sandpaper. It also refines the texture for an even better bond. You want the surface to feel smooth but not slick. A smooth surface helps to achieve a smooth finish on your cabinets.
When all sanding is complete, remove every trace of dust. Use a shop vacuum with a brush attachment to suck up most of the dust. Then, wipe down all surfaces with a tack cloth. A tack cloth picks up fine dust particles. Do this thoroughly. Dust left on the surface will mix with your primer. This creates bumps and an uneven finish. Ensure the surface is perfectly clean and dust-free before moving on. For more detailed tips on this step, you can refer to resources on how to sand cabinets by hand. Proper sanding creates the ideal foundation for your repaint project.
Priming MDF: The Critical First Coat
Priming MDF is a non-negotiable step when you repaint MDF cabinets. MDF is very absorbent. It acts like a sponge. If you apply paint directly to raw or previously painted MDF without primer, the MDF will soak up the paint unevenly. This leads to a blotchy finish. It can also cause the MDF fibers to swell, creating a rough texture. A good primer seals the surface. It prevents absorption and provides a consistent base for your topcoat.
Choosing the right primer is key. Do not use a basic latex primer. For MDF, you need a primer that truly seals. Shellac-based primers are excellent for sealing MDF. They dry quickly and block stains. Oil-based primers also work well. They offer good adhesion and durability. Many manufacturers now offer specialized “bonding primers” or “MDF primers.” These are formulated to stick well to difficult surfaces like MDF. Read product labels carefully. Make sure the primer is suitable for MDF.
Apply the primer in thin, even coats. Avoid applying it too thick. Thick coats can create drips or take too long to dry. Use a good quality synthetic brush for edges and corners. Use a foam roller for flat surfaces. The foam roller helps achieve a smooth, even application. Allow the first coat of primer to dry completely according to the manufacturer’s instructions. This usually takes a few hours.
Once the first coat is dry, lightly sand the primed surfaces with 220-grit or 320-grit sandpaper. This step removes any raised fibers from the MDF. It also smooths out minor imperfections. After sanding, wipe away all dust with a tack cloth. Then, apply a second thin coat of primer. Two thin coats are always better than one thick coat. This ensures maximum sealing and a perfectly smooth base for your paint. This meticulous priming process is what sets a professional-looking repaint job apart from an amateur one.
Painting MDF Cabinets: Achieving a Durable Finish
Now comes the exciting part: applying the paint. Choosing the right paint for MDF cabinets is crucial for durability and appearance. You need a paint that can withstand daily use in a kitchen or bathroom. It also needs to adhere well to the primed MDF surface. Avoid cheap latex paints. They often chip or peel over time.
For painting MDF cabinets, consider these paint types:
- Acrylic-Alkyd Hybrid Paints: These paints combine the best qualities of both acrylic (water-based) and alkyd (oil-based) paints. They offer easy cleanup like acrylics but provide the hard, durable finish of alkyds. They level well, reducing brush marks.
- Cabinet Enamel: Many paint brands offer specific cabinet or trim enamels. These are designed for hard, durable finishes on high-traffic surfaces. They often self-level.
- Lacquer: Lacquer provides a very hard, smooth, and professional finish. However, it requires special spraying equipment and good ventilation. It also dries very fast, making it less forgiving for brush application.
No matter your paint choice, apply it in thin, even coats. Avoid overloading your brush or roller. Thin coats dry faster and adhere better. They also reduce the chance of drips and runs. If you use a brush, choose a high-quality synthetic brush designed for smooth finishes. For rollers, use a high-density foam roller or a very fine-nap roller (e.g., 1/4 inch). These rollers leave minimal texture. To achieve a very smooth finish on cabinets, learn proper rolling techniques. how to get smooth finish on cabinets
If you are aiming for a professional, factory-like look, a paint sprayer is your best friend. Sprayers apply paint very evenly without brush marks. This results in an incredibly smooth surface. However, sprayers require practice and proper ventilation. They also create more overspray. For tips on avoiding brush marks, especially if you are using brushes, consider reviewing how to paint kitchen cabinets without brush marks.
Apply two to three coats of paint. Allow each coat to dry completely before applying the next. Refer to the paint manufacturer’s drying times. Lightly sand between coats with 320-grit sandpaper if needed. This removes any dust nibs or imperfections. Always wipe away sanding dust with a tack cloth before the next coat. If your cabinets were previously painted, it’s useful to know how to paint already painted cabinets for best practices on top of existing finishes. Patience during this stage is vital for a beautiful, long-lasting finish.
Addressing Imperfections: Troubleshooting Common Paint Issues
Even with the best preparation, you might encounter a few issues when painting MDF cabinets. It is common to see small imperfections. Knowing how to fix these problems will save your project. You can achieve a flawless final look. Do not worry if you spot a drip or a brush mark. Most issues are fixable.
Here are some common problems and how to address them:
- Drips or Runs: These happen when you apply too much paint in one area. If the paint is still wet, you can carefully brush or roll it out. If it is dry, wait until the paint is fully cured. Then, lightly sand the drip down with 220-grit or 320-grit sandpaper until it is smooth. Wipe away the dust. Apply another thin coat of paint.
- Brush Marks: These occur from using the wrong brush, too much paint, or not allowing the paint to self-level. To fix dry brush marks, sand the area smooth with 220-grit or 320-grit sandpaper. Ensure the surface is perfectly flat. Wipe away dust. Apply subsequent coats of paint more thinly. Consider adding a paint conditioner or flow additive to your paint. This helps it level better.
- Bubbling or Blistering: This often happens if the surface was not clean, if there was moisture, or if the paint dried too quickly in high heat. If bubbles appear, let the paint dry. Then, scrape or sand down the affected area completely. Feather the edges. Re-clean, re-prime, and re-paint the section. For severe peeling issues, you might need to understand how to fix paint peeling off cabinets more in-depth.
- Dust or Lint: Small particles can land on wet paint. If the paint is still wet, carefully pick them off with tweezers. If dry, gently sand them away with fine-grit sandpaper. Then, wipe clean and re-apply a thin coat.
- Sticky Painted Cabinets: If your painted cabinets feel sticky even after drying, it might be due to incomplete curing, humidity, or certain paint types. Ensure proper ventilation and temperature. Sometimes, the paint just needs more time to cure. If it persists, research how to fix sticky painted cabinets for specific solutions.
Remember to always allow each coat of paint to dry thoroughly before attempting any repairs. Rushing can make problems worse. Patience and careful sanding are your best tools for correcting imperfections. This attention to detail ensures a truly professional-looking repaint.
Reassembly and Care: Completing Your Cabinet Transformation
You have successfully painted your MDF cabinets! The hardest part is over. Now, the final steps involve reassembly and establishing a care routine. Do not rush this stage. Your cabinets need time to fully cure. This curing process is different from simply being dry to the touch. Paint might feel dry after a few hours, but it takes days or even weeks to reach full hardness.
First, refer to your paint’s instructions for full cure time. This is often 7 to 30 days. During this period, be gentle with your newly painted surfaces. Avoid putting heavy objects on shelves. Do not use harsh cleaners. The paint is still hardening. If you put too much stress on it too soon, it can dent, scratch, or peel.
Once the initial drying time has passed (usually 24-48 hours), you can start reassembling. Carefully reattach hinges to the doors and then to the cabinet frames. Use your labeled bags to ensure each door and drawer goes back to its original spot. Attach handles and knobs last. Take your time to avoid scratching the new finish. It helps to have a second person assist you, especially with hanging doors.
After the cabinets are fully reassembled, continue to be mindful of their care. For cleaning, use a soft cloth and a mild cleaner, like dish soap and water. Harsh abrasive cleaners or scrubbing pads can damage the paint. Regularly wipe down spills and splashes. This prevents stains and keeps your cabinets looking fresh. To maintain their beauty, you might want to look into how to clean painted cabinets or specifically how to clean newly painted cabinets for the best practices during the initial curing phase. Proper maintenance ensures your beautiful repainted MDF cabinets last for many years.
FAQ Section
Can you paint MDF cabinets without sanding? While technically possible, painting MDF cabinets without sanding is not recommended. MDF surfaces are often smooth, which makes it hard for paint to stick well. A light sanding creates tiny scratches. These scratches help the primer and paint bond securely to the surface. Skipping sanding can lead to peeling or chipping paint over time.
What is the best paint for MDF cabinets? The best paint for MDF cabinets is a durable, high-quality option designed for cabinets or trim. Acrylic-alkyd hybrid paints are a top choice. They offer easy cleanup and a hard, resilient finish. Cabinet enamels also provide excellent durability. Lacquer gives a smooth, factory-like look but needs professional application.
How long does it take to repaint MDF cabinets? Repainting MDF cabinets typically takes several days to complete. This includes time for disassembly, thorough cleaning, multiple coats of primer and paint, and drying time between each step. Each coat needs adequate time to dry before the next. Full paint curing can take up to 30 days, during which you should be gentle with the cabinets.
Do I need to use a special primer for MDF? Yes, using a special primer for MDF is crucial. MDF is very porous and absorbs liquids unevenly. A shellac-based primer, an oil-based primer, or a dedicated bonding primer for MDF works best. These primers seal the surface, prevent swelling of MDF fibers, and provide a strong base for paint adhesion.
How do I prevent brush marks on MDF cabinets? To prevent brush marks on MDF cabinets, use high-quality synthetic brushes and foam rollers. Apply thin, even coats of paint. Do not overload your brush or roller. Choose paints that have good self-leveling properties. Using a paint conditioner or flow additive can also help the paint spread smoothly. A paint sprayer offers the best brush-mark-free finish.
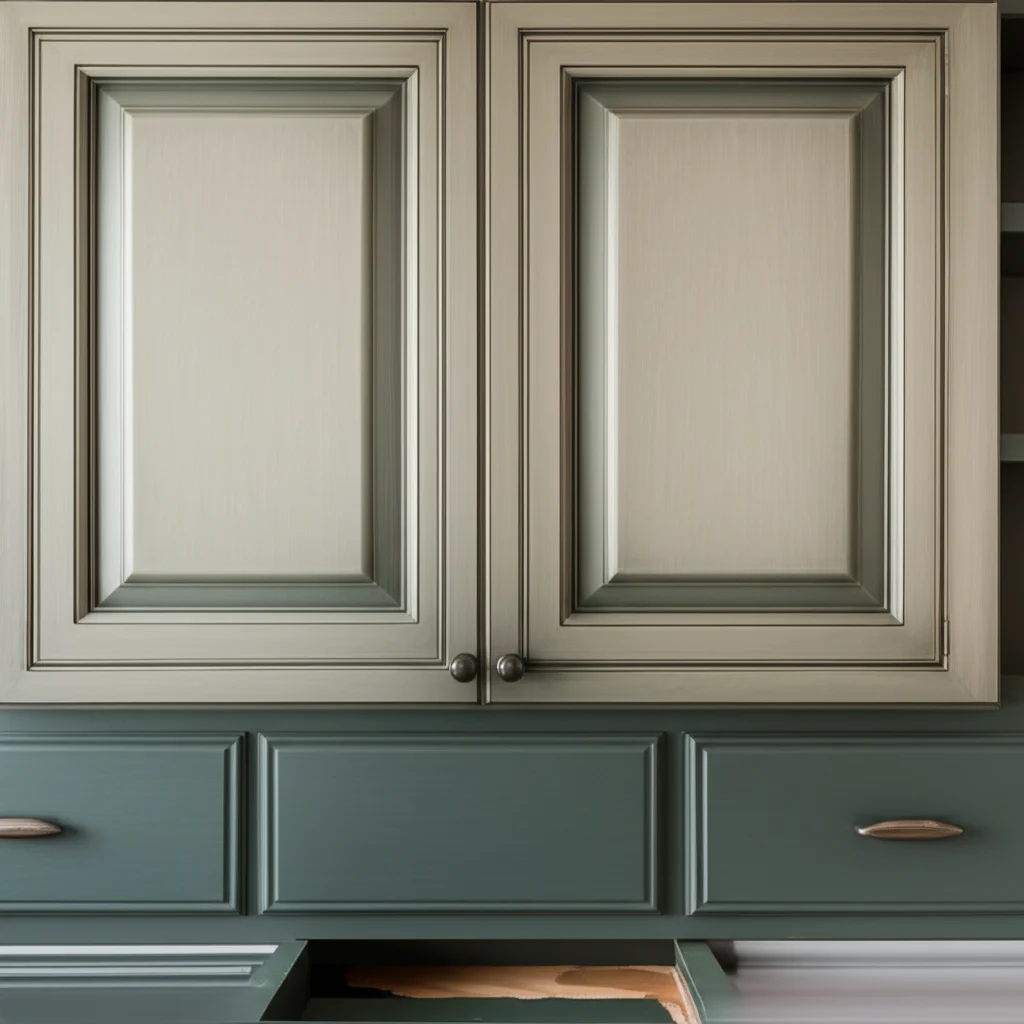
Can I repaint over already painted MDF cabinets? Yes, you can repaint over already painted MDF cabinets. The process is similar to painting unpainted MDF, but you might need to address existing paint issues like peeling or chipping. Always clean and lightly sand the existing painted surface to ensure proper adhesion for the new primer and paint coats.
Conclusion
Repainting MDF cabinets is a fantastic way to refresh your home. It saves money compared to replacing them. You gain a sense of accomplishment by doing it yourself. We covered every step needed. From careful cleaning and essential sanding to selecting the right primer and paint. We also talked about how to fix small mistakes.
Remember, patience is your best tool. Allow proper drying times between each coat. Choose quality products. This ensures a durable and beautiful finish. Your efforts will result in stunning cabinets that enhance your space. You can transform your kitchen or bathroom with these steps. Get ready to enjoy your newly refreshed home. Start your cabinet transformation today!
- MDF cabinets
- repaint cabinets
- cabinet painting
- DIY painting
- kitchen makeover
- home renovation
- smooth finish

Todd Martin
Senior Writer
With over 15 years of experience in home renovation and design, I started HEG to share what I’ve learned with homeowners who want to create spaces that are both beautiful and functional. I’ve always believed in a hands-on approach, and over the years, I’ve picked up practical solutions that actually work. Through HEG, I aim to make home improvement more approachable, sharing real tips that help you create a home you truly love.