· Kianna Connelly · Home Improvement · 16 min read
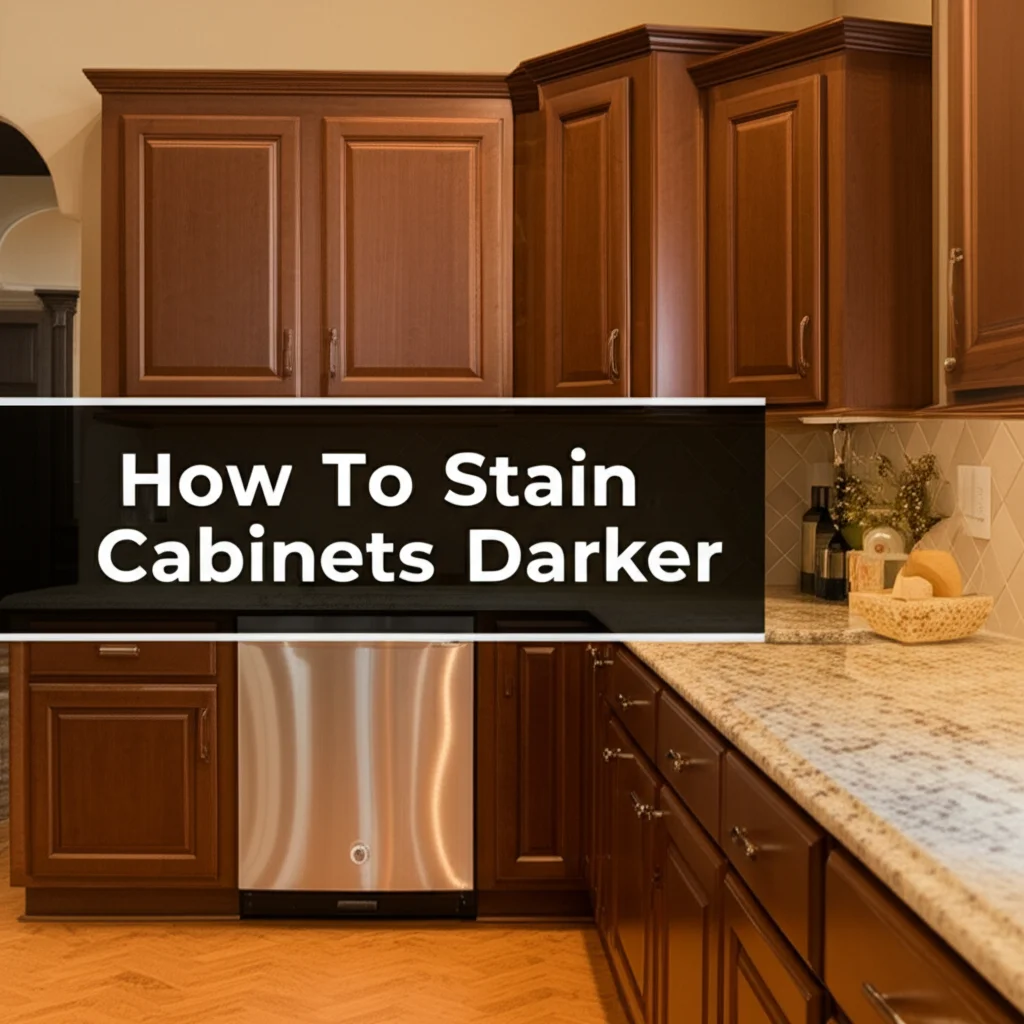
How To Paint Inside Of Cabinets
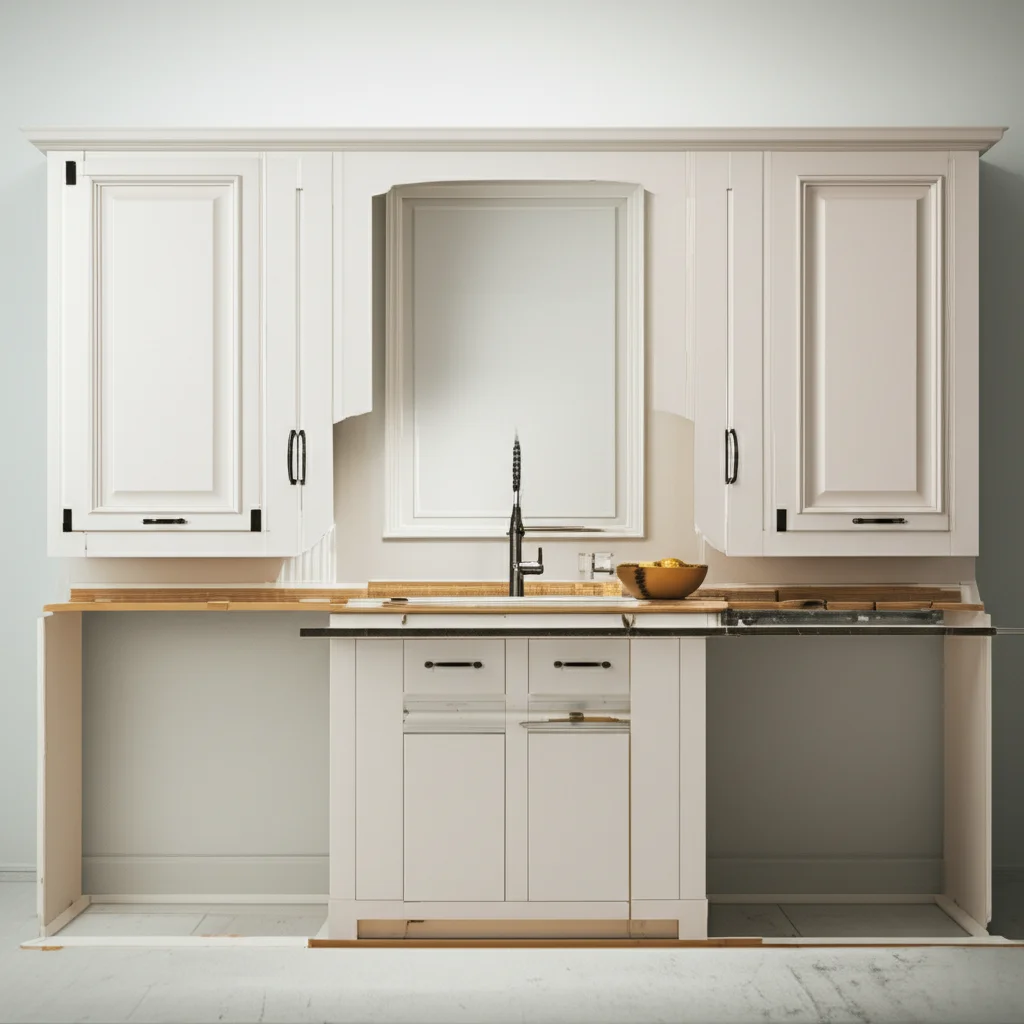
Refresh Your Space: How To Paint Inside Cabinets
Giving your cabinets a fresh look can truly transform a room. Many people focus on the outside of their cabinets, but painting inside of cabinets offers a complete, polished finish. It also provides a clean, bright interior, enhancing the overall feel of your kitchen, bathroom, or storage area. This comprehensive guide will show you exactly how to achieve a professional-looking result. We will cover everything from essential preparation steps to selecting the right materials and applying paint for lasting beauty. Get ready to revitalize your living spaces with a simple, impactful update.
Takeaway
Painting the inside of your cabinets creates a cohesive, clean look. Key steps include thorough cleaning, proper priming, and selecting durable paint. This ensures a long-lasting, attractive finish that enhances your home’s appeal.
To paint inside of cabinets, first, remove contents and hardware, then thoroughly clean and sand all interior surfaces. Apply a high-quality primer, followed by two thin coats of durable, low-VOC paint. Ensure proper ventilation and allow adequate drying time between coats for a smooth, lasting finish.
Why Paint Inside Your Cabinets? Beyond the Surface
You might wonder why you should bother to paint the inside of your cabinets. After all, most people see only the cabinet fronts. However, painting the interior offers distinct advantages. It provides a complete, finished appearance that elevates the entire space.
A fresh coat of paint inside brightens dark corners. It makes finding items easier and creates a clean look. This thoughtful detail shows true attention to your home’s aesthetics. It also helps protect the wood from moisture and wear.
Consider the practical benefits. Paint acts as a barrier against spills and scuffs. It makes future cleaning simpler, especially if you use a semi-gloss or satin finish. A well-painted interior also prevents wood dust or old stains from marking your stored items. It truly completes the cabinet transformation.
Essential Preparations Before Painting Inside Cabinets
Starting your project with proper preparation ensures a successful paint job. Neglecting this step often leads to poor adhesion or uneven finishes. Before you can paint inside cabinets, you must prepare them correctly. This involves emptying, cleaning, and protecting the surrounding areas.
First, remove everything from your cabinets. Take out all shelves, drawers, and items. Label any shelves if you need to remember their exact position. This gives you full access to all interior surfaces.
Next, remove all hardware. This includes hinges, shelf pegs, and drawer slides. Store these small parts in a labeled bag or container. Removing them prevents paint from getting on them and allows for a smoother finish.
Clean Surfaces Thoroughly: Cabinets, especially kitchen ones, collect grease, grime, and dust. Use a strong degreaser or a mixture of dish soap and warm water. Scrub all interior surfaces, including corners and edges. Rinse with clean water and let them dry completely. A clean surface ensures paint sticks well. For stubborn dirt or grime, you might need a specialized cleaner. Learning how to clean cabinets before painting is crucial for proper adhesion. If your cabinets are wood, a guide on how to clean wood cabinets can offer more specific tips for maintaining the wood integrity while cleaning.
Repair and Sand Imperfections: Look for any holes, cracks, or dents. Fill these with wood filler or spackle. Let the filler dry completely, then sand it smooth. Sanding helps the primer and paint adhere better. Use 120-grit sandpaper for general sanding, then finish with 220-grit for a smooth surface. Lightly scuffing the entire interior creates a good “tooth” for the paint. After sanding, wipe away all dust with a tack cloth or damp rag.
Protect Your Workspace: Cover floors and countertops with drop cloths or plastic sheeting. Use painter’s tape to mask off any edges where the cabinet meets walls or adjacent cabinets. This protects areas you do not want painted. Ensure good ventilation by opening windows and doors. Set up fans to move air around. This helps with drying and reduces fume exposure.
Choosing the Right Paint and Primer for Interior Cabinets
Selecting the proper paint and primer is vital for durable cabinet interiors. The inside of cabinets experiences more friction and potential spills than exterior surfaces. You want products that stand up to daily use. Your choices directly impact the finish’s longevity and appearance.
For primer, use a high-quality bonding primer. This type of primer sticks well to various surfaces, including existing finishes or bare wood. It also helps block stains and ensures uniform paint absorption. A shellac-based primer works best for blocking odors and stains, especially in older cabinets. An oil-based primer provides excellent adhesion and durability. However, water-based (acrylic-latex) bonding primers are easier to clean up and have lower fumes.
When choosing paint, opt for a durable, washable finish. Acrylic-latex enamel paints are a popular choice. They offer good durability, low VOCs (volatile organic compounds), and easy cleanup with water. For the inside of cabinets, a semi-gloss or satin finish is ideal. These finishes are smoother and more resistant to scuffs and moisture. They are also easier to wipe clean compared to matte or eggshell finishes.
Consider Alkyd or Hybrid Paints: Alkyd (oil-based) paints offer excellent hardness and durability. They create a very tough finish, but they take longer to dry and clean up with mineral spirits. Hybrid paints, sometimes called “waterborne alkyds,” combine the best of both worlds. They offer the durability of oil paint with the easy cleanup and lower odor of water-based paint. These are excellent for high-traffic areas like cabinet interiors. Some new formulas even allow you to paint kitchen cabinets without sanding, which can save a lot of prep time, especially if your existing finish is still sound.
Check for Low-VOC Options: Paint fumes can linger inside enclosed spaces. Look for low-VOC or zero-VOC paints to minimize odors and improve air quality during and after painting. This is particularly important for kitchen or bedroom cabinets where food or clothing is stored. Always read product labels for specific recommendations and drying times. Good paint choices ensure your painted interior cabinets last.
Tools and Supplies You Will Need
Having the right tools makes painting inside cabinets much easier and more effective. Before you begin, gather all necessary items. This prevents interruptions and ensures a smooth workflow. Proper tools contribute to a professional-looking finish.
Here is a list of essential tools and supplies:
Safety Gear:
- Gloves: Protect your hands from paint and chemicals.
- Safety Glasses: Shield your eyes from splashes or dust during sanding.
- Respirator Mask: Crucial for protecting your lungs from paint fumes and dust, especially in enclosed spaces.
Cleaning and Prep:
- Degreaser/Cleaner: For removing grease and grime.
- Clean Rags/Sponges: For cleaning and wiping surfaces.
- Wood Filler/Spackle: To repair holes and imperfections.
- Putty Knife: For applying wood filler.
- Sandpaper: Various grits (120-grit, 220-grit) for sanding and smoothing.
- Sanding Block: Helps apply even pressure when sanding.
- Tack Cloths: For removing fine dust after sanding.
- Painter’s Tape (FrogTape or similar): For masking off areas and creating crisp lines.
- Drop Cloths/Plastic Sheeting: To protect floors and surrounding areas.
Painting Tools:
- Paint Brushes: High-quality angled sash brushes (1.5-2.5 inches) for cutting in corners and edges. Look for synthetic bristles if using water-based paints.
- Foam Rollers or Microfiber Rollers: Small (4-inch) foam rollers create a very smooth finish with minimal texture. Microfiber rollers also work well for a uniform application.
- Paint Trays: For holding paint and loading rollers.
- Paint Stirrer: To mix paint thoroughly.
- Primer: As discussed in the previous section.
- Paint: Your chosen finish coat.
- Empty Containers: For pouring small amounts of paint, reducing contamination of the main can.
Miscellaneous:
- Screwdriver/Drill: For removing hardware.
- Plastic Bags: To store hardware.
- Ventilation Fan: To improve airflow and reduce fumes.
Having these items ready before you start will make your project more efficient. Investing in good quality brushes and rollers also makes a difference. They help you achieve a smooth finish and minimize brush marks. If you aim to avoid brush marks on your finished cabinets, selecting the right tools, especially rollers, is critical. Further tips can be found on how to how to paint kitchen cabinets without brush marks. Remember to also have supplies for how to clean your paint brushes ready for cleanup.
Step-by-Step Guide to Painting Inside Cabinets
Now that your cabinets are prepped and your tools are ready, it is time to paint. Following these steps ensures a high-quality finish. Take your time with each stage for the best results. Rushing can lead to mistakes and a less durable outcome.
Step 1: Apply Primer
Priming is a non-negotiable step when you paint inside cabinets. Primer creates a uniform surface for the paint to adhere to. It also seals the wood and blocks any stains or odors from bleeding through. Use your chosen primer (shellac-based, oil-based, or water-based bonding primer).
- Application: Apply a thin, even coat of primer using an angled brush for corners and edges. Use a small foam roller for larger, flat surfaces. Work in small sections to maintain a wet edge. Avoid applying too much primer, as it can cause drips.
- Drying Time: Allow the primer to dry completely according to the manufacturer’s instructions. This typically takes 1-4 hours. Do not rush this step. Proper drying ensures optimal adhesion.
Step 2: Light Sanding After Priming
Once the primer is dry, lightly sand all primed surfaces. Use 220-grit sandpaper or a fine sanding sponge. This step smooths out any imperfections, brush strokes, or slight bumps from the primer. It also helps the first coat of paint adhere even better.
- Technique: Sand gently, applying minimal pressure. You are just scuffing the surface, not removing the primer.
- Clean Up: After sanding, thoroughly wipe away all dust with a tack cloth or a slightly damp rag. Ensure no dust particles remain, as they will show through the paint.
Step 3: Apply the First Coat of Paint
It is time for the first coat of your chosen cabinet paint. Stir the paint well before you begin. Pour a small amount into a paint tray.
- Application: Start by using your angled brush to paint the inside corners and edges. Then, immediately switch to your foam roller for the larger flat surfaces. Roll with light, even pressure, overlapping slightly. Work quickly to maintain a wet edge and avoid visible start/stop marks. Aim for a thin, even coat.
- Order: Start with the top cabinet interiors, then move to the middle, and finally the bottom. This prevents drips onto already painted areas. Work from the back of the cabinet box forward.
- Drying Time: Allow this first coat to dry completely. This can take several hours, sometimes even overnight, depending on the paint type and humidity. Always follow the manufacturer’s recommendations.
Step 4: Apply the Second Coat of Paint (and Third if Needed)
Once the first coat is completely dry, lightly sand again with 220-grit sandpaper if there are any imperfections. Wipe away all dust with a tack cloth. Then, apply a second thin, even coat of paint following the same technique as the first.
- Consistency: The second coat provides better coverage and color depth. It also builds durability.
- Coverage Check: Inspect the cabinets after the second coat. If you still see unevenness or the original color showing through, a third thin coat may be necessary. This is especially true for drastic color changes.
- Patience: Let each coat dry fully before applying the next or handling the cabinets. This prevents smudges and ensures a hard, durable finish. This entire process is fundamental to avoiding paint peeling off cabinets in the future.
Achieving a Smooth, Durable Finish
Getting a smooth, durable finish is the goal when you paint inside cabinets. It involves more than just applying paint. Attention to detail during application and allowing proper curing time are crucial. This ensures your hard work stands up to daily use.
Tips for a Smooth Finish
- Thin Coats are Key: Always apply multiple thin coats rather than one thick coat. Thick coats lead to drips, sags, and an uneven finish. Thin coats dry faster and cure harder.
- Use Quality Tools: As mentioned, good brushes and rollers make a difference. Foam rollers are excellent for achieving a spray-like smooth finish on flat surfaces. An angled brush allows for precision in corners.
- Maintain a Wet Edge: When rolling or brushing, always work quickly enough to connect wet paint to wet paint. This prevents lap marks, where paint dries before you can blend it, creating visible lines.
- Light Sanding Between Coats: This is a secret to smoothness. After each coat (primer and subsequent paint coats), a light sanding with 220-grit or finer sandpaper knocks down any dust nibs or minor imperfections. Remember to clean off all dust thoroughly.
- Avoid Overworking the Paint: Once paint is applied, resist the urge to keep brushing or rolling it. Overworking can pull paint, create texture, and introduce brush marks. Apply, smooth, and move on.
Ensuring Durability
- Proper Primer Application: A well-applied primer is the foundation of a durable finish. It ensures strong adhesion between the cabinet surface and the topcoats. Without good adhesion, paint can eventually peel or chip. This is a common cause of paint peeling off cabinets.
- Adequate Curing Time: Paint drying and paint curing are different. Paint feels dry to the touch in hours, but it takes days or even weeks to fully cure and reach its maximum hardness. During the curing period, handle the cabinets gently. Avoid placing heavy items, scratching, or wiping aggressively. Refer to your paint can for specific curing times, which can range from 7 to 30 days.
- Consider a Topcoat (Optional but Recommended): For maximum durability, especially in high-traffic cabinets, consider applying a clear, non-yellowing topcoat. A water-based polyurethane or polycrylic can add an extra layer of protection against scratches and moisture. Make sure it is compatible with your paint type. Apply it in thin coats, following the manufacturer’s instructions.
By focusing on these details, you can ensure your painted cabinet interiors not only look fantastic but also withstand the test of time.
Post-Painting Care and Maintenance
You have put in the effort to paint inside cabinets, and now they look fantastic. To keep them looking new, proper post-painting care and ongoing maintenance are essential. This helps preserve your work and extends the life of the paint job. Do not rush the final steps.
Curing Time is Crucial
As mentioned, paint needs time to cure, not just dry. While surfaces may feel dry within hours, the paint film continues to harden for days or even weeks. During this curing period, the paint is vulnerable to damage.
- Avoid Heavy Use: Do not immediately put heavy items back into the cabinets. Give the paint at least 3-7 days of light use. For full curing, wait 3-4 weeks before wiping down aggressively or placing sharp objects.
- Ventilation: Continue to provide good ventilation during the curing period. Air circulation helps the paint cure properly and dissipates any lingering odors. Keep cabinet doors slightly ajar if possible.
Reinstalling Hardware and Contents
Once the paint is fully dry and starting to cure, you can carefully reinstall hardware. Attach hinges, drawer slides, and shelf pegs. Be gentle to avoid scratching the new paint.
- Shelf Liners: Consider using shelf liners. They protect the new paint from scratches, scuffs, and spills. Liners are easy to replace and clean, keeping your newly painted interiors pristine. You can choose decorative or clear liners.
Cleaning Painted Cabinet Interiors
Regular cleaning will keep your cabinets fresh. However, use gentle methods. Harsh cleaners can damage the paint finish.
- Gentle Cleaning: For everyday cleaning, use a soft cloth dampened with mild dish soap and warm water. Wipe down the surfaces gently. Avoid abrasive scrubbers or harsh chemical cleaners.
- Spot Cleaning: Address spills immediately. Blot them up with a clean cloth. If a sticky residue remains, gently wipe with a damp cloth. For more detailed advice on maintaining your refreshed cabinets, learning how to clean painted cabinets is very helpful.
- Avoid Excessive Moisture: Do not saturate the painted surfaces with water. Too much moisture can compromise the paint adhesion over time.
By following these care and maintenance tips, your beautifully painted cabinet interiors will remain attractive and functional for years to come. Your investment of time and effort will truly pay off.
Frequently Asked Questions About Painting Inside Cabinets
Q1: Is it always necessary to sand before painting the inside of cabinets?
A1: Sanding is highly recommended for best results. It creates a rough surface for the primer and paint to grip. If your cabinets have an existing glossy finish or imperfections, sanding ensures proper adhesion and a smooth final look. For a no-sanding approach, use a liquid deglosser or a specialized bonding primer designed for non-sanded surfaces.
Q2: What type of paint is best for cabinet interiors?
A2: Acrylic-latex enamel paints with a satin or semi-gloss finish are best for cabinet interiors. These paints offer excellent durability, resist moisture, and are easy to clean. Water-borne alkyd paints also provide a hard, durable finish with easy cleanup. Choose low-VOC options for better indoor air quality.
Q3: How long does it take for paint inside cabinets to fully cure?
A3: Paint feels dry to the touch in hours, but it takes much longer to fully cure. Most cabinet paints require 7 to 30 days to reach maximum hardness and durability. During this curing period, avoid heavy use, harsh cleaning, or placing sharp objects inside the cabinets to prevent damage.
Q4: Can I paint inside cabinets without removing shelves?
A4: While possible, painting without removing shelves is not recommended. Removing shelves allows you to paint all surfaces evenly, including edges and corners. It prevents paint drips or missed spots behind the shelves. It also ensures a smoother, more professional finish for the entire interior.
Q5: How do I prevent strong paint fumes when painting inside cabinets?
A5: Proper ventilation is key to preventing strong paint fumes. Open windows and doors, and use fans to create cross-ventilation. Choose low-VOC or zero-VOC paints and primers. Wear a respirator mask for personal protection. Take breaks and ensure continuous airflow throughout the painting and drying process.
Q6: Should I use a brush or a roller for inside cabinets?
A6: Use a combination of both. An angled paint brush is ideal for cutting in corners, edges, and tight spots where a roller cannot reach. A small foam roller (4-inch) works best for larger, flat surfaces like the cabinet walls and shelves. This combination helps achieve a smooth, even finish with minimal brush marks.
Conclusion
Painting inside of cabinets is a rewarding home improvement project that truly completes the look of your space. It goes beyond just refreshing the exterior, offering a clean, bright, and durable interior finish. We have covered every essential step, from thorough preparation and selecting the right materials to applying paint for a professional result. Remember that patience and attention to detail are your best tools throughout this process.
By following our detailed guide, you ensure a long-lasting and beautiful transformation. Your efforts will result in cabinets that not only look fantastic but also function better, making your daily life more organized and enjoyable. So, gather your supplies, prepare your space, and begin your journey to revitalized cabinet interiors. Your home will thank you for this thoughtful update.
- cabinet painting
- DIY cabinets
- interior cabinet paint
- kitchen refresh
- painting tips
- cabinet makeover
- home renovation

Kianna Connelly
Cleaning Expert
With a background in hospitality management and a passion for professional organizing, I’ve dedicated my career to helping people create cleaner, calmer living spaces. At HEG, I design efficient, eco-friendly cleaning systems that not only save time but also deliver spotless, lasting results. I believe that a well-organized home brings peace of mind—and I’ve had the privilege of transforming thousands of homes with practical strategies that truly work. Whether it’s streamlining routines or tackling the toughest messes, I’m here to make clean living simple and sustainable.