· Todd Martin · DIY & Home Improvement · 19 min read
How To Reupholster A Chair With Wood Trim
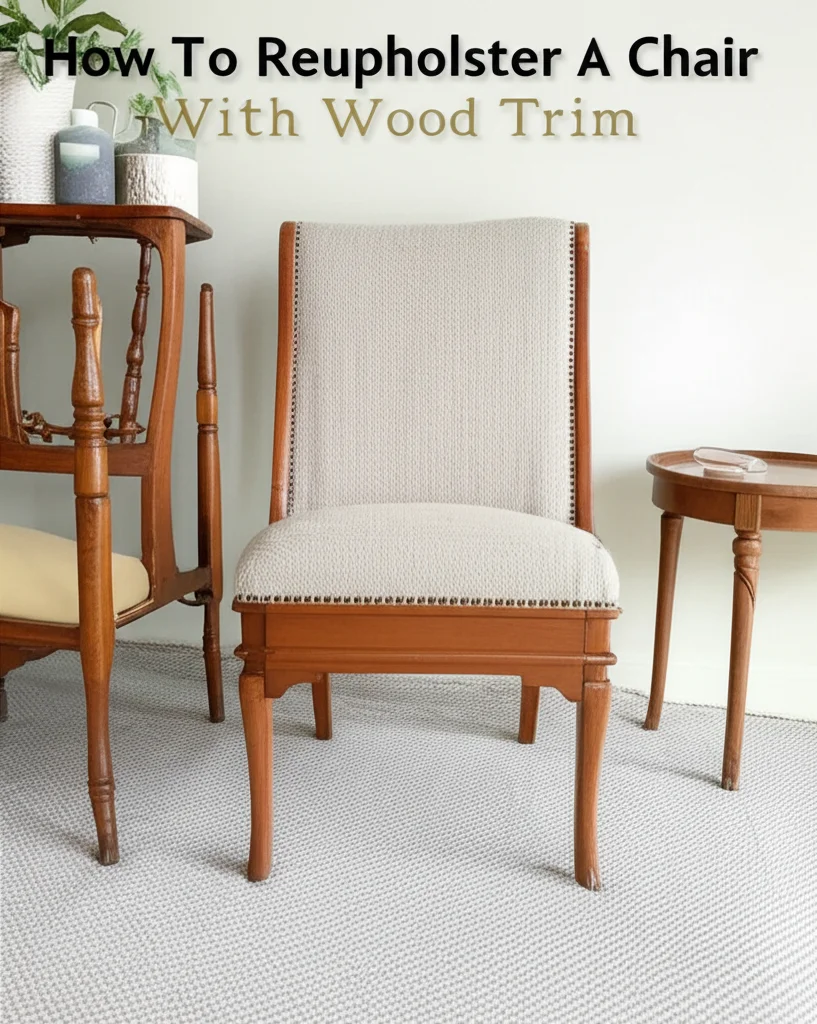
Reupholster a Chair with Wood Trim: A DIY Guide
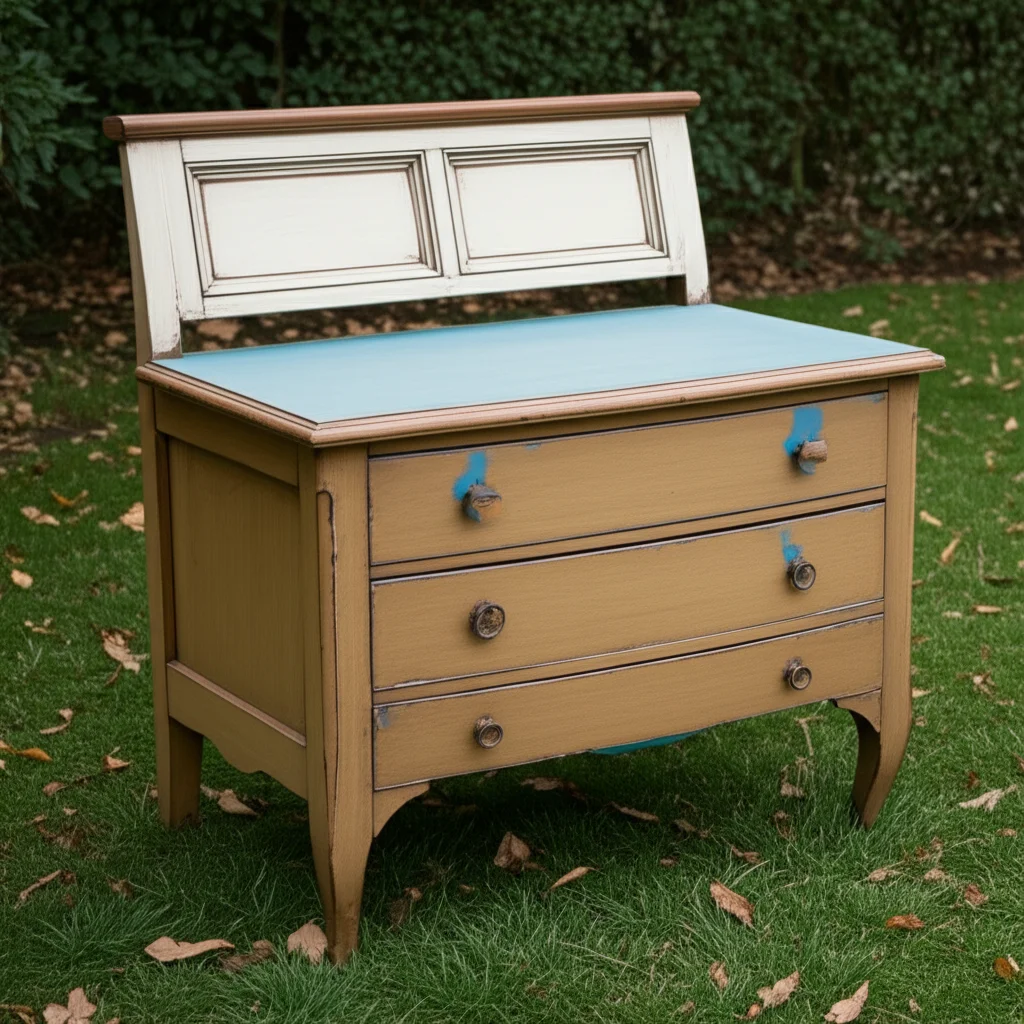
Have you ever looked at a beloved chair with beautiful wood trim and wished its worn fabric could match its classic frame? Reupholstering a chair breathes new life into old furniture. This project is a rewarding way to refresh your home decor. Learning how to reupholster a chair with wood trim can seem daunting. I understand this feeling. Yet, it is a skill you can master with the right steps and tools.
This comprehensive guide will walk you through each stage. We will cover everything from gathering your materials to the final reassembly. You will learn about safely removing old fabric, preparing the wood frame, and applying new padding and fabric. I will share tips for handling the delicate areas around the wood trim. By the end, you will have a newly transformed chair that reflects your personal style. Let’s start this exciting DIY journey.
Takeaway
Reupholstering a chair with wood trim transforms old furniture. It requires careful planning and precise execution.
- Gather all necessary tools and materials before starting.
- Remove old fabric and inspect the chair frame thoroughly.
- Clean and repair the wood trim as needed for a polished look.
- Apply new padding and fabric in a smooth, secure manner.
- Pay close attention to detail, especially around the wood trim.
To reupholster a chair with wood trim, you must carefully remove old fabric, prepare and potentially refinish the wood frame, then precisely cut and attach new padding and upholstery fabric, ensuring a tight, smooth finish around all wooden elements. This process restores the chair’s appearance and comfort.
Gathering Your Tools and Materials for Reupholstery
Starting any DIY project requires proper preparation. When you decide to reupholster a chair with wood trim, having the right tools and materials is crucial. This step saves time and prevents frustration later on. I always make a checklist before I begin. This ensures I have everything at hand.
Proper tools make the job easier and more professional. You need specific items to remove old fabric and attach new materials securely. Think about safety as well. Gloves and eye protection are simple but important. Gathering everything beforehand lets you focus on the task.
Essential Tools
You will need a range of tools for this project. Each tool plays a key role in the reupholstery process. Missing a tool can halt your progress. Here are the items I recommend:
- Staple Gun: An electric or pneumatic staple gun is best. It provides enough power for consistent staple penetration. Hand-powered ones can be tiring.
- Staples: Choose staples that are 1/2 inch or 3/8 inch long. These lengths are suitable for most upholstery work.
- Pliers/Staple Remover: A flathead screwdriver can also work. These tools help remove old staples efficiently.
- Scissors/Fabric Shears: Invest in sharp, heavy-duty shears. They cut upholstery fabric cleanly.
- Measuring Tape: Accurate measurements are vital for cutting fabric.
- Mallet or Rubber Hammer: Useful for gently tapping wooden joints or frames.
- Screwdrivers and Wrenches: For disassembling and reassembling the chair frame. Look for stripped screws while working. You can learn how to fix stripped screw holes in wood chairs if you encounter any.
- Protective Gear: Safety glasses and work gloves protect your eyes and hands.
- Dust Mask: Important when working with old dusty fabric or sanding wood.
Choosing Your Fabric and Batting
The fabric you choose sets the tone for your transformed chair. Consider both durability and style. Upholstery fabric is designed to withstand wear and tear.
- Upholstery Fabric: Select a fabric appropriate for the chair’s use. High-traffic areas need durable fabrics like canvas, denim, or heavy linen. Decorative chairs can use more delicate materials. Consider the pattern and color. Make sure it complements your home’s existing decor.
- Padding/Foam: This provides comfort and shape. You might reuse existing foam if it is in good condition. Otherwise, purchase new high-density foam. Foam comes in various thicknesses.
- Batting: Polyester batting wraps around the foam. It smooths out any bumps and gives a soft, rounded appearance. It also protects the fabric from rubbing directly against the foam.
- Muslin or Cambric (Optional): Muslin can create a base layer over springs. Cambric is often used for the dust cover on the chair’s underside.
- Webbing (Optional): If your chair has spring seating, you might need new webbing. This provides support for the cushion.
- Gimp or Decorative Trim (Optional): These can hide staples along the wood trim. They add a professional finish.
Always buy slightly more fabric than you think you need. This accounts for pattern matching and mistakes. It is better to have extra than to run out mid-project.
Preparing the Chair: Disassembly and Wood Care
Before you can apply new fabric, you must prepare the chair. This involves carefully taking the chair apart. It also means caring for the exposed wood trim. This step is critical for a high-quality finished product. I find this stage therapeutic. It is satisfying to uncover the chair’s bones.
Taking photos during disassembly helps remember how parts fit back together. Labeling parts can also prevent confusion. This is especially true for chairs with complex frames. Protecting the wood is a priority. The wood trim is a key feature of your chair. It needs attention.
Careful Fabric Removal
Removing the old fabric is often the most time-consuming part. Take your time here. Rushing can damage the frame or injure you.
- Document Everything: Before you remove any fabric, take pictures from all angles. These photos will be your guide for reassembly and fabric placement. Note how the old fabric was stapled or tacked.
- Start Systematically: Begin by removing the dust cover from the bottom of the chair. Then, work from the outside in. Remove fabric from the back, then the arms, and finally the seat.
- Remove All Staples: Use your staple remover or flathead screwdriver and pliers. Pull out every staple and tack. Old staples can be sharp. Wear gloves to protect your hands. Leaving old staples can create bumps under the new fabric. They can also damage your new fabric.
- Keep Old Fabric Pieces: Use the old fabric pieces as patterns for cutting your new fabric. Lay them flat and label them. This ensures accurate shapes and sizes.
- Inspect the Frame: Once all fabric is off, examine the chair frame. Look for loose joints, cracks, or damage. Tighten any loose screws. Repair any issues now. This ensures a stable foundation for your new upholstery.
Wood Trim Inspection and Refinishing
The wood trim distinguishes your chair. It needs to look its best. This is the perfect time to clean and repair it.
- Clean the Wood: Dust and dirt accumulate over time. Use a soft cloth to wipe down all wood surfaces. For stubborn grime, a gentle wood cleaner is effective. I often use a diluted vinegar solution. You can learn how to clean wood furniture with vinegar. This helps remove dirt without harsh chemicals. For general care, understanding how to clean wood trim is very useful.
- Address Stains and Mold: If your chair has old stains, address them now. Different types of stains require specific methods. You can find out more about how to clean stains on wood. For any mold growth, it is essential to remove it thoroughly. Learn how to clean mold off of wood furniture to prevent its return.
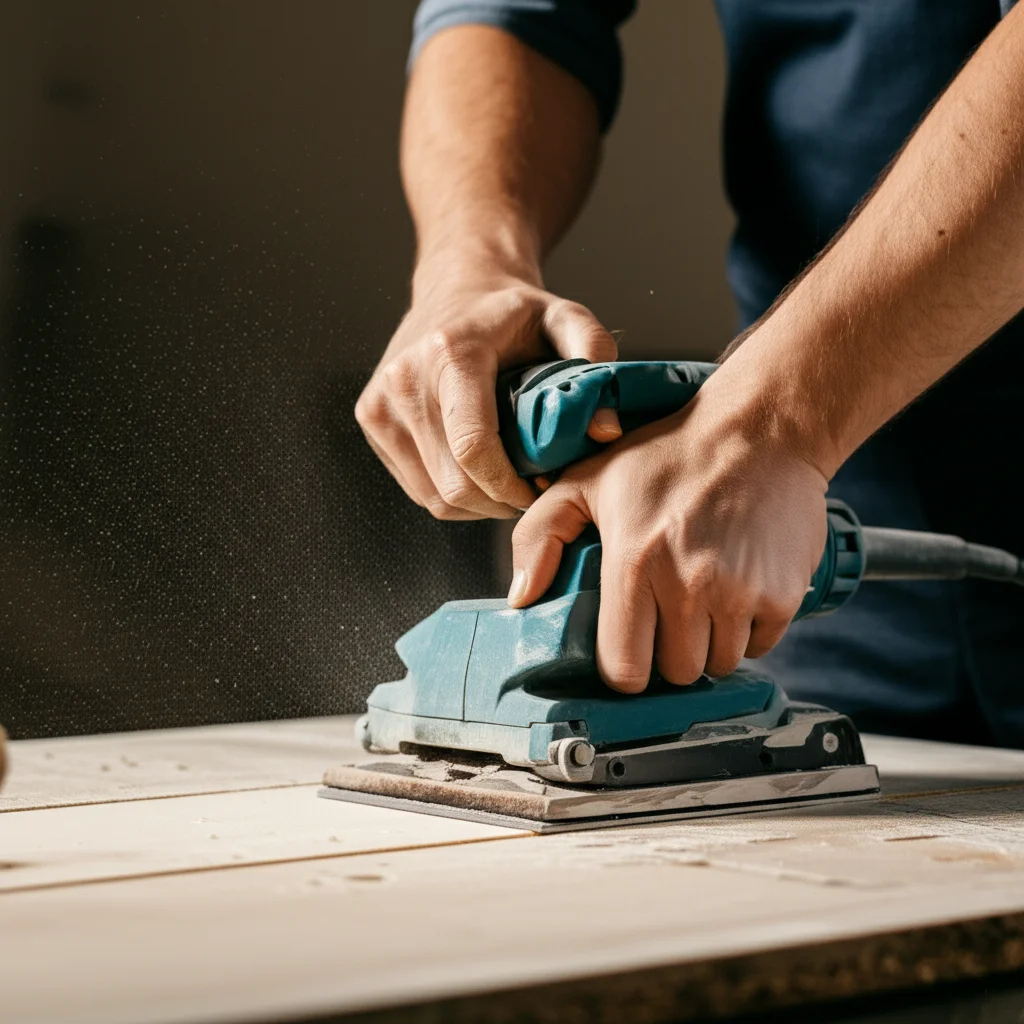
- Repair Damage: Look for scratches, dents, or chips in the wood. Minor scratches can be buffed out. Deeper damage might need wood filler.
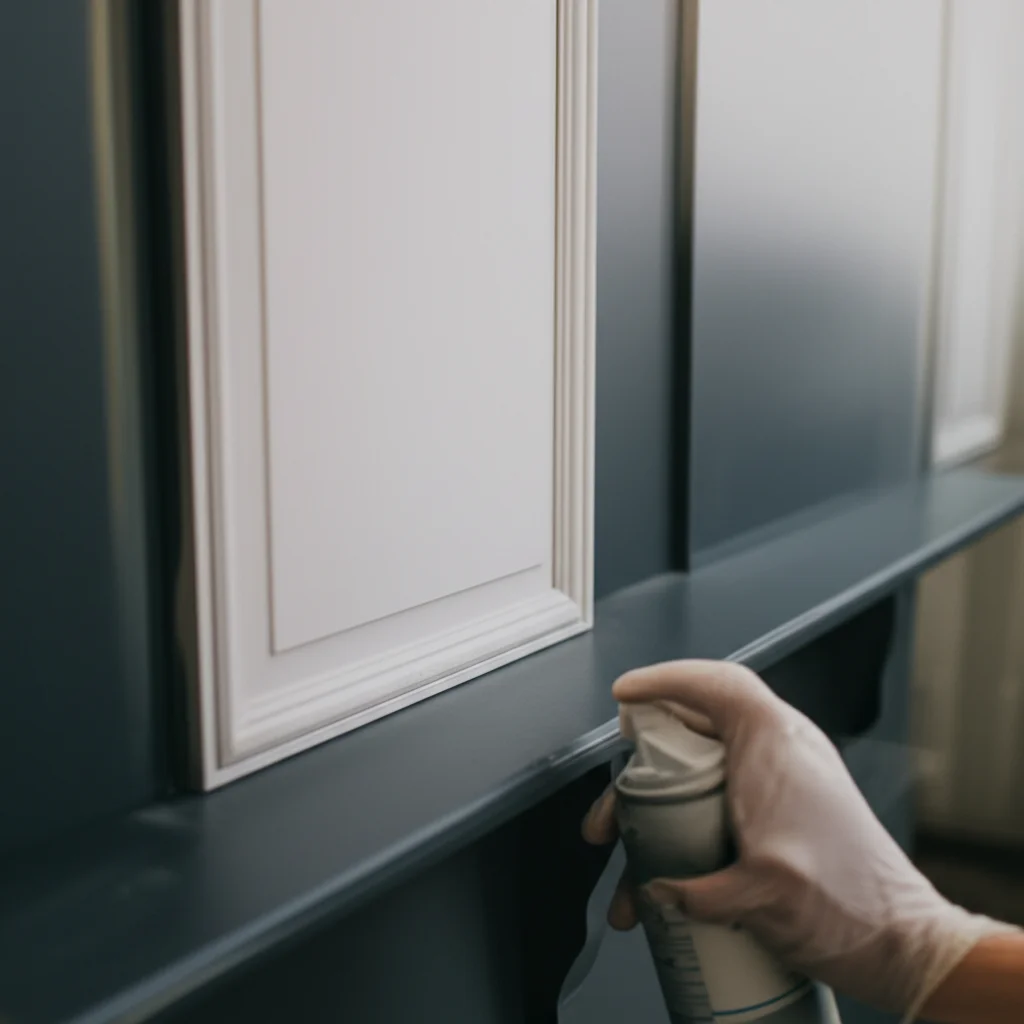
- Consider Refinishing: This is an excellent opportunity to stain or paint the wood trim. If you decide to stain, ensure the wood is clean and ready. There are guides on how to clean wood before staining. This will give your chair a completely new look.
- Protect the Wood: Once the wood is clean and refinished, protect it. Apply a wood wax or clear coat. This helps preserve the finish. It also makes future cleaning easier.
Proper preparation of both the frame and the wood trim is essential. It ensures that your newly upholstered chair is not only beautiful but also sturdy and long-lasting. This stage sets the foundation for a successful project.
Cutting and Attaching New Padding and Batting
With the chair frame clean and ready, the next step involves building up the comfort layers. This means applying new padding and batting. These layers give the chair its shape and softness. It is where your chair starts to feel like a chair again. I always take my time here. A smooth foundation makes all the difference for the final fabric.
This step might seem less exciting than picking fabric, but it is equally important. It determines the longevity and comfort of your reupholstered chair. Think of it as the unseen backbone of your beautiful new seat. Precision in cutting and attaching these layers is key.
Measuring and Cutting Padding
Padding provides the primary cushioning for your chair. For most chairs, this means foam for the seat and sometimes the back.
- Assess Existing Padding: If the old foam or padding is still firm and intact, you might be able to reuse it. However, if it is brittle, compressed, or crumbling, replace it. New foam offers better support and comfort.
- Create Templates: Use the old foam pieces as templates. If they are too damaged, measure the chair’s frame precisely. For the seat, measure the inner dimensions of the seat frame. For the back, measure the area to be padded.
- Cut Foam Carefully: Use a sharp utility knife or an electric carving knife to cut foam. A long, serrated blade works well. Cut the foam slightly larger than the exact measurement. You can trim it down later for a perfect fit.
- Layering (If Needed): For extra plushness, you can layer different densities of foam. A firmer base layer with a softer top layer creates a luxurious feel.
Applying Batting Smoothly
Batting is the layer that goes over the foam. It smooths out any minor imperfections in the foam. It also gives the chair a soft, rounded appearance. Batting protects your upholstery fabric from direct contact with the foam.
- Cut Batting Generously: Cut batting larger than your foam pieces. It needs to wrap around the foam and extend past it. This allows for stapling to the frame. Think about wrapping a gift. You need enough material to cover all sides and secure it.
- Position Batting: Place the foam onto the chair frame. Then, lay the cut batting over the foam. Smooth it out evenly. Ensure there are no wrinkles or creases.
- Secure Batting: Gently pull the batting taut, but not too tight. Staple it to the chair frame’s underside or back. Start in the middle of each side. Work outwards towards the corners. This prevents bunching.
- Trim Excess: Once secured, trim any excess batting. Leave just enough to create a clean line. Be careful not to cut too close to the staples.
- Check for Evenness: Run your hand over the padded areas. Feel for any lumps or uneven spots. Adjust the batting or foam as needed. The goal is a perfectly smooth and even surface. This ensures your final fabric looks flawless.
This step creates the desired shape and comfort for your chair. A well-padded and smoothly batted surface provides a solid base. It prepares your chair for the exciting process of applying the main upholstery fabric.
Upholstering the Chair: Fabric Application Techniques
Now comes the most exciting part: applying the new upholstery fabric. This step brings your chair to life. It also requires precision and patience, especially around the wood trim. I always find this part very rewarding. It is where I see my vision for the chair take shape.
Working with fabric demands attention to detail. Proper tension and neat corners are crucial for a professional look. Remember, the goal is a tight, smooth finish that complements the wood trim. This means being mindful of how the fabric meets the wood.
Starting the Main Fabric Panels
Applying the fabric correctly is an art. There are specific techniques to ensure a smooth, durable finish.
- Pre-Cut Fabric: Use your old fabric pieces as templates. Lay them over your new fabric, aligning any patterns. Cut the new fabric pieces. Remember to add a few extra inches around the edges. This allows for pulling and stapling. It is better to have too much fabric than too little.
- Start with Key Areas: For most chairs, begin with the seat and back panels. These are usually the largest and most central areas.
- Positioning the Fabric: Lay the fabric over the padded area. Center any patterns. Ensure the fabric grain runs straight. This prevents distortion.
- Temporary Securing: Use a few staples in the center of each side to temporarily hold the fabric. Do not staple permanently yet. This allows for adjustments.
- Pulling and Stapling: Work from the center outwards on each side. Pull the fabric taut as you staple. The fabric should be firm, not baggy. Avoid pulling too hard near the wood trim. You do not want to distort the frame. Place staples every 1/2 to 1 inch.
- Mind the Wood Trim: When you approach the wood trim, decide how the fabric will meet it.
- Recessed Fabric: If the fabric sits within the wood frame, staple close to the inside edge of the wood. You want a clean, crisp line.
- Overlapping Fabric: If the fabric wraps over the wood, ensure it wraps evenly. This is less common with exposed wood trim chairs.
- Channelled Fabric: Some chairs have a groove where fabric tucks. Use a rubber mallet and a blunt tool to push the fabric into the channel.
Mastering Corners and Curves
Corners and curves are often the most challenging parts. They require careful folding and trimming to look neat.
- Simple Corners: For square corners, fold the fabric neatly. Create a clean pleat or miter the corner. Trim away excess bulk. Staple securely. The goal is a flat, crisp corner.
- Curved Sections: With curves, make small relief cuts into the excess fabric. These cuts allow the fabric to fan out and lie flat. Do not cut too close to your staple line. Pull each segment of the curve taut before stapling.
- Handling the Wood Trim Interface: This is where the “wood trim” aspect becomes very important.
- Snug Fit: Pull the fabric snugly up to the edge of the wood trim. Ensure no gaps or puckers appear.
- Hidden Staples: For a professional look, try to place staples where they will be hidden. This could be on the underside of a frame piece or in a channel. If staples are visible, you might use decorative gimp or braid later.
- Trimming Excess: Once a section is stapled, trim away any excess fabric close to the staple line. Be careful not to cut the main fabric.
- Arms and Back: Work on the arms next, then the outer back. Follow the same principles of pulling taut, stapling, and carefully handling corners. Pay extra attention to where the fabric meets the armrests and the chair’s back. Ensure a seamless transition from fabric to wood.
This phase takes time and patience. Do not be afraid to remove staples and reposition the fabric if needed. The goal is a smooth, tight, and professional finish that highlights your chair’s beautiful wood trim.
Finishing Touches: Trimming and Reassembly
You are in the home stretch of reupholstering your chair with wood trim! This stage involves tidying up edges and putting everything back together. These final steps are what give your chair that professional, factory-finished look. I always enjoy this part because the transformation becomes truly visible.
Attention to detail here elevates your work. A clean finish hides all the hard work. It leaves only the beautiful result. Reassembly brings all components together. It ensures the chair is stable and ready for use.
Creating a Clean Edge
Even with careful stapling, you might have exposed staple lines or raw fabric edges. This is where finishing techniques come in.
- Dust Cover (Bottom): Most upholstered chairs have a thin fabric dust cover on the bottom. This hides the webbing, springs, and staples.
- Measure and cut a piece of cambric or black upholstery fabric to fit the bottom of the chair.
- Fold under the edges about half an inch for a neat hem.
- Staple this dust cover securely around the perimeter of the chair’s bottom frame. Ensure it is taut and flat.
- Decorative Trim (Optional): If your staple lines are visible along the wood trim, a decorative trim or gimp can hide them beautifully.
- Measure the length of trim needed.
- Apply a strong fabric adhesive or hot glue to the back of the trim.
- Carefully press the trim over the staple line, ensuring it adheres firmly.
- For a truly professional look, small upholstery tacks can also secure the trim. Space them evenly for a clean appearance.
- Piping or Welt Cord: If your chair originally had piping along seams, you can re-create this.
- Piping is fabric-covered cording. It is sewn into seams to create a crisp, finished edge.
- You can buy pre-made piping or make your own.
- Sew it into your fabric pieces before assembly or glue it along edges.
Reassembling Your Refreshed Chair
Once all fabric is in place and edges are neat, it is time to put the chair back together. This step brings your project to completion.
- Reattach Cushions: If your chair has removable cushions, insert the new foam and batting into their covers. Ensure they fit snugly. Zip or button them closed.
- Secure Loose Parts: Double-check all screws and bolts. Ensure the chair frame is stable and secure. If you removed any parts like armrests or decorative finials, reattach them now.
- Final Inspection: Take a step back and admire your work.
- Run your hands over all upholstered surfaces. Check for any loose fabric or missed staples.
- Examine the wood trim. Make sure it is clean and polished.
- Test the chair’s stability. Gently rock it to ensure no wobbles.
- Look at the overall appearance. Are the lines straight? Is the fabric smooth? Does it meet the wood trim cleanly?
- Clean Up: Remove any stray threads, fabric scraps, or dust from the chair. Wipe down the wood trim one last time.
Reupholstering a chair with wood trim is a significant undertaking. Completing these finishing touches ensures your hard work pays off with a beautiful, durable piece of furniture. Your chair is now ready to be enjoyed for many more years.
Maintaining Your Newly Reupholstered Chair
You have invested time and effort to reupholster your chair with wood trim. Now, protecting that investment is important. Regular care will keep your newly refreshed chair looking its best for years. Maintenance helps preserve the fabric and the wood. I always advise clients on care tips. A little effort goes a long way.
Proper care extends the life of your upholstery and wood. It prevents premature wear and tear. It also keeps your chair looking vibrant and clean.
Fabric Care for Longevity
The type of fabric you chose dictates specific cleaning methods. However, some general practices apply to most upholstery.
- Regular Vacuuming: Dust and dirt can embed into fabric fibers. This causes them to wear down faster. Vacuum your chair regularly using an upholstery attachment. This removes loose particles.
- Spot Cleaning Promptly: Accidents happen. Spills should be cleaned immediately.
- Blot, do not rub, the spill with a clean, white cloth. Rubbing can spread the stain. It can also push it deeper into the fabric.
- Use a mild, fabric-appropriate cleaner. Test it in an inconspicuous area first. This ensures it does not discolor the fabric.
- Follow the manufacturer’s cleaning instructions for your specific fabric. For general advice on common fabric types, you can look into how to clean fabric chair seats.
- Protect from Sunlight: Direct sunlight can fade fabric over time. Position your chair away from harsh, direct sun exposure. You can also use curtains or blinds to filter light.
- Avoid Harsh Chemicals: Do not use strong detergents or abrasive cleaners on your upholstery. These can damage fibers and dyes. Stick to gentle, recommended cleaning agents.
Protecting the Wood Trim
The beautiful wood trim is a highlight of your chair. It also needs ongoing care to maintain its luster.
- Dust Regularly: Use a soft, lint-free cloth to dust the wood trim. This prevents dust buildup that can scratch the finish.
- Gentle Cleaning: For deeper cleaning, use a damp cloth with a mild wood cleaner. Wipe immediately with a dry cloth. Avoid excessive moisture. Moisture can damage wood finishes.
- Polish Periodically: Apply wood polish or wax a few times a year. This nourishes the wood and protects its finish. It also restores shine.
- Protect from Scratches: Be mindful of items placed on wood armrests. Use coasters or soft mats to prevent scratches.
- Address Damage Quickly: If you notice new scratches or dings, address them. Touch-up pens or wood fillers can help. Minor issues can become worse if ignored.
Consistent care routines for both the fabric and the wood trim will ensure your newly reupholstered chair remains a beautiful and comfortable piece in your home for many years to come. Your hard work in reupholstering deserves this ongoing attention.
Frequently Asked Questions About Reupholstering Chairs with Wood Trim
How difficult is it to reupholster a chair with wood trim?
Reupholstering a chair with wood trim is a moderate to advanced DIY project. It requires patience and attention to detail. The main challenge comes from carefully fitting the new fabric around the exposed wood. Beginners can succeed, but they need to follow instructions precisely. Proper tools make the process much easier.
What type of fabric is best for chair reupholstery?
The best fabric depends on the chair’s use. For high-traffic chairs, choose durable fabrics like heavy cotton blends, linen, microfibers, or synthetic blends. These resist wear. For decorative chairs, you can use more delicate silks or velvets. Always check the fabric’s “double rub” count for durability.
How do I protect the wood trim during reupholstery?
Protect the wood trim by working carefully. Use painter’s tape along the edges where fabric meets wood. This prevents glue or staples from marking the wood. Handle tools with care to avoid nicks. If you plan to refinish the wood, do so before attaching new fabric, and mask off the wood during fabric application.
Can I paint or stain the wood trim when reupholstering?
Yes, you can paint or stain the wood trim. This is an excellent opportunity to refresh the chair’s overall look. It is best to do this after stripping the old fabric and before applying the new padding and fabric. This prevents paint or stain from getting on your new upholstery. Ensure the wood is clean and prepared for the finish.
How long does it take to reupholster a chair?
The time to reupholster a chair varies greatly. It depends on the chair’s complexity, your skill level, and interruptions. A simple dining chair might take 4-8 hours. A more complex armchair with wood trim could take 15-30 hours or more. Breaking the project into smaller steps helps manage the time.
Conclusion
Reupholstering a chair with wood trim is a project that transforms old furniture into cherished pieces. I have found this journey incredibly rewarding. It allows you to express your creativity. This guide provided a clear path through the entire process. You now understand the tools needed and how to prepare the chair. You also know the best ways to apply new fabric and achieve a professional finish.
Remember, patience is key. Taking your time with each step ensures a beautiful and durable result. Your newly reupholstered chair with its revitalized wood trim will be a proud addition to your home. It serves as a testament to your DIY skills. Ready to bring your vision to life? Gather your materials and start your chair’s transformation today!
- chair reupholstery
- wood trim
- DIY furniture
- upholstery
- furniture restoration
- home decor
- fabric selection

Todd Martin
Senior Writer
With over 15 years of experience in home renovation and design, I started HEG to share what I’ve learned with homeowners who want to create spaces that are both beautiful and functional. I’ve always believed in a hands-on approach, and over the years, I’ve picked up practical solutions that actually work. Through HEG, I aim to make home improvement more approachable, sharing real tips that help you create a home you truly love.