· Todd Martin · Home Improvement · 13 min read
How To Get Smooth Finish On Cabinets

How To Get Smooth Finish On Cabinets
Giving your cabinets a fresh look can transform any room. Many people dream of a perfectly smooth finish on cabinets, like the kind you see in magazines. It looks professional and feels wonderful to the touch. Achieving this high-quality result at home is possible with the right steps and patience.
This guide will walk you through the entire process. We cover everything from initial preparation to the final topcoat. I will share practical tips I have learned over time. You can make your cabinets look fantastic and feel incredibly smooth. Let’s start this exciting home improvement project together.
Takeaway:
- Thorough surface preparation is the first step.
- Sanding correctly creates a smooth base.
- Primer application is key for adhesion.
- Proper paint technique prevents brush marks.
- Light sanding between coats improves smoothness.
- A durable topcoat protects the finish.
- Patience during curing ensures lasting results.
To get a smooth finish on cabinets, thoroughly clean and sand all surfaces. Apply a high-quality primer, then use thin, even coats of paint. Sand lightly between each coat, and finish with a durable topcoat.
Preparing Cabinets for a Flawless Finish
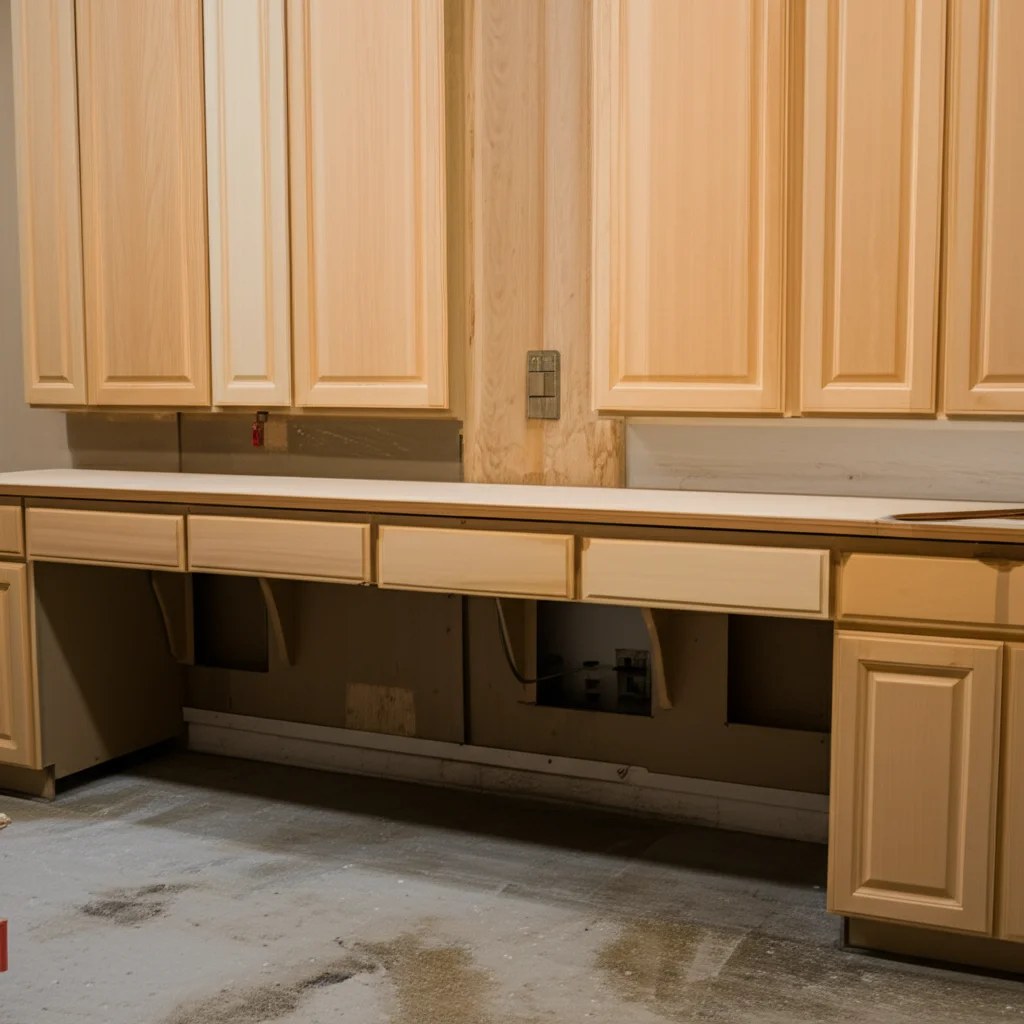
The first step to get a smooth finish on cabinets is preparation. You cannot skip this stage. Good preparation makes or breaks your final result. Think of it as building a strong foundation for a beautiful house.
First, remove all cabinet doors and drawers. Take off all hardware like hinges, pulls, and knobs. Keep these parts organized in labeled bags. This prevents losing small pieces. It also makes reassembly much easier.
Next, it is time for a deep clean. Kitchen cabinets often collect grease and grime. You must remove all traces of dirt. I use a strong degreaser for this task. Mix it according to the product directions. Wipe down every surface of the cabinets. Pay extra attention to areas near the stove. Grease buildup is common there. Rinse the cabinets with clean water to remove any residue. Let them dry completely before moving on. This cleaning step ensures your paint will stick well. It prevents fish eyes or other imperfections in the finish. How to clean cabinets before painting is a good resource for this. If you have particularly sticky surfaces, you might find how to clean sticky wood kitchen cabinets before painting helpful. For general stubborn grease, check how to clean greasy cabinets.
After cleaning, inspect the cabinets for damage. Look for dents, scratches, or cracks. Fill any imperfections with wood filler. Use a putty knife for application. Smooth the filler flush with the cabinet surface. Let the filler dry completely. Drying times vary, so check the product instructions. This step creates an even surface. An even surface is vital for a smooth finish.
Mastering the Art of Sanding for Smoothness
Sanding is a critical step to achieve a smooth finish on cabinets. It is not just about making the surface rough. Proper sanding creates a perfectly uniform base. This base allows paint to adhere evenly. It also helps to eliminate minor imperfections.
Start with a medium-grit sandpaper, like 120-grit. Use an orbital sander for large flat surfaces. Sand in the direction of the wood grain. Apply even pressure as you sand. Avoid pressing too hard in one spot. This can create dips or uneven areas. For detailed areas and edges, use a sanding sponge or hand sand. Ensure you sand all areas of the cabinet. This includes the fronts, sides, and edges.
After the initial sanding, move to a finer grit sandpaper. A 180-grit or 220-grit paper works well. This second round of sanding refines the surface even more. It removes any sanding marks left by the coarser paper. The goal is to make the cabinet feel silky smooth to the touch. Run your hand over the surface. It should feel uniform and free of bumps or rough spots.
Dust removal is essential after each sanding step. Use a shop vacuum to remove most of the dust. Then, wipe the entire surface with a tack cloth. A tack cloth picks up fine dust particles. Do not use a wet cloth for this final dust removal. Water can raise the wood grain. This would defeat the purpose of your careful sanding. A clean, dust-free surface is ready for primer. This careful sanding process is key for a truly smooth final finish.
Priming for Optimal Adhesion and Finish
Applying primer is a non-negotiable step to get a smooth finish on cabinets. Primer serves several important functions. It creates a bond between the cabinet surface and the new paint. It also seals porous surfaces. This prevents the wood from absorbing too much paint. Primer also helps to cover up existing colors or stains.
Choose the right primer for your cabinet material. Oil-based primers offer excellent adhesion and stain-blocking properties. Water-based (latex) primers are easier to clean up and dry faster. If your cabinets are currently stained or have a glossy finish, an oil-based or shellac-based primer is usually best. These types of primers offer superior grip. They also prevent bleed-through from tannins in wood.
Apply primer in thin, even coats. Do not try to cover everything in one thick coat. Thick coats can lead to drips and unevenness. This will prevent a smooth finish. Use a high-quality brush or a small foam roller. A foam roller helps to minimize brush marks. For a truly smooth application, consider using a paint sprayer. A sprayer provides the most even coverage. This minimizes texture.
Allow the primer to dry completely. Check the product label for recommended drying times. Many primers require several hours to dry. Some even need an overnight cure. After the primer dries, lightly sand the surface again. Use a very fine-grit sandpaper, like 220-grit or 320-grit. This light sanding removes any minor imperfections or dust nibs. It creates a super smooth surface for the paint. Always wipe away sanding dust with a tack cloth before painting. This careful priming process lays the groundwork for a truly professional-looking smooth finish.
The Art of Flawless Paint Application
Applying paint correctly is vital to get a smooth finish on cabinets. The type of paint you choose matters greatly. High-quality cabinet paint is often self-leveling. This means the paint naturally smooths itself out as it dries. Acrylic-alkyd hybrid paints are a popular choice. They offer the durability of oil-based paints and the easy cleanup of water-based paints.
I always recommend applying multiple thin coats rather than one thick coat. Thick coats are prone to drips, runs, and brush marks. Thin coats dry faster and more evenly. This allows for a smoother build-up of the finish. For the smoothest results, a paint sprayer is unmatched. It atomizes the paint into a fine mist. This creates a factory-like finish without brush or roller marks. If you own a sprayer or can rent one, this is the best method.
If using a brush or roller, select high-quality tools. A good synthetic brush with fine bristles helps reduce brush marks. A foam roller designed for smooth finishes also works well. When brushing, apply paint in long, even strokes. Work in small sections to maintain a wet edge. This prevents lap marks. When rolling, load the roller evenly. Roll in one direction for consistent coverage. Avoid overworking the paint. Apply it and let it self-level.
For specific guidance on avoiding brush marks, I found how to paint kitchen cabinets without brush marks very helpful. If you are painting oak cabinets and want to hide the grain for a smoother look, consider techniques from how to paint oak cabinets white without grain showing. These methods contribute directly to achieving that coveted smooth finish. Always allow each coat of paint to dry completely before applying the next. This typically takes several hours. Check the paint can for specific drying times.
The Importance of Sanding Between Coats
Sanding between paint coats is a step many people skip. However, it is crucial to get a smooth finish on cabinets. Even with careful application, tiny dust particles can settle on wet paint. The paint itself can also create a slight texture. This is especially true if you are using a brush or roller.
After each coat of paint dries completely, lightly sand the surface. Use a very fine-grit sandpaper, like 320-grit or 400-grit. The goal is not to remove paint. You just want to gently smooth the surface. This removes any dust nibs or minor imperfections. It also helps to create a better adhesion surface for the next coat. Do not press hard. Light, even pressure is key.
You can use a sanding sponge for this step. Sanding sponges conform to cabinet profiles better. They also help distribute pressure evenly. Pay attention to all areas. Feel the surface with your hand as you sand. It should feel incredibly smooth before the next coat goes on.
After sanding, clean the cabinet surface thoroughly. Use a tack cloth to wipe away all dust. Make sure no dust remains. Any leftover dust will get trapped in the next paint layer. This will ruin your smooth finish. This interim sanding process might seem tedious. Yet, it dramatically improves the final smoothness and professional look of your cabinets. It is a small effort that yields big results. This attention to detail defines a truly smooth cabinet finish.
Applying a Durable Protective Topcoat
Once you have applied all your paint coats, it is time for the final layer. A topcoat is essential to get a smooth finish on cabinets. It protects the paint from wear, scratches, and moisture. It also adds to the overall smoothness and durability. Think of it as the clear shield for your beautiful work.
Choose a clear topcoat compatible with your paint. Polyurethane, polycrylic, and water-based clear coats are common choices. Polycrylic is generally preferred for lighter colors. It does not yellow over time like some oil-based polyurethanes can. Water-based clear coats are also easy to clean up. They dry quickly. They offer good durability.
Apply the topcoat in thin, even coats. Just like with paint, multiple thin coats are better than one thick one. This prevents drips and ensures an even finish. Use a high-quality synthetic brush or a foam roller. For the smoothest result, apply the topcoat with a paint sprayer. A sprayer ensures a completely uniform and streak-free finish.
Allow each coat of topcoat to dry completely before applying the next. Check the product instructions for specific drying times. Some topcoats can be recoated within a few hours. Others require more time. You might need two or three coats for maximum protection. Lightly sand between topcoats with 400-grit sandpaper if recommended by the product. This creates a smoother surface. Always wipe with a tack cloth after sanding. For tips on keeping your cabinets looking good and preventing issues, consider resources like how to prevent painted cabinets from chipping. A good topcoat is your best defense against chipping and wear.
Curing and Final Cabinet Touches
Patience is a virtue when you want to get a smooth finish on cabinets. Your cabinets might feel dry to the touch after the final topcoat. However, the paint and topcoat need time to fully cure. Curing is when the finish hardens to its maximum durability. This process can take several days or even weeks. Refer to your paint and topcoat product labels for exact curing times. Using the cabinets too soon can damage the new finish.
During the curing period, handle the cabinets with care. Avoid harsh cleaning products or heavy objects. Gentle wiping with a soft, dry cloth is fine for dust. If you need to clean them, use only water or a very mild, non-abrasive cleaner. For long-term care of finished cabinets, knowing how to clean kitchen cabinets without removing finish can be helpful.
Once the curing time has passed, reattach the hardware. Carefully rehang the doors and reinsert the drawers. Adjust hinges as needed to ensure proper alignment. Step back and admire your work. You have transformed your cabinets. You achieved a beautiful, durable, and incredibly smooth finish.
This entire process requires attention to detail at every step. From cleaning to sanding, priming, painting, and applying the topcoat. Each stage contributes to the final smooth result. By following these steps, you will enjoy cabinets that look professionally finished. They will feel wonderful to the touch. Your hard work will pay off.
FAQ Section
How do I get rid of brush marks on painted cabinets?
To get rid of brush marks, use a high-quality synthetic brush and apply thin, even coats of self-leveling paint. Avoid overworking the paint as it dries. For best results, use a foam roller or a paint sprayer. Lightly sand between coats with fine-grit sandpaper to smooth any existing marks.
What kind of paint is best for a smooth cabinet finish?
Acrylic-alkyd hybrid paints or lacquers are excellent choices for a smooth cabinet finish. These paints are often self-leveling, which helps them dry without visible brush marks. Always choose a paint designed for cabinets or trim. They offer better durability and a smoother flow than standard wall paints.
Do I need to sand between coats of paint on cabinets?
Yes, you should lightly sand between coats of paint on cabinets. Use a very fine-grit sandpaper (320-400 grit) to remove any dust nibs or minor imperfections. This creates a smoother surface for the next coat to adhere to. Always wipe away sanding dust with a tack cloth before applying the next layer.
Can I get a smooth finish with a roller instead of a sprayer?
You can get a very smooth finish with a roller, but a sprayer often provides the smoothest, most factory-like result. If using a roller, choose a high-density foam roller designed for smooth surfaces. Apply thin, even coats. Avoid excessive pressure or over-rolling, as this can create texture.
How long does it take for cabinet paint to fully cure?
Cabinet paint typically takes several days to several weeks to fully cure. While it might be dry to the touch within hours, full hardness develops over time. Check the paint product’s label for specific curing times. Avoid heavy use or harsh cleaning during this period to ensure the finish hardens properly.
What is the most common mistake when trying to get a smooth finish?
The most common mistake is inadequate surface preparation. Skipping steps like thorough cleaning, proper sanding, or priming will lead to a less-than-smooth finish. Another mistake is applying paint too thickly. Thick coats cause drips, runs, and texture, preventing the desired smooth outcome.
Conclusion
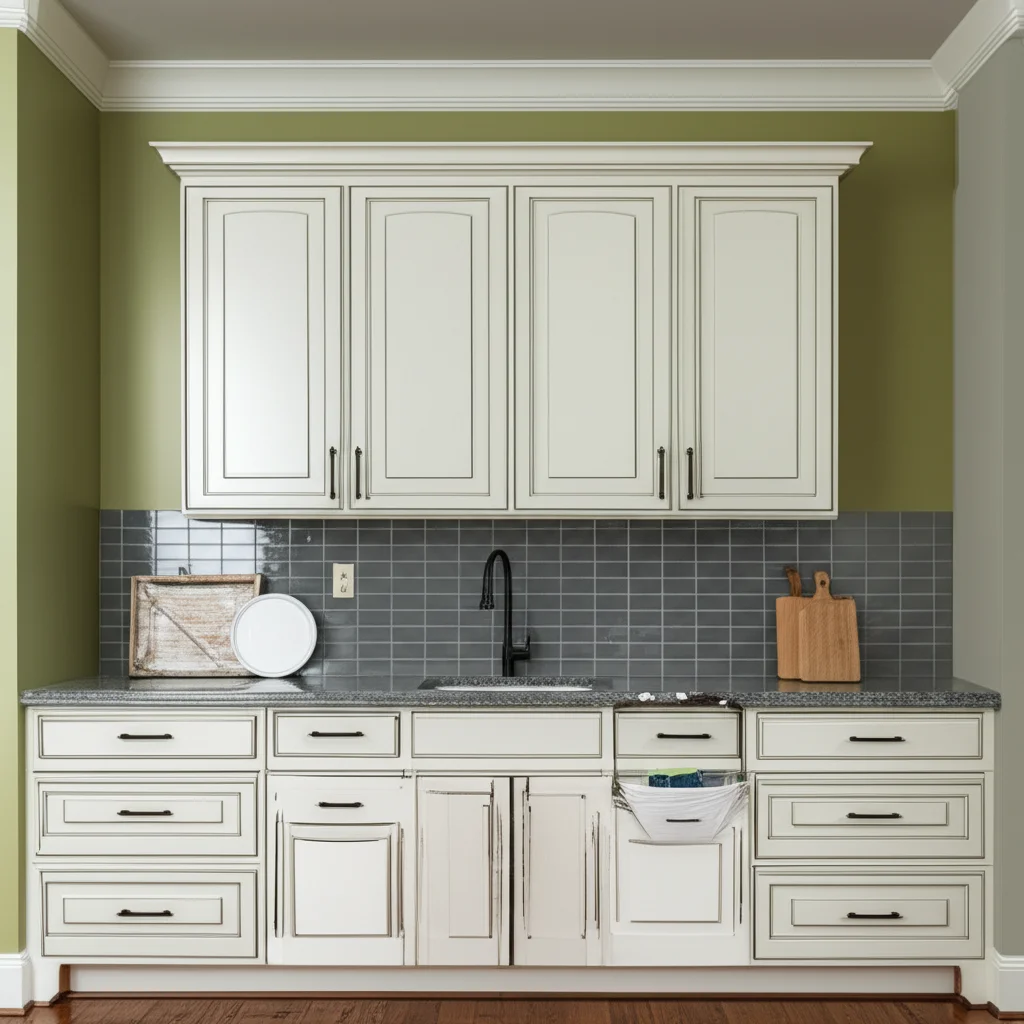
Achieving a smooth finish on cabinets transforms your living space. It adds a touch of elegance and durability. The key steps include careful preparation, precise sanding, and thoughtful paint application. I know it seems like a lot of work. But I promise you, the results are worth every effort.
Remember to clean thoroughly, sand with increasing grits, and prime effectively. Apply thin, even coats of high-quality paint. Sand lightly between each coat for the best outcome. Finish with a durable topcoat. Most importantly, allow ample curing time. By following these steps, you will get a smooth finish on cabinets that looks professional and lasts for years. Start your project today. Enjoy the beautiful, refreshed look of your home.
- cabinet finishing
- smooth cabinet paint
- DIY cabinet painting
- cabinet refinishing
- woodworking tips


