· Todd Martin · Home Improvement · 20 min read
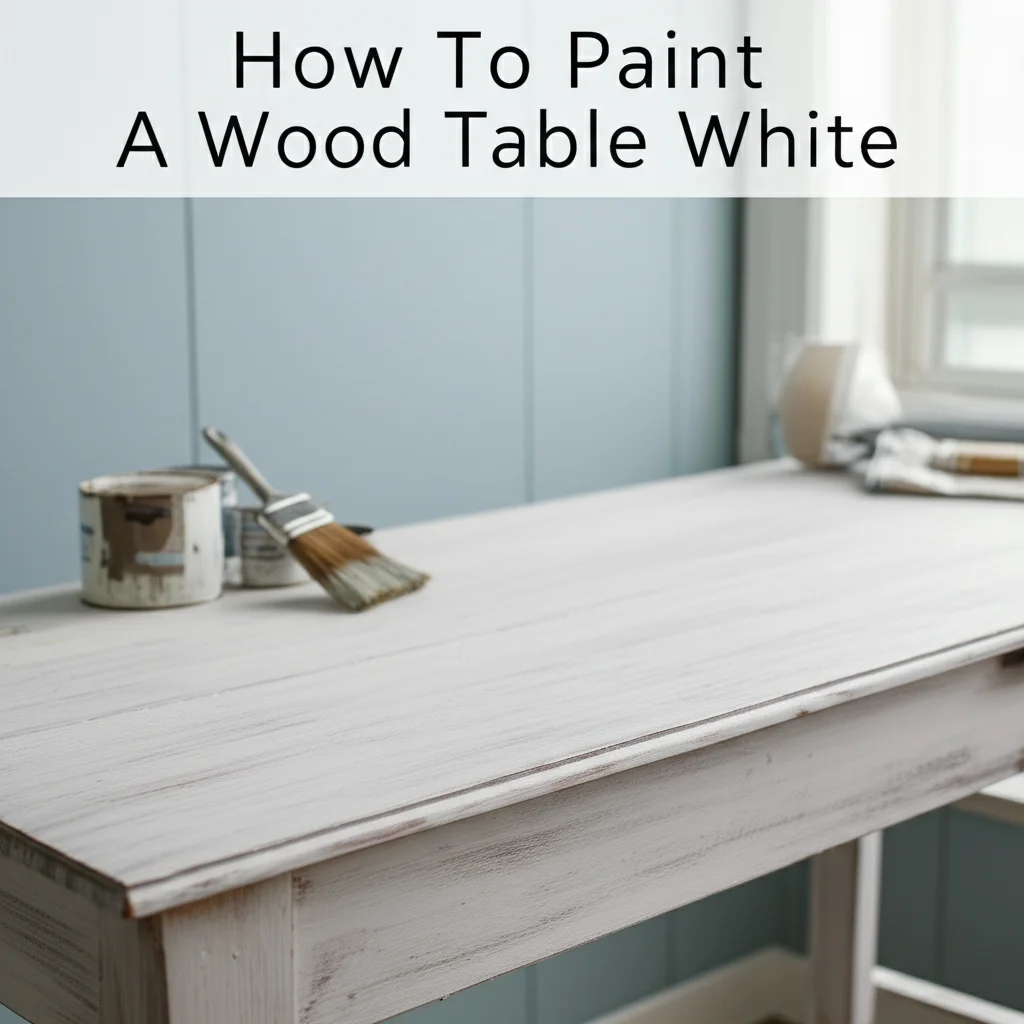
How To Paint Bedroom Furniture
Mastering Bedroom Furniture Painting for a Fresh New Look
Do you stare at your bedroom furniture and feel it needs a change? Old, worn, or outdated pieces can make your entire room feel tired. Painting your bedroom furniture offers an affordable and creative way to give it a completely new life. This DIY project allows you to customize your space, match new decor, and express your personal style.
I often find that a fresh coat of paint can instantly brighten a room. It turns a drab dresser into a focal point or a tired nightstand into a charming accent. This guide walks you through every step needed to paint bedroom furniture successfully. We will cover preparing your pieces, selecting the right materials, applying paint, and protecting your hard work. You can achieve a professional-looking finish with some planning and effort. Get ready to transform your bedroom.
Takeaway
- Prep is key: Clean, sand, and repair furniture for a smooth, lasting finish.
- Choose wisely: Select the right paint and primer for your furniture type and desired look.
- Apply thin coats: Build up color with multiple thin layers to avoid drips and ensure even coverage.
- Protect your work: Use a quality topcoat to seal and protect your newly painted furniture.
- Allow full cure: Give painted pieces ample time to cure before heavy use.
To paint bedroom furniture, begin by thoroughly cleaning and sanding the piece. Apply a suitable primer, then two or more thin coats of your chosen furniture paint. Finish with a protective topcoat for durability and a professional finish.
Why Paint Bedroom Furniture? Benefits of a Fresh Coat
Painting bedroom furniture offers many advantages. It is a cost-effective way to update your home. Instead of buying new pieces, you can refresh existing ones. This saves money and reduces waste.
A new paint color can drastically change the look of your room. You can match current trends or create a classic feel. This allows for personalized bedroom decor. Old, scratched, or stained furniture gains a smooth, new surface. It hides imperfections and adds value to the piece. Painting also protects the wood underneath. The paint acts as a barrier against spills, scratches, and sunlight. This extends the furniture’s lifespan. I find satisfaction in transforming something old into something beautiful. It is a rewarding DIY project that improves your living space.
Revitalize Your Space
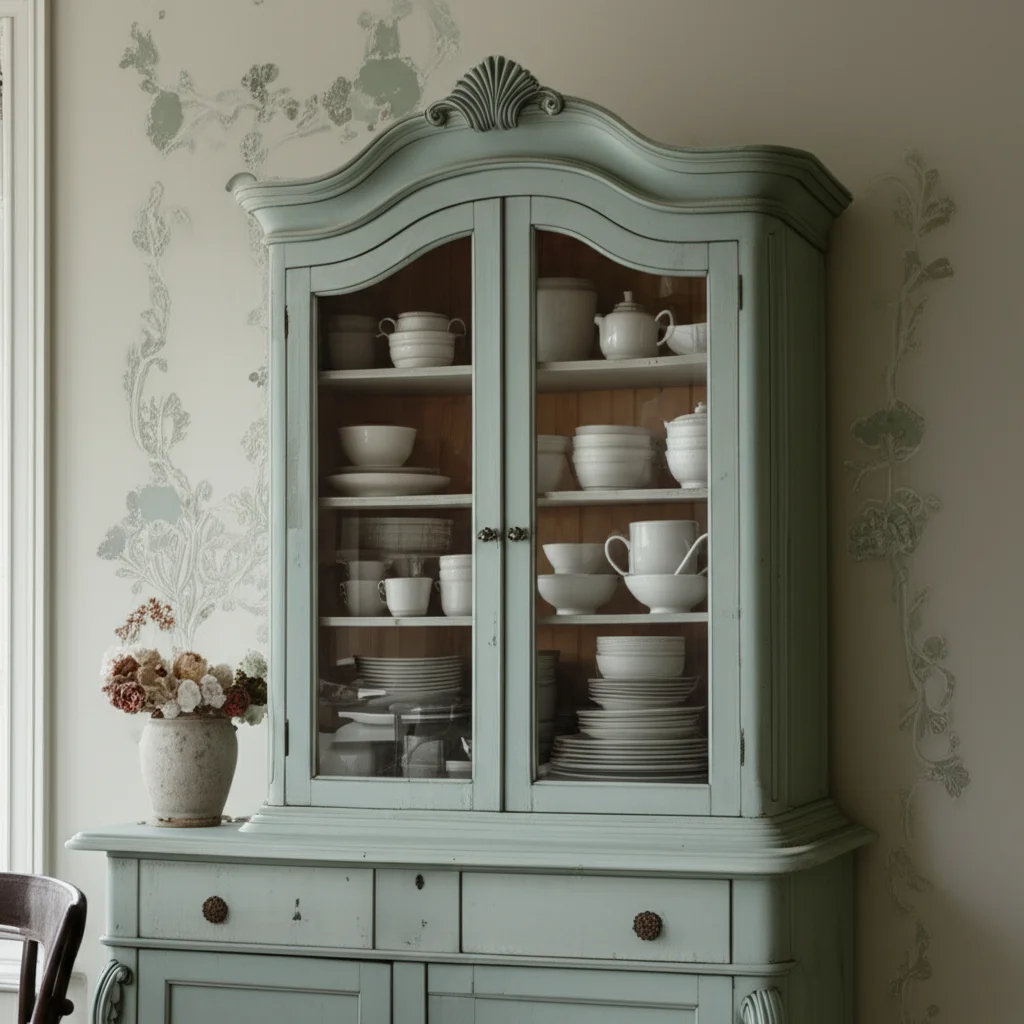
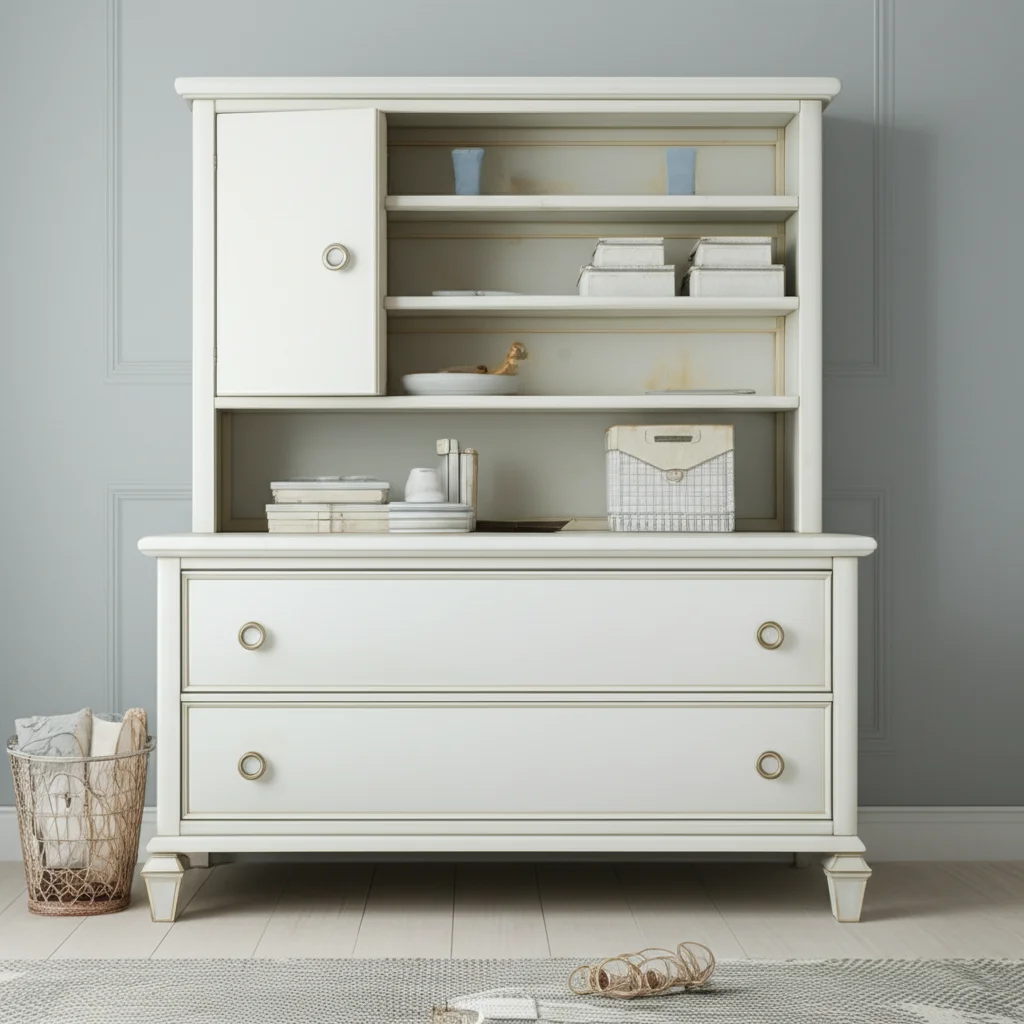
Painting is a powerful tool for home revitalization. A fresh color palette can make a room feel larger or cozier. You can tie together different furniture styles with a cohesive paint scheme. This creates a unified and inviting bedroom environment. For example, painting a dark dresser white can instantly brighten a room. It makes the space feel more open and modern. This small change can have a big impact on the overall atmosphere.
Cost-Effective Updates
Buying new bedroom furniture can be very expensive. Painting your existing pieces provides a budget-friendly alternative. You often only need a few cans of paint, primer, and some basic tools. The cost is minimal compared to purchasing a new bed frame, dresser, or nightstands. This allows you to allocate your budget to other areas of your home. It makes stylish updates accessible to everyone. I always recommend painting before buying new if the furniture structure is sound.
Eco-Friendly Choice
Repurposing furniture by painting it is an environmentally conscious decision. It keeps usable items out of landfills. This reduces waste and supports sustainable living. You extend the life cycle of your furniture. This lessens the demand for new manufactured goods. Choosing low-VOC (volatile organic compound) paints further reduces your environmental impact. It also improves indoor air quality in your bedroom. This method benefits both your home and the planet.
Essential Tools and Materials for Furniture Painting
Before you start painting bedroom furniture, gather all your supplies. Having everything ready saves time and ensures a smooth process. You will need items for preparation, painting, and finishing. Choosing quality tools will make the job easier and improve the final look. Do not skip any steps, especially preparation, as it impacts adhesion and durability.
Preparation Supplies
Proper preparation is the foundation of a good paint job. Start with a good cleaner. A degreaser or TSP (trisodium phosphate) solution works well. You will also need rags or sponges for cleaning. Sandpaper is crucial for roughing up surfaces and smoothing imperfections. Have various grits on hand: coarse (80-100 grit) for initial sanding, medium (150-180 grit) for smoothing, and fine (220 grit) for final buffing. A sanding block or orbital sander can speed up this process. Wood filler or spackle helps repair dings, dents, or scratches. Use painter’s tape to protect areas you do not want to paint, like hardware or drawer interiors. Drop cloths or old sheets protect your floors and surrounding areas from paint splatters.
Painting and Finishing Supplies
For applying paint, choose good quality brushes, rollers, or a paint sprayer. Brushes with synthetic bristles work well for most paints, providing smooth coverage. Foam rollers offer a smooth finish, especially on flat surfaces. A paint sprayer gives the most even, factory-like finish but requires more setup and cleanup. You will need a primer specifically designed for furniture. Primer helps paint adhere and blocks stains. Then, select your chosen furniture paint. Consider chalk paint, latex paint, or mineral paint based on your desired look and durability needs. For protection, a clear topcoat or sealant is essential. This can be polycrylic, polyurethane, or furniture wax. Remember to have stir sticks, paint trays, and an old container for water or mineral spirits for brush cleaning.
Safety Gear
Your safety is important during any DIY project. Wear gloves to protect your hands from paint and chemicals. A respirator or dust mask is vital when sanding to avoid inhaling dust particles. It is also important when spraying paint or working with strong fumes. Safety glasses protect your eyes from dust and paint splatters. Work in a well-ventilated area to minimize fume exposure. Open windows and doors, or use fans to circulate air. Proper ventilation makes the job more comfortable and safer.
Preparing Your Furniture for Painting
Preparing your bedroom furniture is the most critical step. It ensures the paint adheres properly and lasts for years. Skipping proper preparation leads to a poor finish that chips or peels quickly. I always tell people that success in painting is 80% prep and 20% paint.
Disassemble and Clean Thoroughly
Start by removing all hardware, such as knobs, pulls, and hinges. Store them in a bag to prevent loss. If drawers are removable, take them out. This allows you to paint all surfaces evenly. Next, clean the furniture thoroughly. Use a degreaser or a mixture of warm water and dish soap. Wipe down every surface to remove dirt, grease, grime, and any built-up residue. For very dirty or greasy pieces, a TSP solution might be necessary. Rinse with clean water and allow the furniture to dry completely. A clean surface is essential for paint adhesion. You want the paint to bond to the furniture, not to dust or oil.
Repair Imperfections
Inspect your furniture for any damage. Fill cracks, dents, or deep scratches with wood filler or spackle. Apply the filler with a putty knife, pressing it firmly into the imperfection. Allow the filler to dry completely according to the product instructions. Once dry, sand the repaired areas smooth using fine-grit sandpaper. This creates a uniform surface ready for painting. Repairing these flaws now ensures a flawless finish later. You might also need to address any wobbly joints before painting.
Sanding for Adhesion
Sanding provides a “tooth” for the paint to grip. Even if your furniture has an existing finish, light sanding is usually necessary. For previously varnished or glossy furniture, use 150-180 grit sandpaper to scuff the entire surface. For raw wood or previously painted pieces, 220-grit sandpaper is often enough to create a smooth surface. If the piece has a very slick or laminate finish, you may need to use a coarser grit (100-120) first. This helps the primer stick. You do not need to sand down to bare wood unless the current finish is peeling or heavily damaged. After sanding, wipe away all dust with a tack cloth or a damp rag. How to prep furniture for chalk paint provides specific advice if you choose that paint type. Ensure the surface is completely dust-free before moving on.
Choosing the Right Paint and Primer
Selecting the correct paint and primer for your bedroom furniture is crucial. Different types offer varying finishes, durability, and ease of use. Your choice depends on the furniture’s material, its current finish, and your desired aesthetic. A good primer ensures paint adhesion and prevents bleed-through.
Selecting the Right Primer
Primer creates a bond between the furniture surface and your paint. It also helps block stains and ensures true color. For most furniture projects, a water-based, stain-blocking primer is a versatile choice. It dries quickly and cleans up easily with water. If your furniture is made of oak, mahogany, or has knots, an oil-based or shellac-based primer might be better. These primers are excellent at preventing tannins (natural wood oils) from bleeding through and causing yellow stains. Always apply primer in thin, even coats. Allow each coat to dry completely before sanding lightly and applying the next. This prepares the surface perfectly for your chosen paint.
Exploring Paint Types for Furniture
Several paint types work well for bedroom furniture. Each has unique characteristics:
- Chalk Paint: This paint is popular for its matte, distressed look. It adheres well to many surfaces with minimal prep, often without sanding or priming. Chalk paint dries quickly and is easy to distress. However, it requires a wax or polycrylic topcoat for durability. For more information, you can read about how to chalk paint furniture without sanding.
- Latex Paint: Water-based latex paints are durable and easy to clean. They offer a smooth finish and come in various sheens, from flat to high-gloss. Latex paints are good for general furniture painting. They typically require a primer for proper adhesion, especially on slick surfaces. You can learn more about how to paint furniture with latex paint.
- Mineral Paint: Similar to chalk paint, mineral paint often requires little to no priming or sanding. It offers a smooth, durable finish without needing a topcoat. This makes it a convenient option for busy DIYers. It is also often low-VOC, making it a healthier choice.
- Oil-Based Paint: Oil-based paints offer extreme durability and a very smooth, hard finish. They are good for high-traffic pieces. However, they have a strong odor, take longer to dry, and require mineral spirits for cleanup. They are less common for DIY bedroom furniture projects due to these factors.
- Specialty Paints: Some furniture requires specific paint types. For example, how to paint high-gloss furniture might involve adhesion primers. If you are painting laminate, knowing how to spray paint laminate furniture can be very helpful. When deciding, also consider how to decide what color to paint furniture to ensure your color choice aligns with your room’s aesthetic.
Sheen and Finish Considerations
The paint sheen impacts both the look and durability of your painted bedroom furniture.
- Matte/Flat: Offers a non-reflective, velvety look. It hides imperfections well but is less durable and harder to clean. Often used for a distressed or vintage look.
- Eggshell/Satin: A popular choice, providing a soft sheen and good durability. It is easy to clean and hides minor flaws. Good for dressers and nightstands.
- Semi-Gloss/Gloss: Very durable and easy to clean, with a noticeable shine. It highlights imperfections but creates a sleek, modern look. Best for pieces that need to withstand heavy use.
Consider how much light hits the furniture and how often it will be used. This helps you pick the best sheen.
Mastering the Painting Process
Once your bedroom furniture is prepped and primed, it is time to paint! Applying paint correctly is vital for a smooth, professional-looking finish. Patience and thin coats are your best friends in this stage.
Applying the First Coat of Paint
Start by stirring your paint thoroughly. Never shake it, as this creates bubbles. Use a quality brush for detailed areas and corners. For larger, flat surfaces, a foam roller or a paint sprayer will provide the smoothest finish. Apply paint in thin, even coats. Avoid applying too much paint at once, which can lead to drips and unevenness. Work in sections, moving in the direction of the wood grain if applicable. Let the first coat dry completely according to the manufacturer’s instructions. This usually takes a few hours. A thin first coat, sometimes called a “tack coat,” helps subsequent layers adhere better.
Second and Subsequent Coats
After the first coat is dry, lightly sand the entire piece with very fine-grit sandpaper (220-320 grit). This step smooths out any minor imperfections or brush strokes and creates a better surface for the next coat. Wipe away all dust with a tack cloth. Then, apply your second thin coat of paint. Most furniture pieces require two to three coats for full, opaque coverage. Darker colors covering lighter furniture may need more coats. Always allow each coat to dry completely before applying the next. Rushing this process can ruin the finish. Pay attention to corners and edges, ensuring even coverage without pooling paint. To achieve an exceptionally smooth finish, check out tips on how to paint furniture without brush marks. If you are painting over an existing finish, understanding how to paint over painted furniture can also be beneficial.
Advanced Painting Techniques
For unique looks, consider advanced techniques. Distressing gives furniture an aged, worn appearance. You can achieve this by sanding edges or areas where natural wear would occur after the paint has dried. For a two-toned look, you might want to learn how to paint two-tone distressed furniture. To add depth, consider how to blend paint on furniture. Adding stripes or patterns requires careful taping and multiple paint colors, like mastering how to paint stripes on furniture. If you are working with specific wood types, like oak, resources like how to paint oak furniture can provide tailored advice. When planning a specific look, think about your overall bedroom design. This helps integrate the painted furniture seamlessly into your space.
Adding the Finishing Touches and Protection
Once your bedroom furniture is perfectly painted, the final steps protect your hard work. Adding a topcoat or sealant provides durability and enhances the finish. It safeguards against everyday wear and tear, spills, and scratches.
Applying a Protective Topcoat
A clear topcoat is essential for durability, especially for furniture that sees regular use. Polyurethane (oil-based for extreme durability, water-based for less yellowing) or polycrylic are common choices. Water-based polycrylic is generally preferred for lighter paint colors as it stays clear. Apply thin, even coats of your chosen topcoat using a good quality brush or foam applicator. Avoid applying too thickly, which can cause bubbles or drips. Most topcoats require two to three coats for adequate protection. Lightly sand with 320-400 grit sandpaper between coats for a smoother finish. Always wipe away sanding dust before applying the next layer. Allow each coat to dry completely as per the product instructions. This step is crucial for long-lasting results.
Optional: Distressing and Glazes
If you desire a vintage or shabby chic look, distressing is done before the topcoat. You can distress painted furniture by lightly sanding edges and raised areas to reveal the original finish or primer underneath. This creates an aged appearance. For a more subtle effect, use a damp cloth to rub away wet chalk paint. After distressing, a clear topcoat seals the look. Glazes can also add depth and an antique effect. Apply a thin layer of tinted glaze over your dried paint, then wipe it back to emphasize details and crevices. Always practice distressing or glazing on a scrap piece first. This ensures you achieve the desired effect before working on your main furniture piece. Knowing how to paint and distress furniture will guide you through this process.
Reassembling and Final Inspection
Once the topcoat has fully dried and cured (check product instructions for specific curing times; this can range from a few days to several weeks), you can reattach hardware. Carefully screw knobs, pulls, and hinges back into place. Take your time to avoid scratching your newly painted surfaces. Give your furniture a final inspection under good lighting. Look for any missed spots, drips, or imperfections. Enjoy your beautifully transformed bedroom furniture! It is ready to be moved back into your bedroom and admired.
Curing Your Painted Furniture for Durability
After you finish painting your bedroom furniture and apply a topcoat, the job is not quite done. The paint and topcoat need time to “cure.” Curing is different from drying. Drying means the paint feels dry to the touch. Curing means the paint has hardened completely and reached its maximum durability.
Understanding the Curing Process
Curing involves a chemical process where solvents evaporate and the paint polymers cross-link. This creates a hard, durable film. While paint may feel dry in a few hours, it takes much longer to cure fully. This time can range from a few days to several weeks, depending on the paint type, humidity, and temperature. Oil-based paints often take longer to cure than water-based paints. Topcoats like polycrylic or polyurethane also have specific curing times. Always refer to the manufacturer’s instructions for exact curing periods. Rushing the curing process can lead to scuffs, scratches, or even paint peeling later on.
Best Practices During Curing
During the curing period, handle your newly painted furniture with extreme care.
- Avoid heavy use: Do not place heavy objects on the furniture. Avoid dragging items across surfaces.
- Prevent moisture: Keep the furniture away from excessive moisture or humidity.
- Allow airflow: Ensure good air circulation around the piece. This helps the curing process.
- Protect surfaces: If you must use the furniture, place felt pads under items. Use coasters or placemats to protect surfaces from direct contact.
- Do not clean: Avoid cleaning the surface with any cleaners during this time. A dry, soft cloth for dusting is generally fine, but no liquids or abrasives.
I learned this the hard way once, by putting books on a freshly painted shelf too soon. The books stuck to the paint! Patience during curing will save you from future headaches and repairs.
When is it Ready for Full Use?
While furniture might be ready for light use after a few days, it is best to wait for the full cure time before placing heavy items, sliding objects, or performing rigorous cleaning. For bedroom furniture like dressers and nightstands, this means waiting before filling drawers completely or regularly placing drinks directly on surfaces. Usually, two to four weeks is a good general guideline for most painted furniture to reach full hardness. Check the product label for precise curing times. Your patience will be rewarded with a beautiful, resilient finish that stands the test of time.
Caring for Your Newly Painted Furniture
Once your bedroom furniture is painted and fully cured, proper care ensures its beauty lasts for years. Regular maintenance and gentle cleaning practices protect the paint finish. This keeps your transformed pieces looking fresh and new.
Regular Cleaning and Dusting
Dust your painted furniture regularly with a soft, dry microfiber cloth. This prevents dust buildup that can dull the finish over time. For general cleaning, use a damp cloth with plain water. Wipe the surface gently, then immediately dry it with a clean, soft cloth. Avoid using abrasive cleaners, harsh chemicals, or ammonia-based products. These can damage the paint finish or topcoat. For furniture painted with chalk paint and sealed with wax, specific care might be needed. You can check how to clean chalk paint furniture for detailed instructions on that finish. Always test any new cleaning solution on an inconspicuous area first.
Protecting Against Wear and Tear
Painted furniture, especially in a bedroom, can face daily wear. Protect your surfaces from scratches and moisture.
- Coasters and Trivets: Always use coasters under drinks and trivets under hot or cold items. Water rings and heat marks can permanently damage paint.
- Felt Pads: Place felt pads on the bottom of decorative items, lamps, or anything that sits on the furniture. This prevents scratching when items are moved.
- Sunlight Exposure: Prolonged direct sunlight can fade paint colors over time. Consider arranging furniture to avoid direct sun or use blinds/curtains to protect it.
- Avoid Harsh Objects: Do not drag sharp or heavy objects across the painted surface. Lift items instead of sliding them.
- Minor Repairs: If you notice small chips or scratches, address them quickly. Keep a small amount of your leftover paint for touch-ups. Gently clean the area, then apply a tiny amount of paint with a fine brush. This prevents damage from spreading. If you have chipped paint on wood, knowing how to fix chipped paint on wood furniture can be very useful.
Long-Term Maintenance
Periodically inspect your painted furniture for any signs of wear. Depending on the topcoat used, you might need to reapply it after several years for continued protection. Wax finishes, for example, may need reapplication annually or biannually. If the finish starts to look dull or worn, a light sanding and a fresh coat of topcoat can rejuvenate it. With careful handling and regular, gentle cleaning, your beautifully painted bedroom furniture will remain a cherished part of your home decor for many years to come. Your effort in painting will truly pay off.
Frequently Asked Questions
Can I paint bedroom furniture without sanding?
Yes, some paint types, like chalk paint or mineral paint, often allow you to paint bedroom furniture without extensive sanding. You still need to clean the surface thoroughly. For durable results, light scuff sanding or using a good bonding primer is usually recommended, even with these paints, especially on slick finishes like laminate or glossy varnish.
What kind of paint is best for bedroom furniture?
The best paint depends on your desired look and durability. Chalk paint offers a matte, distressed look. Latex paints are durable and easy to clean, available in various sheens. Mineral paints offer a durable, smooth finish with minimal prep. For high-traffic pieces, oil-based paints offer maximum durability but have strong fumes.
How many coats of paint do I need for furniture?
Most furniture painting projects require at least two thin coats of paint for full, even coverage. Darker colors or light colors over dark surfaces may need three coats. Always apply thin layers and allow each to dry completely before applying the next. This prevents drips and ensures a smooth, durable finish.
Do I need to use a primer on my bedroom furniture?
Using a primer is generally recommended when painting bedroom furniture. Primer helps paint adhere better, especially on glossy, slick, or stained surfaces. It also blocks tannins from bleeding through the paint, preventing discoloration. While some paints claim no primer is needed, using one often improves the paint’s durability and finish quality.
How long does painted furniture take to dry and cure?
Paint typically feels dry to the touch within a few hours. However, paint needs longer to fully cure and harden. This curing process can take several days to several weeks, depending on the paint type, humidity, and temperature. Avoid heavy use during the curing period to prevent scratches and damage.
How do I protect my painted bedroom furniture from chipping?
To protect your painted bedroom furniture, always apply a durable topcoat like polycrylic or polyurethane after painting. Apply thin, even layers. During the curing process, handle the furniture with care. Use felt pads under items, coasters under drinks, and avoid dragging objects across the surface. Proper preparation before painting also helps prevent chipping.
Conclusion
Transforming your bedroom furniture with paint is a project that brings immense satisfaction and fresh style. We have walked through every crucial step needed to successfully paint bedroom furniture. From the initial meticulous preparation, including cleaning and sanding, to choosing the ideal paint and primer, each stage plays a vital role. Proper application techniques, like using thin, even coats, ensure a smooth, professional finish.
Remember, patience during the drying and curing process protects your hard work. Finally, proper care ensures your newly painted bedroom furniture remains beautiful for years. This DIY project allows you to customize your space and express your personal aesthetic. I encourage you to gather your tools, choose your colors, and embark on this rewarding journey. Your bedroom will thank you for this creative update. Get ready to enjoy the renewed beauty and character your painted furniture brings to your home.
- Bedroom Furniture
- Furniture Painting
- DIY Projects
- Home Decor

Todd Martin
Senior Writer
With over 15 years of experience in home renovation and design, I started HEG to share what I’ve learned with homeowners who want to create spaces that are both beautiful and functional. I’ve always believed in a hands-on approach, and over the years, I’ve picked up practical solutions that actually work. Through HEG, I aim to make home improvement more approachable, sharing real tips that help you create a home you truly love.