· Todd Martin · Home Improvement · 13 min read
How To Paint Tv Stand

Refresh Your Living Space: How To Paint A TV Stand
Have you looked at your TV stand recently and thought, “It needs a change”? An old, dated TV stand can make your whole living room feel tired. Instead of buying a new one, why not give it a fresh look with paint? Painting your TV stand is a budget-friendly way to update your home decor.
This guide helps you learn how to paint a TV stand. We cover everything from planning your project to applying the final coat. You will soon have a TV stand that looks new and complements your space.
Takeaway
- Prepare your TV stand thoroughly by cleaning, sanding, and priming.
- Choose the right paint type for your TV stand material and desired finish.
- Apply paint in thin, even coats for a smooth, professional look.
- Allow proper drying and curing times for durability.
- Protect your newly painted TV stand with a topcoat.
To paint a TV stand, first, clean and sand the surface. Then, apply a primer, followed by two or more thin coats of your chosen paint. Finish with a clear protective topcoat. This process ensures a durable and attractive finish for your updated furniture piece.
Planning Your TV Stand Paint Project
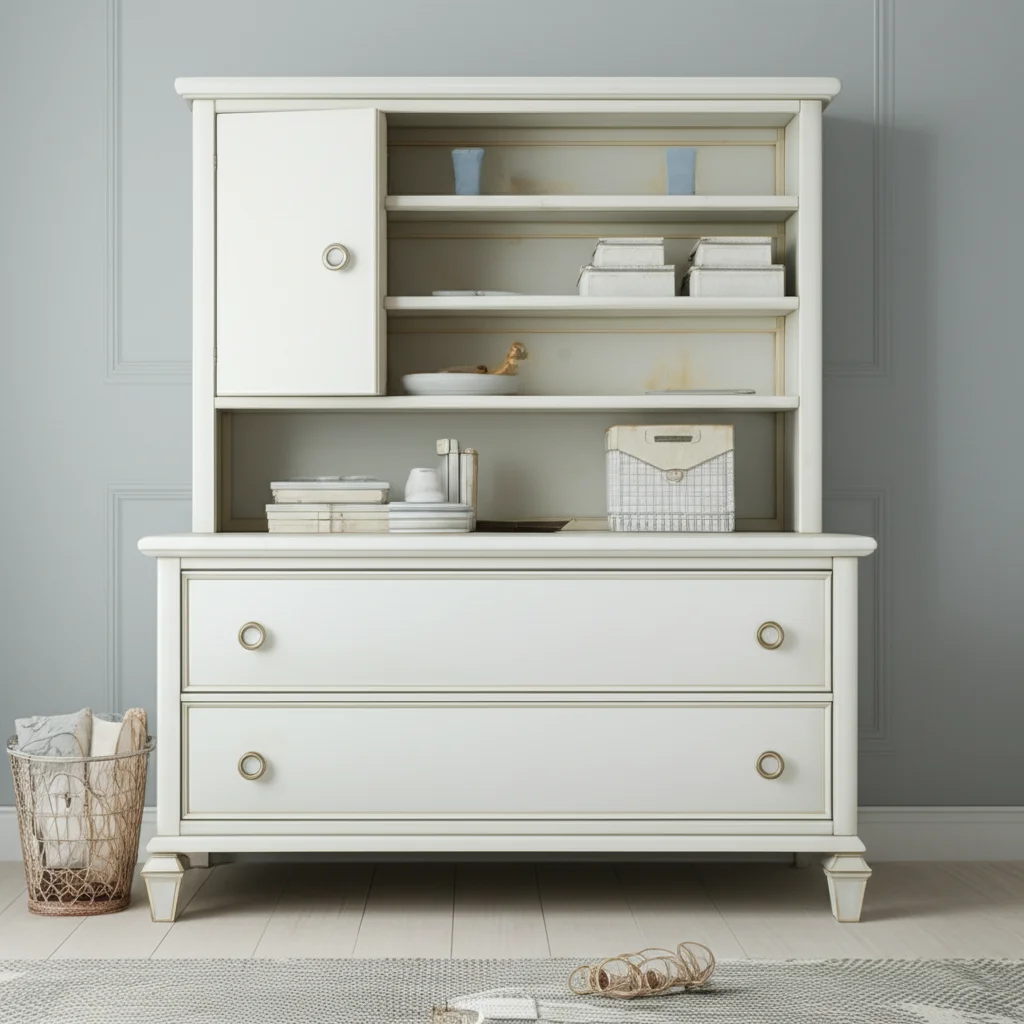
Before you even open a can of paint, careful planning makes a big difference. Think about the current material of your TV stand. Is it wood, laminate, or metal? This determines the type of primer and paint you need.
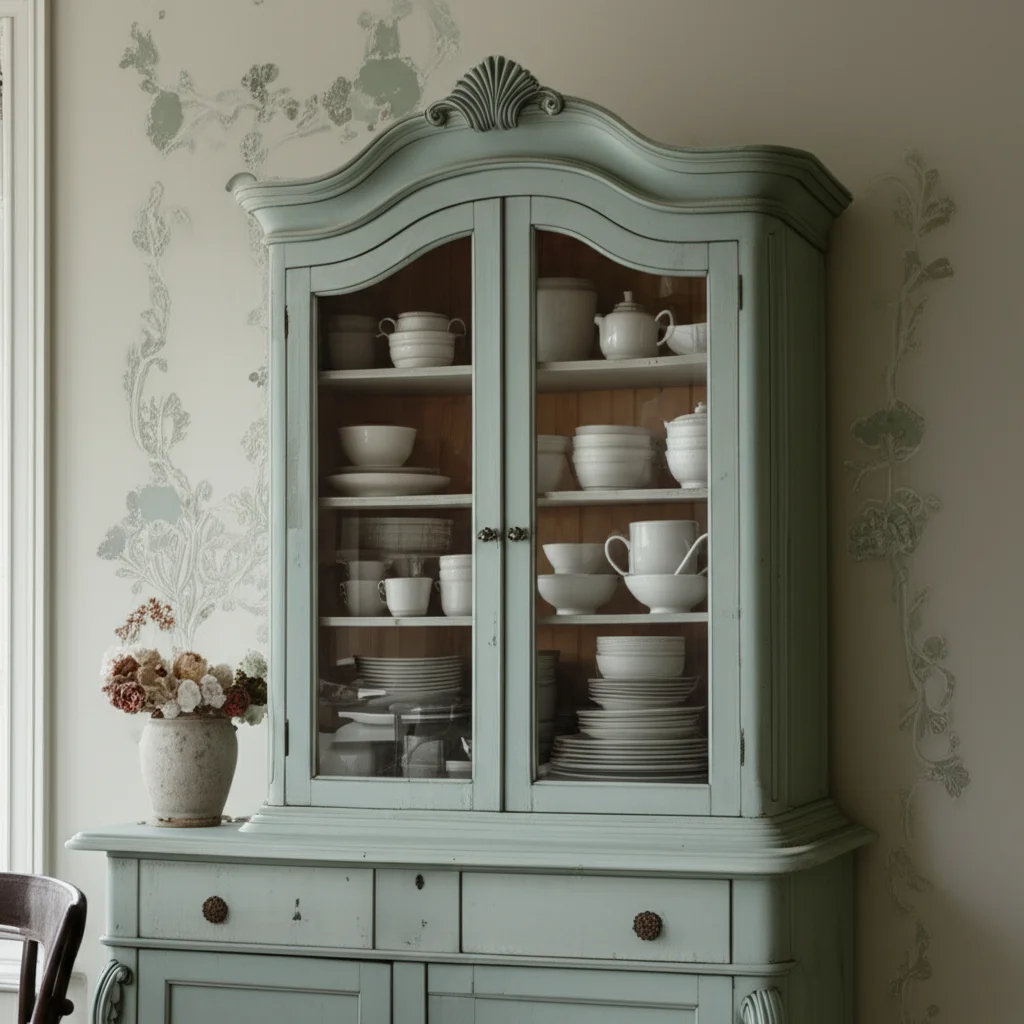
Consider the look you want to achieve. Do you want a modern matte black, a bright white, or a distressed vintage feel? Your color choice impacts the entire room’s mood. Different paint types offer various finishes, so pick what fits your style.
Choosing the Right Paint Type
The material of your TV stand greatly influences paint choice. For wooden TV stands, acrylic latex or chalk paint works well. These paints adhere nicely and offer good coverage. If you have a laminate TV stand, you need a specialized primer.
For metal TV stands, look for paints designed for metal surfaces. These often contain rust inhibitors and offer better adhesion. Always read the paint label to ensure it suits your specific furniture material. Learn how to paint furniture with latex paint for more details.
Selecting Your Color and Finish
Color selection sets the tone for your room. A bold color can make your TV stand a statement piece. Neutral colors help it blend seamlessly with your existing decor. Consider how the color will look with your wall color and other furniture.
Beyond color, the finish matters too. Matte finishes offer a soft, modern look. Satin and semi-gloss finishes provide more durability and are easier to clean. High-gloss finishes give a sleek, reflective appearance but show imperfections more easily.
Gathering Your Painting Supplies
Having all your tools ready before you start saves time and frustration. You do not want to stop mid-project because you forgot something crucial. A well-stocked toolkit ensures a smooth painting process. This section details the essential items you will need.
I always lay out everything on a drop cloth first. This helps me visualize the steps and ensures I have enough of each item. Do not skip on quality brushes; they make a big difference in the final look.
Essential Cleaning and Prep Materials
You need basic cleaning supplies to get started. A good degreaser or all-purpose cleaner removes dirt and grime. Sandpaper, in various grits (e.g., 120-grit and 220-grit), is essential for smoothing the surface. Painter’s tape protects areas you do not want painted.
Drop cloths or old sheets keep your floor safe from spills. Rags or old towels are useful for wiping and cleaning. Always wear gloves to protect your hands from chemicals and paint.
Painting Tools and Protective Gear
For painting, you will need paintbrushes, rollers, or a paint sprayer. Brushes are good for detailed work and corners. Rollers provide a smooth finish on flat surfaces. A paint tray is necessary for rollers.
A quality primer is crucial for good paint adhesion, especially on tricky surfaces like laminate or previously painted furniture. Of course, you need your chosen paint color. Finally, a clear topcoat protects your new finish. Remember to wear a mask and safety glasses, especially when sanding or using strong primers.
Preparing Your TV Stand for Painting
Proper preparation is the most critical step in painting. Skipping steps here leads to a poor finish that chips or peels quickly. I have learned that taking my time with prep always pays off. A clean, smooth surface holds paint much better.
This stage involves several actions. Each action plays a vital role in the final look and longevity of your painted TV stand. Do not rush through any of these points.
Disassembly and Cleaning
First, remove all hardware from your TV stand. Take off knobs, pulls, and hinges. Remove any shelves or drawers. Keep these items in a labeled bag so you can easily reassemble them later. Disassembly allows you to reach all surfaces for a consistent finish.
Next, thoroughly clean the entire TV stand. Use a degreaser or a mild soap and water solution. Wipe away all dirt, grease, and grime. Rinse the surface with clean water and let it dry completely. Any remaining residue can prevent paint from sticking properly.
Sanding and Repairing Imperfections
Sanding creates a surface that paint can grip onto. Start with a medium-grit sandpaper (around 120-grit) to scuff up the existing finish. Sand in the direction of the wood grain if it is a wood stand. This step helps paint adhere better, especially if you are painting over already painted furniture.
After the initial sanding, wipe away all dust with a tack cloth or damp rag. Inspect for any dings, scratches, or holes. Fill these imperfections with wood filler. Once the filler dries, sand it smooth with a finer-grit sandpaper (220-grit). This ensures a perfectly smooth surface for painting.
Priming the Surface
Priming is a non-negotiable step for most TV stand painting projects. Primer creates a uniform base for your paint. It helps hide the original color and allows the new paint to adhere much better. Primer also prevents stains from bleeding through your new paint.
Choose a primer suitable for your TV stand’s material. For wood, a stain-blocking primer works well. If you are painting a laminate TV stand, use a high-adhesion primer designed for slick surfaces. Apply one or two thin, even coats of primer. Allow each coat to dry completely according to the manufacturer’s instructions before sanding lightly with 220-grit sandpaper and wiping away dust.
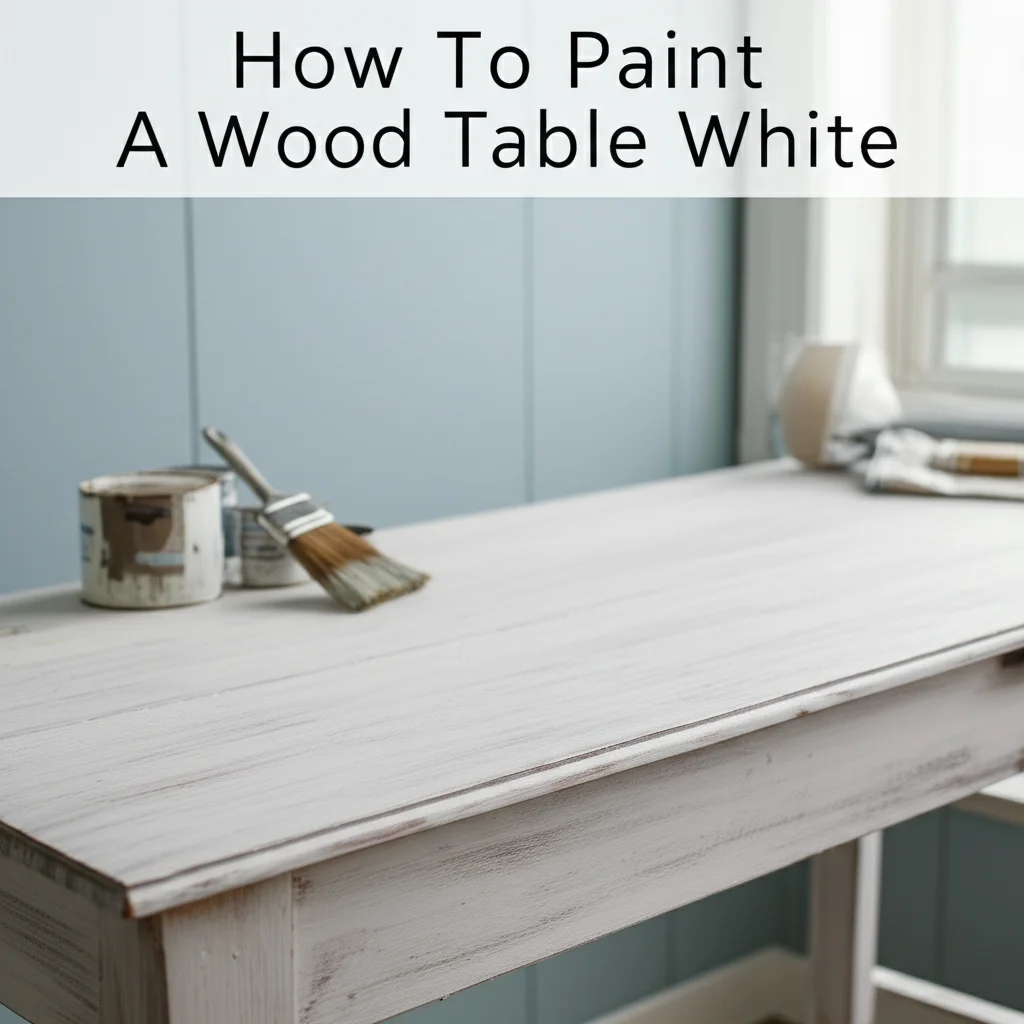
The Painting Process: Applying Your Chosen Finish
Now for the fun part: applying the paint! This stage requires patience and careful technique. Rushing can lead to drips, uneven coverage, and a less-than-professional finish. I always remind myself to apply thin coats. Multiple thin coats look much better than one thick, gloppy coat.
Proper application ensures durability and a smooth appearance. Focus on even coverage and avoid overloading your brush or roller.
Applying the First Coat of Paint
Once your primer is dry and lightly sanded, you are ready for the first coat of paint. Stir your paint thoroughly before you begin. If using a brush, apply long, even strokes in the direction of the grain. For rollers, use consistent pressure and overlap each pass slightly. This helps create a smooth surface.
Work in sections, ensuring you cover all visible areas. Do not try to achieve full coverage with the first coat. The goal is to lay down a foundational layer. Thin coats reduce the chance of drips and ensure even drying.
Subsequent Coats and Drying Times
Allow the first coat to dry completely before applying the next. Drying times vary based on paint type, humidity, and temperature. Check the paint can for specific recommendations. Typically, this can range from 2 to 4 hours. Once dry, you can lightly sand the surface with 220-grit sandpaper. This smooths any minor imperfections and helps the next coat adhere better.
After light sanding, wipe away all dust. Apply a second thin coat of paint. For most projects, two to three coats provide excellent coverage and depth of color. Always ensure each coat is fully dry before applying the next one. This prevents tackiness and ensures a hard finish.
Adding the Finishing Touches and Curing
You are almost done! The final steps protect your hard work and make your TV stand truly shine. A good topcoat safeguards your paint from daily wear and tear. It also enhances the overall look. I know it is tempting to use your TV stand right away, but waiting for proper curing makes a big difference in its longevity.
This stage brings your project to a complete and durable finish. Do not rush these final moments.
Applying a Protective Topcoat
A clear topcoat adds durability and protection to your painted TV stand. It guards against scratches, scuffs, and moisture. Polyurethane, polycrylic, or clear wax are common choices. Polycrylic is water-based and ideal for lighter colors, as it will not yellow. Polyurethane is more durable but can yellow over time.
Apply the topcoat in thin, even layers. Follow the manufacturer’s instructions for the number of coats and drying times between them. Sand lightly with very fine-grit sandpaper (e.g., 320-grit or finer) between coats for a super smooth finish. This ensures maximum protection and a professional appearance.
Reassembly and Curing Process
Once the final topcoat is dry to the touch, reattach all hardware that you removed earlier. Carefully reinsert shelves and drawers. Take your time during reassembly to avoid scratching your new paint job. Your TV stand will look amazing at this point!
However, the paint is not fully cured until several days or even weeks later. While it may feel dry, it is still hardening. During the curing process, treat your TV stand gently. Avoid placing heavy objects on it or sliding things across the surface. Full curing ensures the paint reaches maximum durability and resistance. Consider how you might decorate your fireplace TV stand once it’s fully cured.
Troubleshooting Common Painting Issues
Even with careful planning, sometimes things go wrong. Do not worry; most painting issues have simple fixes. I have faced drips and uneven spots many times myself. Knowing how to fix these common problems saves your project from looking less than perfect. A little patience and the right technique can fix almost anything.
Addressing these issues promptly ensures a beautiful, professional-looking result. It helps maintain the quality of your finished TV stand.
Dealing with Drips and Runs
Drips and runs happen when you apply too much paint at once. If you catch a drip while the paint is wet, gently brush it out with a clean brush. Smooth the area until the excess paint is gone. For a run, gently pull the brush upwards to spread the paint evenly.
If the paint has dried, you need to sand the dried drip down. Use fine-grit sandpaper (220-grit or higher) to carefully smooth the raised area. Once smooth, wipe away the dust and apply another thin coat of paint to blend the area. Patience is key here.
Fixing Uneven Coats and Poor Adhesion
Uneven coats often result from inconsistent paint application or not enough coats. If you notice thin spots, simply apply another thin, even coat of paint after the previous one dries. Ensure you are using enough paint to cover the surface but not so much that it drips.
Poor adhesion usually means the surface was not prepped correctly. This can happen if the surface was not clean, sanded, or primed properly. If paint is peeling or chipping, you may need to sand down the affected area completely. Re-clean, re-prime, and then repaint that section. Proper preparation prevents paint adhesion issues in the first place.
Maintaining Your Newly Painted TV Stand
Congratulations, your TV stand looks fantastic! Now, the goal is to keep it that way. Proper care ensures your paint job lasts for years. Just like any furniture, it needs a bit of attention. Simple cleaning habits prevent wear and tear.
Taking these steps ensures your efforts were well spent. Your beautiful TV stand will remain a focal point in your room.
Regular Cleaning and Care
For daily cleaning, simply dust your painted TV stand with a soft, dry cloth. This prevents dust buildup that can scratch the finish over time. For spills or smudges, use a damp cloth with mild soap and water. Wipe gently. Avoid harsh chemical cleaners, as they can damage the paint or topcoat.
Always dry the surface immediately after wiping to prevent water spots or damage. Treat your newly painted TV stand like a cherished piece of furniture. It will stay looking great with minimal effort.
Protecting Against Wear and Tear
Even with a topcoat, painted furniture benefits from extra protection. Consider using coasters under drinks to prevent rings and moisture damage. Place felt pads under any decor items you put on the stand. This prevents scratches when moving items around.
If your TV stand is in a high-traffic area, you might consider a protective mat or runner on top. This adds an extra layer of defense against scuffs and impacts. With these simple steps, your painted TV stand will stay beautiful for many years.
Frequently Asked Questions
Can I paint a laminate TV stand?
Yes, you can paint a laminate TV stand. The key is using the right primer. You need a high-adhesion primer designed for slick surfaces like laminate. After priming, you can use acrylic latex or chalk paint. This transforms the look of your laminate furniture effectively.
Do I need to sand a TV stand before painting?
Yes, sanding is almost always necessary. Sanding scuffs the existing finish. This creates a surface that the primer and paint can grip onto. Even if your TV stand is new, a light sanding ensures good adhesion for a durable finish.
What kind of paint is best for a TV stand?
For most TV stands, acrylic latex or chalk paint is best. Acrylic latex paint offers good durability and is easy to clean. Chalk paint provides a matte, distressed look without much prep. Always choose a paint that is suitable for the material of your TV stand.
How long does painted furniture take to cure?
Painted furniture can feel dry to the touch in a few hours. However, it takes much longer to fully cure. Curing means the paint has hardened completely. This process can take anywhere from 7 to 30 days, depending on the paint type and humidity.
Can I spray paint a TV stand?
Yes, you can spray paint a TV stand. Spray painting offers a very smooth, even finish. Ensure you work in a well-ventilated area and protect surrounding surfaces. Apply multiple thin coats rather than one thick coat to prevent drips and achieve the best results.
Conclusion
Painting your TV stand is a rewarding home improvement project. It transforms an old piece of furniture into something new and exciting. You save money while giving your living space a fresh, updated look. By following simple steps, anyone can achieve a professional finish.
Remember to prepare your TV stand well. Choose the right paint and apply thin coats. Then, protect your hard work with a topcoat. This ensures your newly painted TV stand lasts for years. I encourage you to grab your supplies and start this satisfying DIY journey today. Enjoy your refreshed home!
- TV stand makeover
- furniture painting
- DIY project
- home decor

Todd Martin
Senior Writer
With over 15 years of experience in home renovation and design, I started HEG to share what I’ve learned with homeowners who want to create spaces that are both beautiful and functional. I’ve always believed in a hands-on approach, and over the years, I’ve picked up practical solutions that actually work. Through HEG, I aim to make home improvement more approachable, sharing real tips that help you create a home you truly love.